Quick answer
For most piecing, use a 70/10 or 80/12 quilting needle with a 50-weight cotton thread. For quilting through a sandwich, move to a 90/14 needle and match the thread weight to the look you want. Always test on a small swatch of your actual fabric, batting, and thread before you stitch the whole quilt.
Choosing the right needle and thread is less about brand loyalty and more about matching three things: your fabric, your thread weight, and what your sewing machine can handle. Get that match right, and your seams lie flat, your stitches look even, and you avoid skipped stitches and thread breaks.
This guide walks through a practical order you can follow every time you start a project. You will learn how quilting needle size, thread for quilting, and your sewing machine needle work together, and how to test before you commit.
Start with the fabric and project type
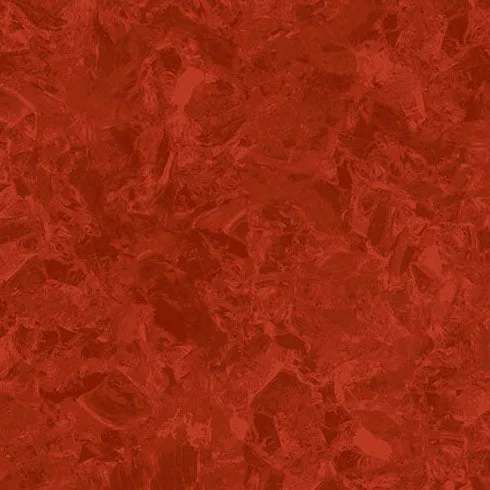
Before you pick a needle or thread, look at what you are sewing. A lightweight cotton like Tilda Chambray Ginger (100% cotton, cut in 1-yard increments) behaves differently from a denser quilting cotton. If you are piecing a quilt top, you want a fine needle and a 50-weight thread. If you are quilting through layers with batting, you need a larger needle and possibly a heavier thread.
Check whether your fabric is precut or yardage. Precuts like 10-inch squares or 2.5-inch strips can fray more, so a slightly larger needle (80/12) helps. The goal is to match needle size to fabric weight, not to guess.
- Lightweight cotton: 70/10 or 80/12 needle
- Medium quilting cotton: 80/12 needle
- Quilting through batting: 90/14 needle
Match thread weight to the job
Thread weight is the second half of needle and thread matching. For piecing, 50-weight cotton is the standard because it is strong but fine enough to press flat. For quilting, you can use 40-weight for more definition or 50-weight for a softer look. If you use a heavier thread, you need a larger needle so the thread can pass through the fabric without shredding.
Avoid mixing thread weights in the same seam unless you are deliberately doing so for effect. Your sewing machine needle should have an eye large enough for the thread to slide through without friction. If you hear a popping sound as you sew, the needle eye is too small for that thread.
- 50-weight cotton: piecing and general quilting
- 40-weight cotton: decorative quilting and topstitching
- If thread shreds, go up one needle size
Choose the needle type for your machine and project
Not all sewing machine needles are the same. Quilting needles have a slightly tapered point that pushes through layers without damaging fabric. Universal needles work for woven cotton but can cause skipped stitches on batiks or denser fabrics. For free-motion quilting, use a quilting needle or a topstitch needle with a larger eye.
Check your machine manual for the recommended needle system. Most home machines use a flat-shank needle, but some older or industrial machines use a round shank. The wrong shank can sit too high or too low and cause skipped stitches.
- Quilting needle: piecing and quilting through layers
- Topstitch needle: heavier threads and decorative work
- Universal needle: basic woven cotton only
Test on a swatch before you sew the quilt
The only way to know if your needle and thread are matched is to test. Cut a small swatch of your actual fabric and batting, thread your machine with the thread you plan to use, and sew a few inches. Look for even stitches, no skipped stitches, and no puckering. If the fabric puckers, your needle may be too large or your thread too heavy.
If stitches are loose or irregular, check your tension and needle size. A fresh needle makes a difference: change it every 8 to 10 hours of sewing, or sooner if you hear a thumping sound. A dull needle can cause skipped stitches and fabric damage.
- Test on the same fabric and batting as your quilt
- Change needle every 8-10 hours of sewing
- If puckering, try a smaller needle or lighter thread
Adjust for specialty fabrics and threads
Some fabrics and threads need special handling. For example, Heima Glacier Volcano by Gudrun Erla is a quilting cotton, so it follows the standard rules. But if you are using a fabric with a tighter weave or a specialty thread like monofilament, you may need a larger needle or a different needle type. Monofilament thread requires a needle with a large eye and a smooth finish to avoid fraying.
When in doubt, go up one needle size rather than down. A slightly larger needle is less likely to cause skipped stitches than a needle that is too small. Just remember that a larger needle leaves a bigger hole, so test on a scrap first.
- Monofilament: use a 90/14 or 100/16 needle
- Metallic thread: use a metallic needle with a large eye
- Always test on a scrap before committing
Your step-by-step needle and thread matching process
- Step 1: Identify your fabric weight: Lightweight cotton (like Tilda Chambray Ginger) needs a 70/10 or 80/12 needle. Medium quilting cotton (like Heima Glacier Volcano) uses an 80/12 needle. If you are quilting through batting, go up to a 90/14 needle. Checkpoint: If you are not sure, start with an 80/12 needle and adjust after testing.
- Step 2: Choose your thread weight: For piecing, use 50-weight cotton. For quilting, use 40-weight for definition or 50-weight for a softer look. Match the thread weight to the needle size: heavier thread needs a larger needle. Checkpoint: If thread shreds or breaks, go up one needle size.
- Step 3: Select the needle type: Use a quilting needle for piecing and quilting through layers. Use a topstitch needle for heavier threads. Use a universal needle only for basic woven cotton. Check your machine manual for the correct shank type. Checkpoint: The wrong needle type causes skipped stitches even if the size is right.
- Step 4: Test on a swatch: Cut a small piece of your actual fabric and batting. Thread your machine and sew a few inches. Look for even stitches, no puckering, and no skipped stitches. Adjust needle size or thread weight if needed. Checkpoint: If the test looks good, you are ready to sew. If not, change one variable at a time.
- Step 5: Change your needle regularly: Replace your needle every 8 to 10 hours of sewing, or sooner if you hear a thumping sound or see skipped stitches. A dull needle damages fabric and causes poor stitch quality. Checkpoint: Keep a spare pack of 80/12 and 90/14 needles on hand.
Product facts that help your decision
- Tilda Chambray Ginger - TIL160041: 1 yard, 100% cotton. Fabric is cut in 1 yard increments, not continuous. This lightweight cotton is ideal for piecing with a 70/10 or 80/12 needle and 50-weight thread. Because it is cut in 1-yard increments, plan your yardage carefully if you need a continuous length.
- Heima Glacier Volcano A-1632-R: From the Heima collection by Gudrun Erla of GE Designs for Andover Fabrics. Fabric is cut in 1 yard increments, not continuous. This quilting cotton works well with an 80/12 needle and 50-weight thread for piecing. The 1-yard increment cut means you should order enough for your full project, as it will not come as one continuous piece.
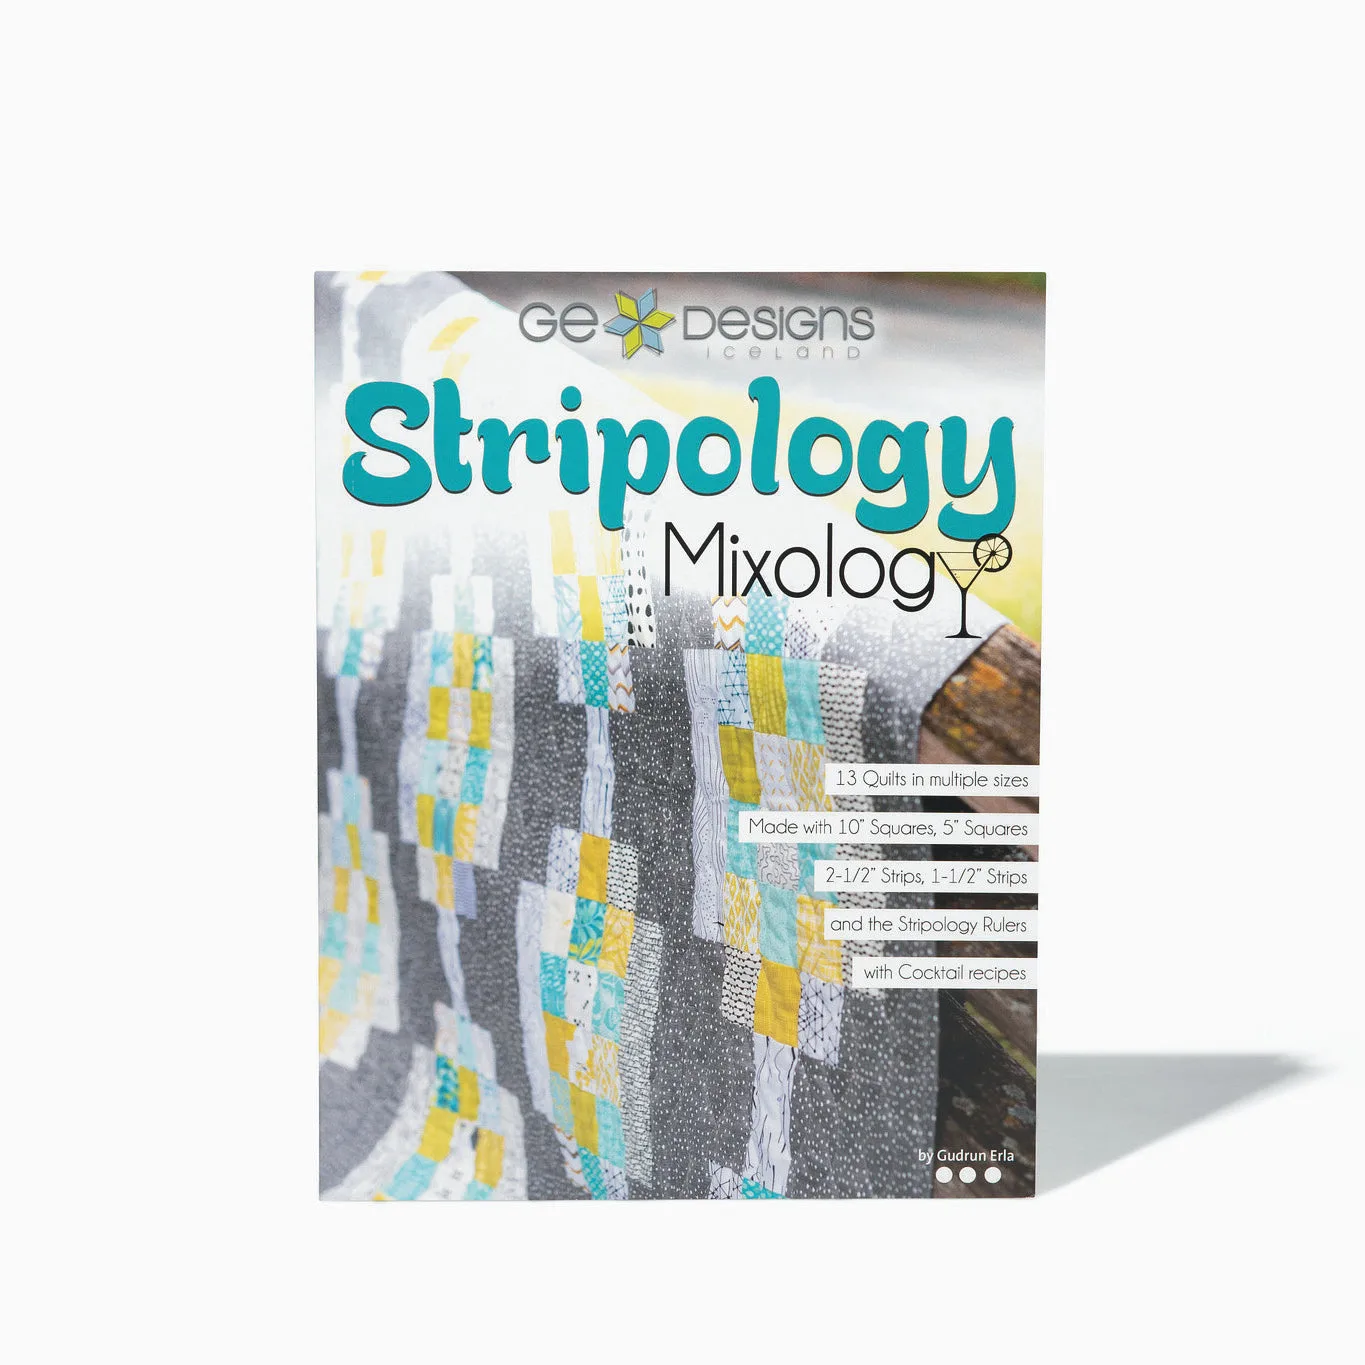
- Stripology Mixology book 514: Turn leftover fabric and half-yard bundles into 13 eye-catching quilts, with options to use popular precuts, or cut your own precuts using the Stripology rulers. Includes full-color diagrams, multiple size options, and cutting charts. If you are using this book to plan a scrappy quilt, you will likely piece with 50-weight thread and an 80/12 needle. The cutting charts help you plan fabric needs, which matters when buying fabric cut in 1-yard increments.
Matching needle and thread is a skill you build with each project. Start with the fabric, choose a thread weight, pick the right needle type and size, then test on a swatch. That order saves you from unpicking and helps every quilt lie flat.