Quick Answer
To clean a sensory beanbag, start by removing the cover and washing it according to the care label—usually a gentle machine wash with mild detergent. Fluff the filling regularly by hand or in a dryer on low heat to maintain shape and comfort.
Sensory beanbags are a favorite for cozy reading corners, calming spaces, and classroom breaks. But daily use means spills, dirt, and flattened filling over time. With the right care routine, you can keep your beanbag fresh, fluffy, and supportive for years.
This guide walks you through the essential steps to clean your sensory beanbag, tackle stubborn stains, and restore its shape. Whether you have a classic beanbag or a sensory pod, these maintenance tips apply to most models and will help you get the most from your investment.
Why Regular Beanbag Care Matters
Beanbags endure a lot: snacks, pet hair, and energetic kids. Regular care not only keeps them looking good but also maintains the hygiene of a piece that spends a lot of time on the floor. A clean beanbag is more inviting and safer for children who may put their hands in their mouths after sitting on it.
Fluffing is equally important. Over time, the filling compresses, making the beanbag less supportive and comfortable. Regular fluffing redistributes the filling and restores the plush feel, extending the life of your beanbag and ensuring it continues to provide the sensory comfort it’s known for.
- Check the care label before washing—it’s your best guide.
- Spot clean small stains immediately to prevent them from setting.
- Fluff your beanbag at least once a month to maintain shape.
Step 1: Remove and Prep the Cover
Start by unzipping the cover and removing the inner filling. Many sensory beanbags have a separate inner liner that holds the filling, making it easy to wash just the outer cover. If your beanbag doesn’t have a liner, you’ll need to empty the filling into a large bag or bin before washing the cover.
Once the cover is off, shake it outside to remove loose dirt and debris. Check the care label for washing instructions—most covers are machine washable on a gentle cycle with cold water. Use a mild detergent to avoid damaging the fabric or any special coatings.
- Never wash the filling unless the manufacturer says it’s safe—it can clump or lose its resilience.
- If the cover has a waterproof layer, avoid fabric softeners as they can break down the coating.
Step 2: Treat Stains Before Washing
For stubborn stains like juice, marker, or mud, pre-treat the area with a stain remover or a paste of baking soda and water. Gently rub the paste into the stain with a soft brush or cloth, then let it sit for 15–20 minutes before washing. This helps lift the stain without harsh scrubbing that could damage the fabric.
For oil-based stains, a drop of dish soap can work wonders. Apply it directly to the stain, gently work it in, and rinse with cold water before the full wash. Always test any cleaning solution on a hidden area first to ensure it doesn’t discolor the fabric.
- Avoid bleach—it can weaken fabric fibers and cause fading.
- For tough stains, repeat the pre-treatment before drying; heat can set stains permanently.
Step 3: Wash and Dry the Cover Properly
Wash the cover on a gentle cycle with cold water and mild detergent. If your beanbag cover has a waterproof backing, consider washing it inside out to protect the coating. After washing, air-dry the cover if possible—tumble drying on low heat is usually safe, but high heat can shrink or damage the fabric.
Make sure the cover is completely dry before putting the filling back in. Any moisture can lead to mold or mildew, which is especially problematic for a sensory beanbag used on the floor. If you’re in a hurry, you can tumble dry on low and remove it while slightly damp, then let it finish air-drying.
- Check the care label for drying instructions—some covers are air-dry only.
- If the cover has zippers, close them before washing to prevent snags.
Step 4: Fluff the Filling to Restore Shape
Once the cover is clean and dry, it’s time to fluff the filling. Remove the filling from its storage bag and give it a good toss. For beanbags with foam or fiber filling, you can place the inner liner in the dryer on a no-heat or low-heat setting with a couple of clean tennis balls to break up clumps.
If your beanbag uses polystyrene beads, be careful—they can melt in high heat. Instead, fluff by hand or use a vacuum cleaner on a low setting to redistribute the beads. Regular fluffing keeps the beanbag comfortable and prevents the filling from settling into hard lumps.
- Fluffing after cleaning helps the beanbag dry faster and prevents odors.
- If the filling is severely compressed, consider replacing it with new beanbag refill beads or foam.
Step 5: Reassemble and Maintain
After fluffing, put the filling back into the cover and zip it up. Give the beanbag a few good shakes to evenly distribute the filling. Then, place it in its usual spot and enjoy a refreshed, comfortable seat.
To keep your beanbag in top condition, spot clean spills immediately, vacuum the surface weekly, and fluff monthly. Avoid placing it in direct sunlight for extended periods, as UV rays can fade the fabric. With these habits, your sensory beanbag will stay inviting and supportive for years.
- Use a fabric protector spray to repel future stains—test on a small area first.
- Store your beanbag in a dry, cool place when not in use for extended periods.
Beanbag Care Step-by-Step
- Remove and inspect the cover: Unzip and take off the cover. Check the care label and shake out loose dirt. Checkpoint: Ensure no small tears or loose threads before washing.
- Pre-treat stains: Apply a stain remover or baking soda paste to stains and let sit for 15-20 minutes. Checkpoint: Test on a hidden area first to avoid discoloration.
- Wash and dry the cover: Machine wash on gentle with cold water and mild detergent. Air-dry or tumble dry on low. Checkpoint: Make sure the cover is fully dry before reassembling.
- Fluff the filling: Toss the filling by hand or use a dryer with tennis balls on low heat (if safe for the filling type). Checkpoint: Avoid high heat for polystyrene beads—they can melt.
- Reassemble and maintain: Put the filling back, zip up, and shake to distribute. Vacuum weekly and spot clean spills immediately. Checkpoint: Fluff monthly to keep the beanbag supportive and comfortable.
Products to Support Your Sensory Space
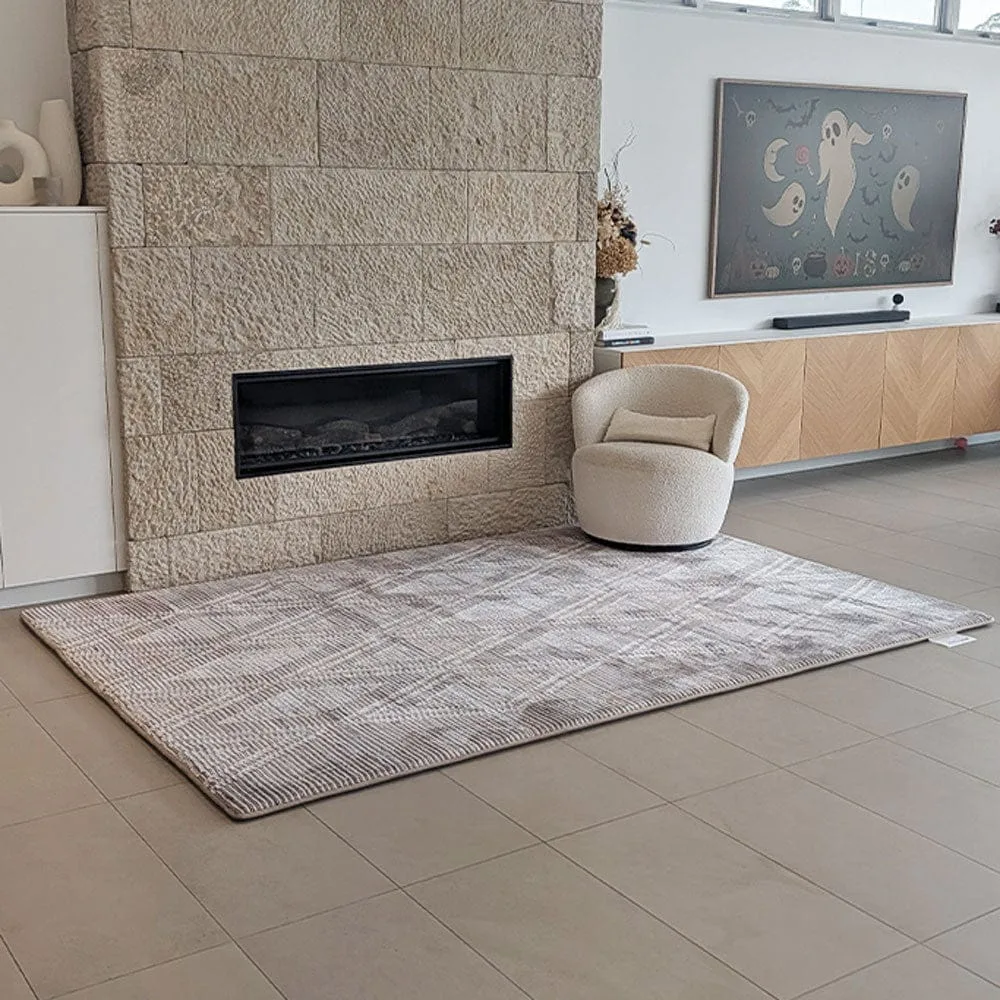
- The Mellow Mat v2® Designer Print | Sahara Lines (Soft Touch Sensory Tatami Rug) PR13: The Mellow Mat® Sahara Lines draws inspiration from natural stone curves and warm desert hues. Its raised arc pattern and neutral beige tones bring balance, warmth and subtle texture to any room. Pair your clean beanbag with a Mellow Mat to create a defined, comfortable floor space that’s easy to vacuum and maintain.
- The Mellow Mat® The Plushy 45mm (Soft Touch Sensory Tatami Rug) {CLEARANCE}: Experience the thickest and plushest mat in the Mellow Mat® collection. This deluxe edition boasts a generous 45mm of premium memory foam, paired with a deep 10mm velvety pile. A plush mat underneath your beanbag adds extra cushioning and can protect both the beanbag and your floors from wear.
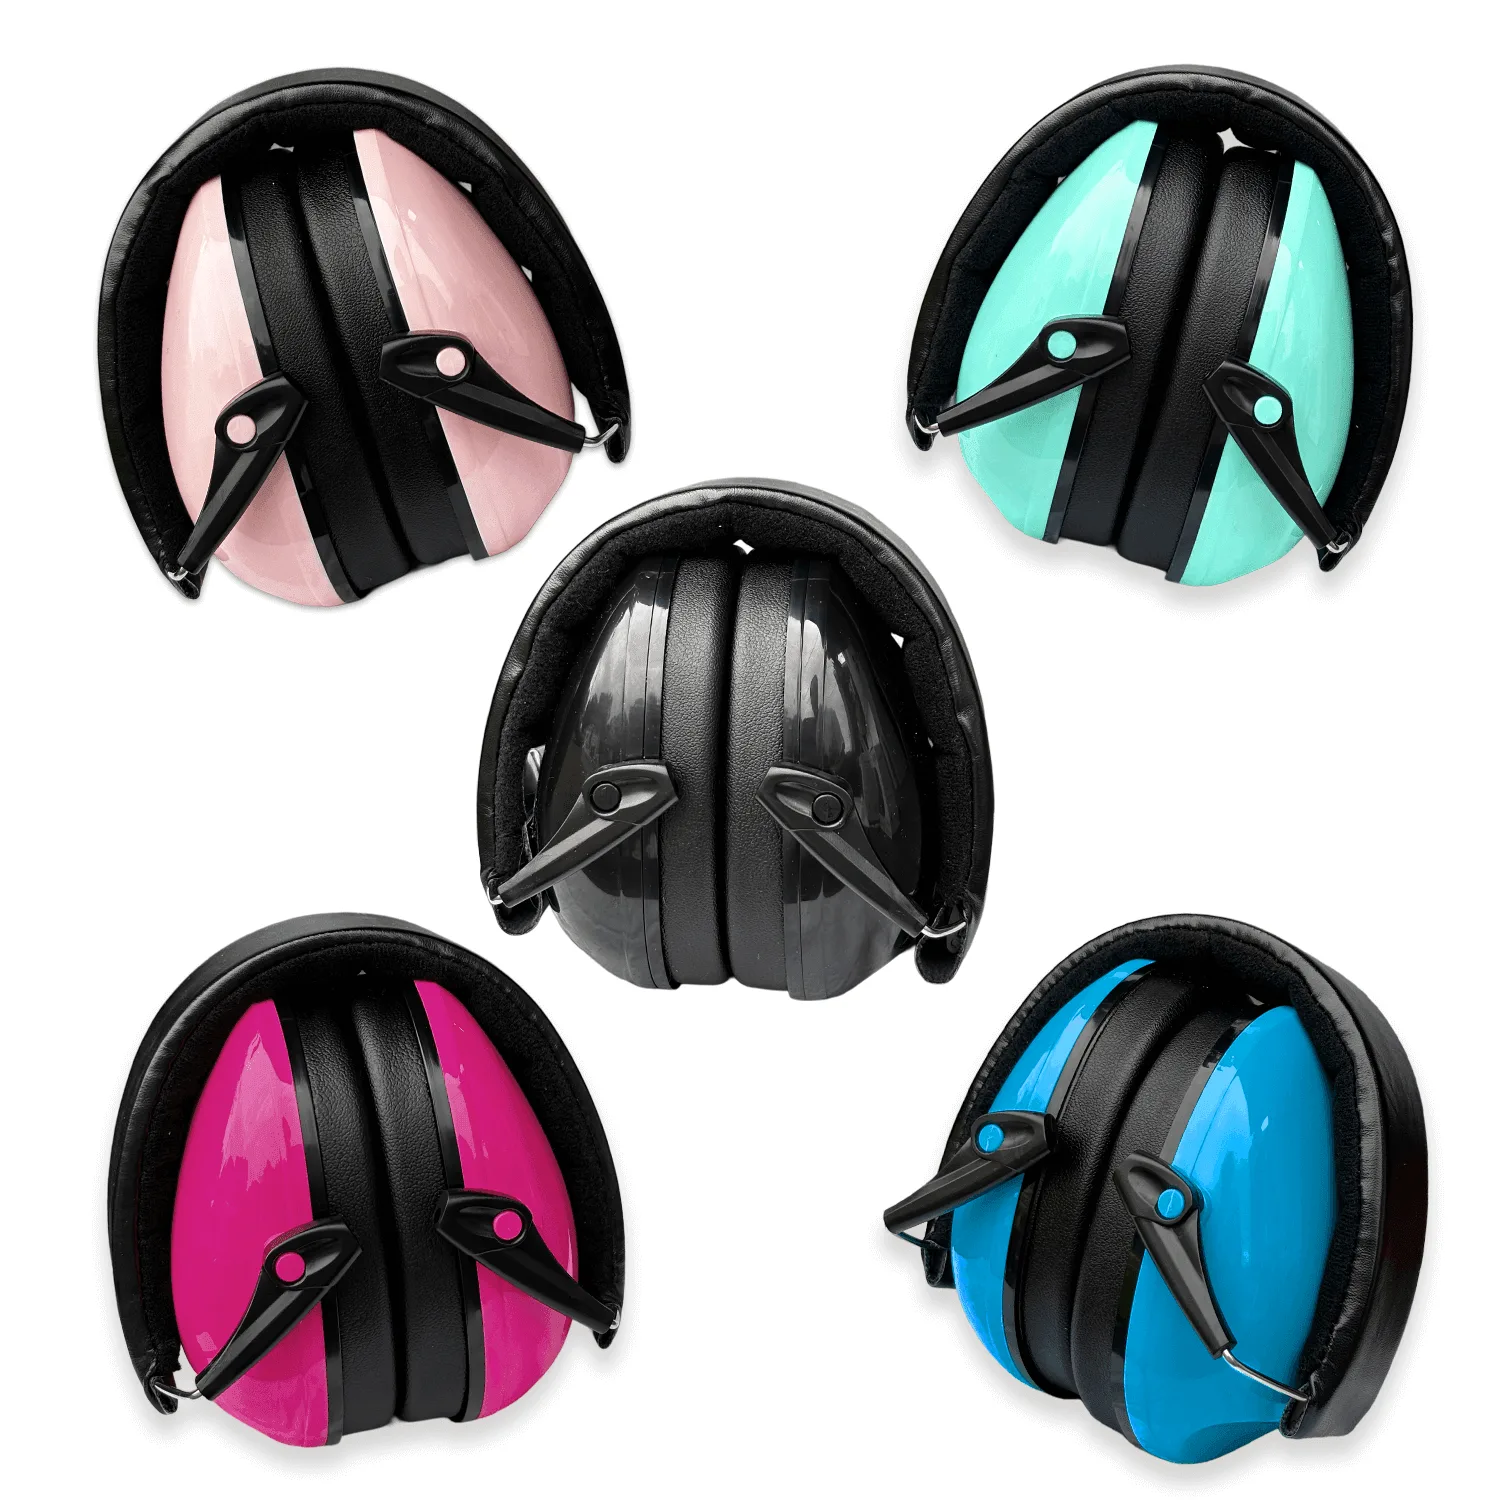
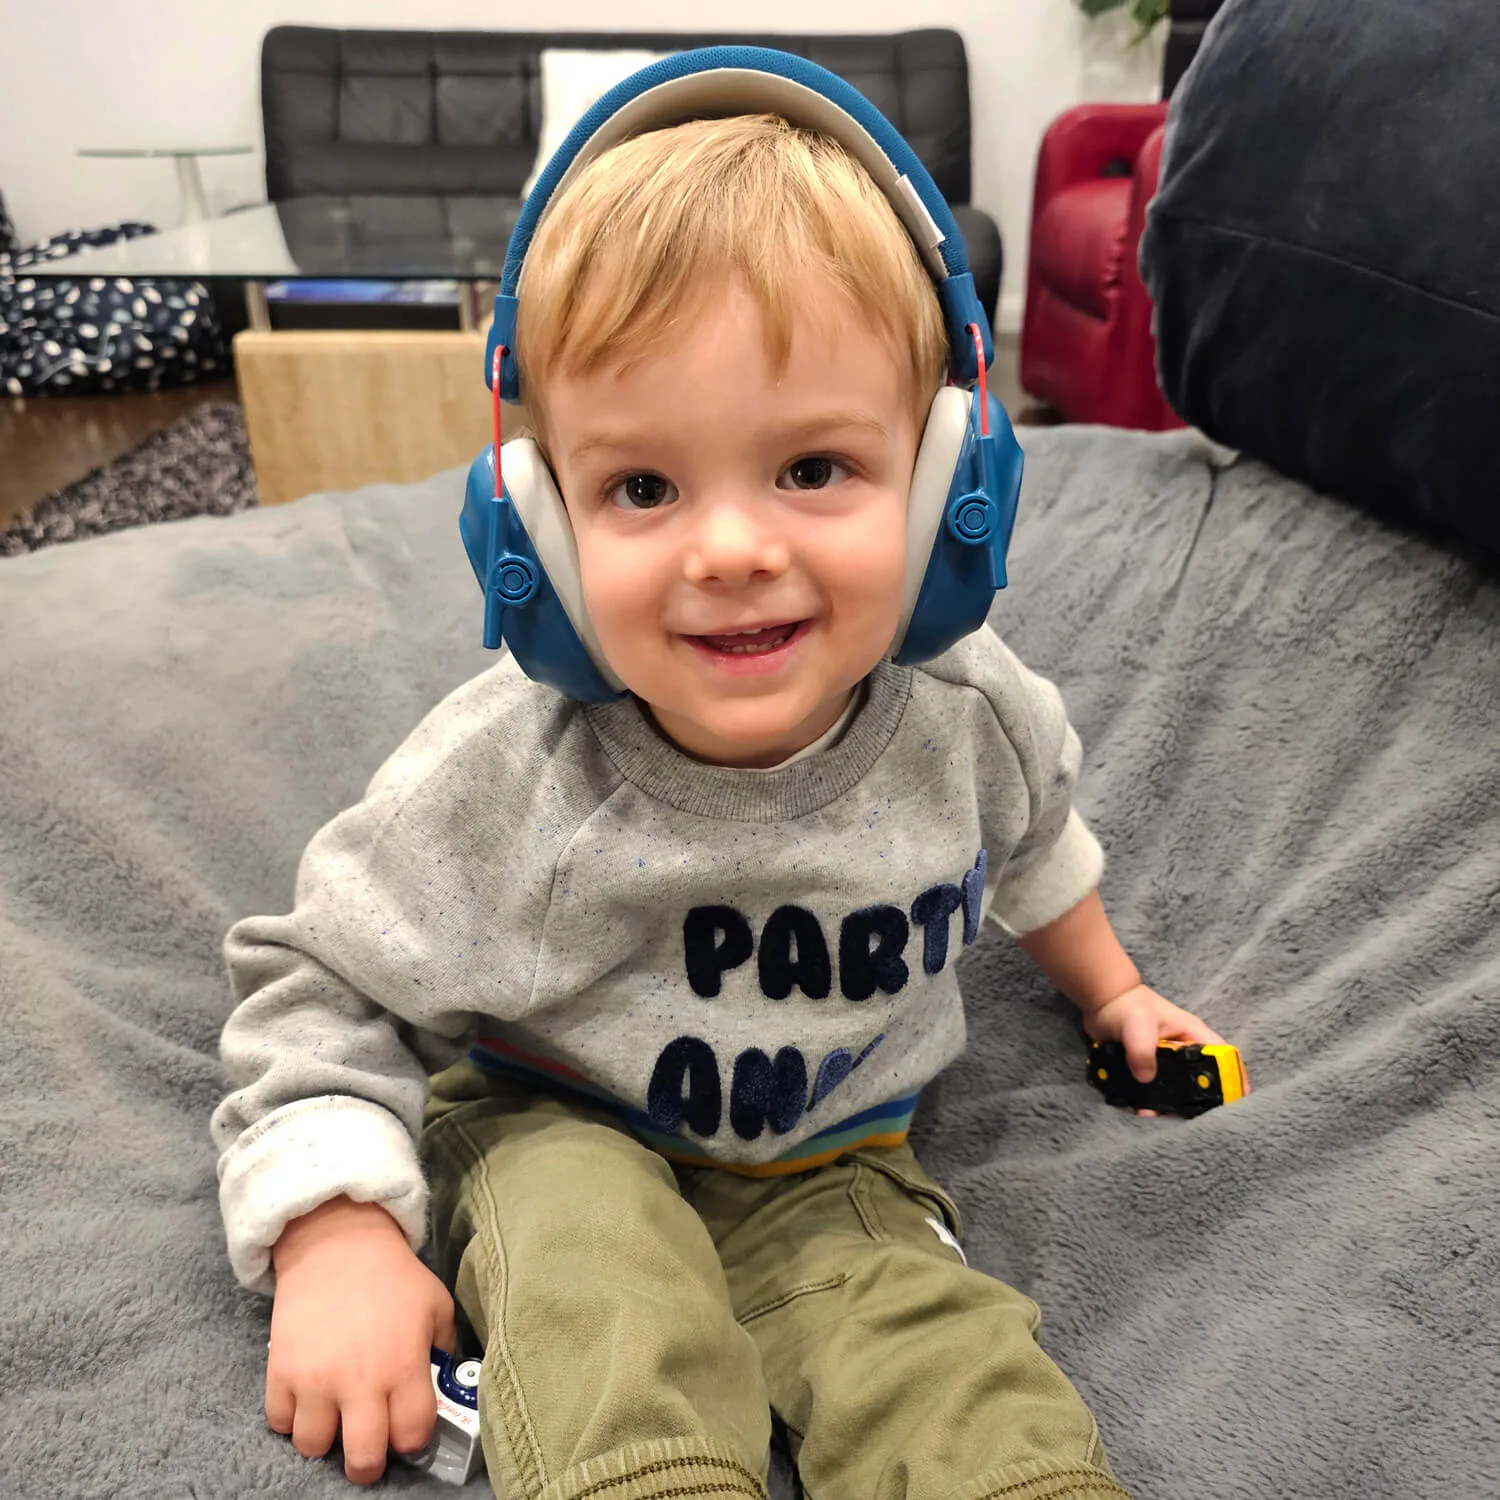
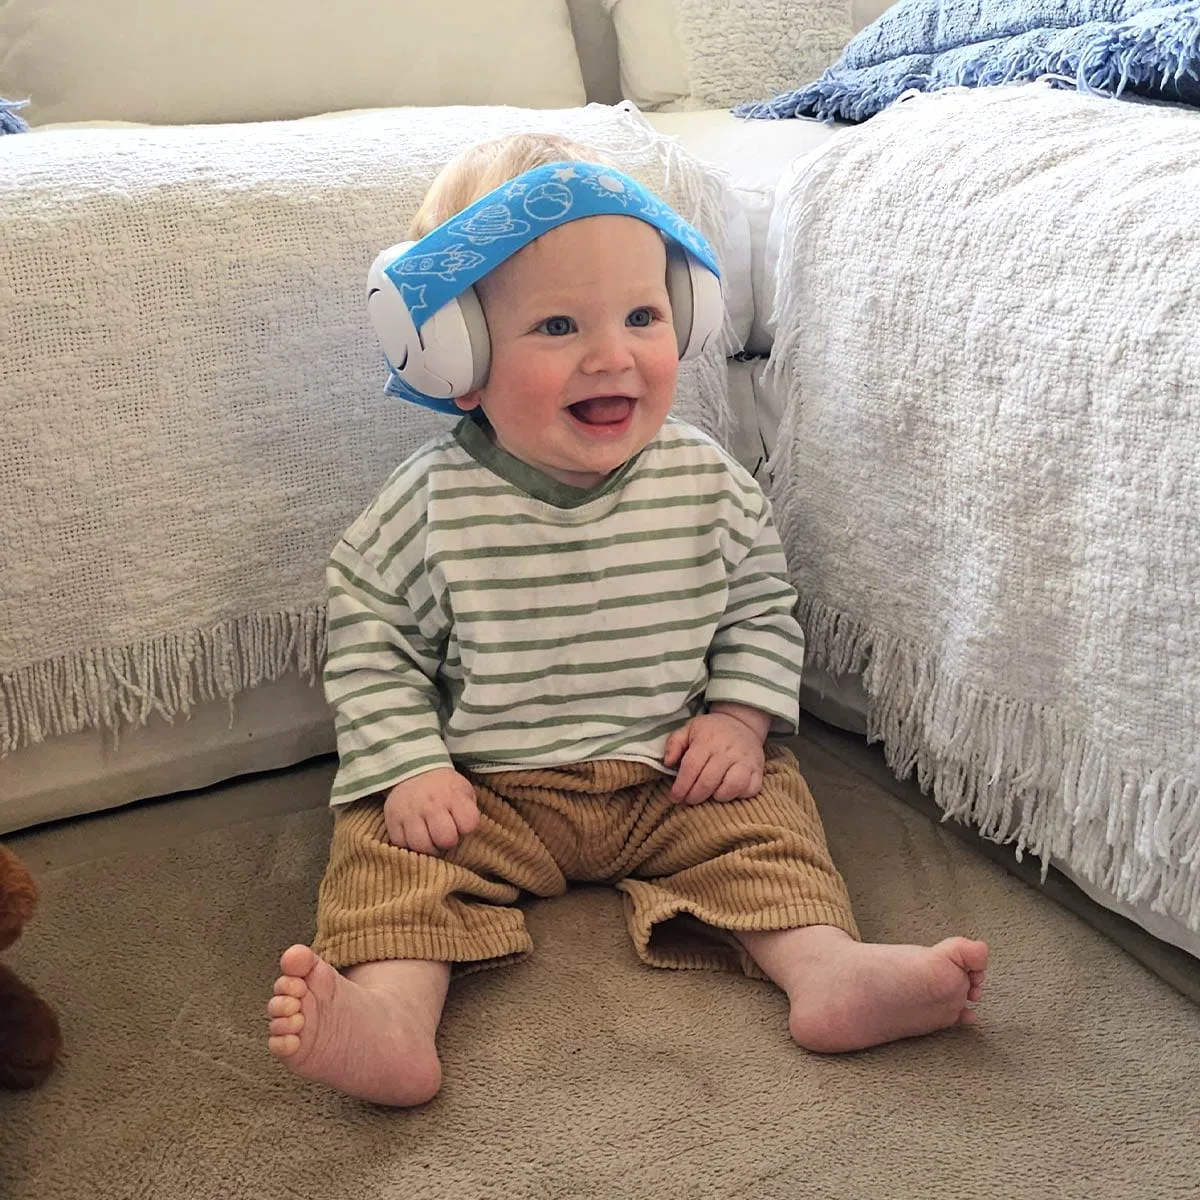
- Baby Ear Muffs: Baby Ear Muffs are designed to reduce harmful noise while ensuring comfort, making them ideal for festivals, travel, or noisy environments. If your sensory beanbag is part of a calming corner, adding hearing protection can help create a truly quiet, focused space for sensory-sensitive individuals.
Caring for your sensory beanbag doesn’t have to be a chore. With a simple routine of regular cleaning, stain treatment, and fluffing, you can keep it fresh, comfortable, and supportive for years. Remember to always check the care label and adapt these steps to your specific beanbag model. A little maintenance goes a long way in preserving a beloved piece of your sensory space.