Quick Answer
To clean and maintain your retro controllers, start with gentle exterior cleaning using isopropyl alcohol and cotton swabs, then move to deeper cleaning if buttons stick or responsiveness drops. Regular maintenance every few months prevents buildup and extends the life of your controllers.
Retro consoles are only as good as the controllers you use with them, and after years of gaming, even the most beloved pads can get sticky, unresponsive, or just plain grimy. Whether you're diving into a weekend session of Duck Hunt or grinding through a Game Boy RPG, a well-maintained controller makes all the difference.
In this guide, we'll walk you through practical steps to clean and maintain your retro controllers, from the classic NES and SNES pads to the more complex GameCube controller. You'll learn what supplies you need, how to safely disassemble and clean each part, and common mistakes to avoid along the way.
Gather Your Supplies and Prepare Your Workspace
Before you start, assemble the right tools. You'll need a small Phillips-head screwdriver (often #0 or #00), isopropyl alcohol (90% or higher), cotton swabs, a soft lint-free cloth, and a small container for screws. For deeper cleaning, consider a plastic opening tool to avoid scratching the shell.
Work on a clean, well-lit surface with plenty of room. Lay down a towel or mat to prevent small parts from rolling away. Take a photo of the controller's underside before disassembly—this helps you remember where each screw goes, especially if you have multiple controllers to service.
- Use 90%+ isopropyl alcohol for cleaning contacts and PCBs—it evaporates quickly and leaves no residue.
- Avoid using water or household cleaners, as they can damage electronics.
Clean the Exterior and Cord
Start with the outside. Dampen a cloth with isopropyl alcohol and wipe down the entire controller shell, including the cord and connector. For stubborn grime, use a cotton swab dipped in alcohol to get into crevices. This step removes oils and dirt that accumulate from regular use.
Pay special attention to the cord near the controller and the connector—bending and pulling can cause internal breaks. Check for fraying or exposed wires; if you find damage, consider replacing the cord or controller. A clean cord not only looks better but also prevents dirt from entering the controller through the strain relief.
- For cord cleaning, gently run the cloth along the entire length, but avoid stretching or pulling hard.
Disassemble the Controller Carefully
Once the exterior is clean, it's time to open the controller. Remove the screws from the back using the appropriate screwdriver. Keep screws in a magnetic tray or a small dish. If screws are stripped, use a rubber band between the screwdriver and screw head for extra grip.
Gently separate the shell halves. Be mindful of ribbon cables or wires that connect the circuit board to the shell—especially in controllers like the NES or SNES pads. Carefully lift the PCB out and set it aside. Note the orientation of the rubber pads and membranes; they can be tricky to reassemble if misplaced.
- If you encounter resistance when opening, double-check for hidden screws or clips—never force it.
Clean the PCB and Contact Pads
With the PCB exposed, dip a cotton swab in isopropyl alcohol and gently wipe the contact points—the circular gold or silver areas where the rubber pads press. This removes oxidation and grime that cause unresponsive buttons. Allow the alcohol to dry completely before reassembly.
The rubber pads themselves can be cleaned with a mild soap and water solution, then dried thoroughly. Over time, these pads can wear out or develop a film; if they appear flattened or cracked, consider replacing them. Cleaning the contacts and pads is often the most effective fix for sticky or dead buttons.
- Do not use abrasive cleaners or scrub hard—this can damage the conductive coating on the pads.
Clean the Shell and Buttons
With the PCB and pads out of the way, you can clean the plastic shell and buttons more thoroughly. Use a soft brush or cotton swab with alcohol to remove dust and grime from the button wells and the inside of the shell. For deep grime, soak the shell in warm soapy water for a few minutes, then rinse and dry completely.
Inspect the buttons for wear—sharp edges or cracks can cause sticking. If the buttons are excessively worn, consider replacement parts. Also, check the start/select buttons on SNES controllers; they are often smaller and can be easily lost, so keep them in a safe place during cleaning.
- Dry all parts completely before reassembly to avoid moisture damage.
Reassemble and Test
Once everything is dry, reassemble the controller in reverse order. Place the rubber pads back in their correct positions, align the PCB, and snap the shell halves together. Insert the screws and tighten them gently—over-tightening can strip threads or crack plastic.
Test the controller on your console or a USB adapter. Press each button multiple times to ensure responsiveness. Check the D-pad and analog sticks (if applicable) for smooth movement. If any button still feels off, you may need to repeat the cleaning or replace the specific component.
- Keep a small screwdriver handy for quick adjustments—sometimes a screw isn't seated perfectly.
Step-by-Step Maintenance Routine
- Step 1: Exterior Wipe Down: Wipe the controller shell and cord with a cloth dampened with isopropyl alcohol to remove surface dirt and oils. Checkpoint: Ensure the cord is free of frays; if damaged, consider replacement.
- Step 2: Disassemble: Remove screws and carefully open the controller, noting the placement of rubber pads and any ribbon cables. Checkpoint: Keep screws organized and take a photo if needed.
- Step 3: Clean PCB and Pads: Use alcohol-dampened swabs to clean the PCB contact points and the rubber pads. Let everything dry completely. Checkpoint: Inspect pads for wear; replace if flattened or cracked.
- Step 4: Clean Shell and Buttons: Wash the shell and buttons in soapy water if needed, then dry thoroughly. Use a brush to remove dust from crevices. Checkpoint: Ensure no moisture remains before reassembly.
- Step 5: Reassemble and Test: Put the controller back together, insert screws gently, and test all buttons and the D-pad for responsiveness. Checkpoint: If issues persist, repeat cleaning or consider part replacement.
Product Spotlight: RetroN Sq HD Gaming Console
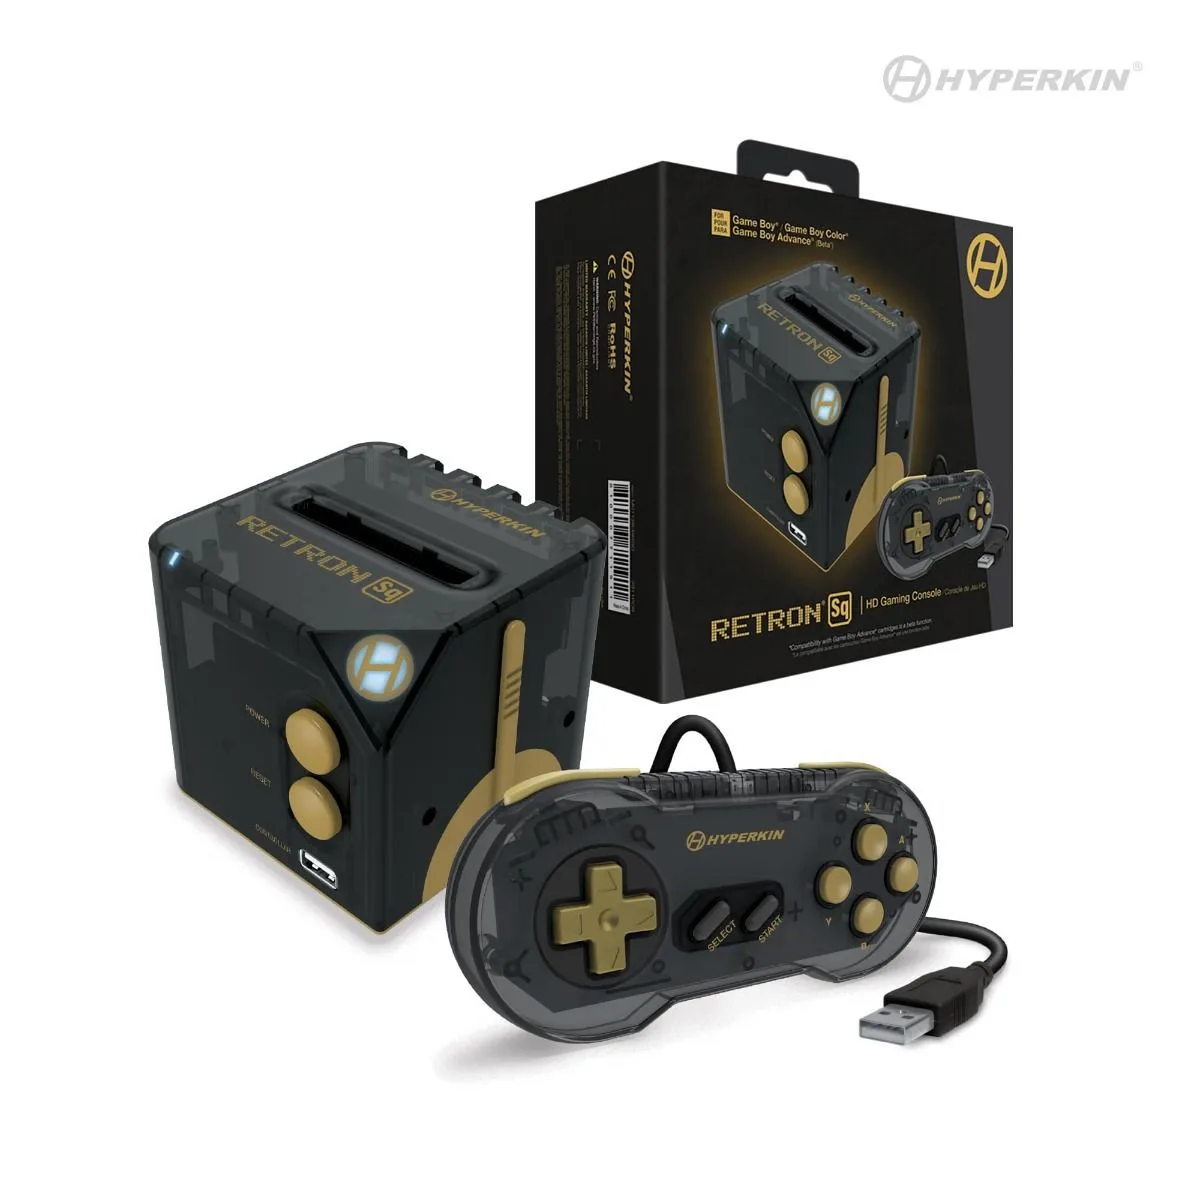
RetroN Sq HD Gaming Console
- RetroN Sq HD Gaming Console: The RetroN Sq HD Gaming Console lets you play Game Boy, Game Boy Color, and Game Boy Advance games on your HD TV in 720p at 60FPS, with a microSD slot for firmware updates. If you're investing time in maintaining your handheld controllers, the RetroN Sq provides a modern way to enjoy your Game Boy collection without wearing out the original hardware. Clean controllers ensure precise input, which is crucial for platformers and RPGs.
Regular cleaning and maintenance not only keep your retro controllers looking and functioning like new but also prevent more serious issues down the road. By following these simple steps, you can ensure your favorite controllers remain reliable for years of gaming. Remember, a little care goes a long way in preserving the classics.