Quick Answer
To clean your LifeStraw Home Pitcher silicone base, remove it from the pitcher, wash it by hand with mild dish soap and warm water, and air-dry it completely before reassembling. For mold or stains, use a diluted vinegar solution, and always ensure the base is fully dry to prevent future growth.
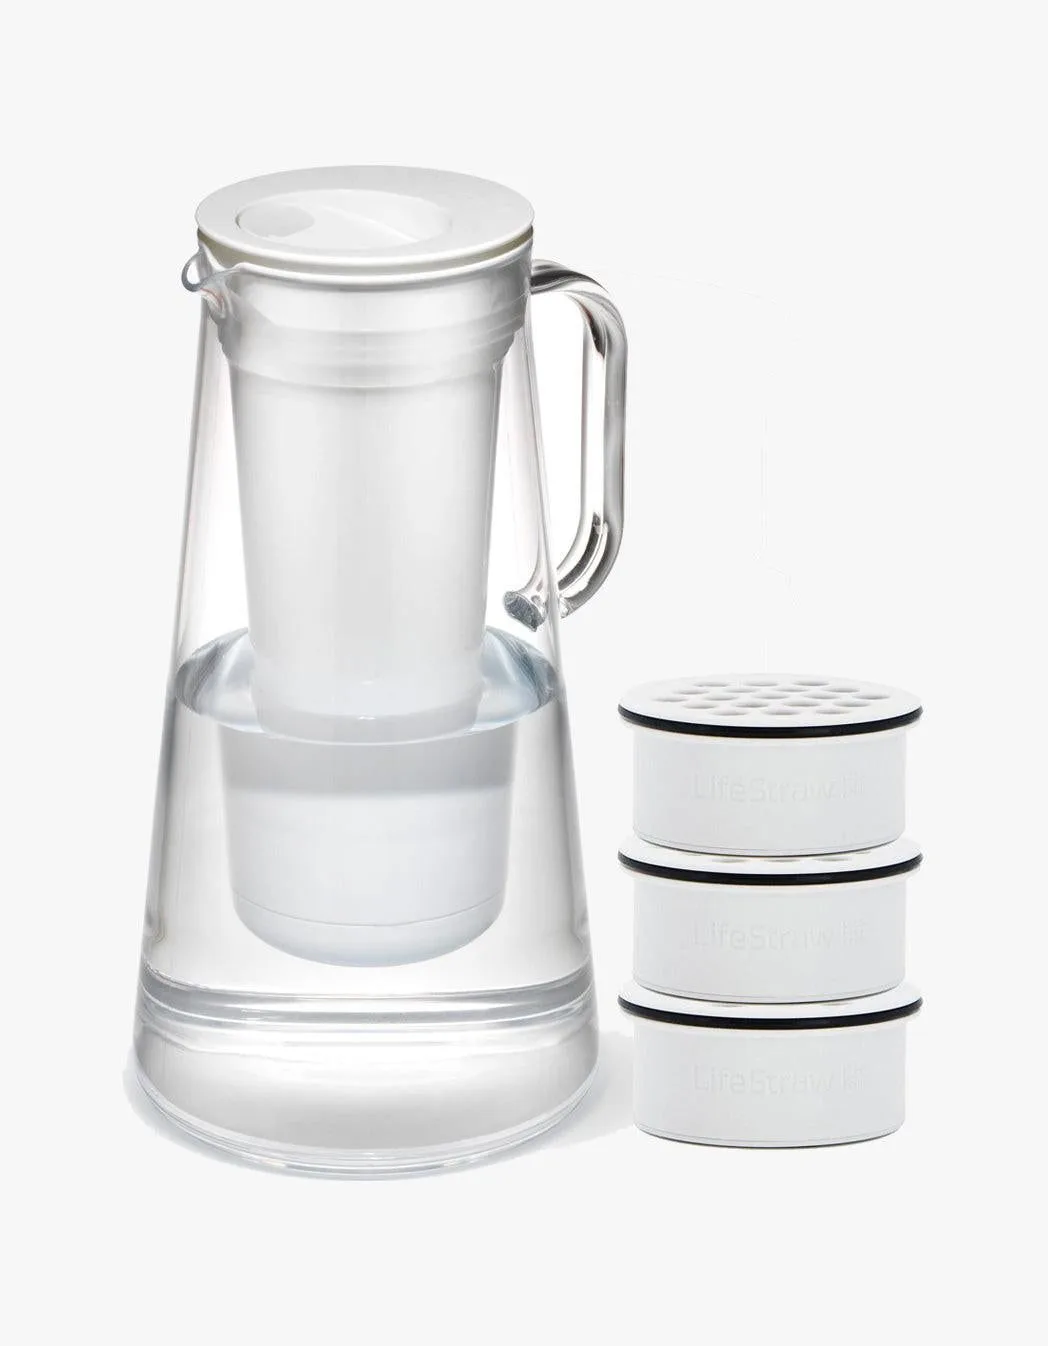
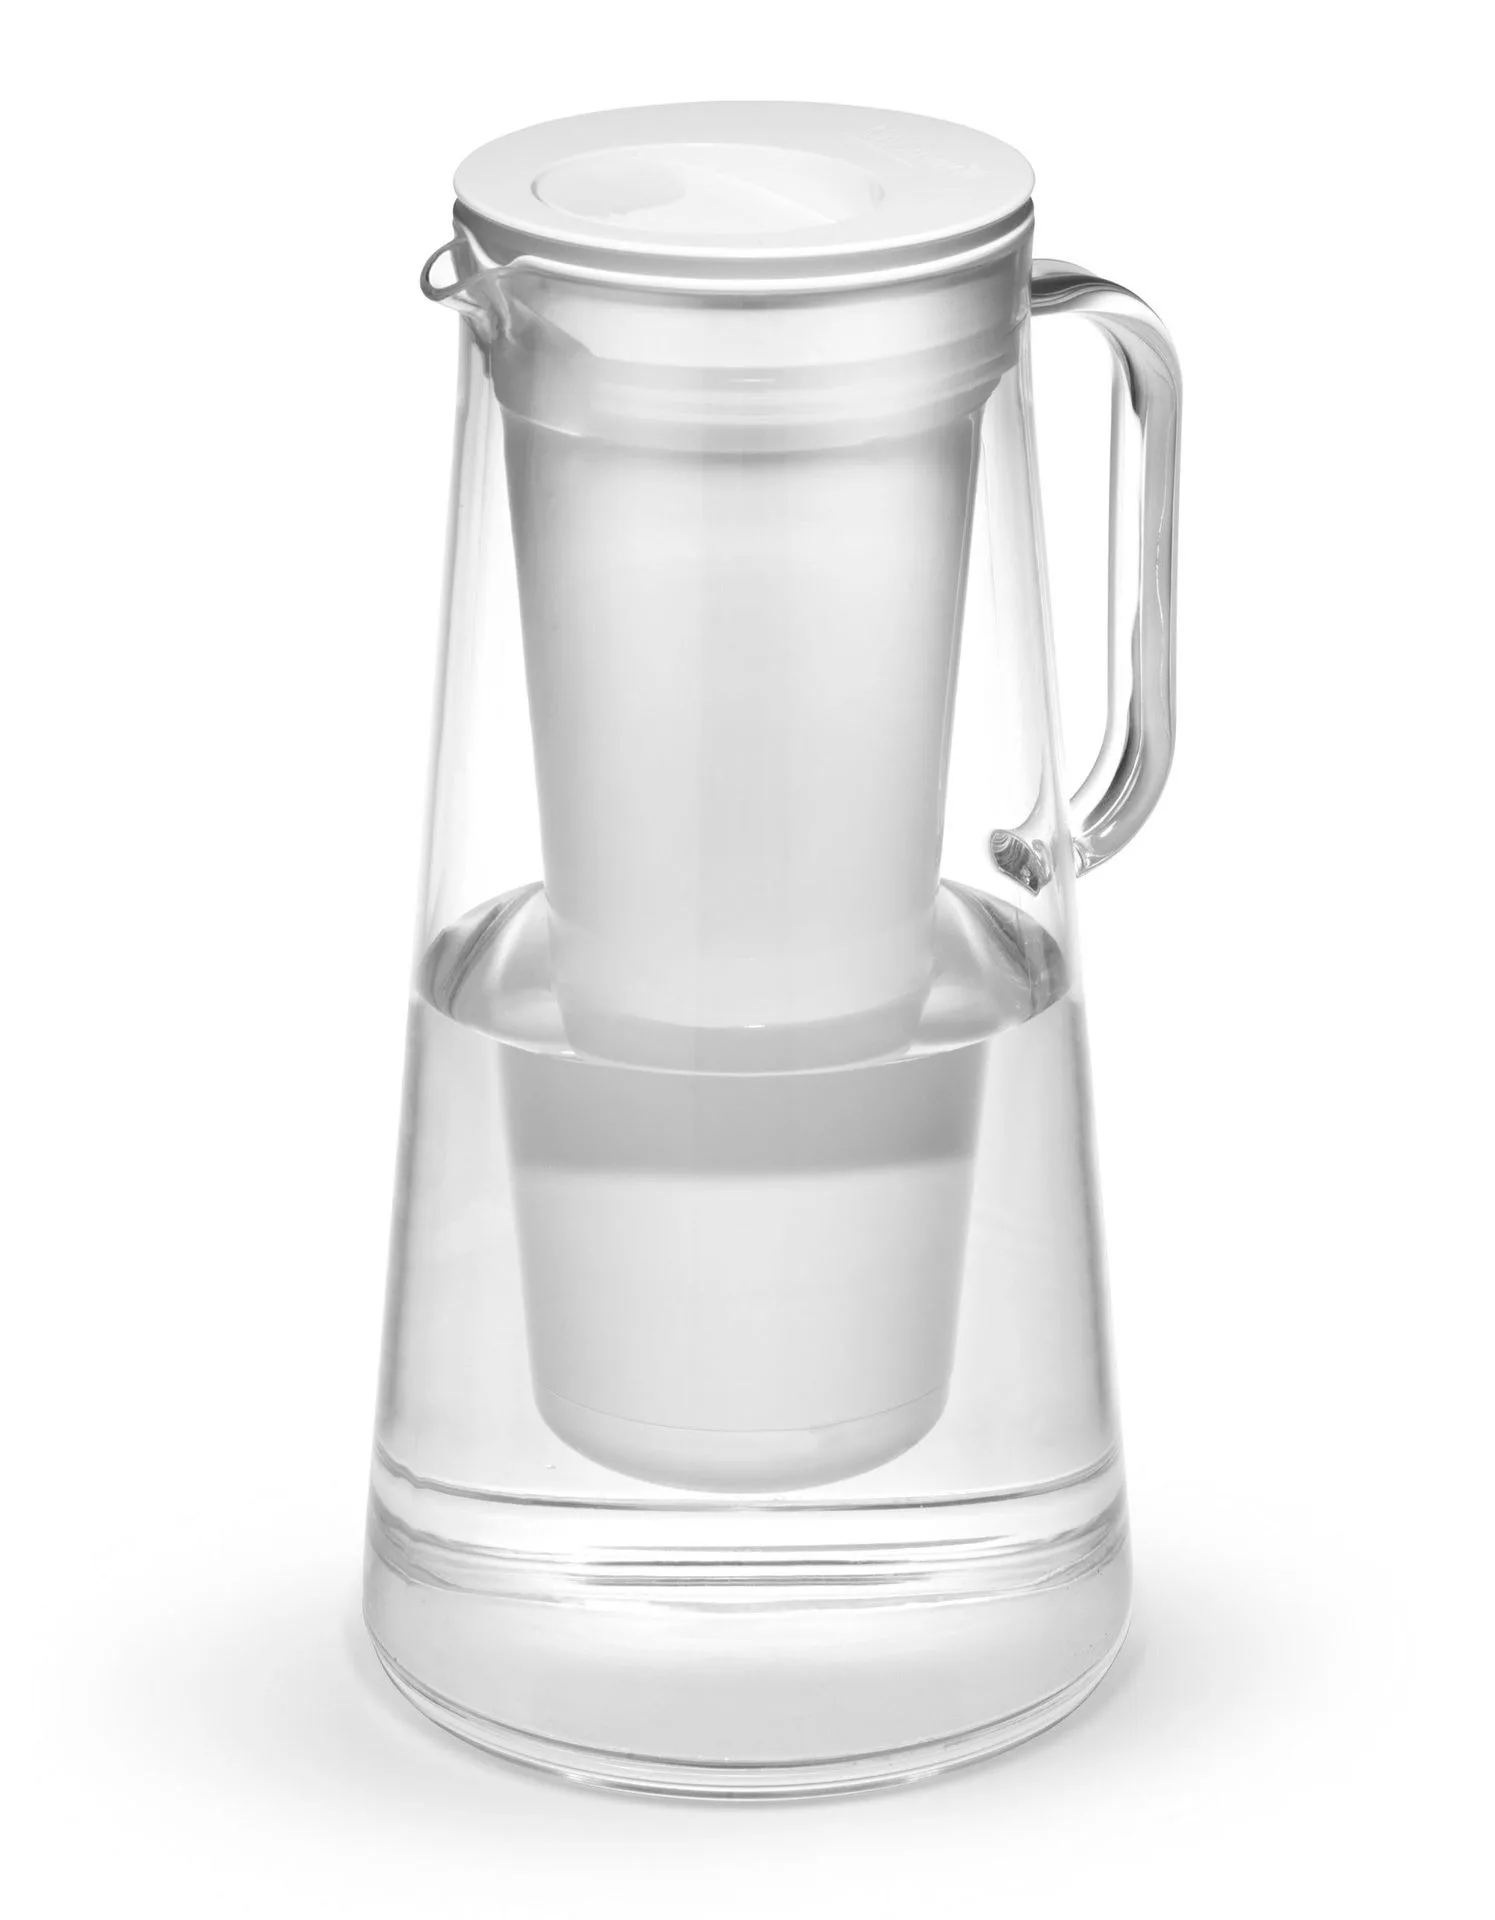
The silicone base on your LifeStraw Home Pitcher does more than look sleek—it provides a non-slip grip and protects your countertop from scratches. But because it sits under a water-filled pitcher, it can trap moisture, leading to soap scum, mineral deposits, or even mold if neglected. Regular cleaning keeps it hygienic and functional.
This guide walks you through the simple steps to clean and maintain the silicone base, with practical tips to avoid common mistakes. Whether you have the 7-cup or 10-cup model, the care routine is the same.
Why the Silicone Base Needs Special Attention
The silicone base is designed to fit snugly on the bottom of your LifeStraw Home Pitcher. It's flexible and durable, but its textured surface can trap water droplets, dust, and residue from spills. Over time, this can lead to discoloration or an unpleasant musty smell, especially if you live in a humid climate.
Unlike the pitcher body or filters, the silicone base isn't something you replace often—it's meant to last. That's why proper care matters. With a few minutes of maintenance each week, you can keep it looking new and performing its anti-slip job effectively.
- Check the base weekly for any visible buildup or moisture.
- Always dry the base thoroughly before reattaching it to the pitcher.
What You'll Need for Cleaning
You don't need special cleaners. In fact, harsh chemicals or abrasive scrubbers can damage the silicone surface. Stick to mild dish soap, warm water, and a soft cloth or sponge. For stubborn spots, white vinegar or baking soda works well as a natural cleaning agent.
Avoid putting the silicone base in the dishwasher, as high heat and strong detergents can cause warping or cracking. Hand washing is always safer and takes less than a minute.
- Use a soft-bristled brush for tight crevices if needed.
- Never use bleach or chlorine-based cleaners on silicone.
Step-by-Step Cleaning Routine
Cleaning the silicone base is quick and straightforward. First, detach it from the pitcher by gently pulling it off from one edge. Rinse it under warm running water to remove loose debris. Then, apply a drop of mild dish soap and work it into a lather with your fingers or a soft cloth, paying attention to any textured areas.
Rinse thoroughly to remove all soap residue, then shake off excess water. Use a clean, dry towel to pat it dry, and let it air-dry completely on a dish rack before reattaching. This prevents moisture from getting trapped between the base and the pitcher.
- If you notice a musty smell, soak the base in a solution of equal parts water and white vinegar for 15 minutes, then rinse and dry.
- For mineral deposits from hard water, make a paste with baking soda and water, gently scrub, and rinse well.
Preventing Mold and Mildew
Mold thrives in damp, dark environments, making the underside of a silicone base a prime spot if you leave it wet. To prevent mold, always dry the base completely after cleaning and before putting it back on the pitcher. If you don't use the pitcher daily, consider storing the base separately.
Also, wipe down the bottom of the pitcher itself occasionally, as moisture can accumulate there. This simple habit reduces the risk of mold and keeps your pitcher's seal area clean.
- If you spot mold, clean it promptly with vinegar or a mild bleach-free disinfectant, then dry thoroughly.
- Ensure the silicone base is completely dry before reattaching to avoid trapping moisture.
Long-Term Maintenance Tips
To extend the life of your silicone base, handle it gently when removing and attaching. Overstretching can cause tears. Also, avoid exposing it to direct sunlight for prolonged periods, as UV rays can degrade silicone over time.
Regularly inspect the base for cracks or loss of elasticity. If it becomes damaged, it may no longer provide a secure fit, and you might need to consider a replacement. While LifeStraw doesn't sell the silicone base separately, you can contact customer support for guidance.
- Keep the base away from sharp objects that could puncture it.
- If the base becomes loose, clean both surfaces and try reattaching—sometimes residue causes slipping.
Step-by-Step Cleaning and Maintenance Routine
- Step 1: Remove the Silicone Base: Gently peel the silicone base off the bottom of your LifeStraw Home Pitcher. Work from one edge to avoid tearing. Checkpoint: Inspect the base for any cracks or damage while it's off.
- Step 2: Rinse with Warm Water: Hold the base under warm running water to remove loose dirt and debris. Do not use hot water, as it can damage the silicone. Checkpoint: Ensure the water is not too hot to touch comfortably.
- Step 3: Wash with Mild Soap: Apply a small amount of mild dish soap to a soft cloth or sponge. Gently scrub the entire surface, paying attention to textured areas where grime can hide. Avoid abrasive scrubbers or harsh chemicals that can scratch or degrade silicone.
- Step 4: Rinse Thoroughly: Rinse the base under warm water until all soap suds are gone. Residual soap can leave a sticky film. Checkpoint: Squeeze the base gently to ensure no soap is trapped in crevices.
- Step 5: Dry Completely: Pat the base dry with a clean towel, then let it air-dry on a dish rack for at least 30 minutes. Ensure it is 100% dry before reattaching. Mistake to avoid: Reattaching while damp can trap moisture and lead to mold.
- Step 6: Reattach Securely: Align the base with the bottom of the pitcher and press firmly around the edges to ensure a snug fit. It should sit flat and not wobble. Checkpoint: Give the pitcher a gentle shake to confirm the base is secure.
Related LifeStraw Products
- LifeStraw Home Dispenser: Includes: Dispenser, Membrane microfilter and carbon filter. The only water filter dispenser that removes bacteria and parasites, in addition to microplastics. Reduces lead, mercury, and chemicals including PFAS, chlorine, herbicides, pesticides, dirt, sand, and cloudiness. Retains essential minerals like magnesium and potassium. If you're considering a larger gravity filter for your home, the Home Dispenser offers similar filtration benefits with a different design to suit your space.
- LifeStraw Peak Series Gravity Purifier Replacement Filter: Removes viruses, bacteria, and parasites. High flow rate of 30L/hr from gravity. Long-lasting ultrafilter membrane with a lifetime capacity of 18,000 liters. For those who need a high-capacity filter for camping or emergencies, this replacement filter ensures your LifeStraw Peak Series continues to provide safe water.
With these simple steps, your LifeStraw Home Pitcher silicone base will stay clean, mold-free, and functional for years. A few minutes of care each week keeps your pitcher looking great and working reliably. For more tips on maintaining your LifeStraw products, explore our other guides.