Quick Answer
Clean your nail art brushes immediately after each use with a gentle brush cleaner or isopropyl alcohol, reshape the bristles, and store them horizontally or vertically with the tips protected.
Why Regular Maintenance Matters
Even high-quality tools like the 5 Double-Ended Liner Brushes can get gummed up with leftover gel, acrylic, or polish. Dried product in the ferrule (the metal band) pushes bristles apart and ruins the fine tip you need for crisp lines and detailed art.
Cleaning right away takes 30 seconds. Scrubbing dried-on product takes 10 minutes and might still leave bristles damaged. Prevent the hard work and you will get many more uses from each brush.
Choosing the Right Cleaner
For gel or acrylic: use a dedicated brush cleaner or monomer. For regular polish and alcohol inks: 91% isopropyl alcohol works well and evaporates quickly without leaving residue. Avoid acetone on natural-hair bristles — it dries them out and makes them brittle.
If you switch between polish and gel, rinse the brush in the appropriate solvent before the other product touches the bristles. Cross-contamination dulls colors and can cause premature hardening.
Storage Mistakes That Shorten Brush Life
Storing brushes tip-up in a cup lets dust and particles fall into the ferrule. Storing them tip-down bends the bristles over time. The best option is horizontal in a closed case or vertical in a holder that supports the handle without touching the bristle tip.
If you use double-ended brushes, make sure they are fully dry before storing. Moisture trapped in the middle can loosen the ferrule bond on one or both ends.
Step-by-Step Cleaning Routine for Nail Art Brushes
- Rinse immediately after use: Swirl the brush in a small dish of brush cleaner or 91% isopropyl alcohol until the product dissolves. For gel, wipe on a lint-free pad soaked in cleaner before the gel cures. Checkpoint: If you see color still in the ferrule after rinsing, repeat the step before moving on.
- Gently wipe the bristles: Pull the brush across a paper towel or lint-free wipe in one direction, rotating the brush to expose all sides. Never push the bristles backward or scrub aggressively. Common mistake: Scrubbing back and forth frays the bristle tip and separates the fibers.
- Reshape the tip while damp: Using clean fingers or the edge of the paper towel, gently pinch the bristles back into a fine point or flat shape. Hold the shape for a couple of seconds. Skipping this step leaves the bristles splayed when dry, making precise lines harder on the next use.
- Dry flat or tip-down at a slight angle: Lay the brush flat on a clean towel or place it in a horizontal drying rack. If you must store vertically, keep the tip pointing slightly downward so water does not run into the ferrule. Never store wet brushes in a closed container — trapped moisture promotes bacterial growth and loosens the glue.
- Deep clean weekly or after heavy use: Dip the brush in a gentle brush soap or a drop of dish soap mixed with water, swirl, and rinse. For stubborn residue on double-ended brushes, use a silicone brush-cleaning pad. Over-cleaning with harsh solvents can strip the brush’s natural oils. Reserve acetone-only cleaning for acrylic residue.
Product Spotlight: Brushes That Reward Proper Care
-
5 Double-Ended Liner Brushes/ Art Brush: These are among the highest-quality art and liner brushes in their category—perfect for precision work and trusted by professionals. Good care preserves the fine tips and double-ended design, so you can rely on the same brush for multiple liner styles without buying replacements.
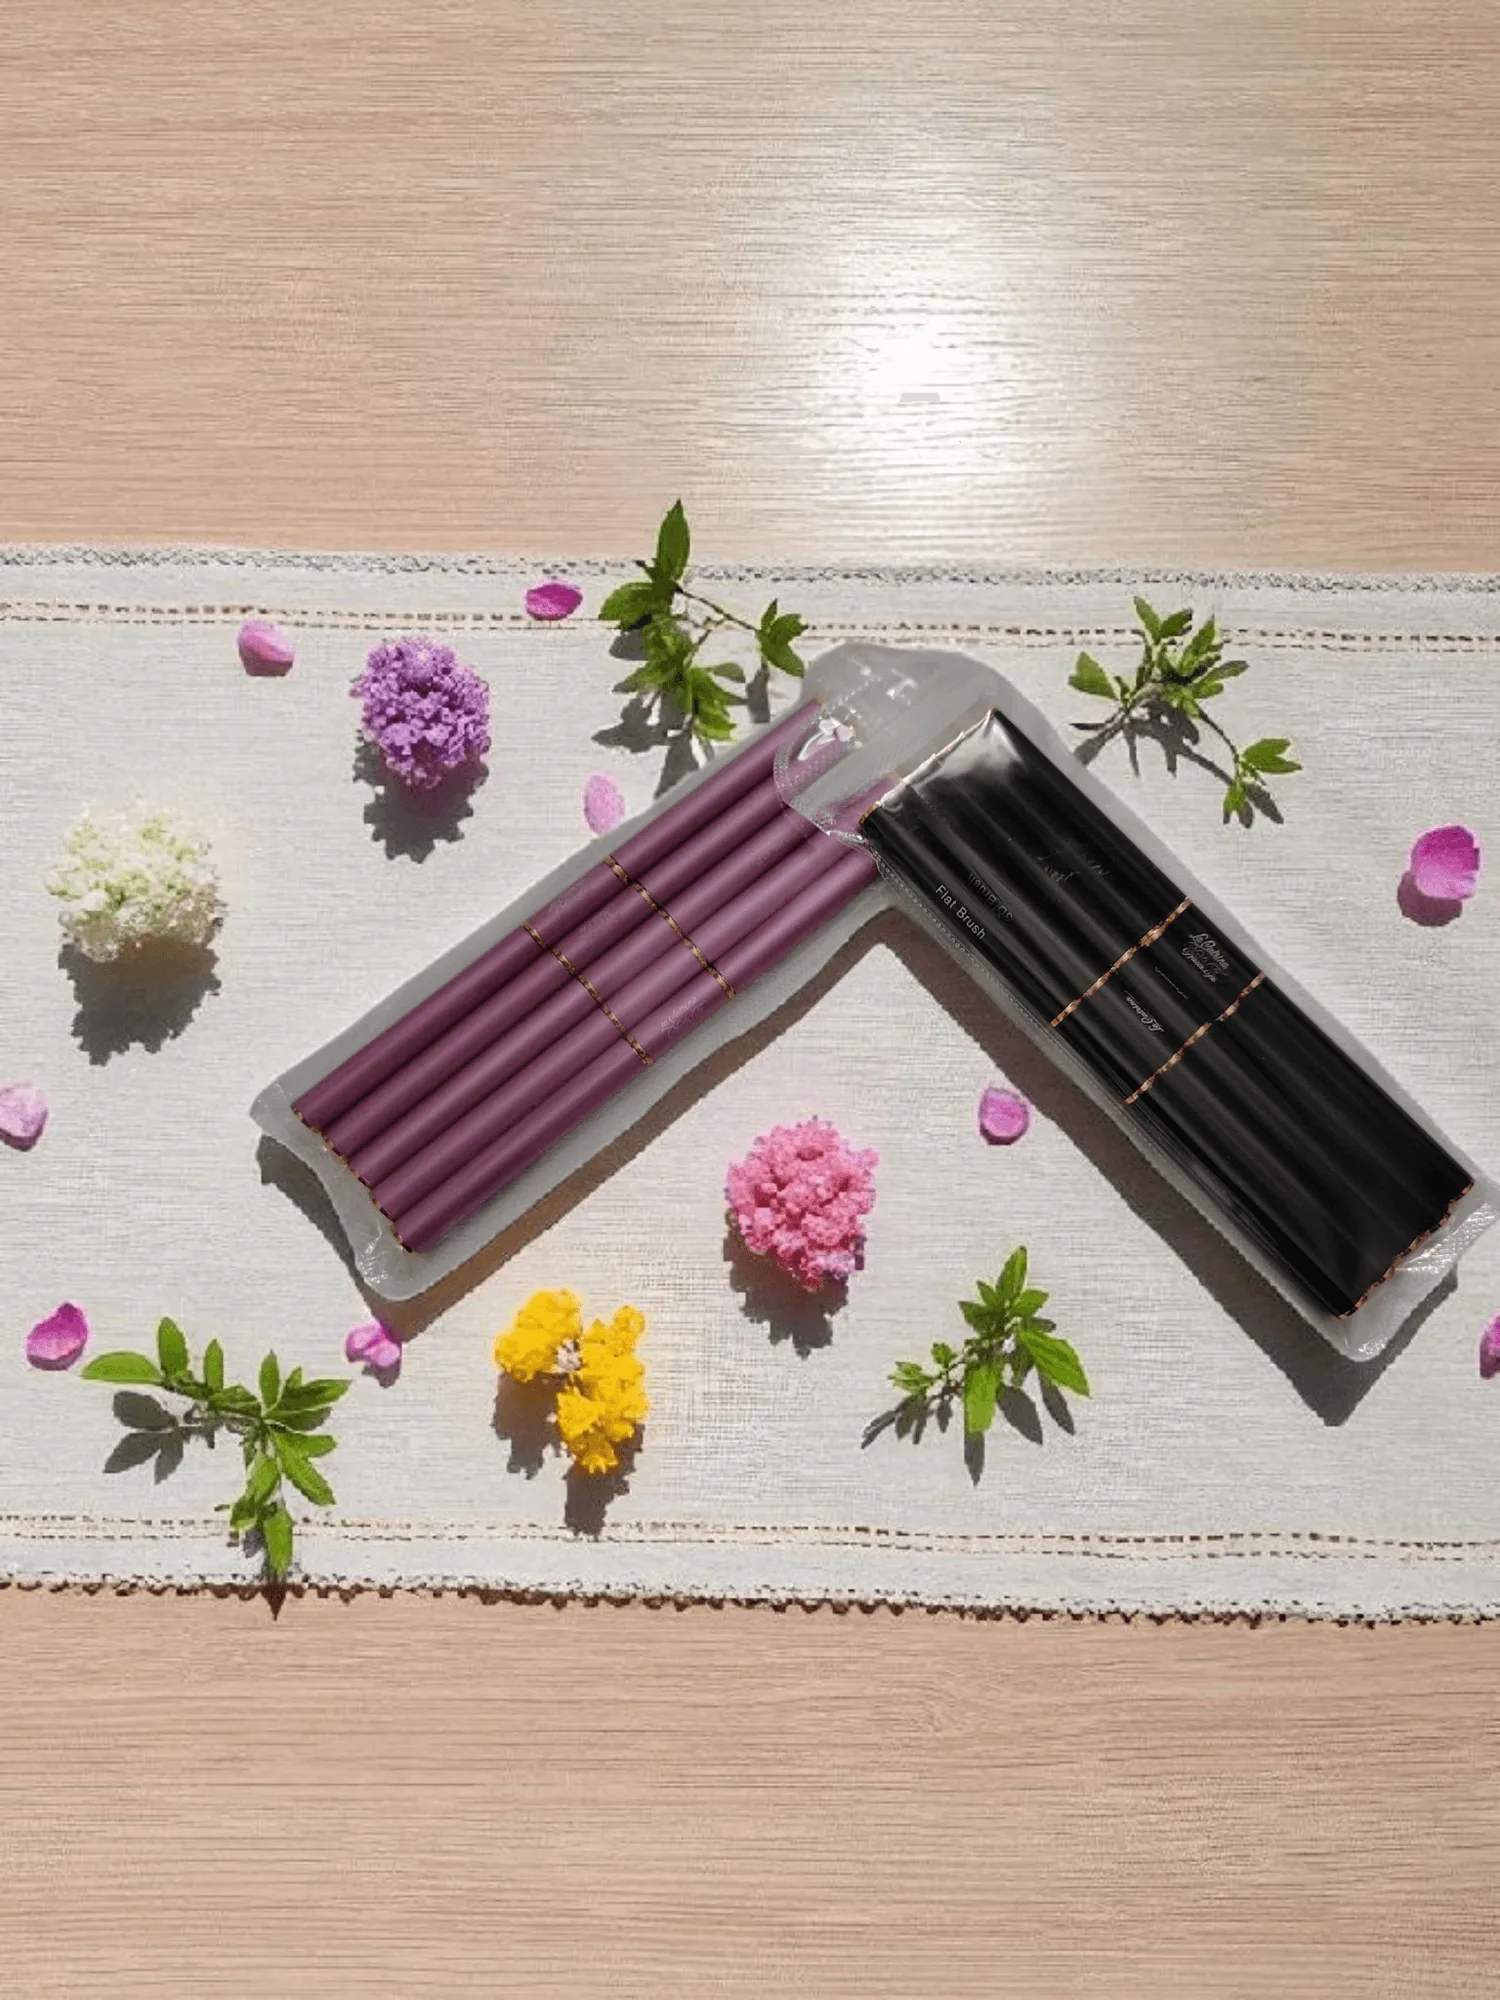
5 Double-Ended Liner Brushes/ Art Brush