Quick answer
Clean leather with a soft, damp cloth and a mild leather cleaner, then apply a thin layer of leather conditioner for bags. Do this every 3–6 months, or sooner if the leather looks dry. Keep leather away from direct heat and prolonged sunlight, and store bags stuffed and upright to hold their shape.
Leather is a natural material that responds well to a simple, consistent routine. Whether it’s a daily laptop bag, a wallet you handle dozens of times a day, or a small accessory like a shoulder pad, the same principles apply: remove dirt gently, replace lost oils, and protect the surface from the elements.
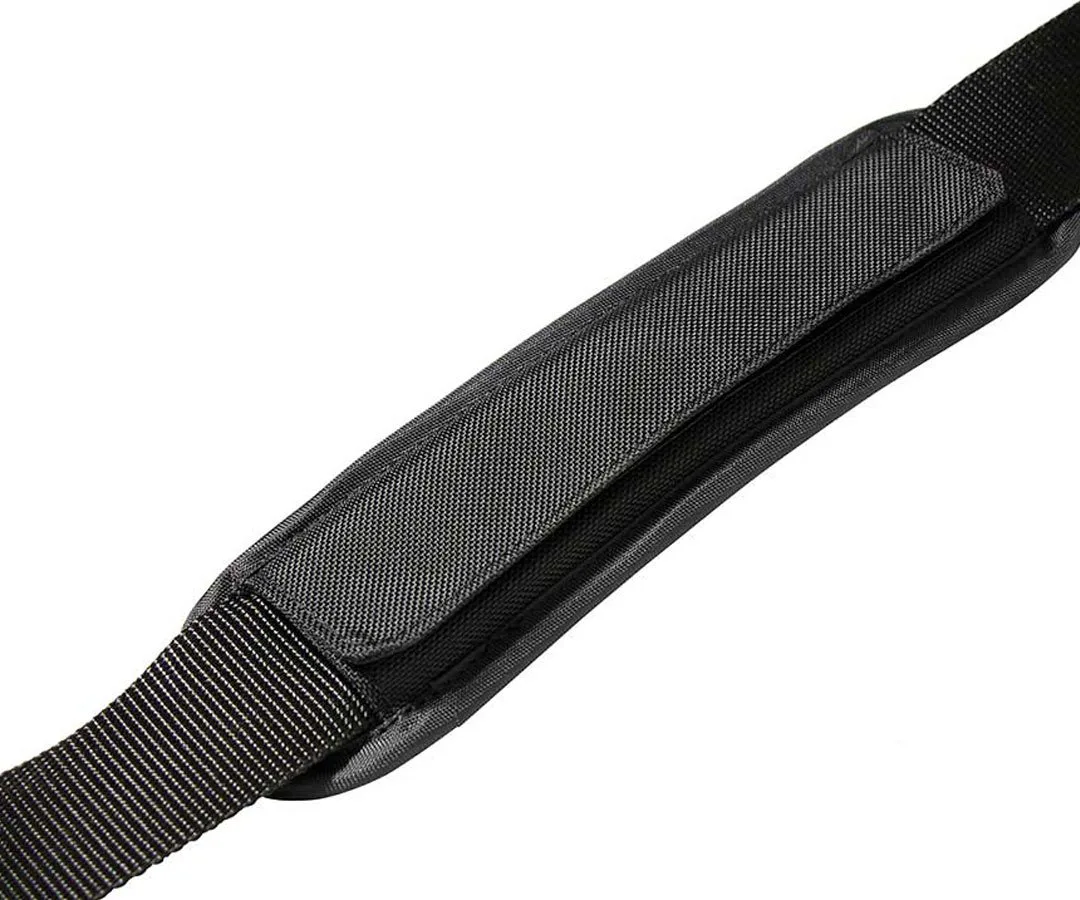
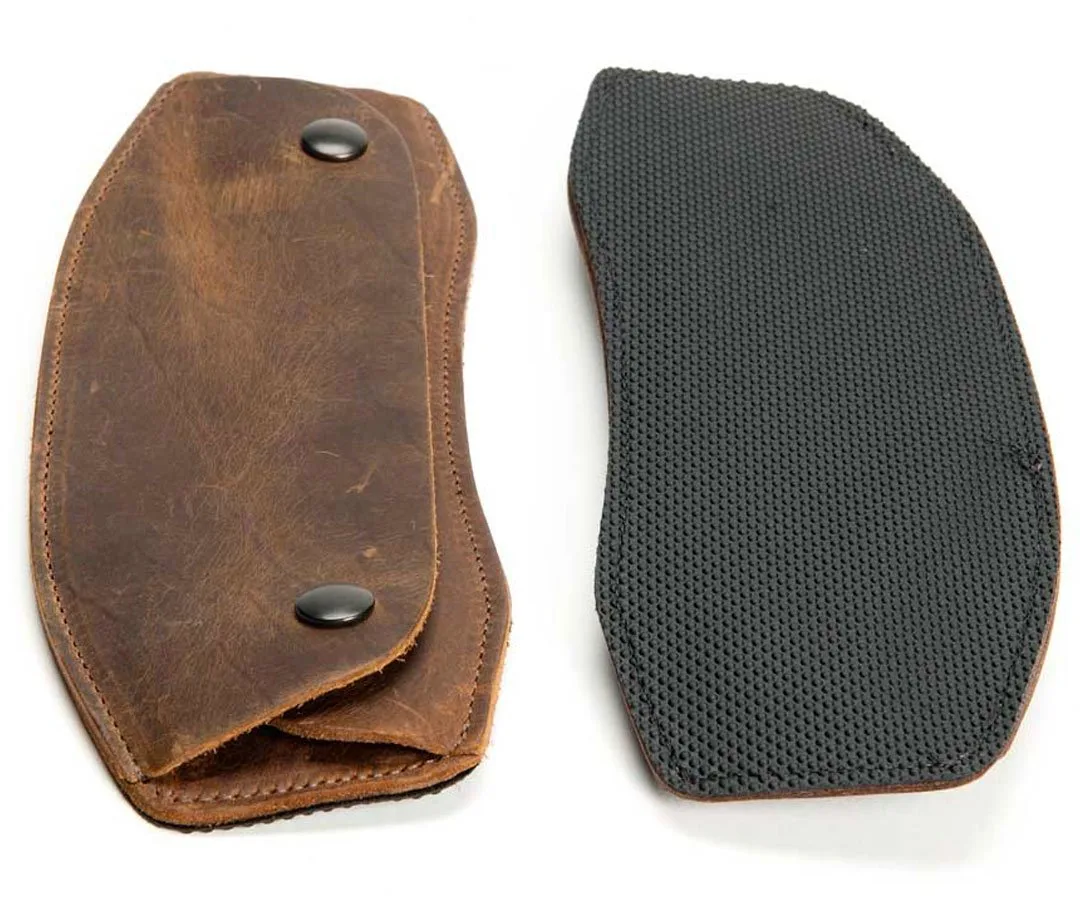
shoulder pad
This guide walks through an ordered process you can follow at home with a few basic supplies. Each step includes a common mistake to avoid, so you can clean and condition your leather without overdoing it.
Gather the right supplies
You don’t need a cabinet full of products. A soft microfiber cloth, a soft-bristled brush (like an old toothbrush), a pH-balanced leather cleaner, and a quality leather conditioner for bags will handle most jobs. For stubborn spots, a slightly damp melamine sponge can help, but use it sparingly.
Avoid paper towels, abrasive scrubbing pads, and household cleaners like dish soap or glass cleaner. These can strip the leather’s natural oils and leave it dry, cracked, or discolored.
- Test any cleaner or conditioner on a hidden area first, such as the inside of a strap or the bottom of a bag.
- Use separate cloths for cleaning and conditioning to avoid spreading dirt.
Step 1: Remove loose dirt and dust
Before applying any liquid, empty the bag or wallet completely. Turn pockets inside out and shake out crumbs and debris. Use a soft brush or a dry microfiber cloth to wipe down the entire surface, including seams, corners, and hardware. This prevents grinding grit into the leather when you clean.
For wallets, pay attention to the fold and card slots where dust and oils accumulate. A gentle brush is safer than a damp cloth here because it won’t push dirt deeper into the leather.
- Common mistake: skipping the dry step and going straight to a wet cloth, which can scratch the surface.
- Checkpoint: the leather should look dull but free of visible particles before you move on.
Step 2: Wipe with a damp cloth
Dampen a microfiber cloth with lukewarm water and wring it out until it’s barely wet. Wipe the leather in gentle, circular motions. For textured leather, use a soft brush with a little water instead. Don’t soak the leather—excess moisture can weaken the fibers and cause water stains.
If you’re cleaning a wallet, avoid getting water near the interior lining or card slots. A slightly damp cloth on the exterior is usually enough for routine maintenance.
- Common mistake: using a dripping wet cloth, which can leave dark water spots.
- Checkpoint: the cloth should feel almost dry to the touch.
Step 3: Use a leather cleaner for deeper grime
For oily or sticky spots, apply a small amount of pH-balanced leather cleaner to a cloth—not directly on the leather—and work it into the area with light pressure. Wipe away excess cleaner with a clean, damp cloth. Repeat only if needed.
Never scrub aggressively. Leather is skin; harsh rubbing can remove the finish and create a bald spot. If a stain persists, consider a specialized leather stain remover or consult a professional.
- Common mistake: dousing the leather with cleaner and letting it sit.
- Checkpoint: after cleaning, the leather should look clean but may feel slightly dry—that’s normal.
Step 4: Let it dry naturally
After cleaning, let the leather air-dry away from direct heat or sunlight. Stuff bags with clean towels or bubble wrap to help them hold their shape as they dry. Wallets can be left open on a dry surface. Drying can take a few hours, depending on humidity.
Do not use a hair dryer, radiator, or direct sunlight. Rapid drying pulls moisture from the leather and can cause it to crack or stiffen.
- Common mistake: rushing the drying process with heat.
- Checkpoint: the leather should feel dry to the touch but still supple before conditioning.
Step 5: Apply leather conditioner
Once dry, apply a small amount of leather conditioner for bags to a clean cloth. Rub it into the leather in thin, even layers, covering the entire surface. Pay extra attention to high-wear areas like handles, straps, and corners. Let it absorb for 10–15 minutes, then buff off any excess with a dry cloth.
Conditioning replaces the natural oils that cleaning removes. For frequently used items like a daily wallet or laptop bag, condition every 3–6 months. For accessories that see less handling, once or twice a year is enough.
- Common mistake: over-conditioning, which can leave a greasy film and attract dirt.
- Checkpoint: the leather should feel soft and look slightly richer, not slick.
Step 6: Protect and store properly
After conditioning, you can apply a leather protector spray for added resistance to water and stains. Follow the product instructions and test first. When not in use, store bags in a dust bag or pillowcase—not a plastic bag, which traps moisture. Keep them upright and stuffed to maintain shape.
Store wallets and small accessories in a cool, dry place away from direct sunlight. If you live in a humid climate, consider adding a silica gel packet to your storage area to absorb excess moisture.
- Common mistake: storing leather in plastic, which can cause mildew.
- Checkpoint: bags should hold their shape and not be compressed by other items.
Your 6-step leather care routine
- Dry brush: Empty all pockets and use a soft brush or dry cloth to remove loose dirt from seams, corners, and hardware. Skipping this step grinds grit into the leather during cleaning.
- Damp wipe: Wipe with a barely damp microfiber cloth, using gentle circular motions. Avoid soaking the leather. A dripping cloth can leave water stains and weaken fibers.
- Clean spots: Apply pH-balanced leather cleaner to a cloth—not directly on the leather—and work into stains with light pressure. Never scrub aggressively; leather is skin and can lose its finish.
- Air dry: Let the item air-dry away from heat and sunlight. Stuff bags to hold their shape. Heat dries leather too fast and causes cracks.
- Condition: Apply a thin layer of leather conditioner with a clean cloth, let absorb, and buff off excess. Over-conditioning leaves a greasy film that attracts dirt.
- Store smart: Keep leather in a breathable dust bag, stuffed and upright, in a cool dry place. Plastic storage traps moisture and can cause mildew.
Leather care in practice: product examples
- Shoulder Pad - Leather: Made of full-grain leather with a grippy underside, this shoulder pad wraps around any 1.5-inch wide webbing and comes in black, chocolate, and grizzly colors. Full-grain leather benefits from the same cleaning and conditioning routine; the grippy underside may need gentle brushing to remove lint and dirt without damaging the texture.
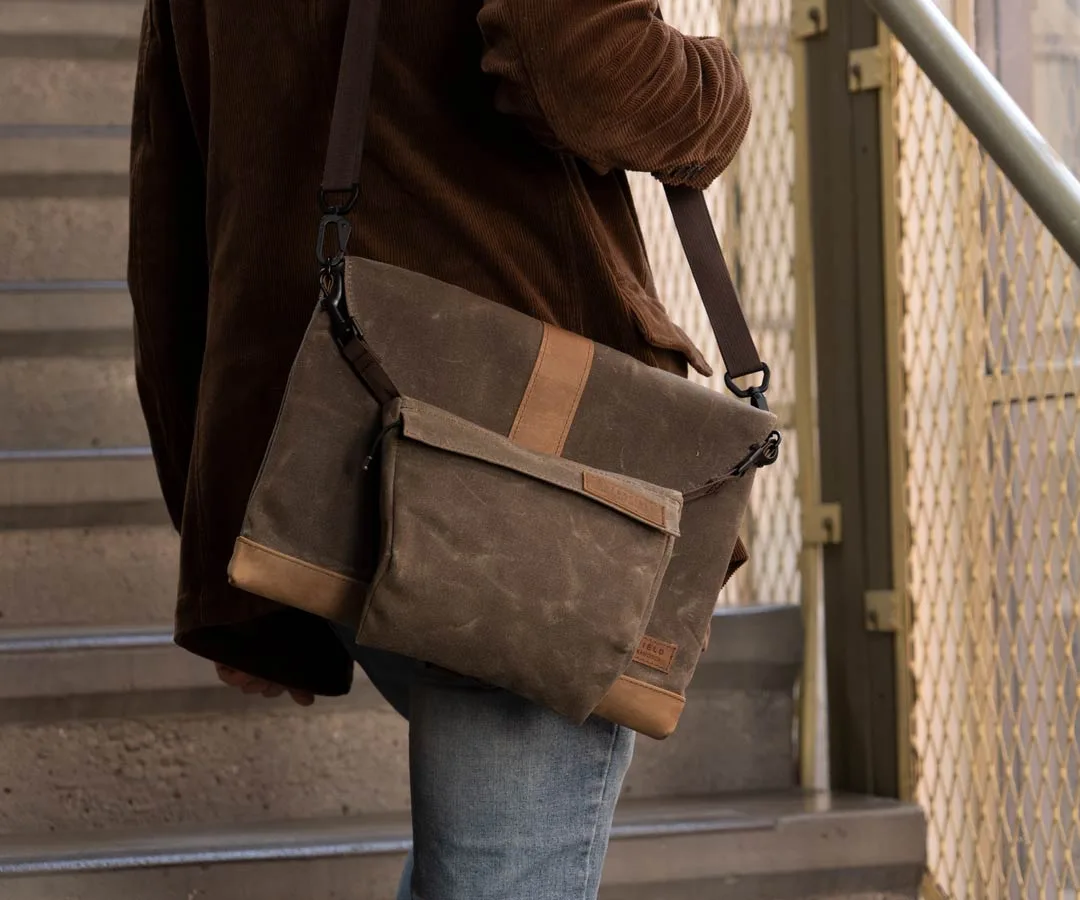
- Piggyback Accessory Pack: Hooks onto a SleeveCase (D-rings required) to add room for wallet, phone, keys, and power cord. If you carry a leather wallet inside this pack, keep it in a dedicated pocket to avoid friction and color transfer from other items.
A little care goes a long way. With this simple routine, your leather bag, wallet, and accessories will stay supple, protected, and ready for daily use—year after year.