Quick answer
To co-witness iron sights with a micro red dot, first confirm your sight and pistol share the same footprint—RMSc or RMR—then mount the optic and check whether the iron sights align through the window. For most carry setups, lower 1/3 co-witness is the practical choice because it keeps the irons visible without crowding the dot.
Understand absolute vs. lower 1/3 co-witness
Absolute co-witness means the iron sights and the red dot share the same point of impact—when the dot is on target, the irons are centered in the window. This gives a familiar sight picture, but the irons can clutter the view and reduce the usable window. Lower 1/3 co-witness places the irons in the lower third of the optic's window, leaving the upper two-thirds clear for the dot. This is the more common choice for concealed carry and duty pistols because it keeps the dot unobstructed while still allowing a backup sight picture. The right choice depends on your training and how much you value an uncluttered window. Note that the actual co-witness height depends on your specific slide cut, mounting plate, and iron sight height—not just the optic.
Check footprint and mounting compatibility
Before you can co-witness, the optic must mount correctly. The Apollo Eclipse uses an RMSc footprint, which is common on slim subcompact pistols, while the Nova Green uses an RMR footprint, which fits many full-size and duty pistols. If your slide is cut for one footprint, you may need an adapter plate for the other—and plates can change the optic height, which in turn changes co-witness. Always verify that your pistol's cut or plate matches the optic's footprint before proceeding. If you are unsure, consult your pistol's manual or a gunsmith; guessing can lead to a loose optic or a lost zero.
Mount the optic and torque to spec
Clean the slide cut and the optic's mating surface, then apply a small amount of threadlocker to the screws if the manufacturer recommends it. Set the optic in place and start the screws by hand to avoid cross-threading. Tighten them in an alternating pattern to the torque value specified by your pistol or optic manufacturer—typically around 15–20 inch-pounds for micro red dots, but always follow the provided spec. Over-tightening can strip threads or crack the optic; under-tightening lets the optic shift under recoil. Once mounted, verify that the optic is seated flush and does not wobble.
Align the dot with the iron sights
With the pistol unloaded and pointed in a safe direction, assume a stable shooting position and look through the optic. For absolute co-witness, the dot should appear to sit on top of the front sight post when the irons are aligned. For lower 1/3, the irons should sit in the lower portion of the window while the dot floats above them. If the dot is not visible or is far off, you may need to adjust the optic's windage and elevation. Turn the adjustment screws in small increments—usually 1 MOA per click—and re-check. Remember that adjusting the dot to match the irons is only correct if the irons are already zeroed; otherwise, zero the irons first or zero the dot independently and use the irons as a backup.
Confirm at the range and practice the transition
Co-witness is not just a static alignment; it must hold up under live fire. At the range, fire a few groups using only the dot, then switch to the irons to confirm they are still aligned. Recoil can shift a poorly mounted optic, so check the screws after the first few magazines. Practice transitioning between dot and irons: with lower 1/3, you can use the dot for speed and drop to the irons if the dot fails. This skill is especially valuable for defensive pistols. If you notice the dot shifting or the irons no longer align, stop and re-torque the mount.
Step-by-step co-witness setup
- Verify footprint compatibility: Confirm your pistol's slide cut or mounting plate matches the optic's footprint (RMSc for Apollo Eclipse, RMR for Nova Green). If not, obtain the correct adapter plate. Mismatched footprints are the most common reason a co-witness setup fails before it starts.
- Mount the optic correctly: Clean the mating surfaces, apply threadlocker if recommended, and torque the screws to the manufacturer's spec in an alternating pattern. Over-tightening can damage the optic; under-tightening causes shift under recoil.
- Check iron sight alignment: Look through the optic with the irons aligned. For absolute co-witness, the dot should sit on the front post; for lower 1/3, the irons should occupy the lower third of the window. If the dot is not visible, adjust the optic's windage/elevation in small increments.
- Zero the dot (or irons) first: If you adjust the dot to match the irons, ensure the irons are already zeroed. Otherwise, zero the dot independently and treat the irons as a backup. A dot that is zeroed to the irons is only as good as the iron sight zero.
- Confirm at the range: Fire groups using the dot, then switch to irons to confirm alignment. Re-check screw torque after the first few magazines. Recoil reveals mounting issues; address any shift immediately.
Micro red dots that support co-witness setups
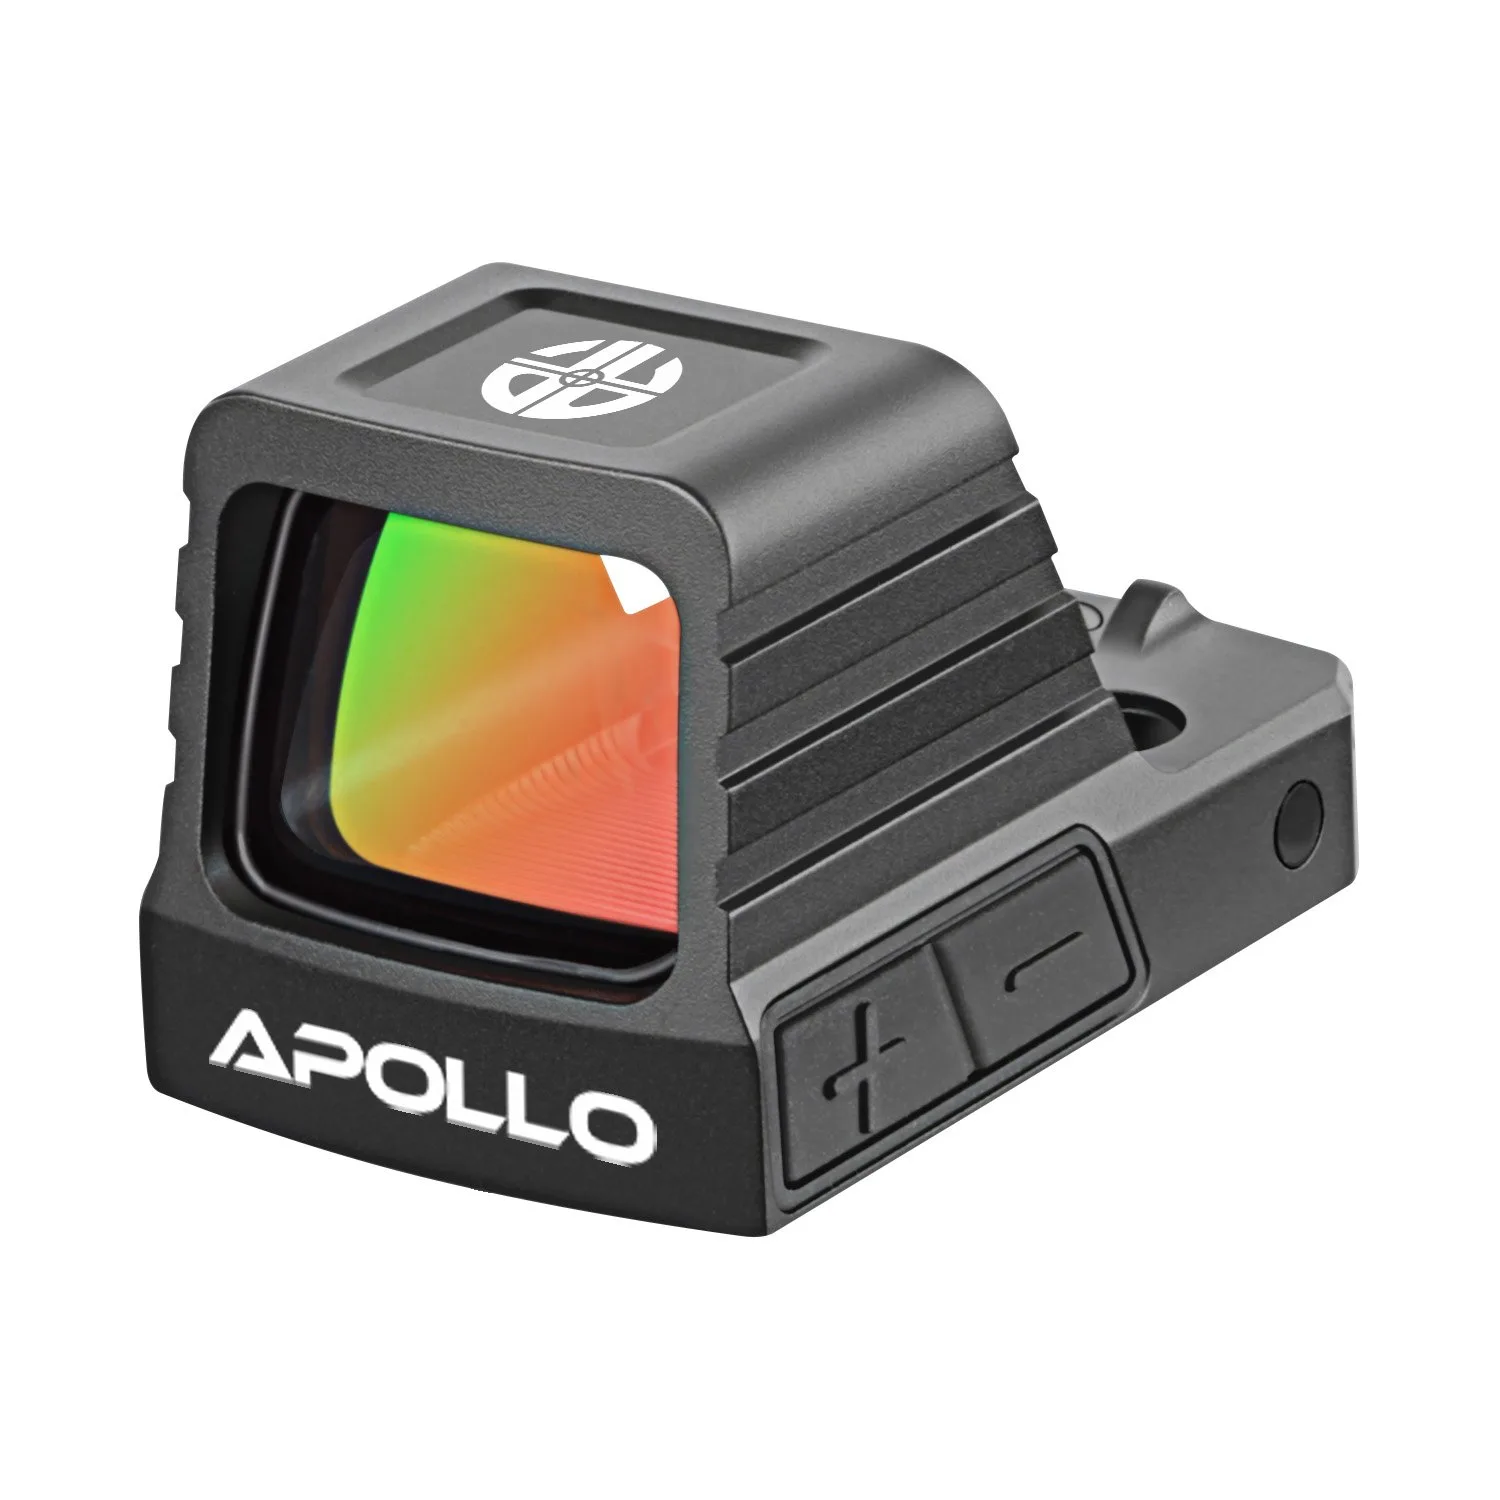
- Apollo Eclipse: The Apollo Eclipse is engineered for conceal carry and subcompact pistols, offering a slim RMSc footprint and a crisp 3 MOA red dot for fast, reliable aiming. Its compact 18 × 14.3 mm window keeps a low profile while maintaining a clear sight picture, and the rugged construction ensures dependable performance in all conditions. Backed by Apollo’s 5-Year Warranty. The RMSc footprint fits many slim pistols directly, and the low-profile window is well-suited to lower 1/3 co-witness without blocking the dot.
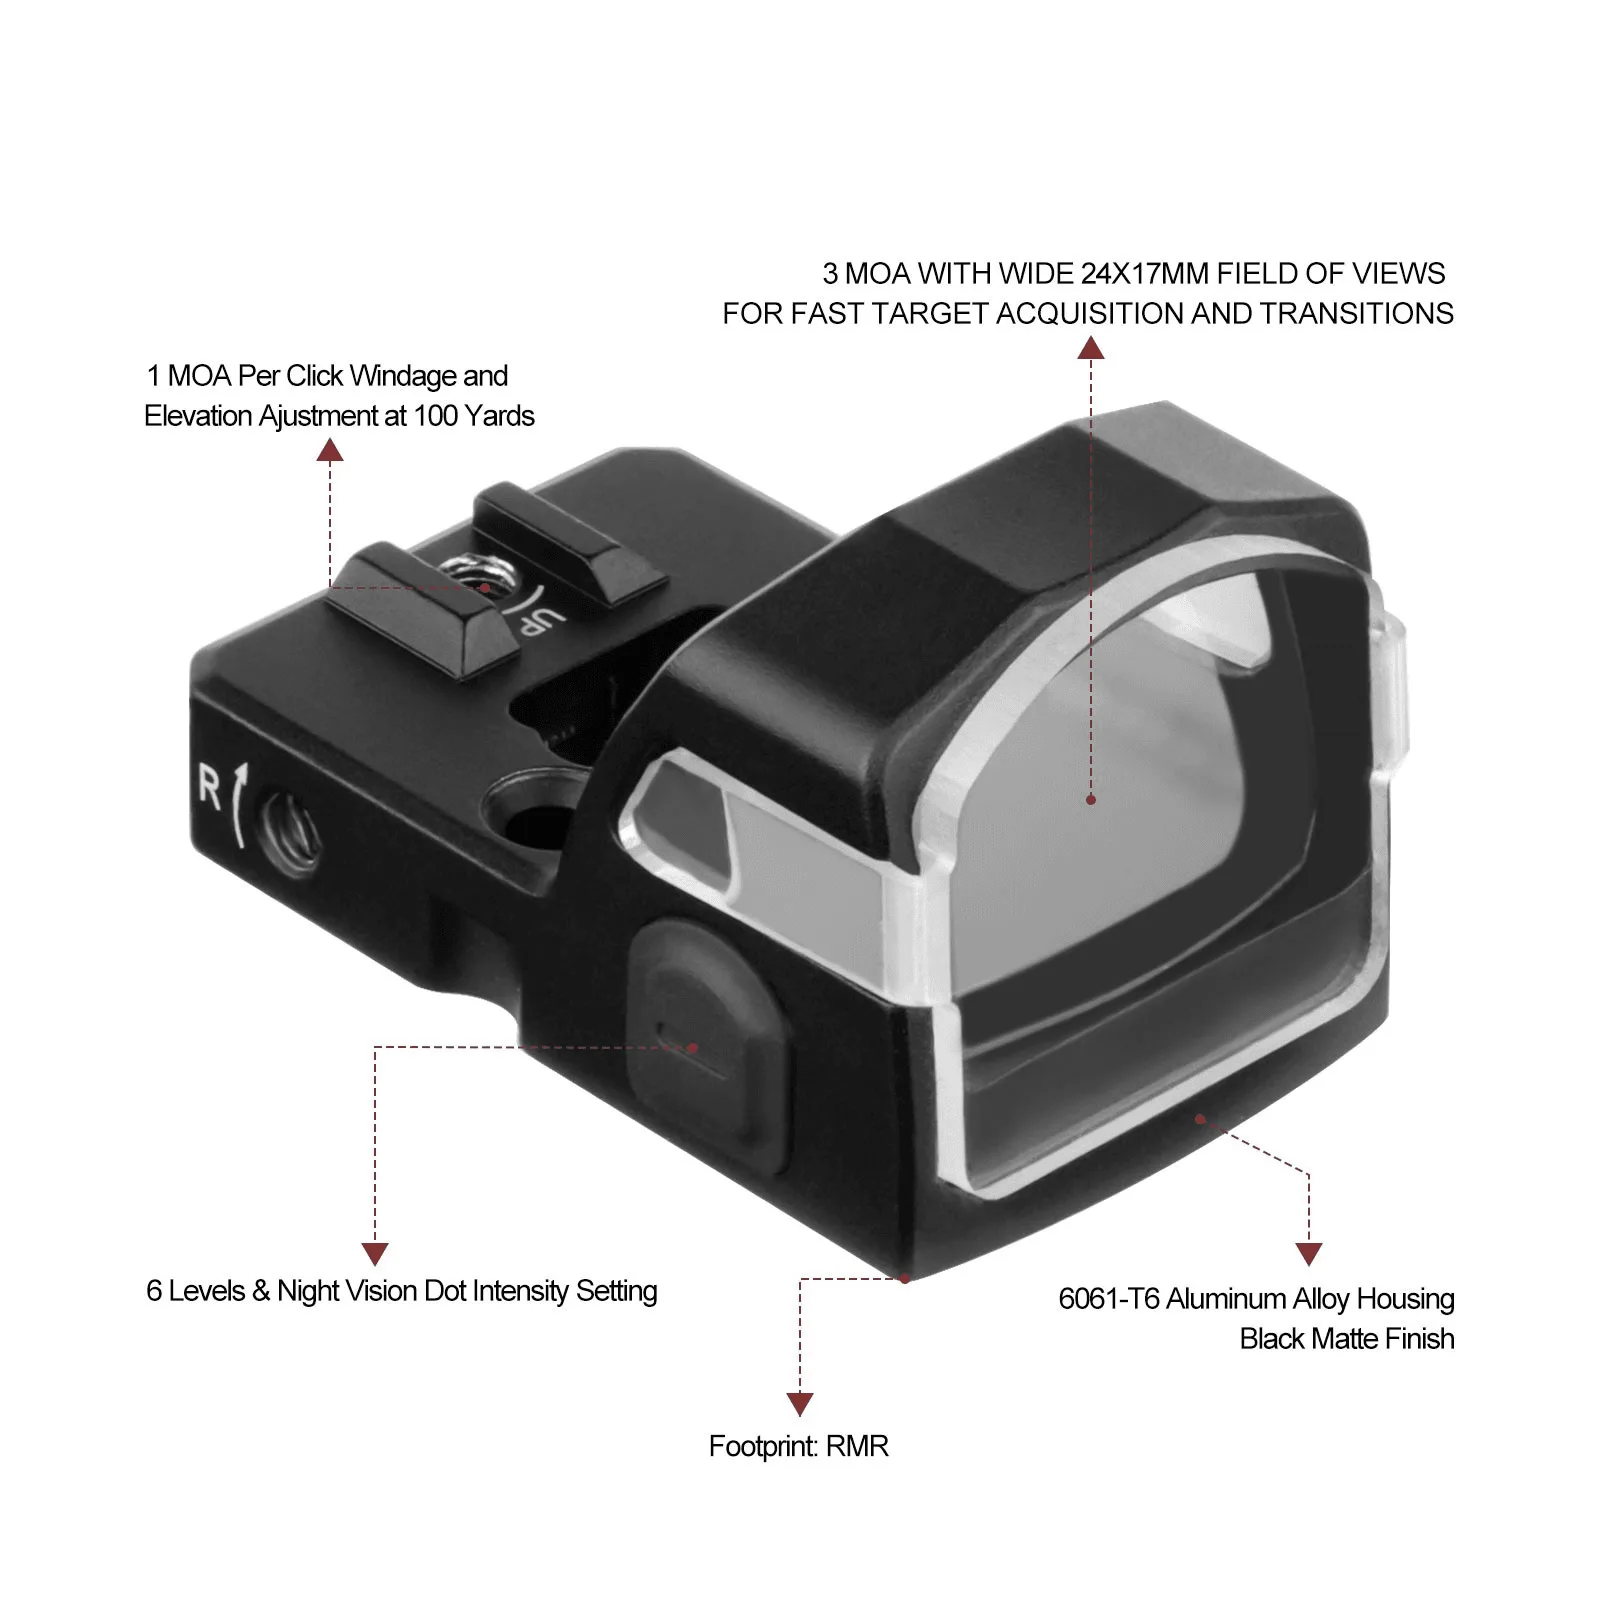
- Nova Green: The Apollo Nova Green is a pistol green dot built to be simple, fast, and dependable. Optimized for carry and duty pistols with an RMR footprint, the Nova Green delivers a crisp 3 MOA green dot, easy brightness control, and lightweight construction so it won’t weigh down your slide or holster setup. The RMR footprint fits many full-size pistols, and the green dot can be easier to see against certain backgrounds, which helps when aligning with iron sights.