Quick Answer
Connect the Zendure SolarFlow Battery Cable between the SolarFlow battery and the Smart PV Hub, and make sure each self-locking terminal is pushed in until you hear a click. Power everything down first, match the connectors to the correct ports, and check the click on both ends before you power back up. The click is your proof of a seated connection, not a suggestion.
SolarFlow
What the Battery Cable Actually Links
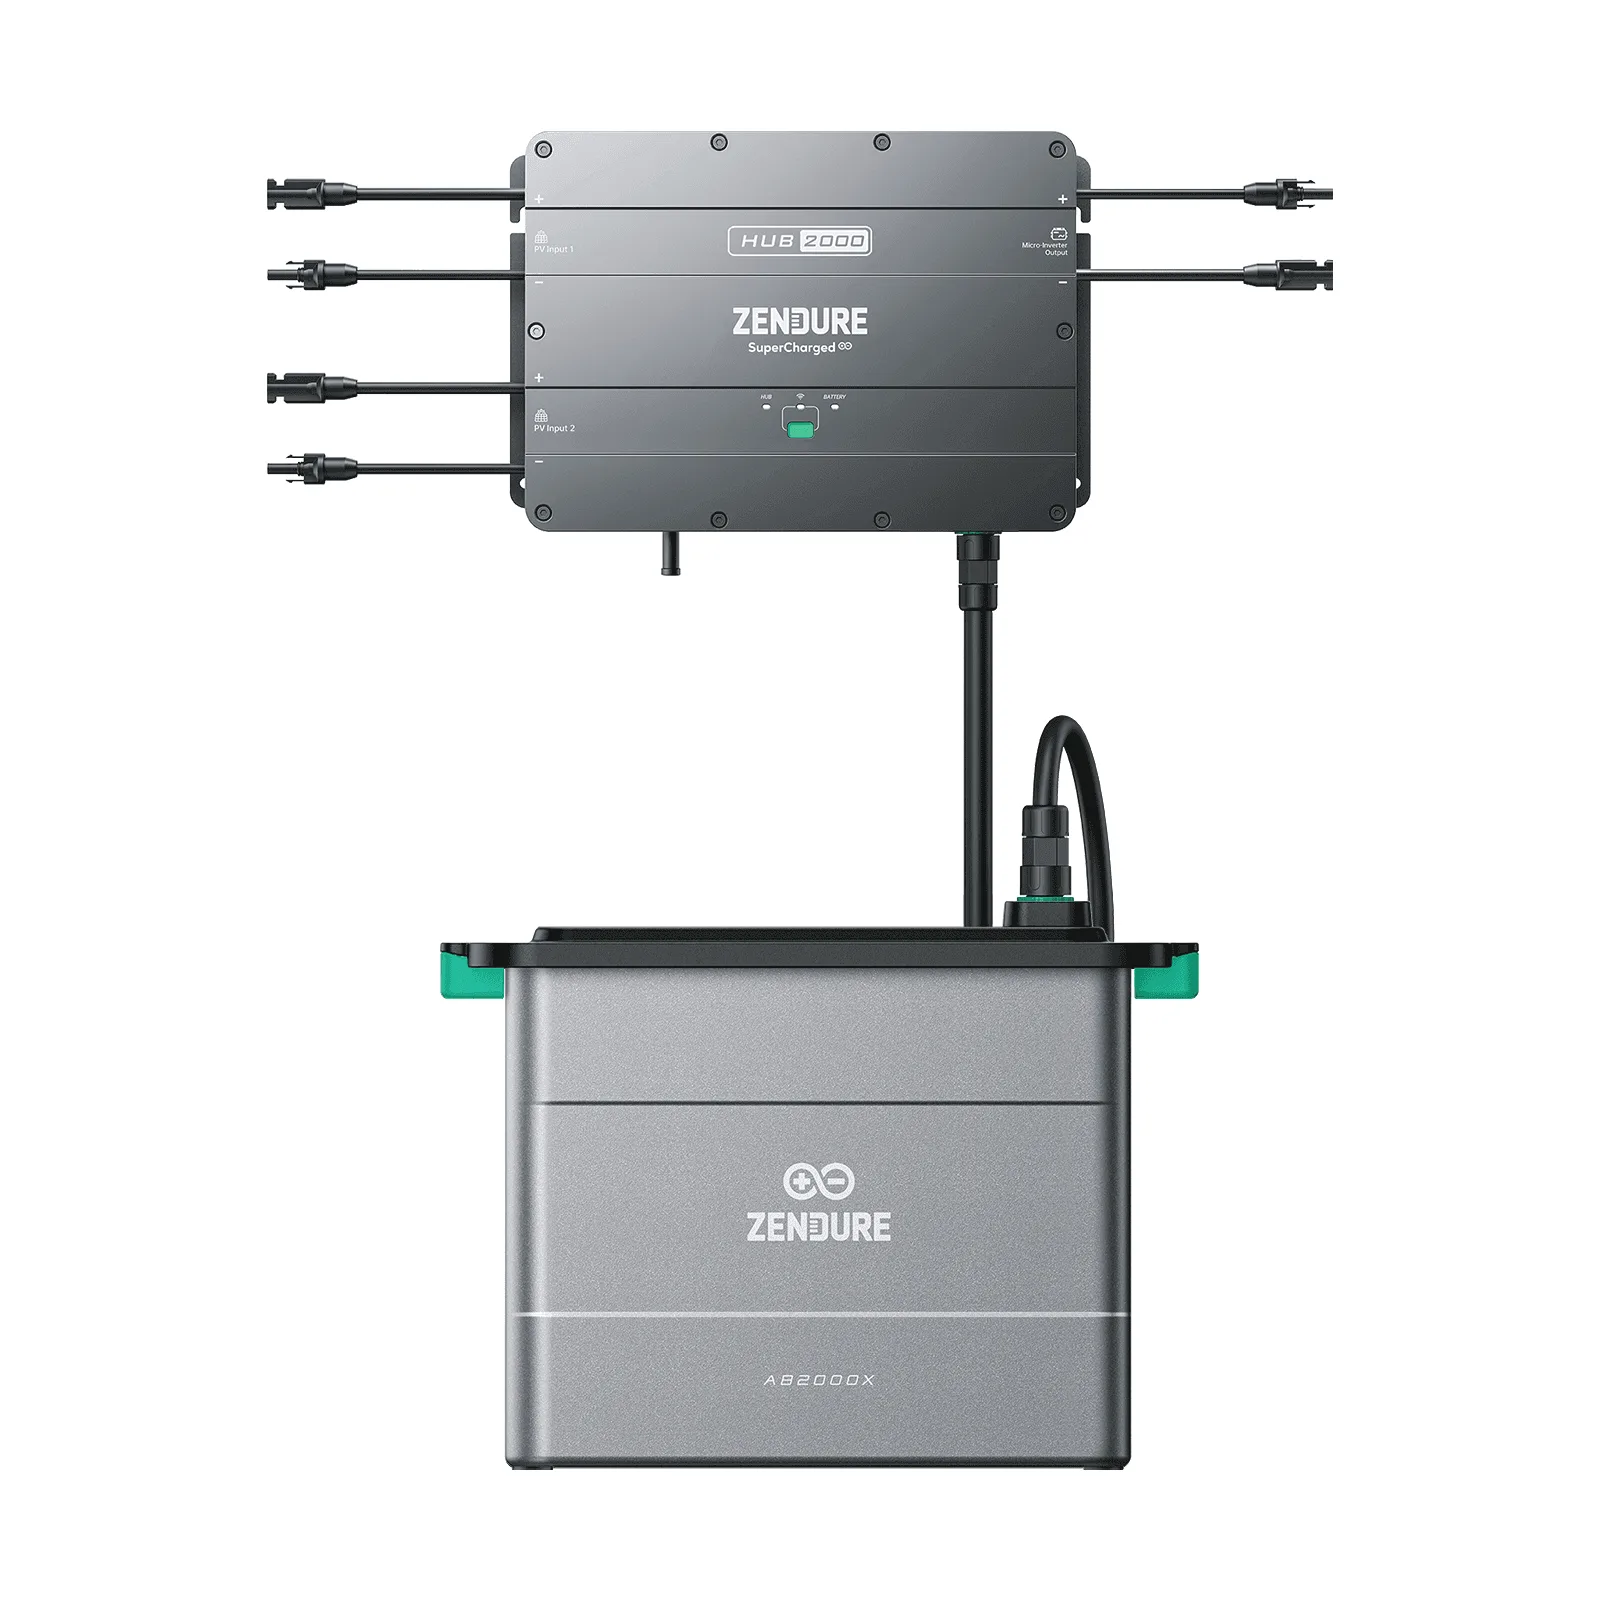
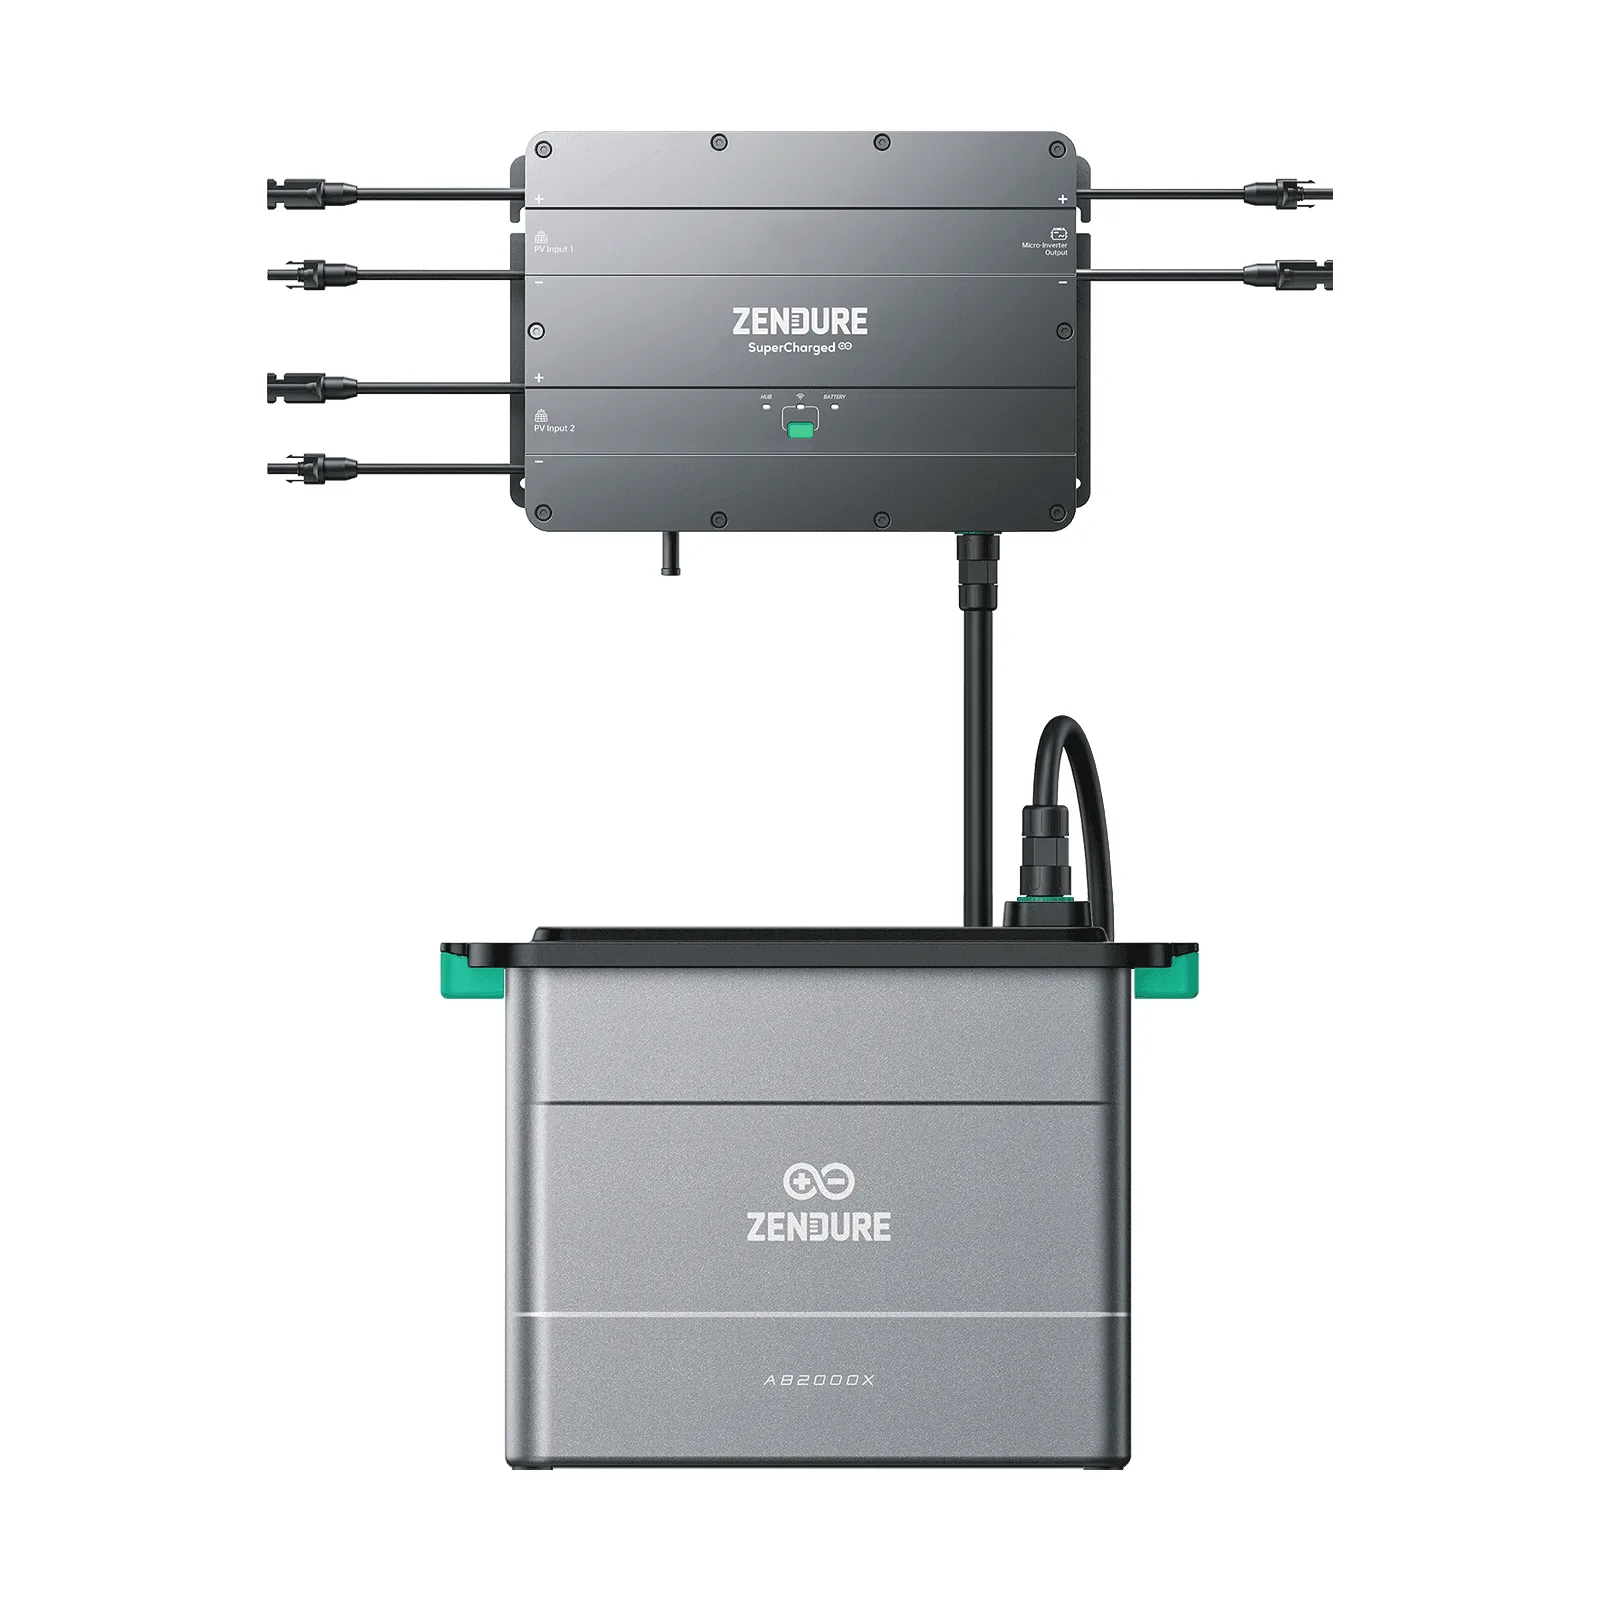
The Zendure SolarFlow Battery Cable is the link between the SolarFlow battery and the Smart PV Hub. It is not a generic extension cord, and it is not interchangeable with other DC cables you may have in a drawer. Treat it as a dedicated part of the SolarFlow system: one end belongs to the battery side, the other to the hub side, and the terminals are designed to self-lock when inserted correctly.
Because the cable carries the battery-to-hub connection, a partially seated plug can create intermittent contact. That shows up later as odd behavior, not always as an obvious failure. Getting the physical connection right the first time is the cheapest troubleshooting you will ever do.
Before You Touch a Connector
Shut down the SolarFlow system and disconnect the solar input before working on cables. Confirm the battery and hub are both powered off, then give yourself a clean, dry, well-lit workspace. If you are expanding an existing stack, label which battery you are adding so you do not lose track of which cable goes where.
Inspect the cable ends for bent pins, debris, or moisture. A connector that looks fine but has a bent pin will not seat with a click, and forcing it can damage the port. If the cable is damaged, replace it rather than trying to straighten pins by hand.
Match Connectors to Ports, Not to Convenience
Route the cable so the battery-side connector reaches the battery port and the hub-side connector reaches the Smart PV Hub port without tension. Do not stretch the cable or let it hang by its own weight from the connector. If the run is too short, reposition the hardware instead of pulling the cable tight.
Keep the cable away from sharp edges, moving parts, and standing water. The battery itself carries an IP65 water protection rating, but that rating applies to the battery enclosure, not to a strained or submerged cable connection. A little slack and a sensible route prevent most avoidable damage.
Step-by-Step Cable Connection
- Step 1: Power down and isolate: Turn off the SolarFlow system, disconnect solar input, and confirm the battery and Smart PV Hub are off before handling any cable. Common mistake: working on a live system because the app shows low output. Off means off.
- Step 2: Inspect both cable ends: Check for bent pins, debris, moisture, or cracked housings on the battery cable before you try to insert it. Checkpoint: a damaged connector will not click properly. Replace it instead of forcing it.
- Step 3: Identify battery side and hub side: Match each end of the Zendure SolarFlow Battery Cable to its correct port: battery to the SolarFlow battery, the other end to the Smart PV Hub. Common mistake: assuming the cable is reversible. Route it by port, not by which end is closer.
- Step 4: Insert until you hear the click: Push each self-locking terminal straight in with steady pressure until it clicks into place. Do not wiggle or angle the plug. Checkpoint: no click means not seated. Pull gently to confirm it stays put.
- Step 5: Tug-test and route with slack: Give each connection a light, straight pull to confirm it is locked, then route the cable with slack away from sharp edges and standing water. Common mistake: leaving the cable taut so the connector carries the weight.
- Step 6: Power up and verify: Restore power and check that the system reports the battery correctly. If you are adding a second battery, repeat the full sequence one cable at a time. Next step: if the battery is not detected, power down and recheck the click on both ends before anything else.
Product Facts
- Zendure SolarFlow Battery Cable: The Zendure SolarFlow Battery Cable connects the SolarFlow battery to the Smart PV Hub, and its terminals are self-locking: when you hear a click, the cable is inserted correctly. The audible click is your installation checkpoint. If you do not hear it, the connection is not fully seated, even if the plug feels snug.
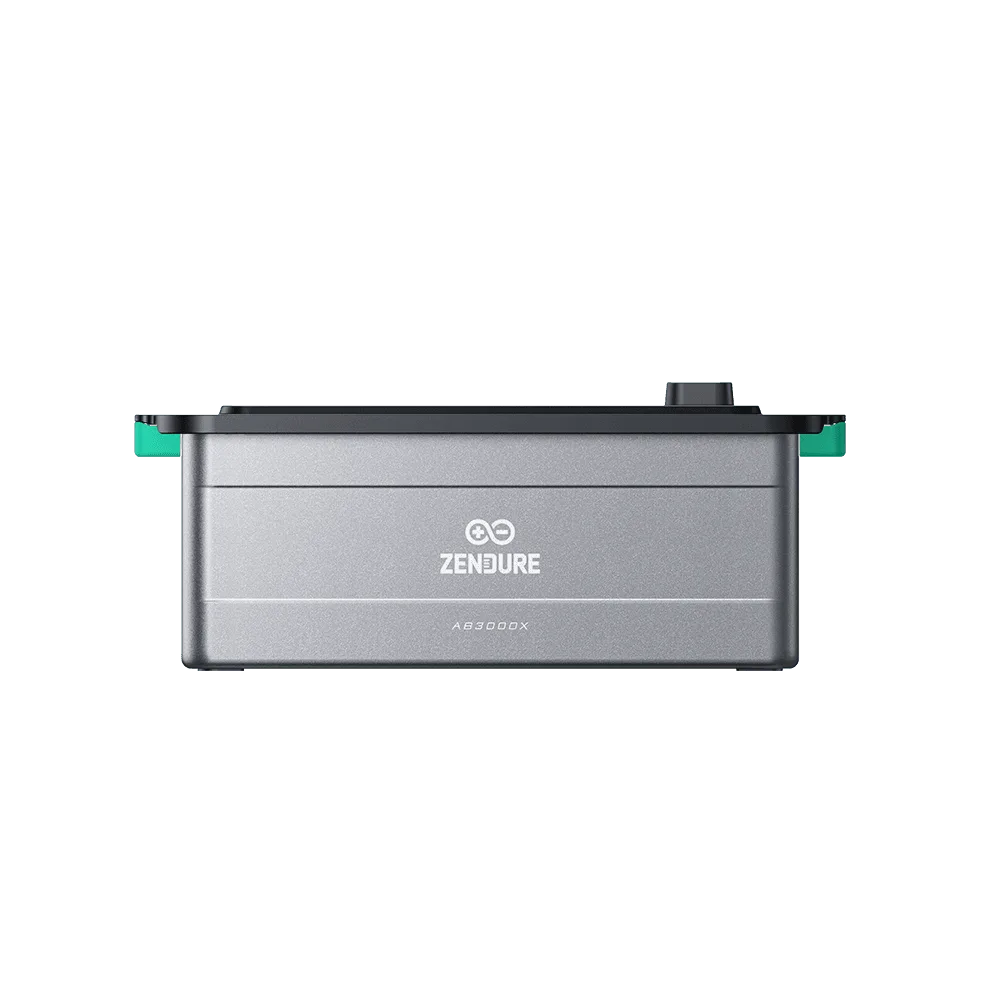
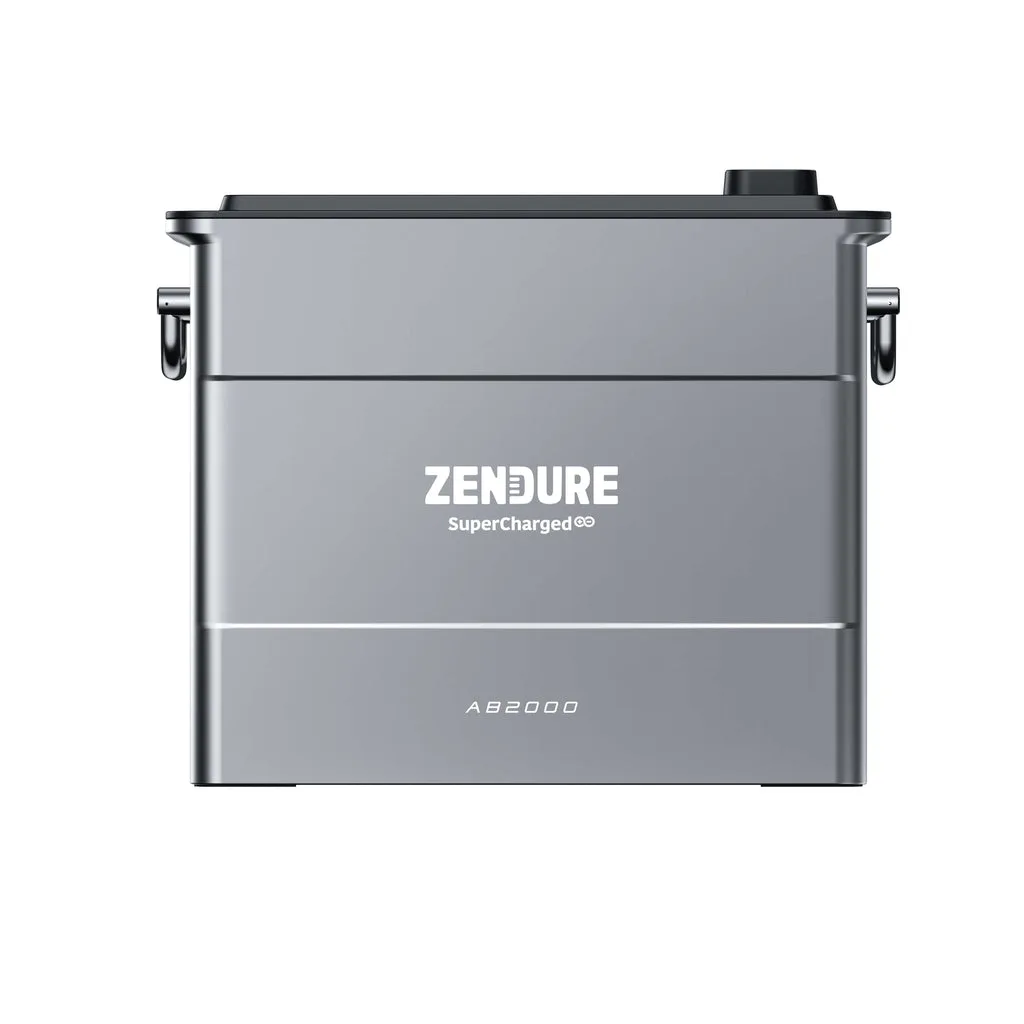
- Zendure Solarflow Battery AB1000: The Zendure Solarflow Battery AB1000 supports easy stack-up expansion and carries an IP65 water protection rating. If you plan to add batteries over time, connect and test one cable at a time so a single loose link does not affect the whole stack.
- Zendure SolarFlow 2400 AC: The Zendure SolarFlow 2400 AC stores excess solar energy during the day and supplies power to your home in the evening, reducing reliance on the grid. The hub-side connection matters because that stored energy has to travel through this cable path to reach your home at night.