Quick Answer
To create marble nails with nail polish, float drops of polish onto room-temperature water, swirl them with a toothpick, then dip your taped-off nail through the design and pull it out clean. Use fresh polish that is thin enough to spread, work one nail at a time, and finish with a glossy top coat once the design is fully dry.
Marble nails look like they came from a salon, but the technique behind them is simple enough to do at home. You do not need gel, a lamp, or a steady hand. You need water, a few polish colors that behave well on the surface, and a plan for the mess.
This marble nail tutorial walks through the full process in order, from prep to top coat. It also covers the one thing most DIY marble attempts get wrong: the polish itself. Some finishes marble beautifully; others sink, dry too fast, or disappear into the swirl.
What You Need Before You Start
Water marbling works by floating polish on water and dipping your nail through the film. That means your supplies matter more than your artistic skill. Gather a small cup of room-temperature water, a toothpick or thin dotting tool, liquid latex or tape for skin protection, a base coat, your polish colors, and a top coat. Paper towels and cotton swabs dipped in remover should be within reach, not across the room.
Skip filtered or sparkling water for this. Tap water at room temperature spreads polish more predictably than cold water, which can make the film stiff and hard to swirl. If your tap water is very hard, bottled still water is a fine substitute.
- Room-temperature water spreads polish best; cold water makes the film crack when you dip.
- Work near a sink or over a towel, because drips are part of the process.
- Have cleanup tools ready before you dip the first nail.
Choose Polishes That Marble Well
Not every polish floats and swirls. Creams and shimmers with a thin, fluid consistency are the easiest to work with because they spread into a wide ring instead of sinking. Metallics, chunky glitters, and fast-drying formulas are harder: they can drop to the bottom of the cup or set before you finish the design. If a polish feels thick in the bottle, thin it slightly with a few drops of nail polish thinner rather than remover, which will break down the formula.
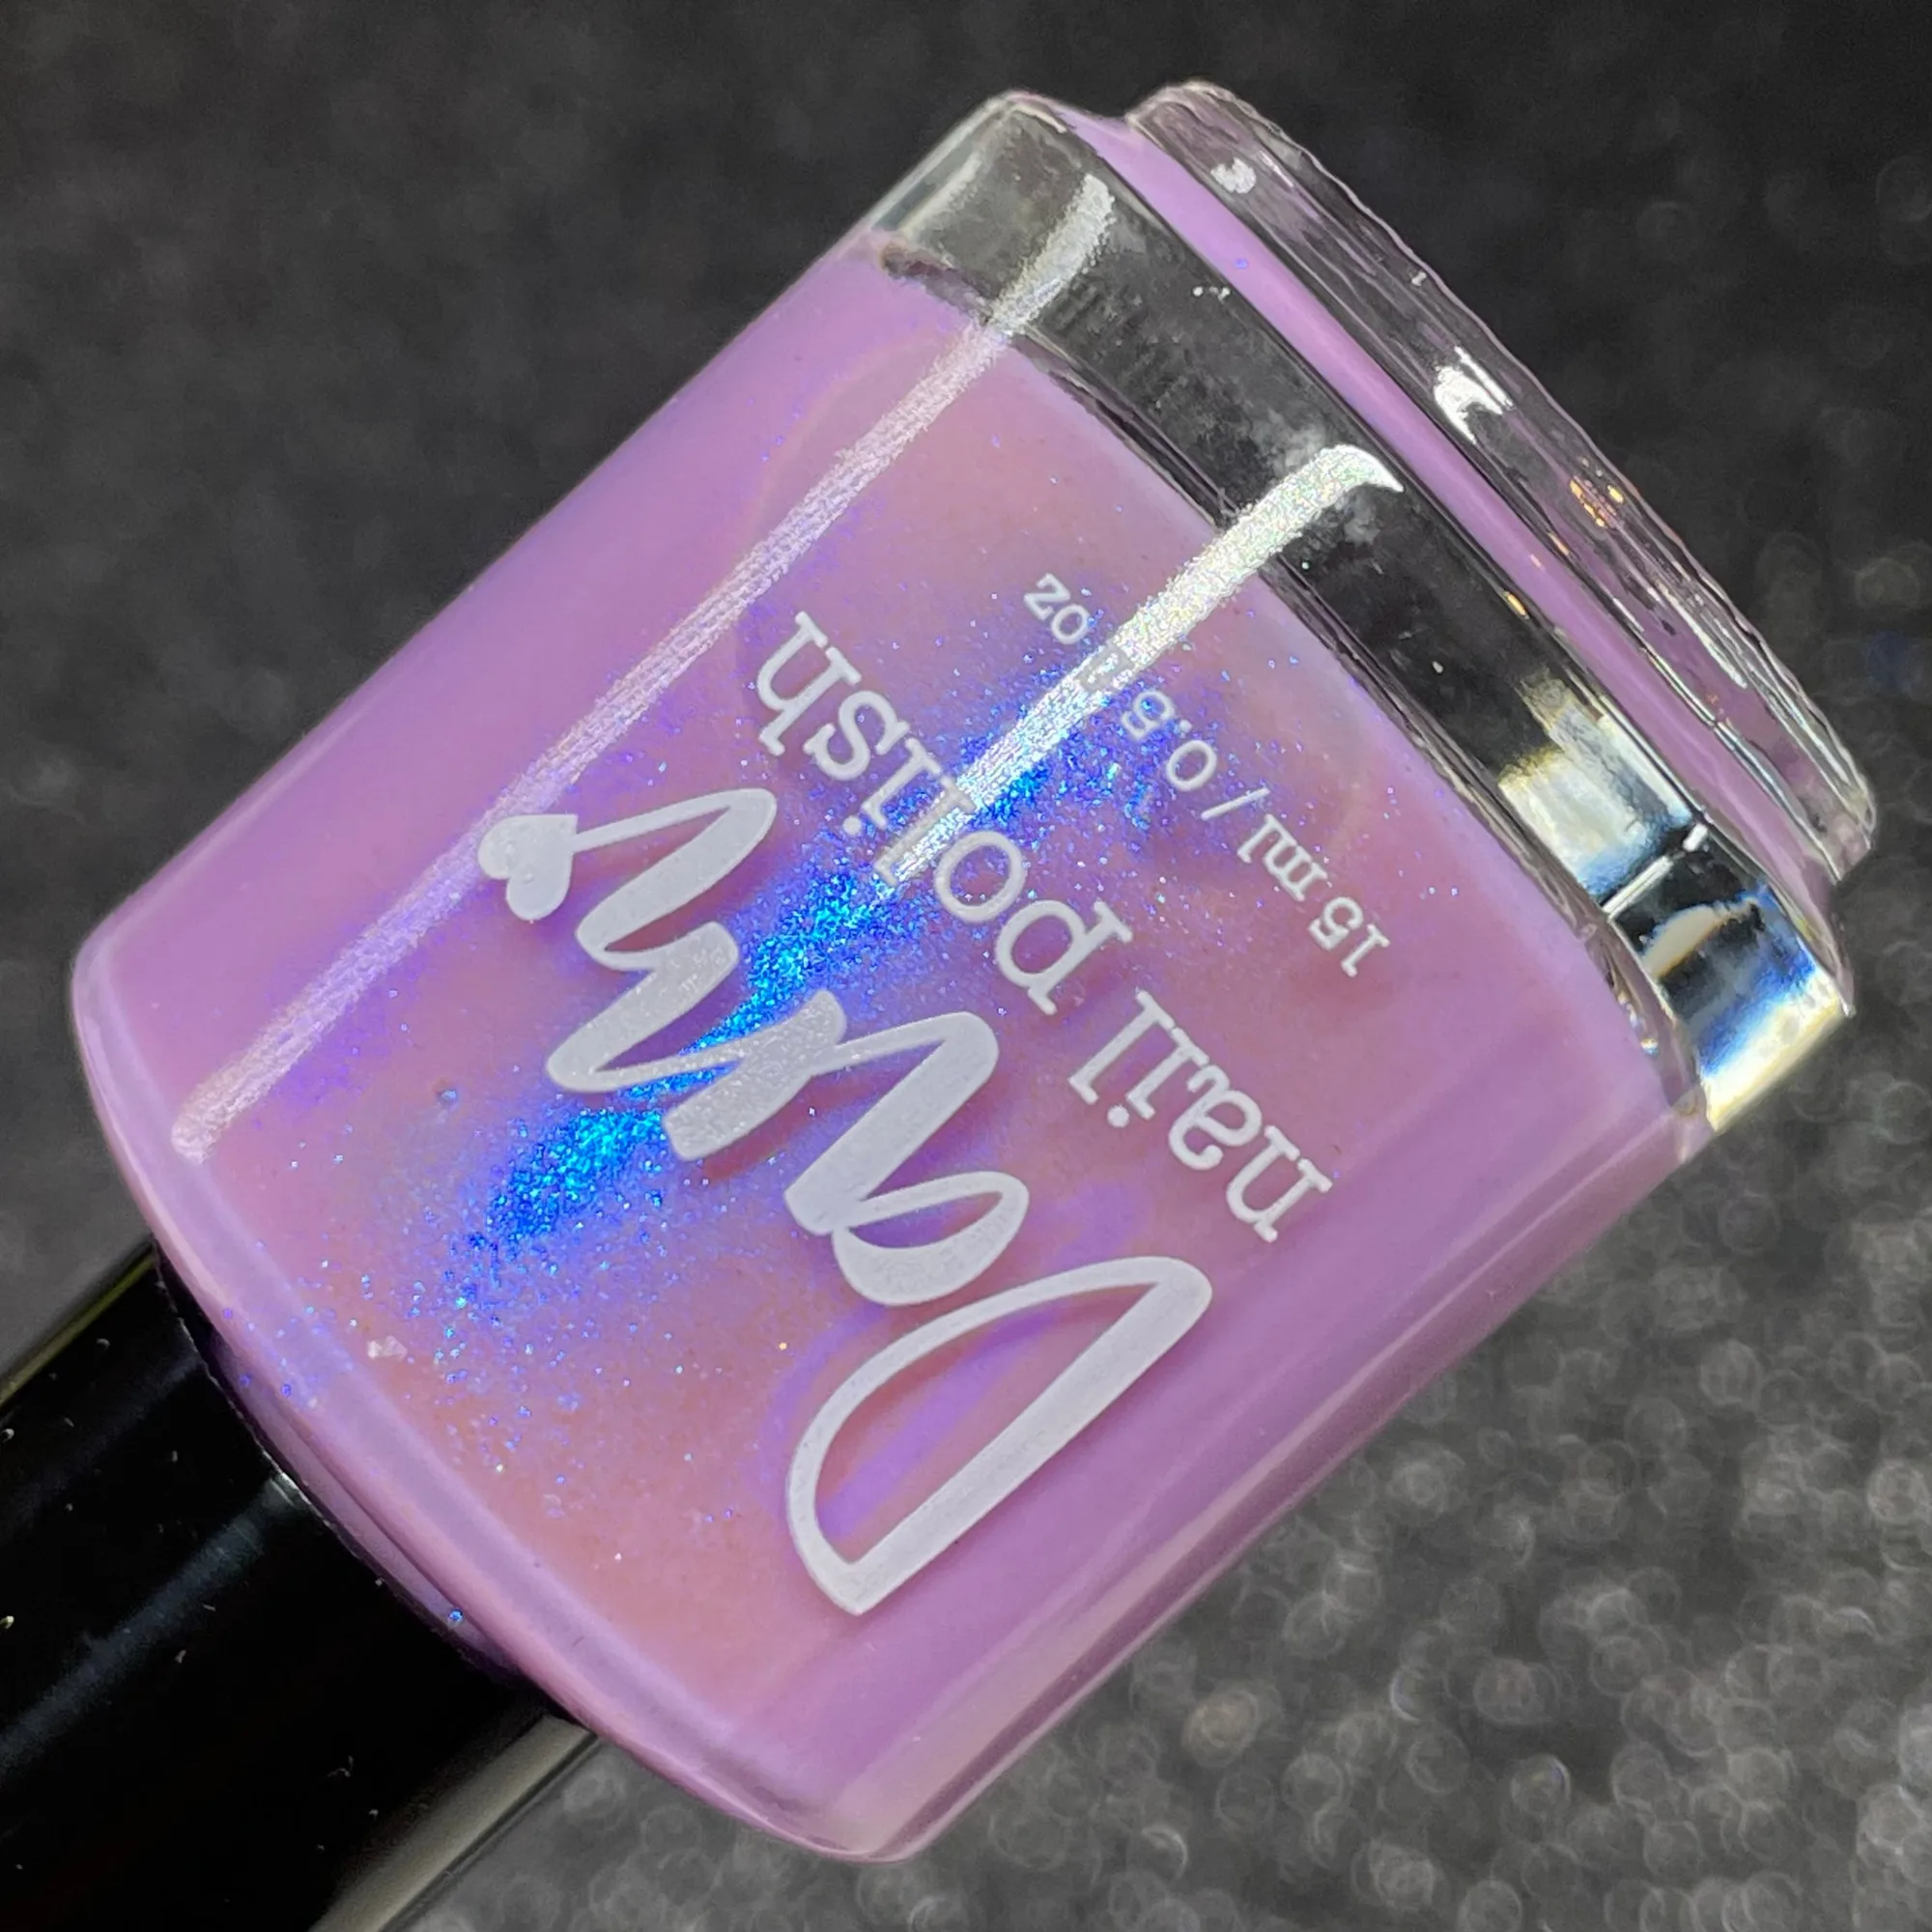
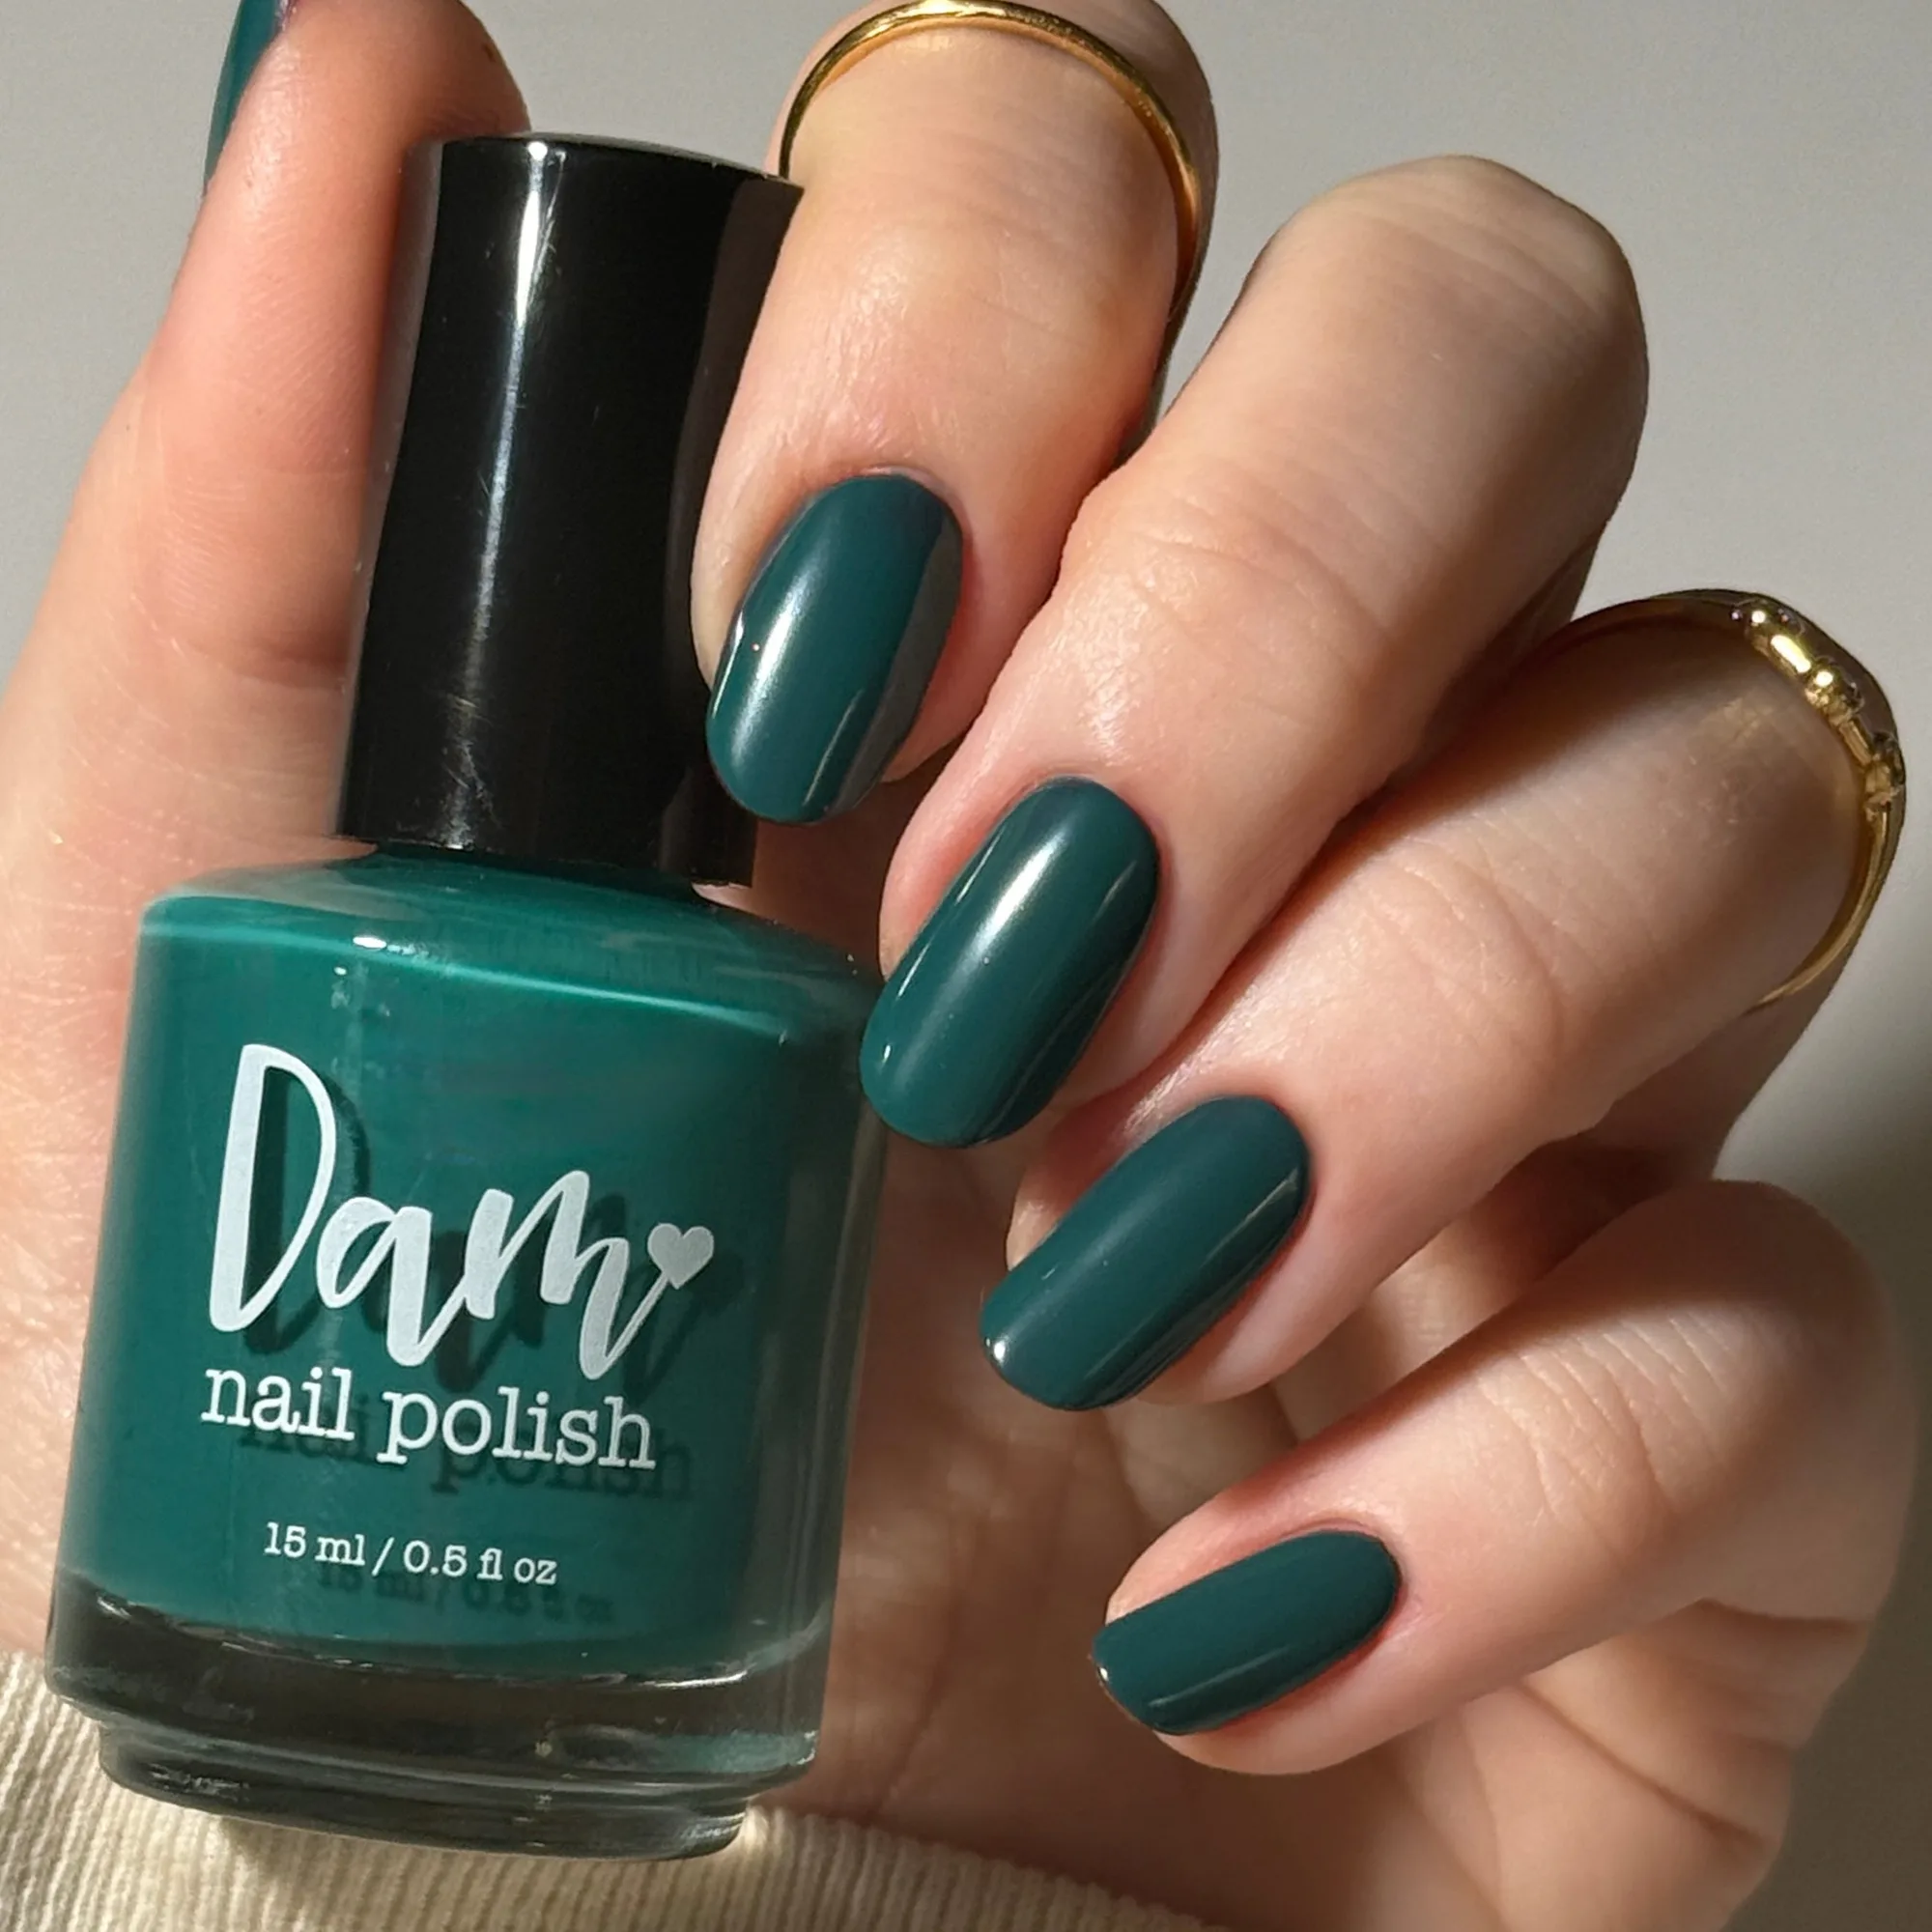
For contrast, pick two or three shades that differ in value, not just hue. A deep forest green cream like Kale Yeah! next to a soft white crelly gives the swirl visible structure. A shimmer like Dreamscape adds a shifting blue-purple glow inside the marble without overwhelming it. The goal is a design you can still read after the top coat goes on.
- Test each polish on water first: one drop should spread into a ring within a few seconds.
- Avoid chunky glitter and quick-dry top coats in the water; save them for the finish.
- Two or three colors is the sweet spot. More colors turn muddy fast.
Prep Your Nails and Skin
Start with clean, dry nails. Push back cuticles, buff any ridges lightly, and apply a base coat. A base coat protects the nail and gives the marble something to grip, which reduces peeling at the edges. Let it dry completely before you dip. If your base coat is still tacky, the water marble film can slide or wrinkle.
Next, protect the skin around each nail. Liquid latex painted onto the surrounding skin and cuticles is the fastest option; painter's tape or medical tape works too. Press the tape down firmly so water cannot sneak underneath. This step feels tedious, but it is the difference between a clean marble and a stained finger.
- Apply base coat and let it dry fully; tacky base coat causes wrinkling.
- Paint liquid latex in a generous border around the nail, not just on the cuticle.
- Do one hand at a time so the latex does not dry and flake before you finish.
How to Marble Nails Step by Step
Fill your cup with room-temperature water. Working quickly, drop your first polish onto the surface and let it spread. Add a drop of your second color into the center of the first ring, then a third if you are using one. Each drop pushes the previous ring outward. Once the rings are wide enough to cover your nail, drag a toothpick through the polish in a slow S-curve or zigzag to create the marble pattern.
Angle your finger and dip it into the water directly over the part of the design you want on the nail. Do not push all the way to the bottom of the cup. Hold for a second, then use the toothpick to clear the polish film from the surface before you pull your finger out. This keeps stray polish from landing on your nail as you lift. Repeat for each nail with a fresh design, because the water surface only works once.
- Drop polish from close to the water, not from high above, to avoid sinking.
- Swirl with one continuous motion; overworking the design makes it muddy.
- Clear the surface film with a toothpick before lifting your finger out.
Cleanup, Top Coat, and Drying
Peel away the liquid latex or tape while the polish is still slightly flexible. If you wait until it is fully hard, it can chip the marble at the edges. Use a small brush or cotton swab dipped in nail polish remover to clean any polish that reached the skin. Work gently around the cuticle so you do not lift the design.
Wait at least ten minutes before applying top coat. A quick-dry top coat can drag the marble if the polish underneath is still wet. Apply one thin coat, let it set, then add a second if you want more depth. Glossy top coat makes the swirl look wet and dimensional; a matte top coat gives it a stone-like finish. Either way, avoid washing your hands or doing dishes for a few hours.
- Remove latex or tape before the polish fully hardens.
- Wait before top coat; dragging is the most common way to ruin a finished marble.
- Two thin top coat layers outlast one thick layer.
Marble Nails Checklist: Steps and Common Mistakes
- Step 1: Prep the nail and skin: Apply base coat, let it dry fully, then paint liquid latex or tape around the nail. Checkpoint: base coat must be dry to the touch, not tacky.
- Step 2: Test your polish on water: Drop one dot of each color onto room-temperature water and watch it spread. Checkpoint: if the polish sinks or stays in a tight bead, thin it or choose another shade.
- Step 3: Build the design: Drop colors one at a time into the center of the previous ring, then swirl with a toothpick in one continuous motion. Common mistake: over-swirling turns the colors muddy. Two or three passes is enough.
- Step 4: Dip and clear the surface: Dip your nail through the design, hold briefly, then clear the polish film with a toothpick before lifting your finger out. Checkpoint: if polish lands on top of your nail as you lift, the film was not cleared.
- Step 5: Clean up and top coat: Peel off latex or tape while the polish is still slightly flexible, clean edges with remover, wait ten minutes, then apply thin top coat layers. Common mistake: applying top coat too soon drags the marble. Wait, then apply two thin coats.
Polishes That Work Well for Marble Nails
- Kale Yeah! - Green Cream Nail Polish - Fall Nail Polish - Autumn Harvest Creams: Deep forest green cream polish, 15ml, recommended 2-3 coats. Cream formulas spread predictably on water, and this deep green gives a marble design strong contrast against lighter shades.
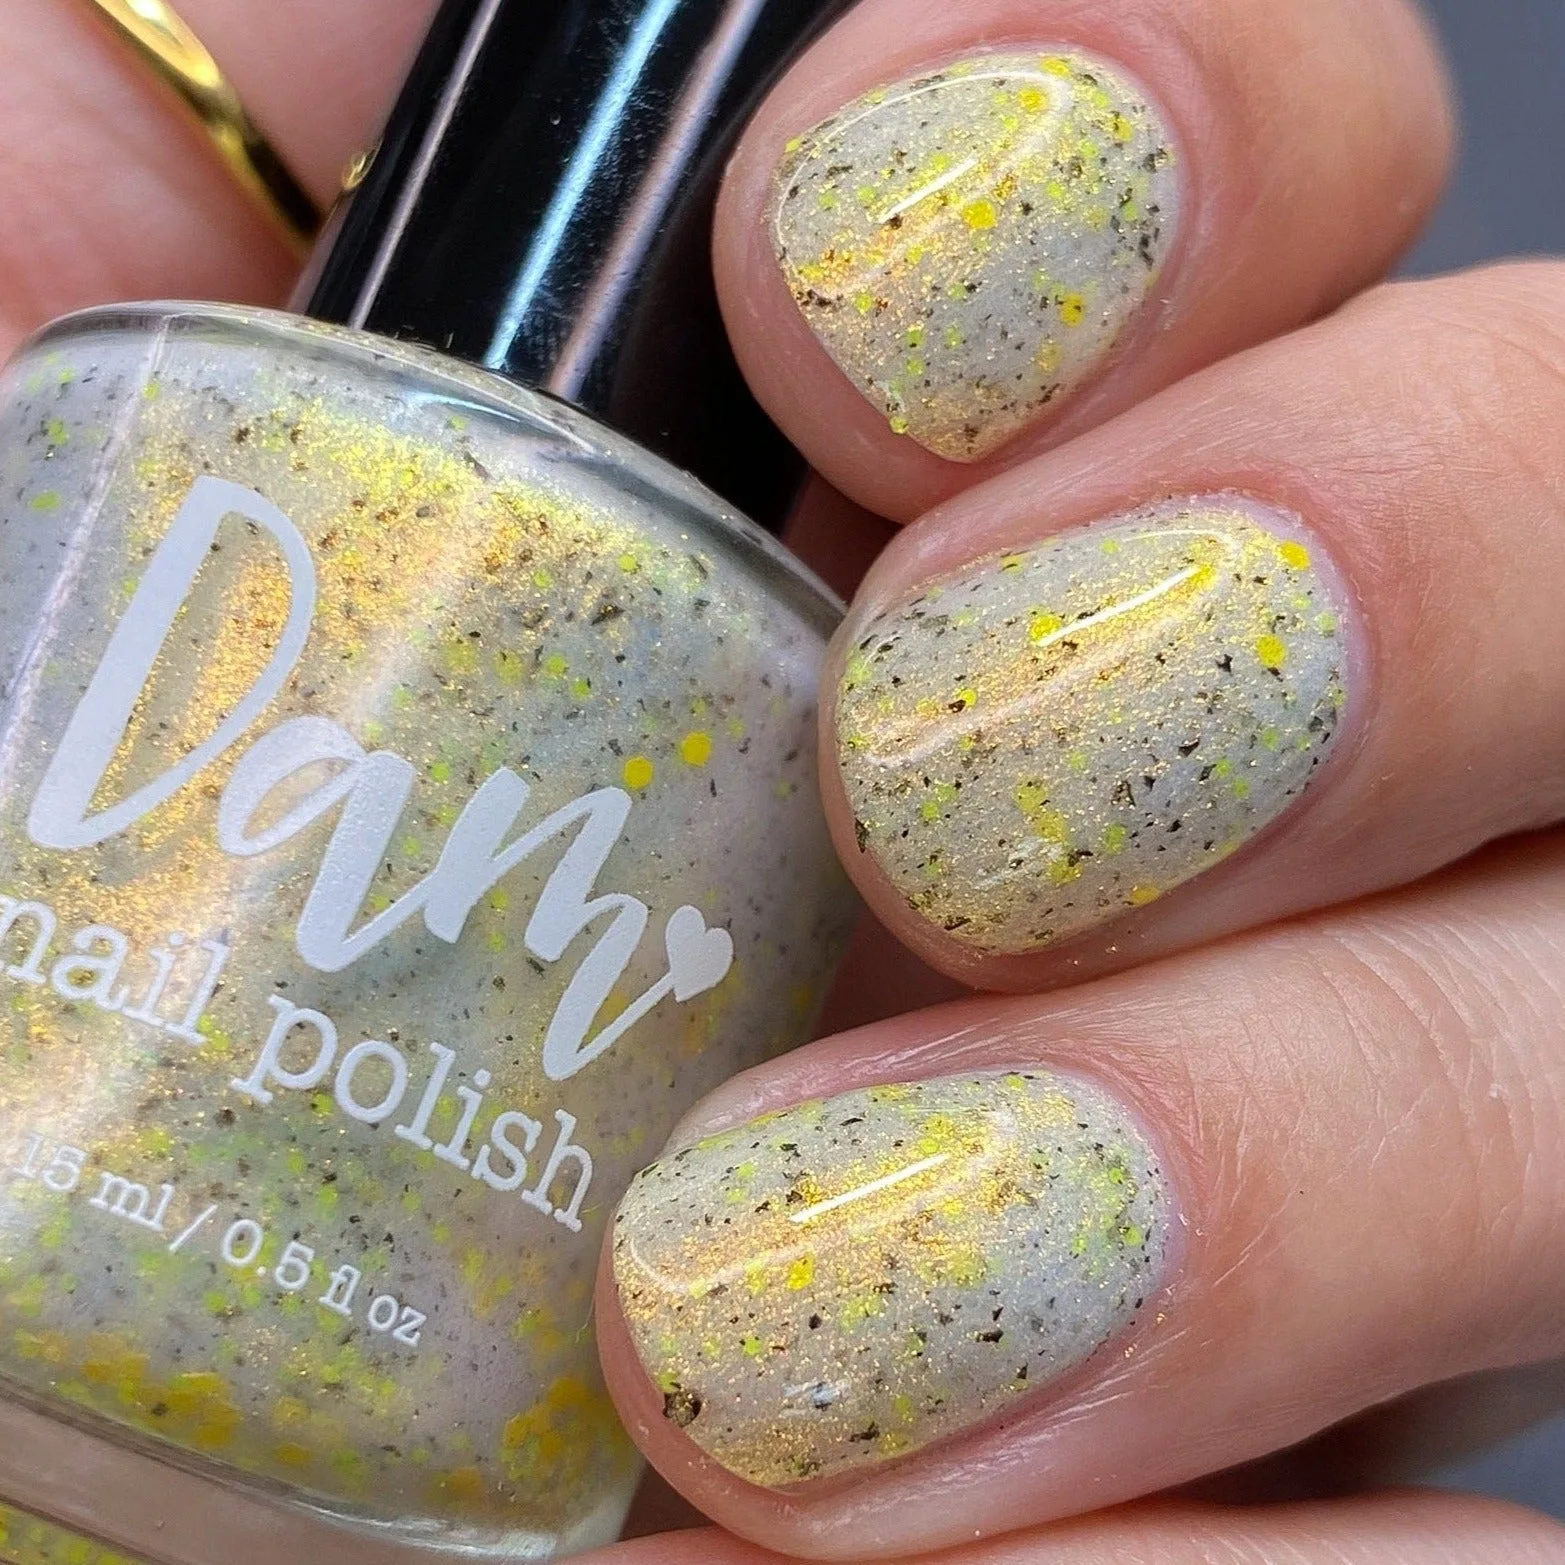
- Lustrous Lightning - White Crelly - Yellow Glitter Nail Polish - Shimmer Nail Polish - Stormy Siblings Collection: White crelly base with yellow and gold shimmer, black flakes, and assorted neon yellow glitters, 15ml, recommended 2-3 coats. The white crelly base floats well for marbling, while the shimmer and flakes add texture to the swirl. Skip it if you want a perfectly smooth marble, since the black flakes stay visible.
- Dreamscape - Purple Shimmer Nail Polish - December 2025 POTM: Cool purple crelly base with blue and blurple shifting shimmer, 15ml, recommended 2-3 coats. Some pink dot staining may occur due to the nature of the pigment. The shimmer shifts color inside the marble for extra depth. Because this pigment can stain, wear a base coat and avoid leaving it on bare nails.
- Feelin' It - Red/Orange/Green/Blue Multichrome Nail Polish - Reflective Nail Polish - Glitter Nail Polish: Multichrome polish with blue reflective glitters and shifts of red, orange, green, and blue, 15ml, recommended 2-3 coats. Best used as an accent drop rather than a full marble base, since the reflective glitter is chunky and may not spread into a smooth ring.
Water marble nails reward patience more than precision. Test your polishes on water first, protect your skin, and give each nail its own fresh design. Once you find two or three shades that spread well, the process becomes fast, repeatable, and genuinely fun.