Quick answer
Start with a sturdy shoe box or foam board base, paint a two-tone water background, and layer lightweight materials for depth. Attach your blue tang and dolphin figures with removable putty so kids can rearrange them. Keep glue away from painted figures and let each layer dry fully before adding the next.
An ocean diorama works best when it invites touch, not just looking. That means choosing a base that survives small hands, using lightweight layers that won't crush, and anchoring figures so they can be moved without leaving holes.
This tutorial walks through a kid-friendly underwater diorama using a blue tang figure and a dolphin figurine as the main characters. You'll also see how a few real Mojo Fun USA animal figures can add contrast and storytelling to the scene.
Gather materials and pick a sturdy base
You need a shallow box or a piece of foam board at least 12 by 9 inches. A shoe box lid works, but a slightly deeper tray holds sand and water layers better. Collect acrylic paint in two blues, white, and a dark navy, plus a foam brush, craft glue, removable mounting putty, and a few clear plastic cups for mixing.
For the water effect, choose one lightweight textured material: crinkled blue tissue paper, torn cellophane, or thin felt. Avoid heavy resin or clay for the background because it can crack when the box flexes. If you plan to hang the diorama, reinforce the back with a second layer of foam board before painting.
- Checkpoint: press the center of your base with one finger. If it bows more than a little, add a second layer of cardboard or foam board.
- Common mistake: using a deep box with tall sides. It blocks light and makes the figures hard to see from the front.
Paint the water and sand layers
Paint the inside back and sides with a gradient: dark navy at the top, medium blue in the middle, and a lighter blue near the bottom. Let each band dry for about 20 minutes before adding the next so the colors stay crisp. For the sand, paint the bottom quarter of the base in a warm tan or pale yellow, then sprinkle a thin layer of real craft sand while the paint is still tacky.
If you want a reef or rock ledge, cut a small piece of foam board into an L-shape and paint it gray or brown. Glue it to the base after the sand layer dries. This creates a shelf where the dolphin figurine can rest at a different height from the blue tang, which adds visual depth without extra cost.
- Checkpoint: tilt the box slightly. Loose sand should stay put. If it slides, press it into the tacky paint and let it dry longer.
- Common mistake: painting the sand layer first. It smears when you add blue water bands above it.
Add plants, bubbles, and background texture
Cut thin strips of green felt or tissue paper for seaweed and glue them along the sand line. Vary the heights so the scene doesn't look like a fence. For bubbles, glue tiny white craft foam circles or punch holes in white paper and attach them with a dab of glue. Keep bubbles above the dolphin's snout to suggest movement.
If you want a blue tang figure craft element, create a small coral arch from pipe cleaners or twisted tissue paper and place it near the center. This gives the blue tang a natural focal point and keeps the eye moving across the diorama. Let all glue dry completely before handling the box.
- Checkpoint: shake the box gently. Nothing should rattle or fall off. If something loosens, re-glue and wait another 15 minutes.
- Common mistake: overcrowding the background. Leave open blue space so the figures stand out.
Place the blue tang and dolphin figures
Use removable mounting putty instead of permanent glue for the main figures. Roll a small pea-sized ball, press it onto the base or rock ledge, and set the figure on top. The blue tang can sit near the coral arch, while the dolphin figurine can be placed higher on the rock ledge or suspended from a clear thread if you want it swimming mid-water.
If you suspend the dolphin, tape the thread to the top inside of the box and adjust the length so the figure hangs at eye level. Keep the thread short enough that it doesn't tangle. For a mixed-species scene, you can add a Morgan Stallion Bay figure on a separate land section, but that changes the theme. For a pure ocean display, stick with sea creatures.
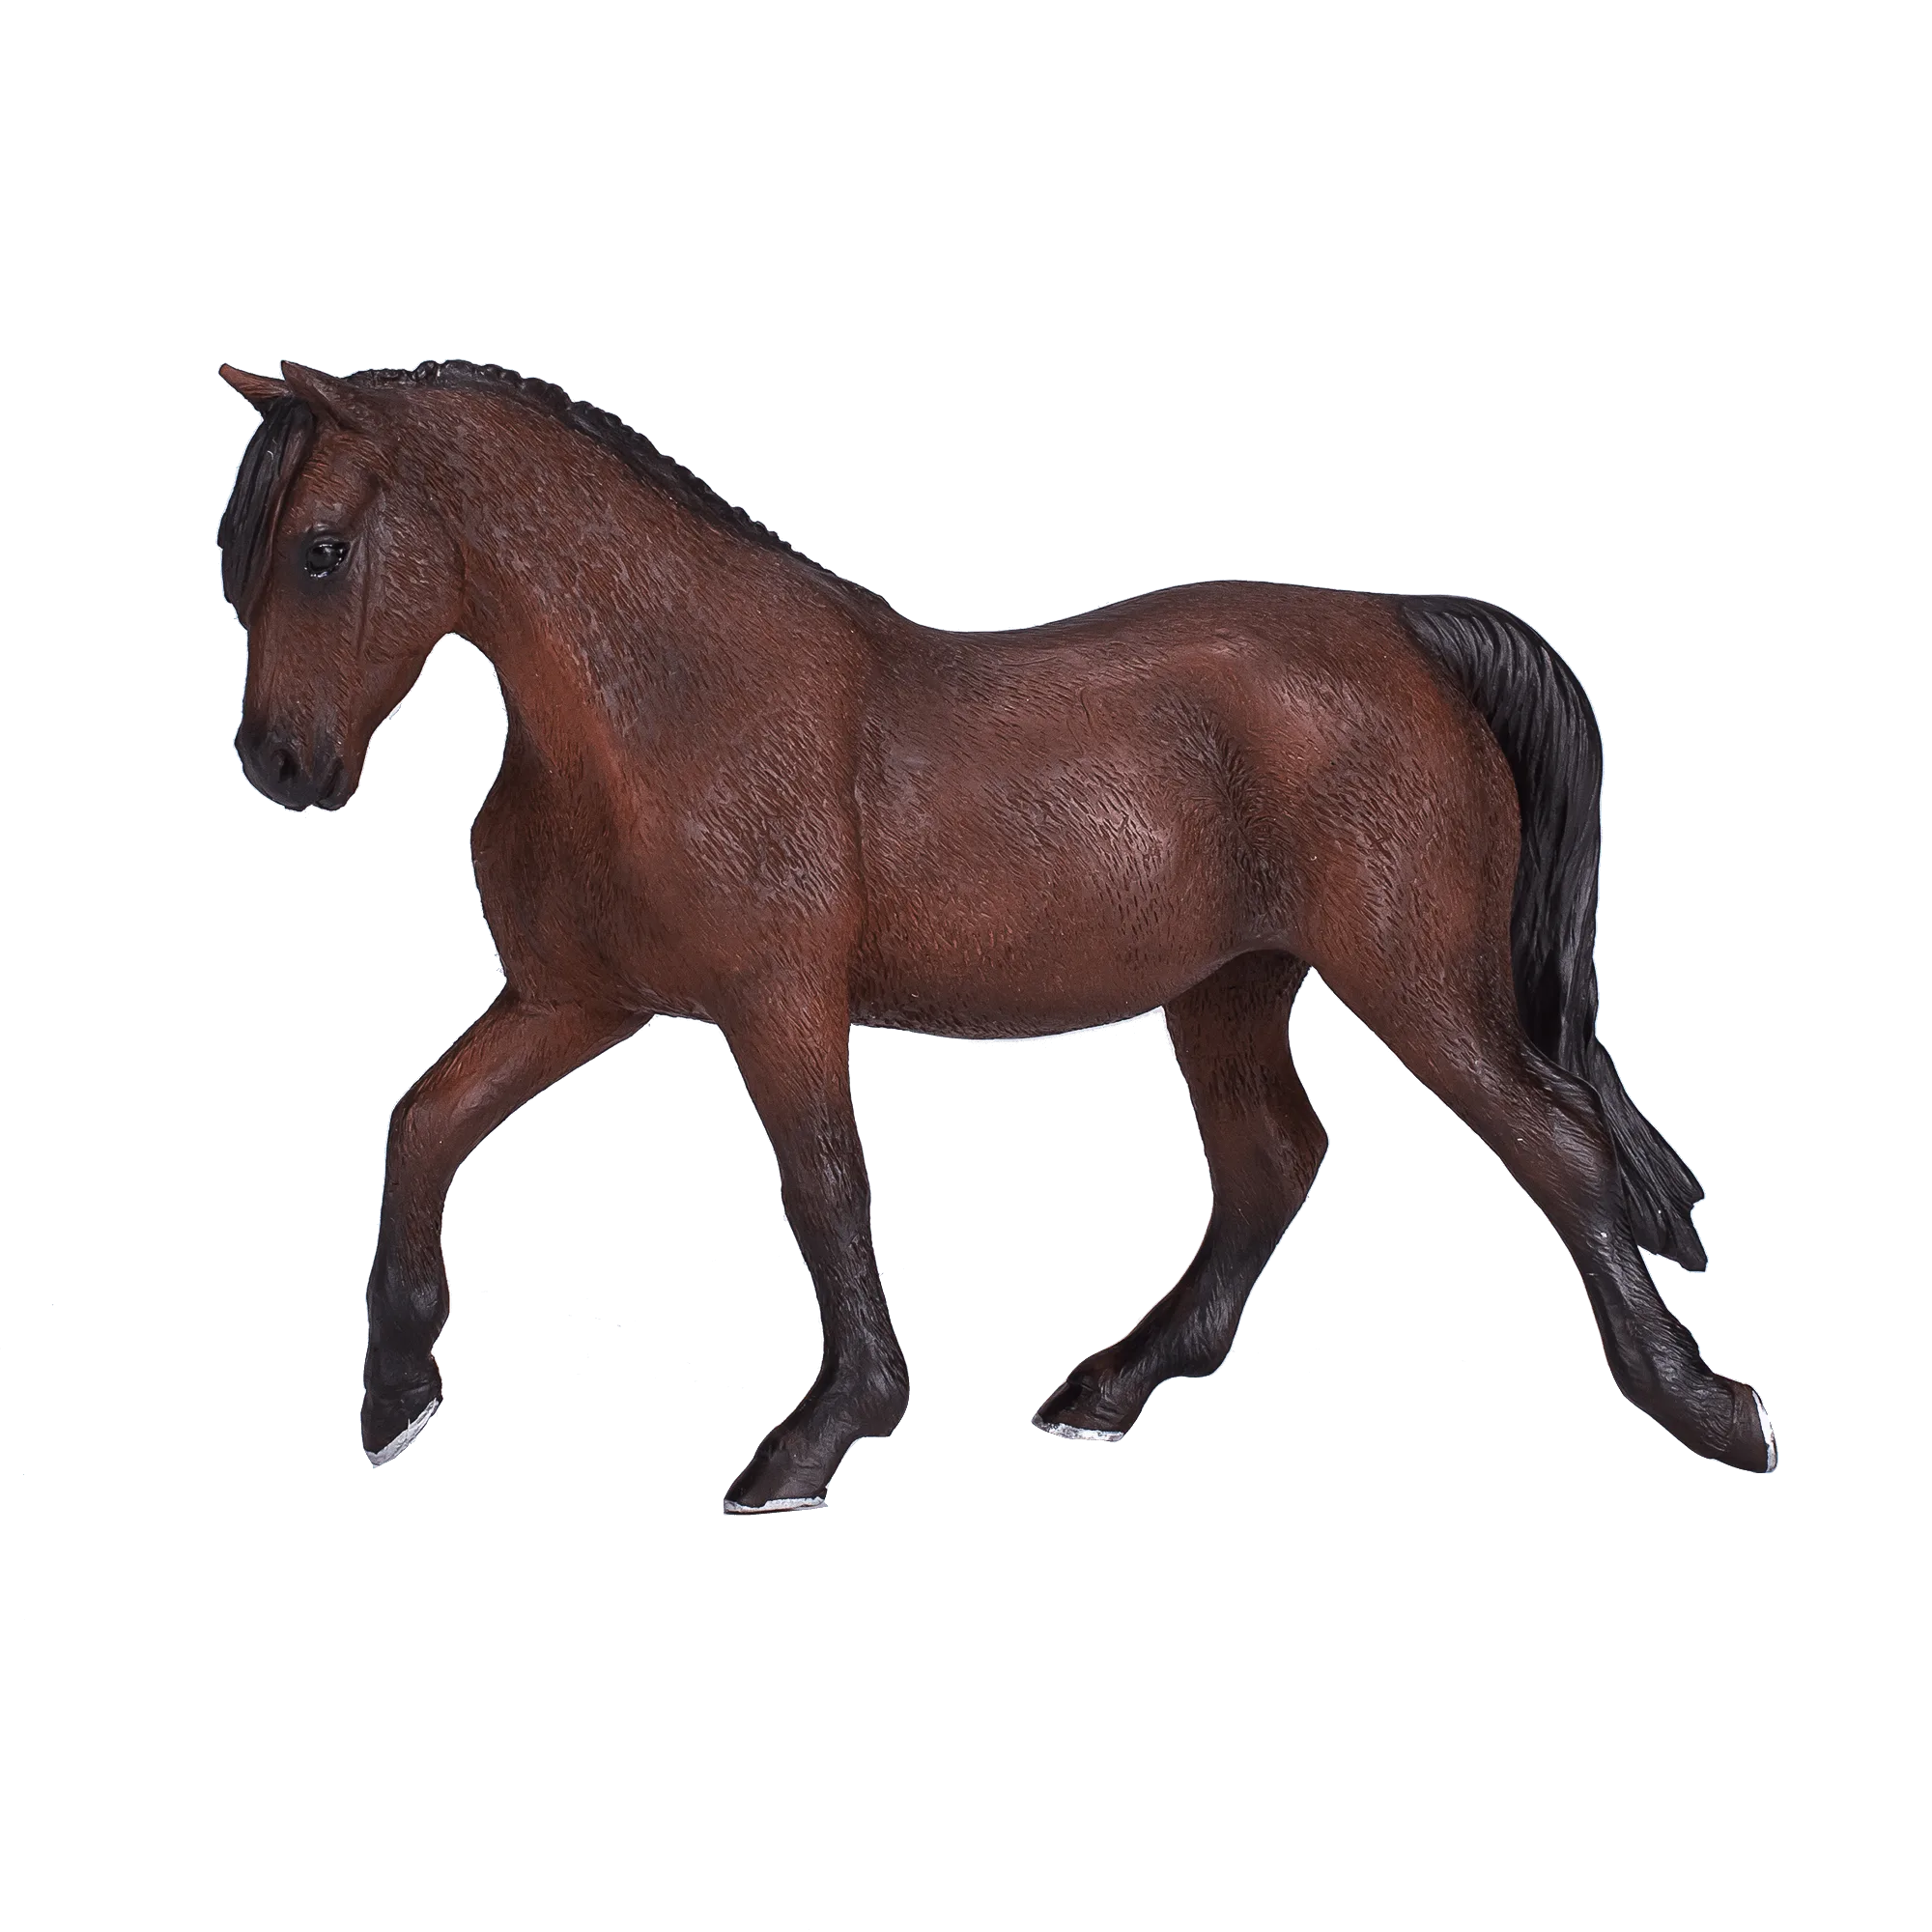
Morgan Stallion Bay
- Checkpoint: push each figure gently. It should hold its position but pop off with a light pull.
- Common mistake: using hot glue on painted figures. It can peel paint and makes repositioning impossible.
Finish with lighting and a quick stability test
Place the diorama near a lamp with a warm white bulb, or use a small battery tea light behind a blue tissue paper screen to create a glow. Avoid direct sunlight, which can fade painted backgrounds over time. If the box feels top-heavy, add a small weight like a flat stone under the sand layer before the final glue-up.
Before handing the diorama to kids, do a tip test: set it on a table and nudge it from three sides. If it slides easily, add rubber bumpers or a non-slip mat underneath. For storage, keep the figures in a small zip bag so they don't get lost between play sessions.
- Checkpoint: the diorama should stay upright when bumped. If it tips, lower the center of gravity with a flat weight.
- Common mistake: skipping the stability test. A wobbly diorama leads to cracked paint and broken figures.
Step-by-step ocean diorama build
- Prep the base: Choose a shallow box or foam board at least 12 by 9 inches. Reinforce the back if it flexes. Paint a two-tone water background and let it dry. Checkpoint: the base should not bow when pressed. If it does, add a second layer.
- Add sand and rock layers: Paint the bottom quarter tan, sprinkle craft sand while tacky, and glue a foam board ledge for the dolphin. Let everything dry fully. Common mistake: rushing the sand layer. Wet paint smears when you add blue bands above.
- Create plants and bubbles: Cut felt or tissue paper into seaweed strips and glue them along the sand line. Add small white foam circles for bubbles above the dolphin's snout. Checkpoint: shake gently. Nothing should fall off before you add figures.
- Position the blue tang and dolphin: Use removable putty to attach the blue tang near a coral arch and the dolphin on the rock ledge or suspended from a clear thread. Common mistake: hot glue on painted figures. It peels paint and prevents repositioning.
- Light and stability test: Add a warm lamp or battery tea light behind a blue screen. Nudge the diorama from three sides to check for tipping. Checkpoint: if it slides, add rubber bumpers or a non-slip mat underneath.
Real figures that fit this diorama
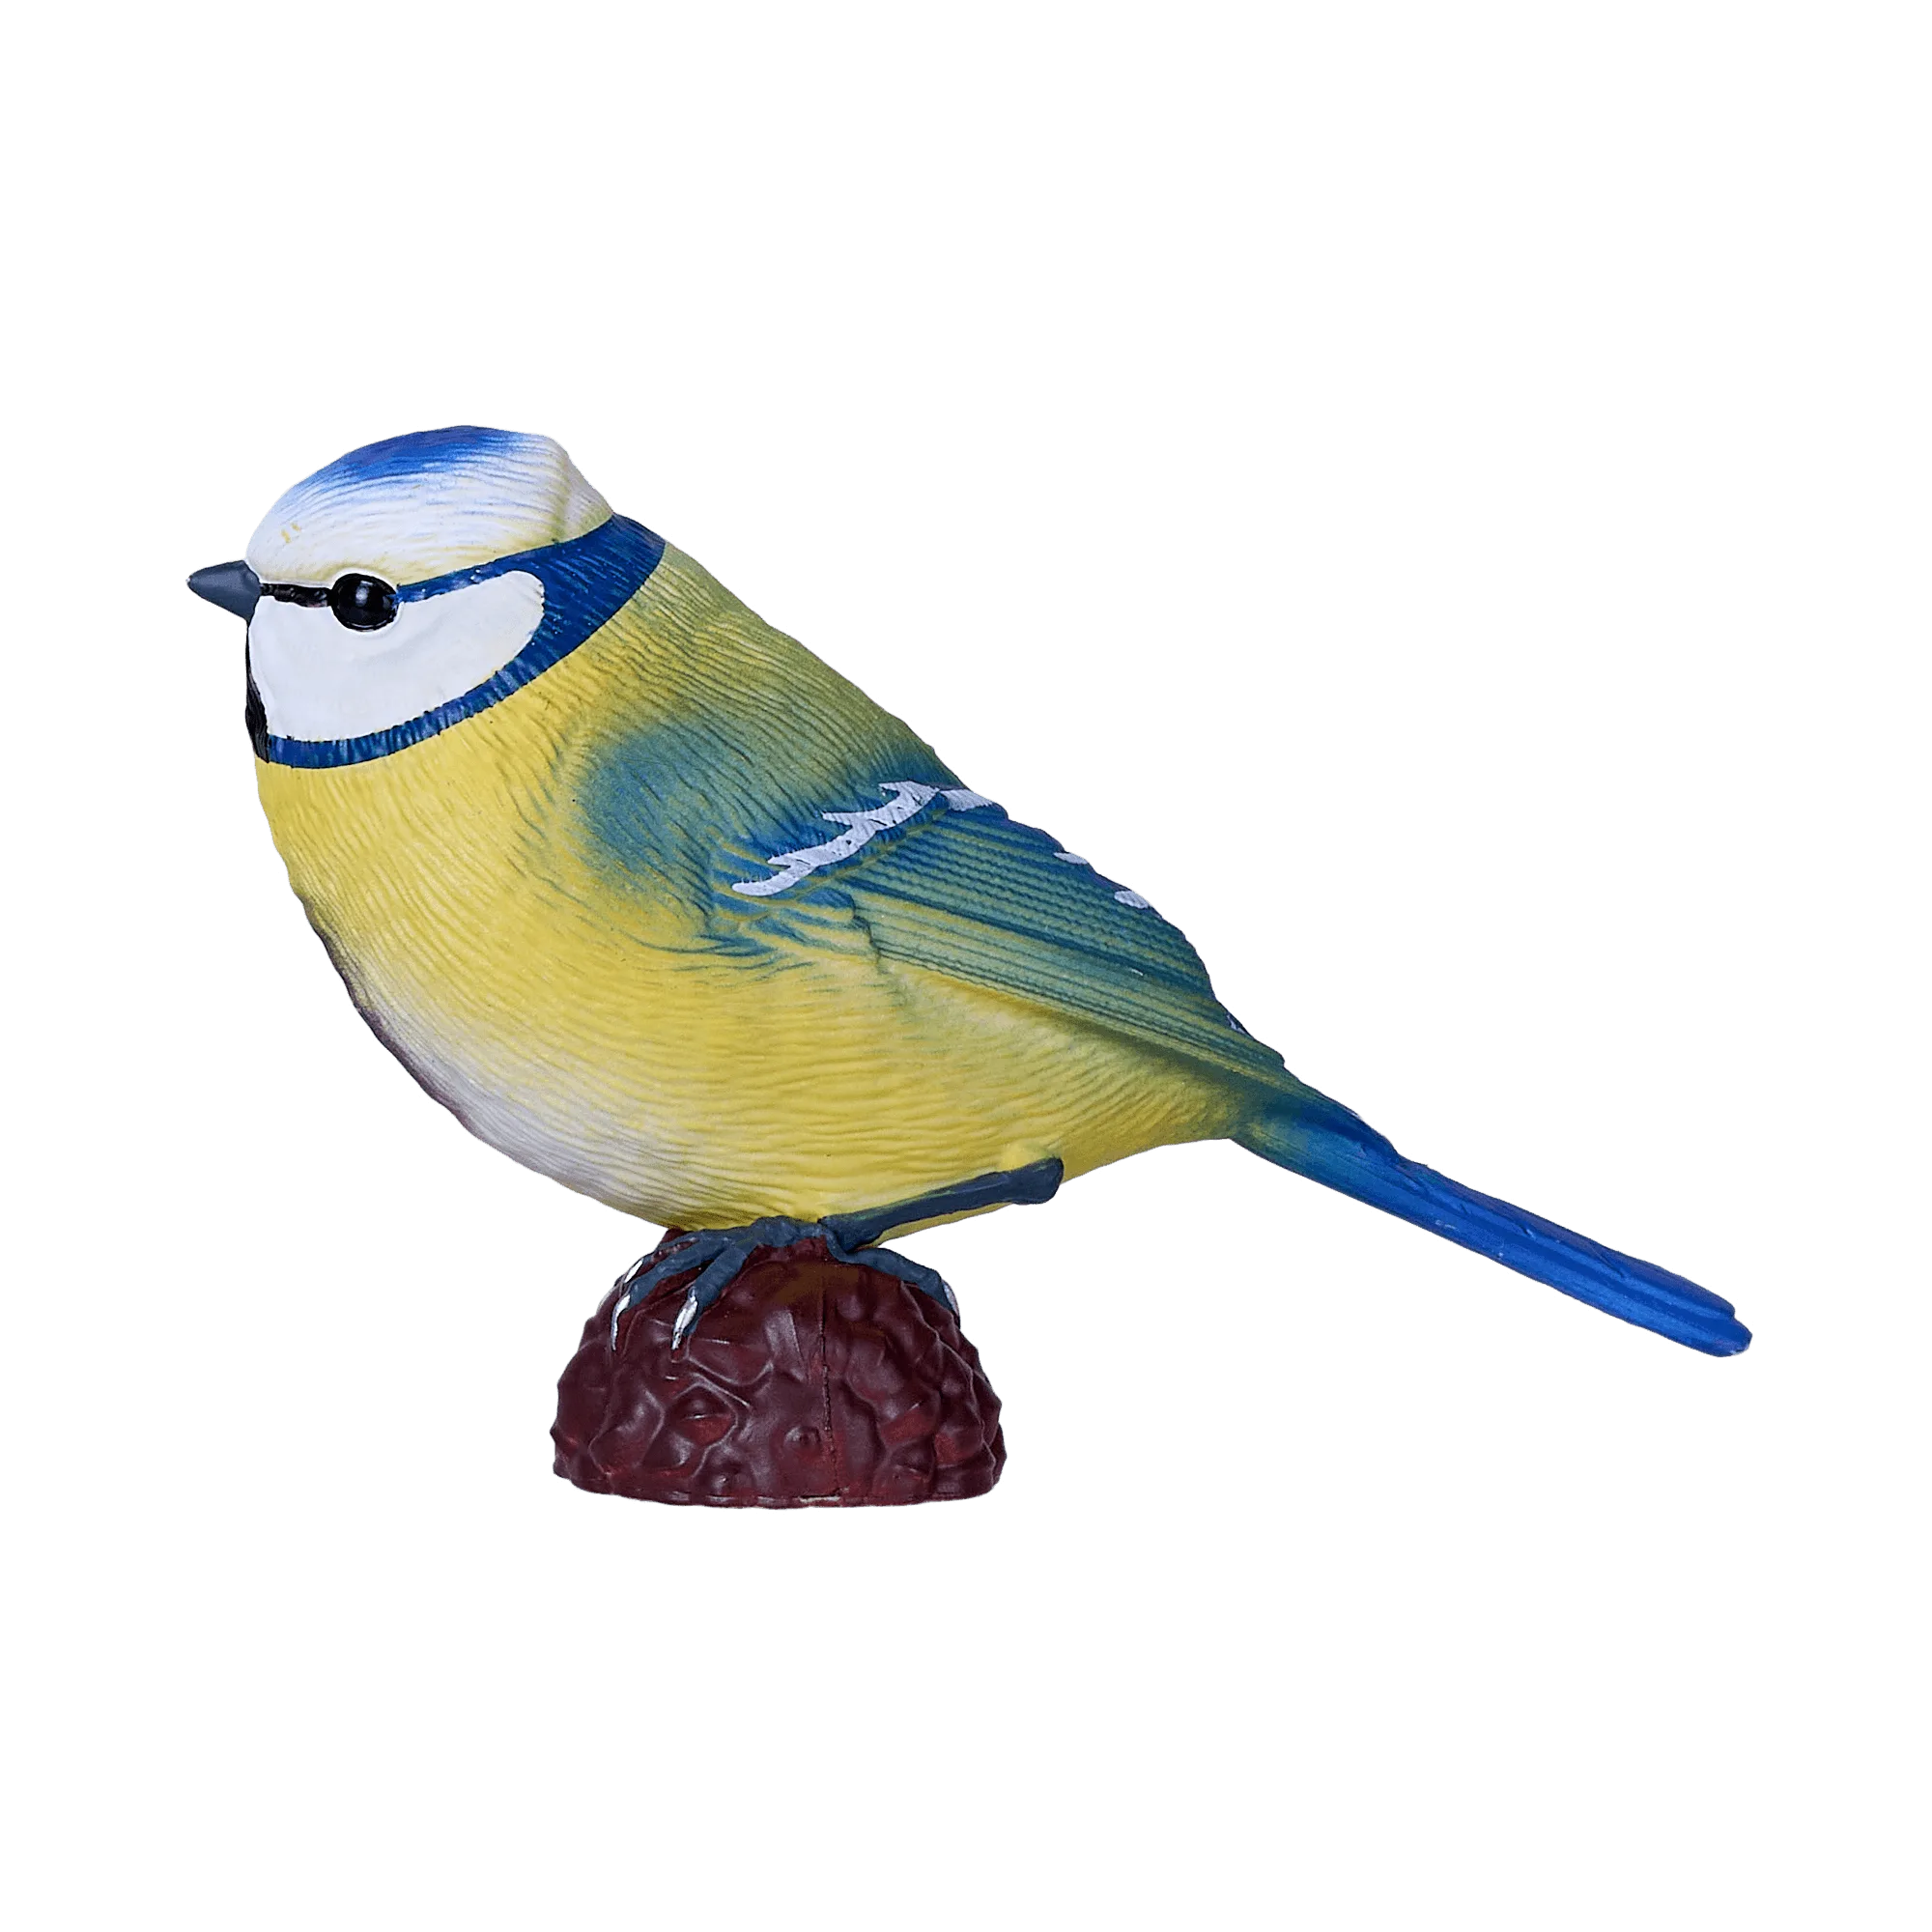
- Blue Tit: This hand-painted Blue Tit model features vivid colors and intricate detailing that make it an educational and delightful addition to any bird-themed display. While not an ocean animal, it shows the level of detail Mojo Fun USA puts into small figures, which helps you judge scale and paint quality for your diorama.
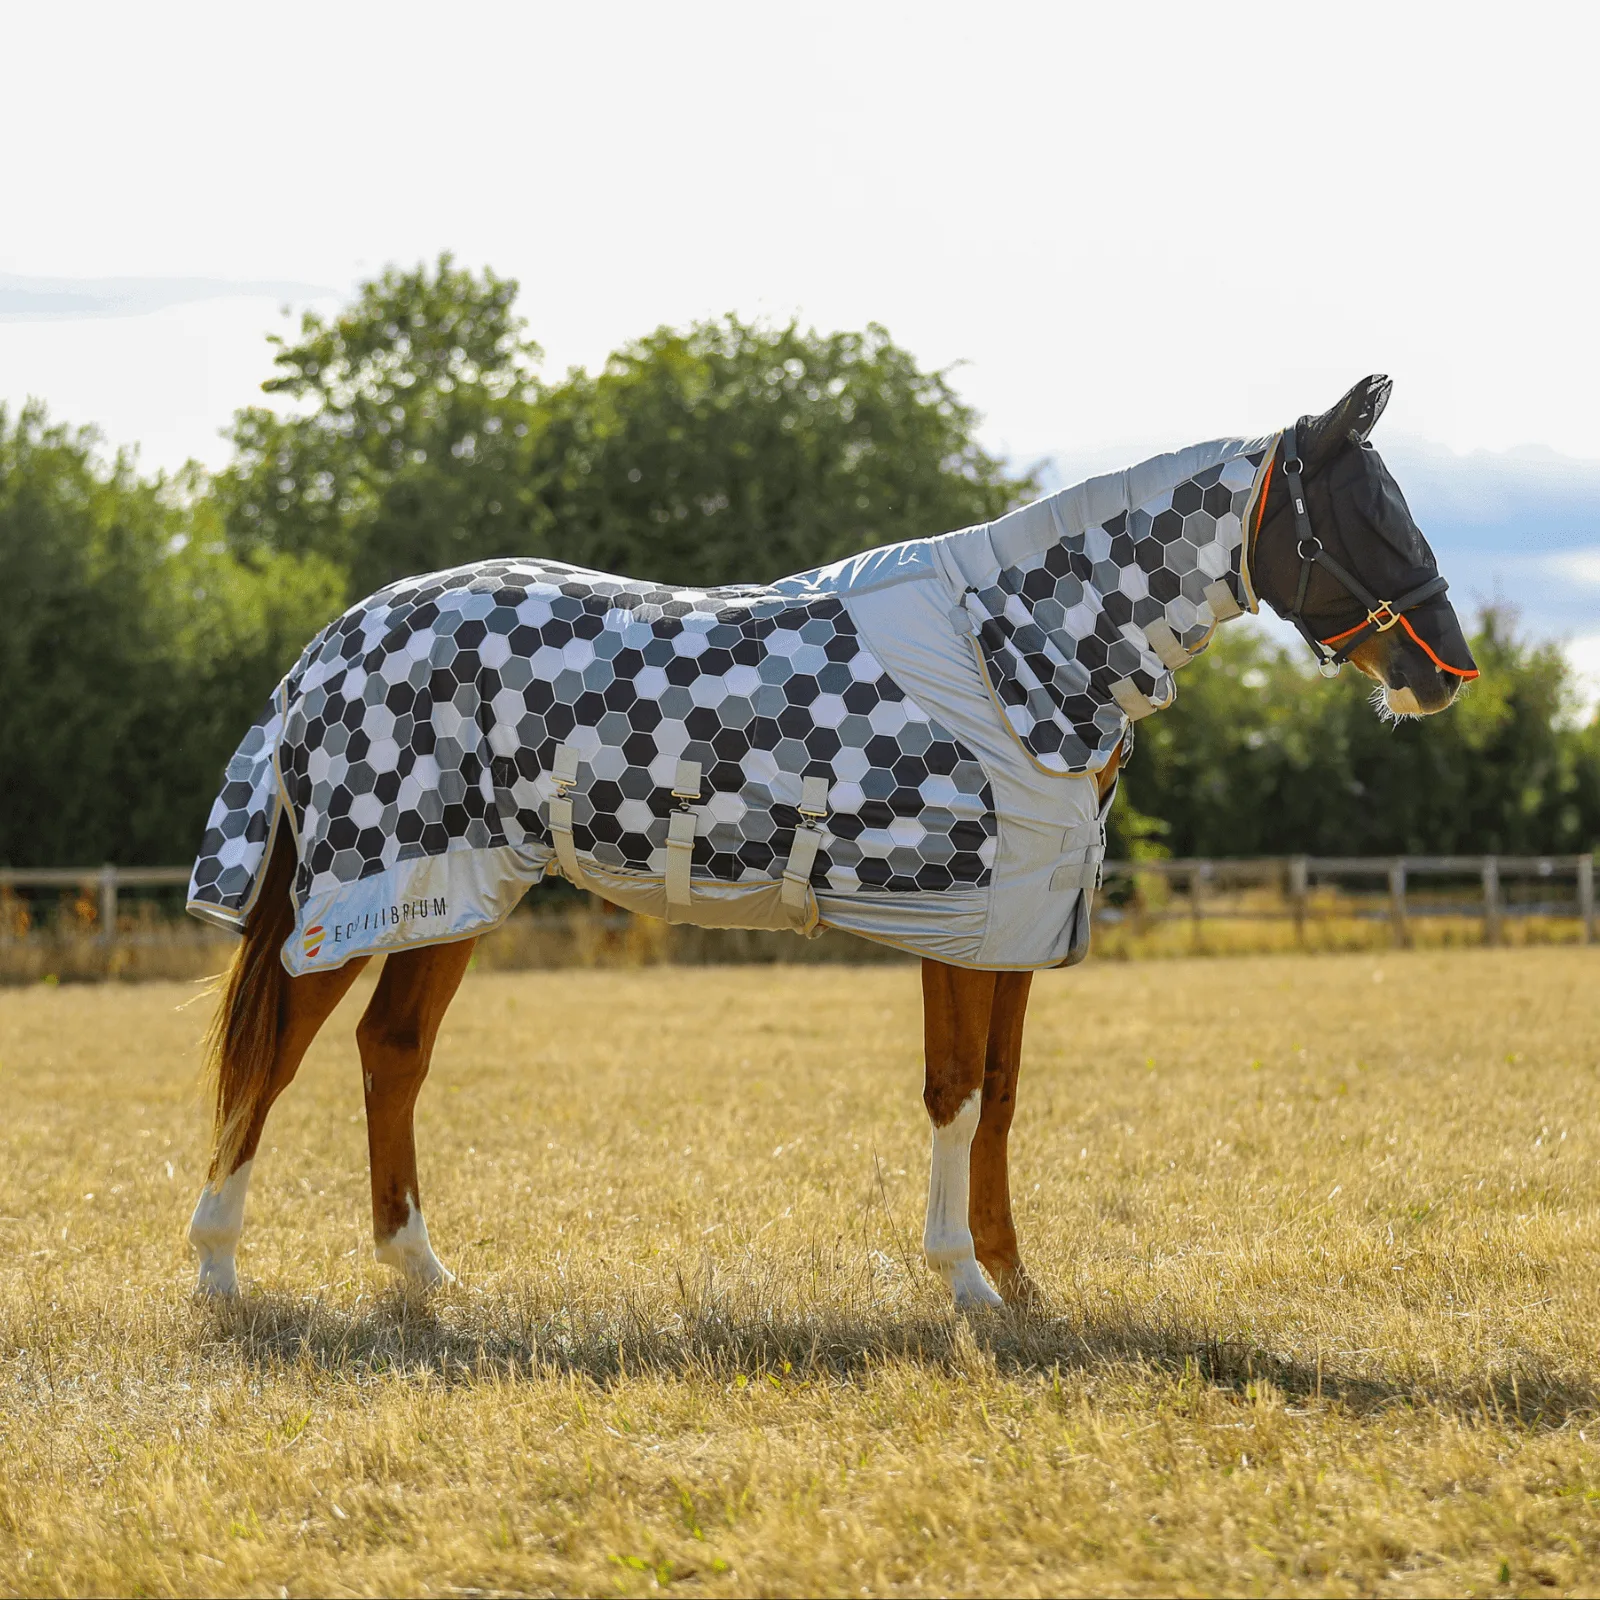
- Morgan Stallion Bay: The Morgan horse is one of the most elegant and versatile breeds. From roping to dressage and every sport in between, Morgans can be found competing. They are known for their good disposition and intelligence, as well as their strength and stamina. If you expand your diorama into a coastal scene with a beach or dock, this figure can stand on a separate land section without overwhelming the ocean theme.
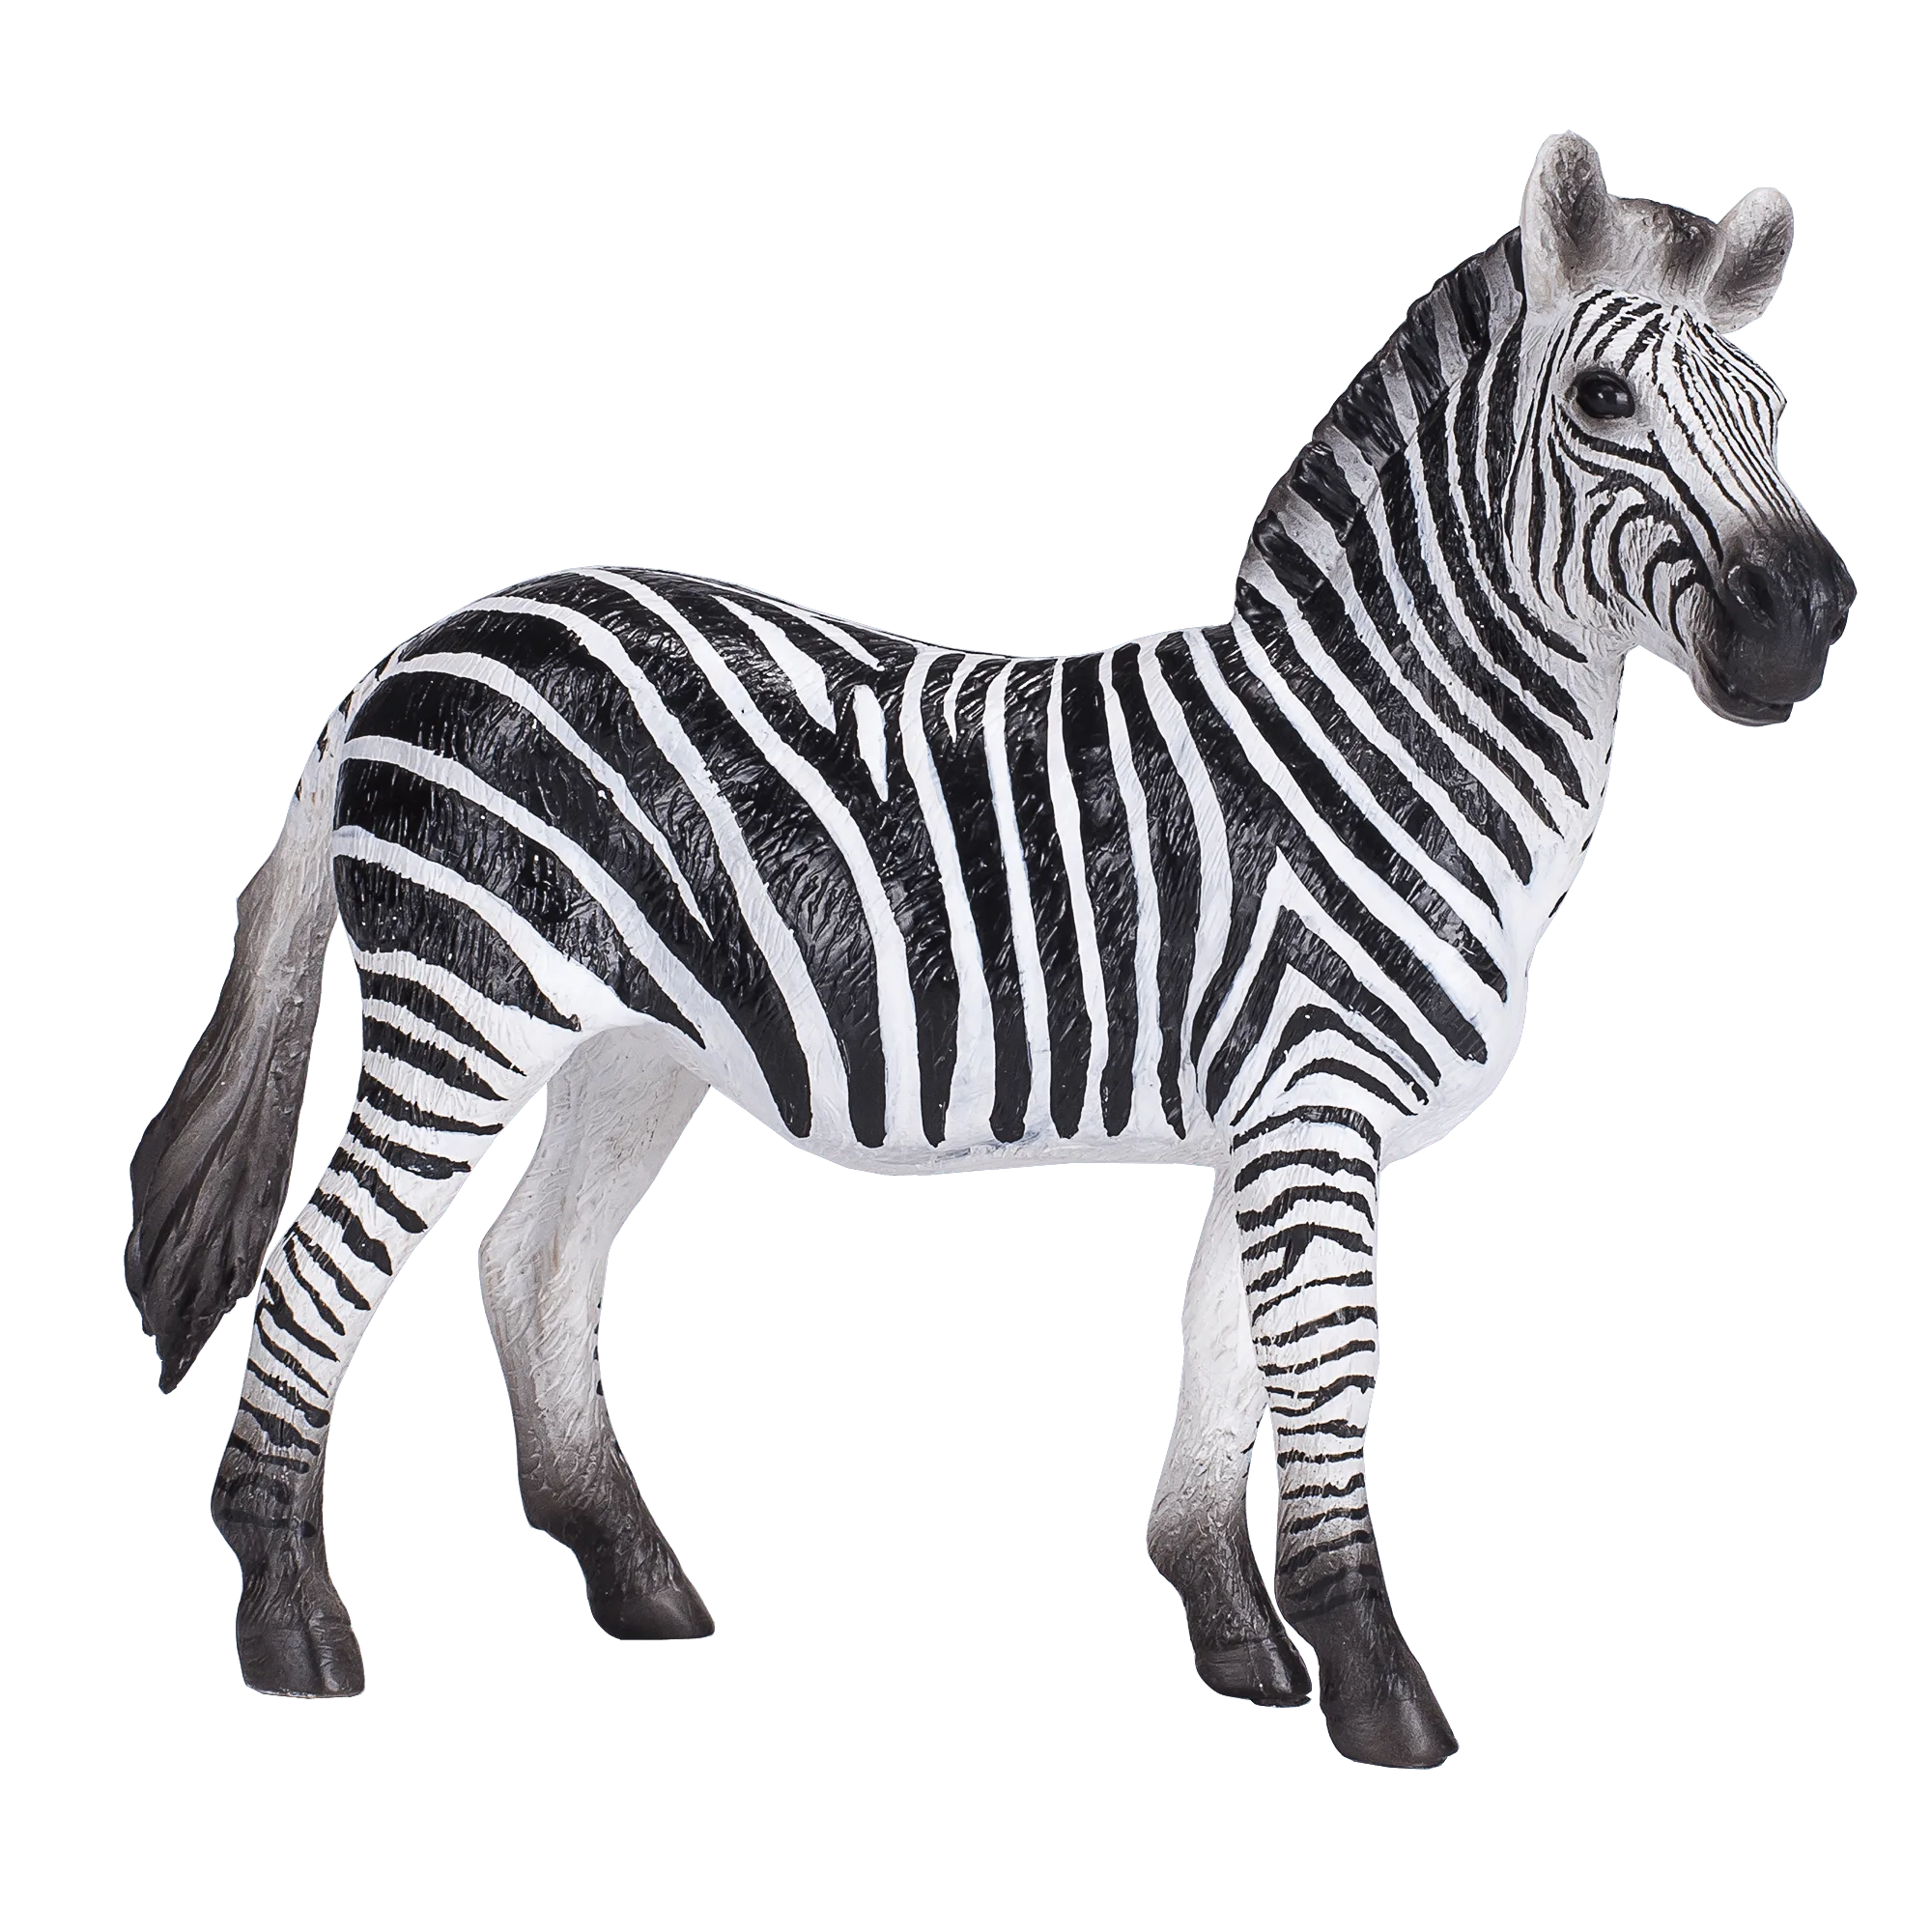
- Zebra Mare: Zebra are native to Sub-Saharan Africa. Two prominent African Zebra species are Plains Zebra (Equus burchelli) and GrevyCB's Zebra (Equus grevyi). They may look similar but they show many different behavior traits. A zebra figure doesn't belong in an ocean diorama, but it illustrates how Mojo Fun USA models different species accurately, which matters if you build a multi-habitat display.
A good ocean diorama balances sturdy construction with room for play. Keep the base rigid, layer lightweight materials, and use removable putty so kids can rearrange the blue tang and dolphin figures without damage. With a quick stability test, your underwater scene will hold up to repeated adventures.