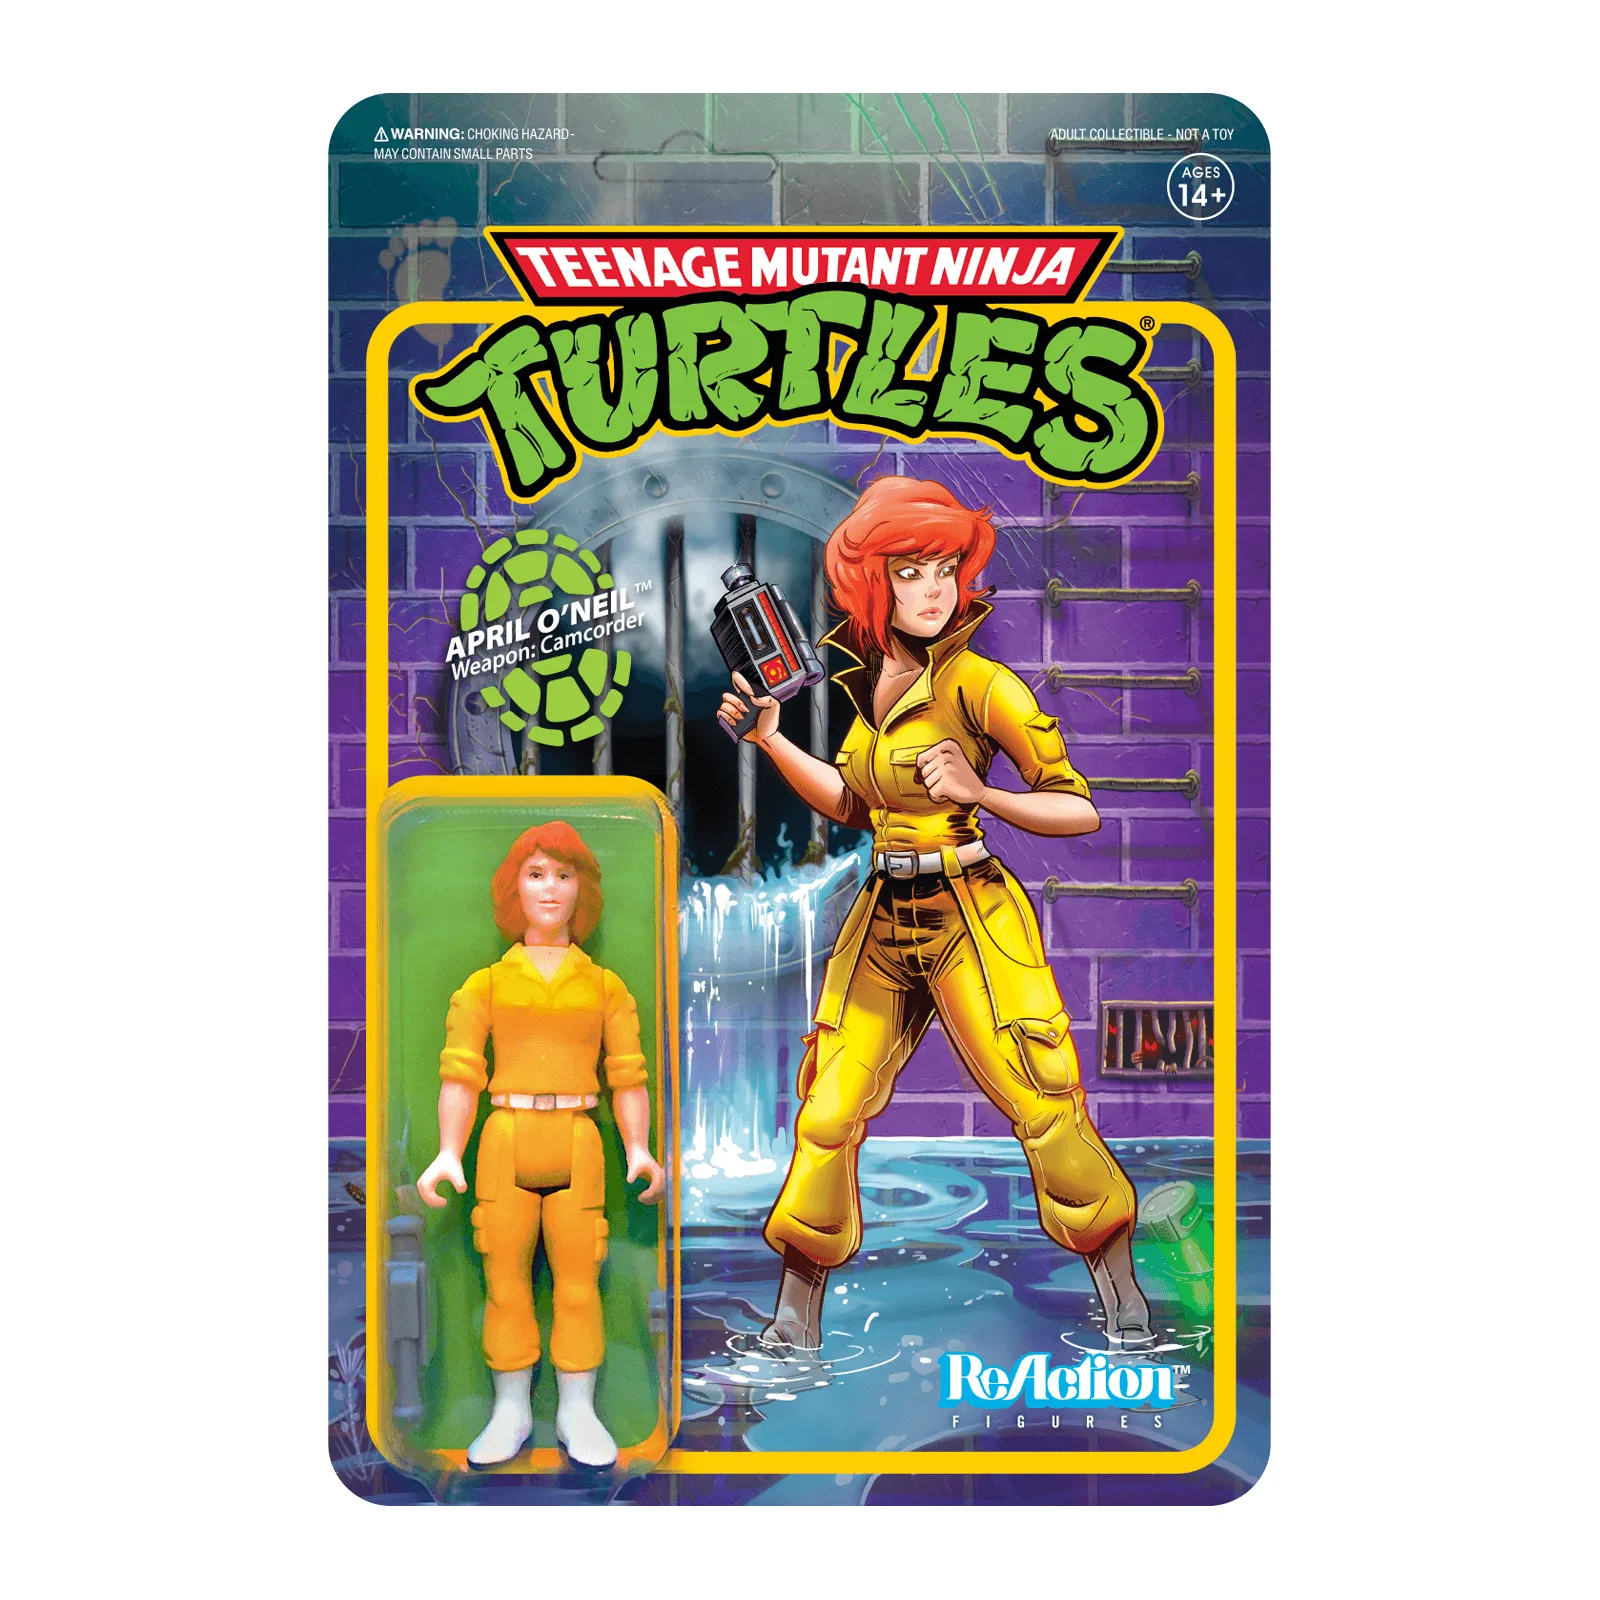
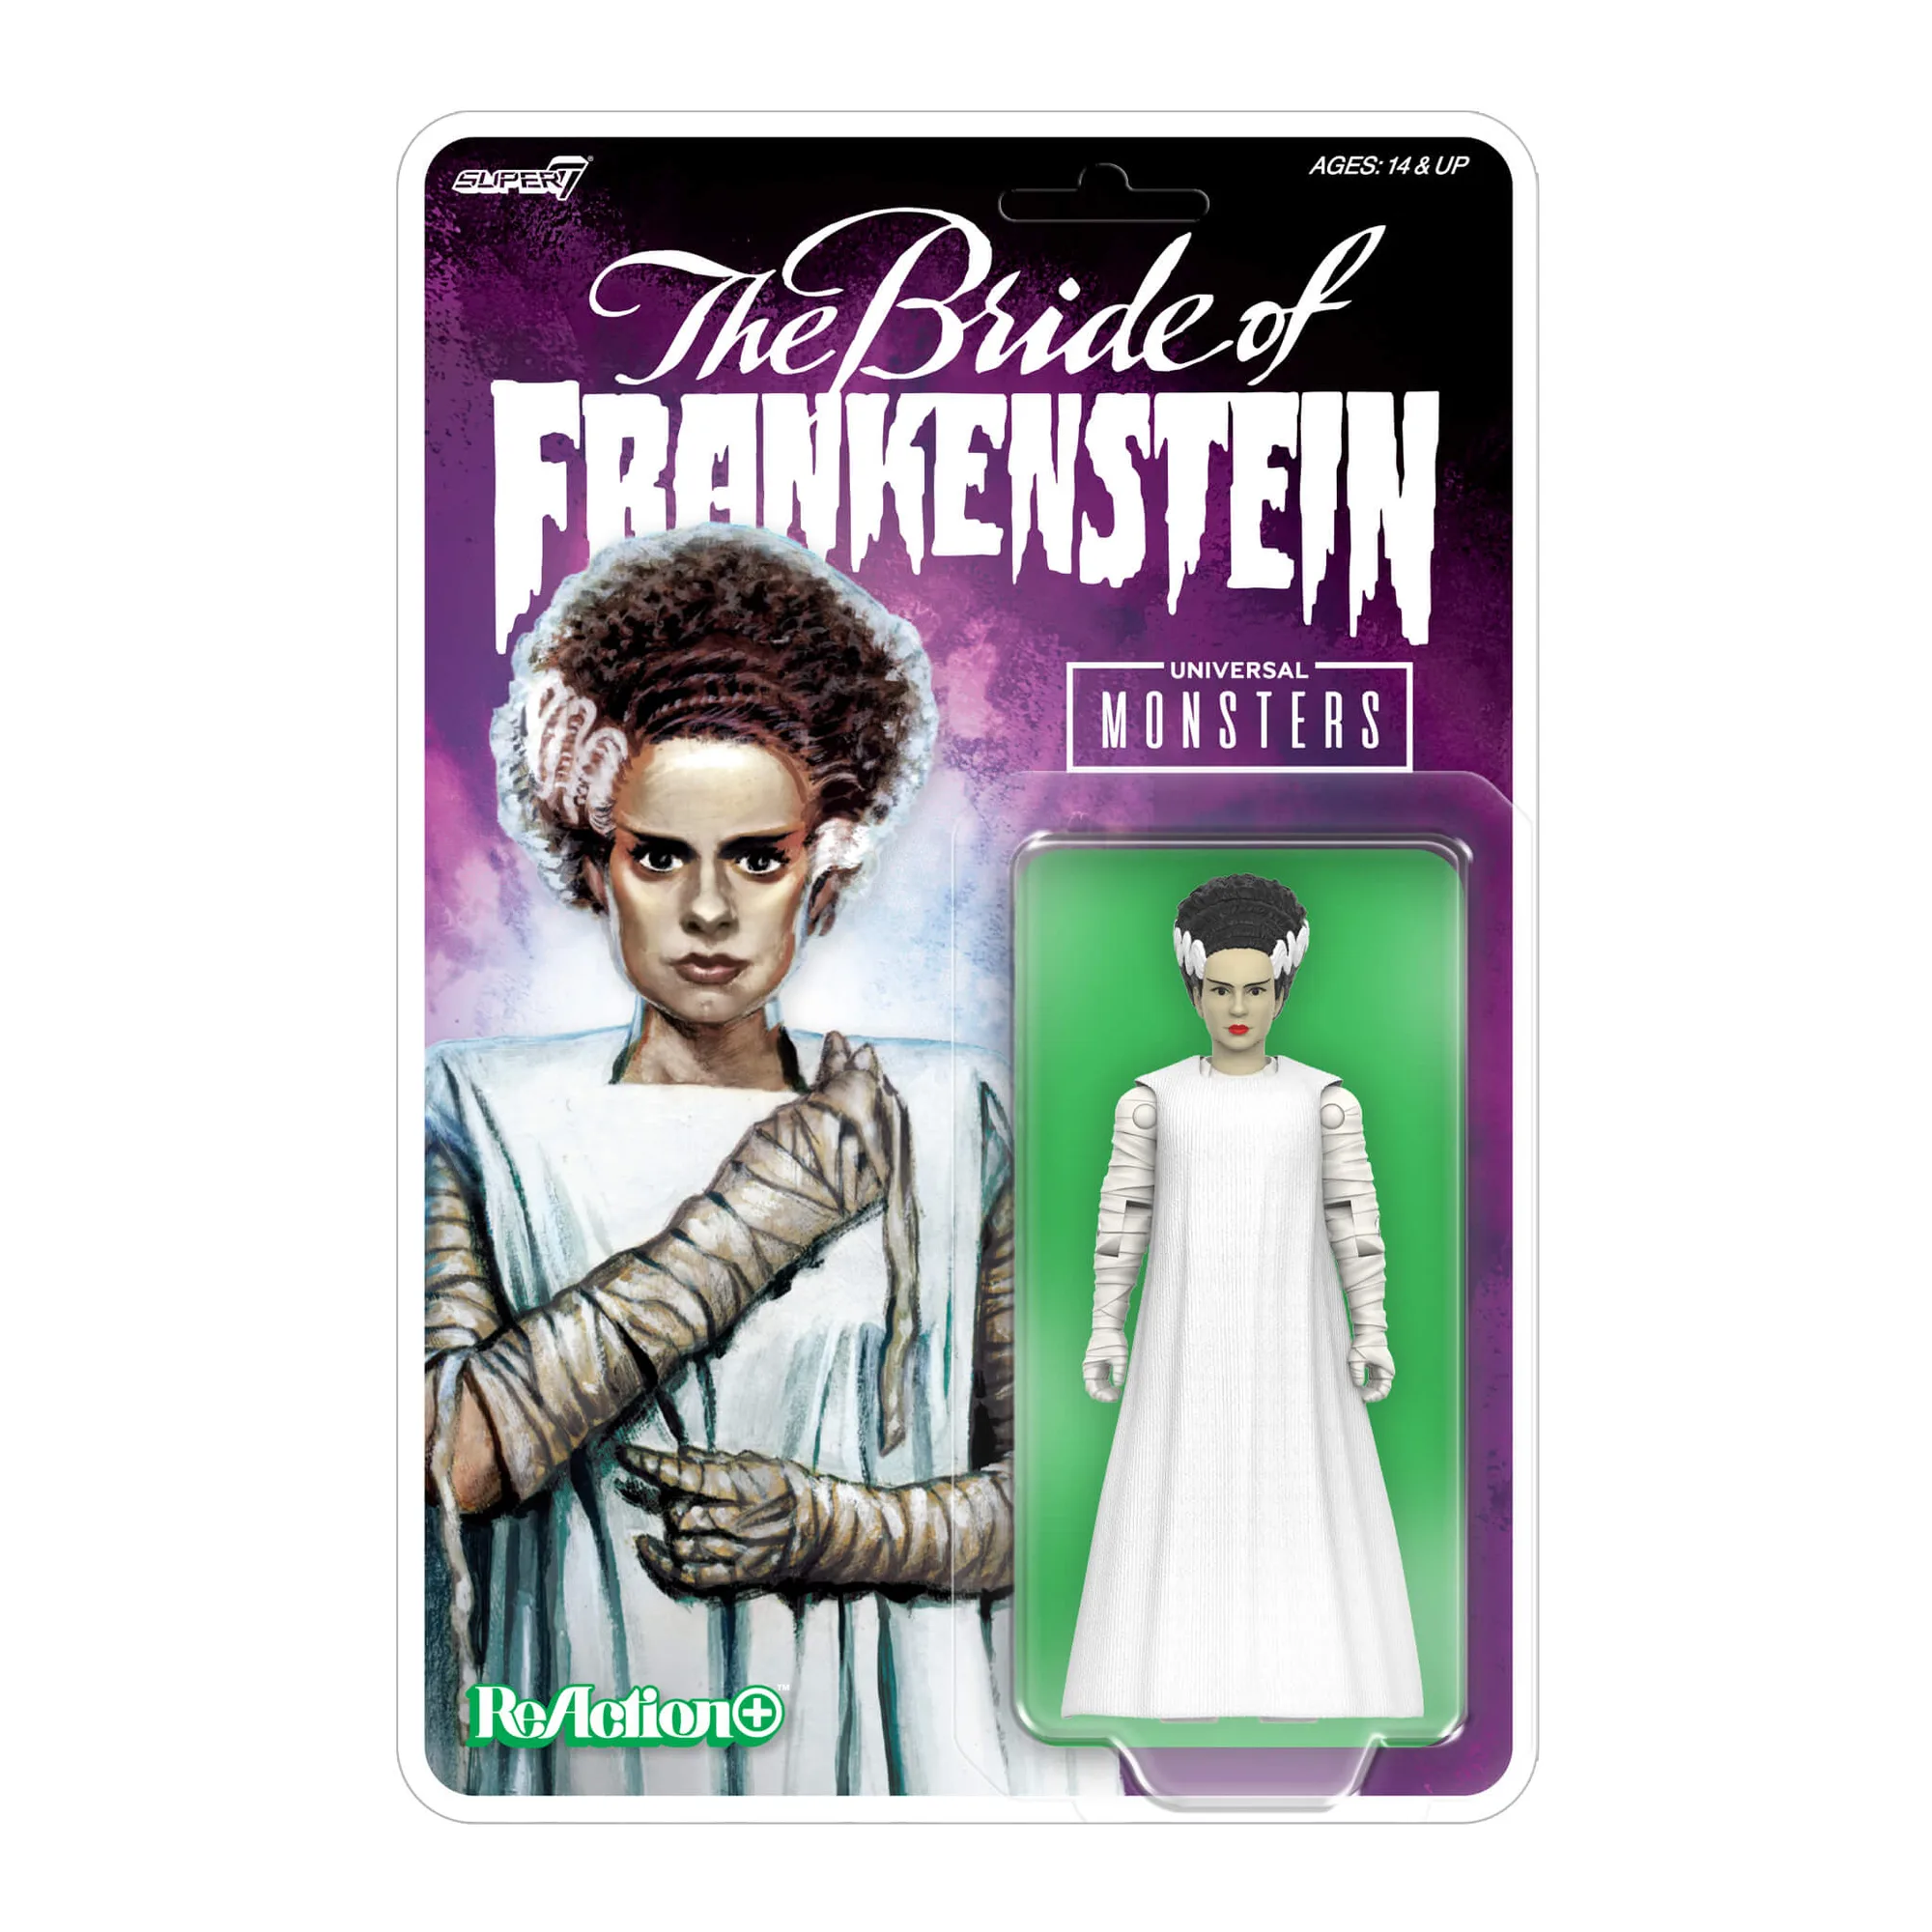
Creating a diorama for your Super7 action figures is one of the most rewarding ways to showcase your collection. Whether you're displaying a lone figure like the Bride Of Frankenstein or a full wave of ReAction figures, a well-crafted backdrop transforms your shelf into a miniature scene that tells a story. In this guide, we'll walk you through the process of building a Super7 diorama display at home—from planning and materials to lighting and final assembly.
Dioramas don't require expensive kits or professional skills. With a few affordable supplies and a bit of creativity, you can create a backdrop that highlights the retro charm of your figures. We'll cover different styles, from simple printed backdrops to three-dimensional scenes, and give you tips to make your display pop. Let's dive in and turn your collection into a gallery-worthy showcase.
Why Build a Diorama for Your Super7 Figures?
Super7 figures are known for their detailed sculpts and nostalgic appeal. A diorama provides context that enhances their visual impact. Instead of lining figures against a plain wall, a diorama places them in a scene that complements their character—like a haunted castle for Universal Monsters or a space backdrop for Transformers. This not only makes your display more engaging but also protects figures from dust and accidental knocks.
Moreover, dioramas are a fun DIY project that lets you express your creativity. You can tailor every element to match your favorite characters, whether it's a gritty alley for G.I. Joe or a retro stage for music icons. The process itself is enjoyable and can be a great weekend activity for collectors of all ages.
- Enhances the storytelling aspect of your collection
- Provides a cohesive look for themed displays
- Adds depth and visual interest to shelves
- Can be customized to fit any figure or series
Planning Your Super7 Diorama Display
Before you start cutting foam or printing backdrops, take time to plan. Consider the size of your display area and the number of figures you want to feature. A single figure might only need a small backdrop, while a full wave could require a larger scene. Sketch out your ideas on paper, noting the dimensions and any props you'd like to include.
Think about the theme. For example, if you're displaying the G.I. Joe ReAction Figures Wave 4 - Trooper Beard (Pink), you might want a military or jungle setting. For a music-themed display, consider a stage with spotlights. The key is to choose a theme that resonates with the figures and your personal taste.
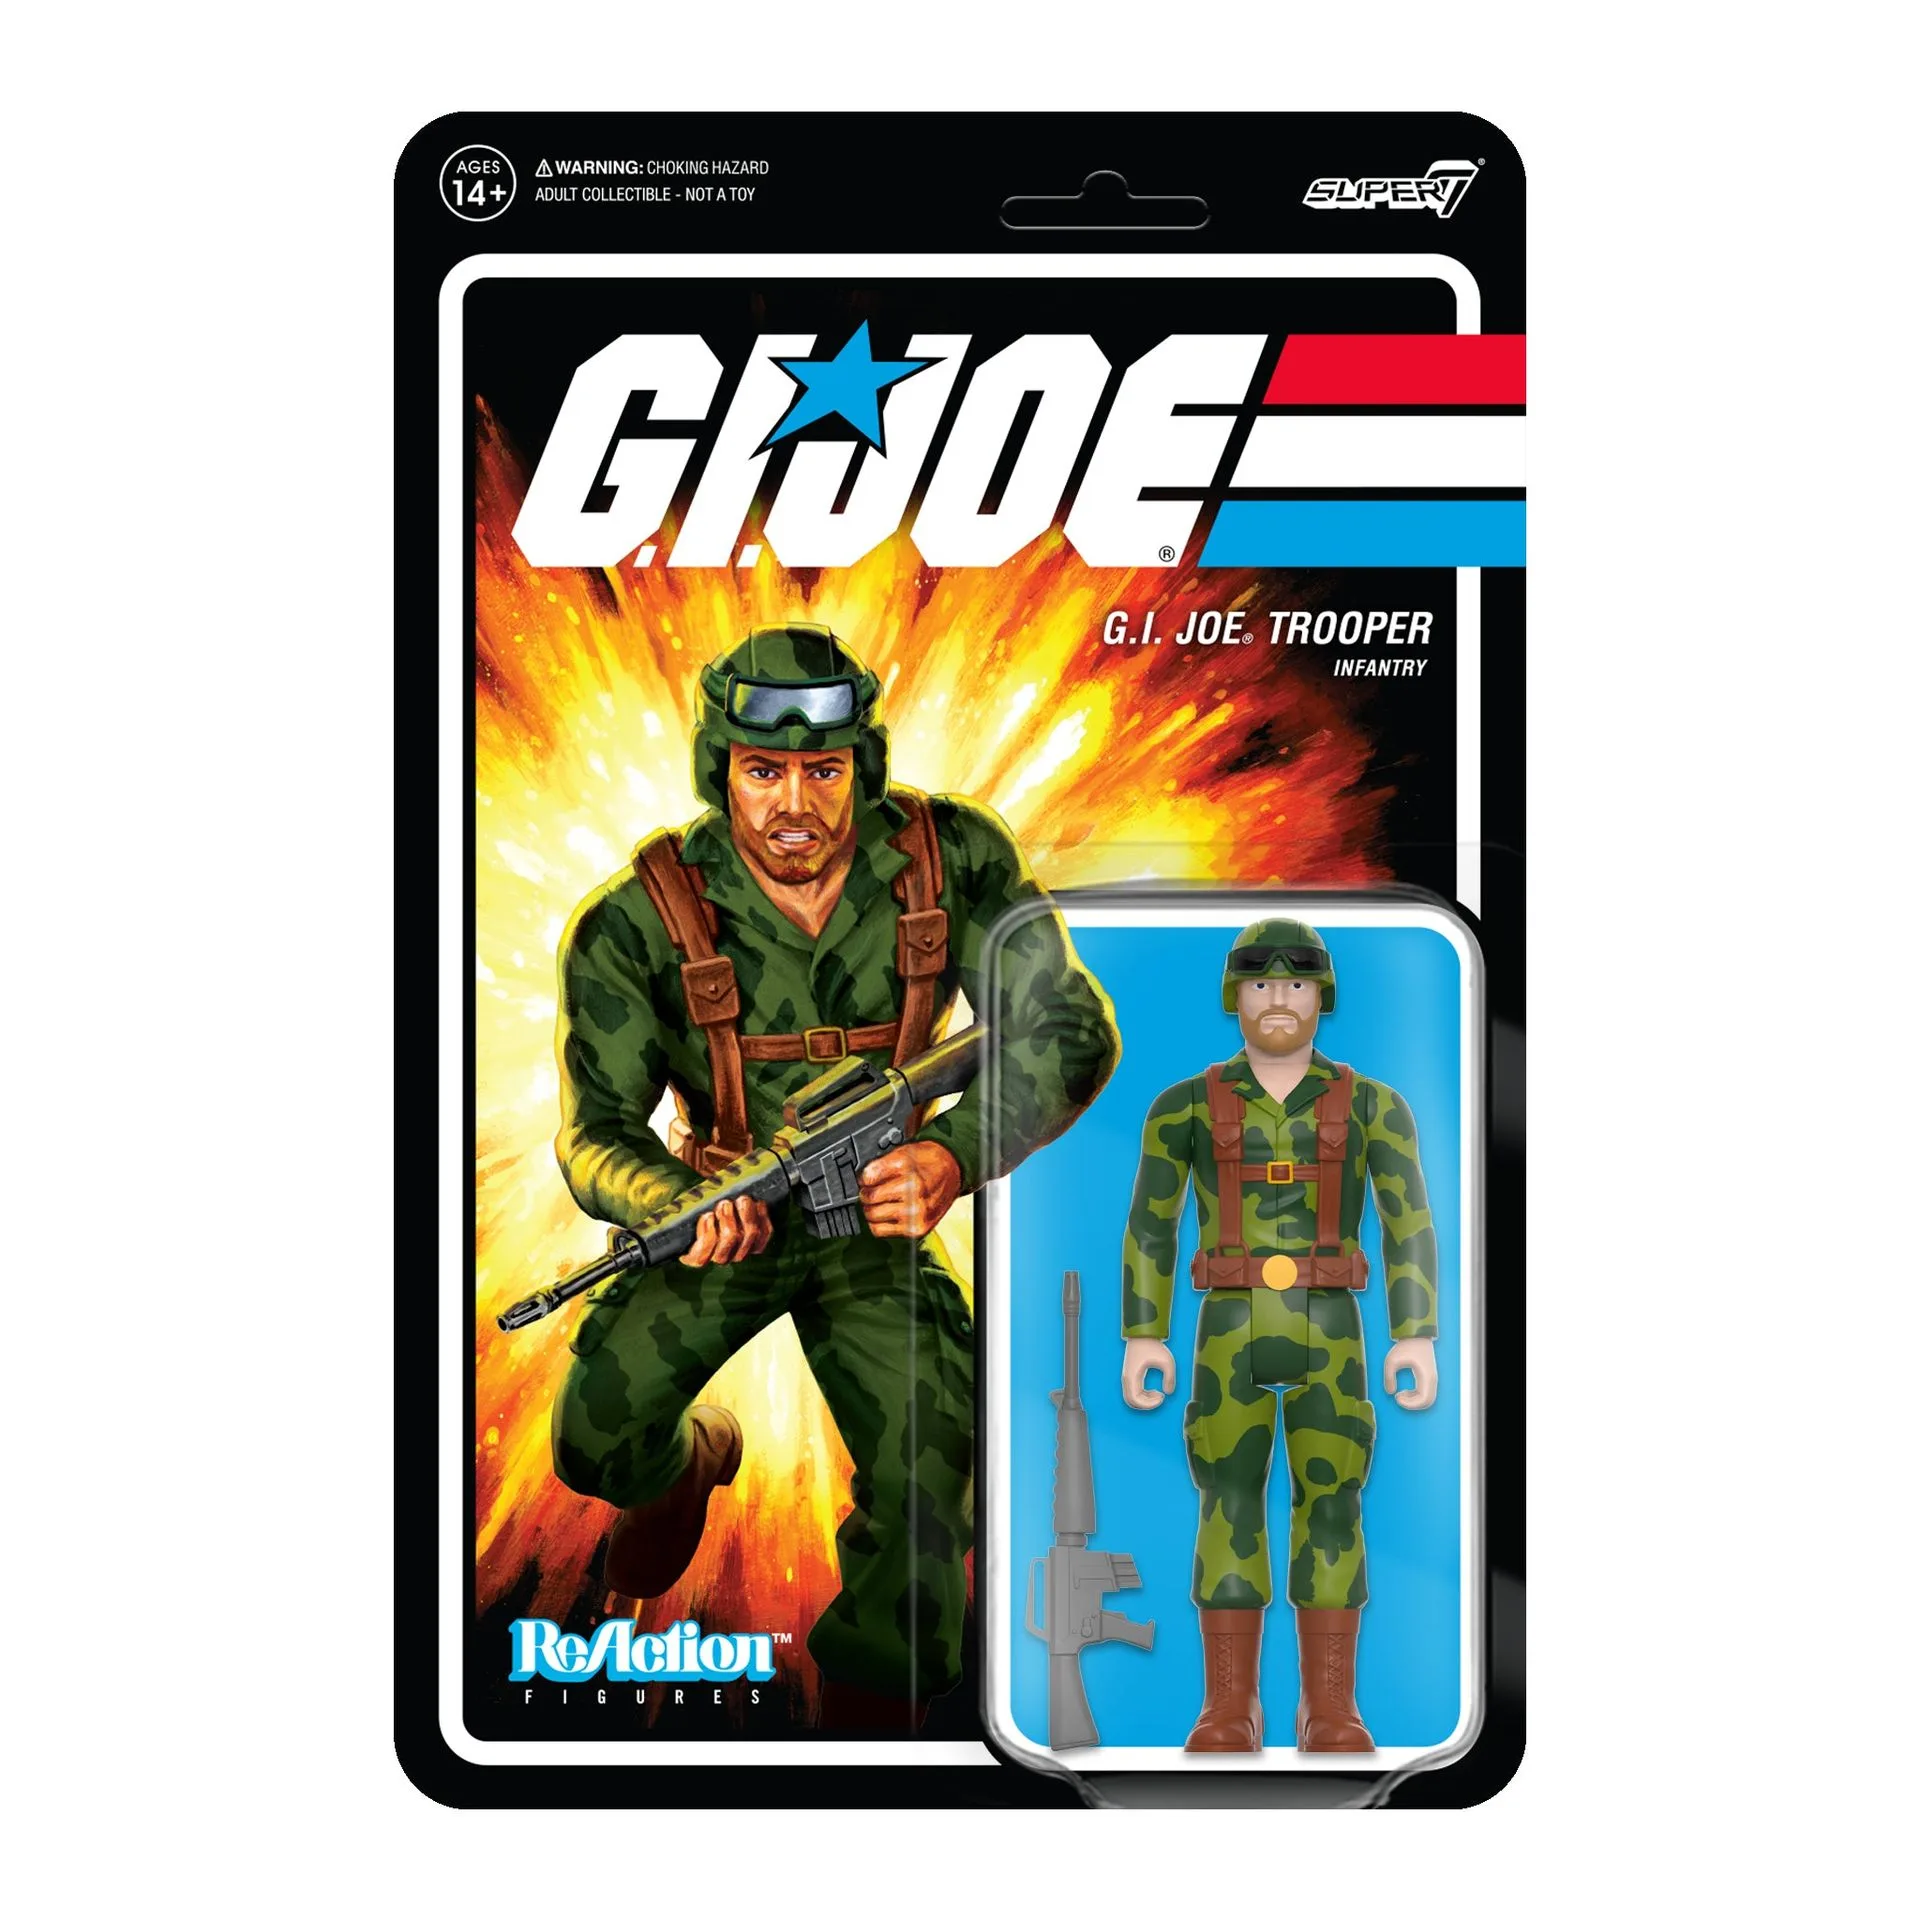
G.I. Joe ReAction Figures Wave 4 - Trooper Beard (Pink)
- Measure your shelf or display area first
- Decide on a theme that matches your figures
- Sketch a rough layout to visualize the scene
- Consider the number of figures and their scale (3.75-inch ReAction vs. 7-inch ULTIMATES!)
Gathering Materials for Your Diorama
You don't need expensive supplies. Basic materials include foam board, cardboard, acrylic paint, brushes, a craft knife, and hot glue. For a more professional look, consider using XPS foam (extruded polystyrene) which is easy to carve and texture. You can also print backdrops on paper or cardstock and attach them to foam board for a quick solution.
For props, look around your house—small boxes, plastic containers, and natural materials like twigs or stones can be repurposed. If you're feeling adventurous, you can create custom accessories using polymer clay. Remember to use non-toxic materials, especially if you have children or pets around.
- Foam board or XPS foam for the base and walls
- Acrylic paints and brushes for textures and details
- Craft knife and cutting mat for precise cuts
- Hot glue gun for assembling pieces
- Printed backdrops or wallpaper for quick scenery
Step-by-Step Diorama Construction
Start by cutting your foam board to the desired dimensions. Typically, a diorama has a back wall and a base floor. You can also add side walls for a more immersive feel. Use a craft knife to score and snap the board for clean edges. Glue the pieces together with hot glue, ensuring they are square and stable.
Next, texture the walls and floor. You can carve bricks into foam, add plaster for a rocky surface, or simply paint a gradient sky. For a quick backdrop, print a high-resolution image and attach it to the back wall. For example, a space scene works well for the Transformers ReAction Figure Wave 2 - Skyfire. Then, paint the floor to match—use browns for earth, grays for concrete, or a glossy finish for water.
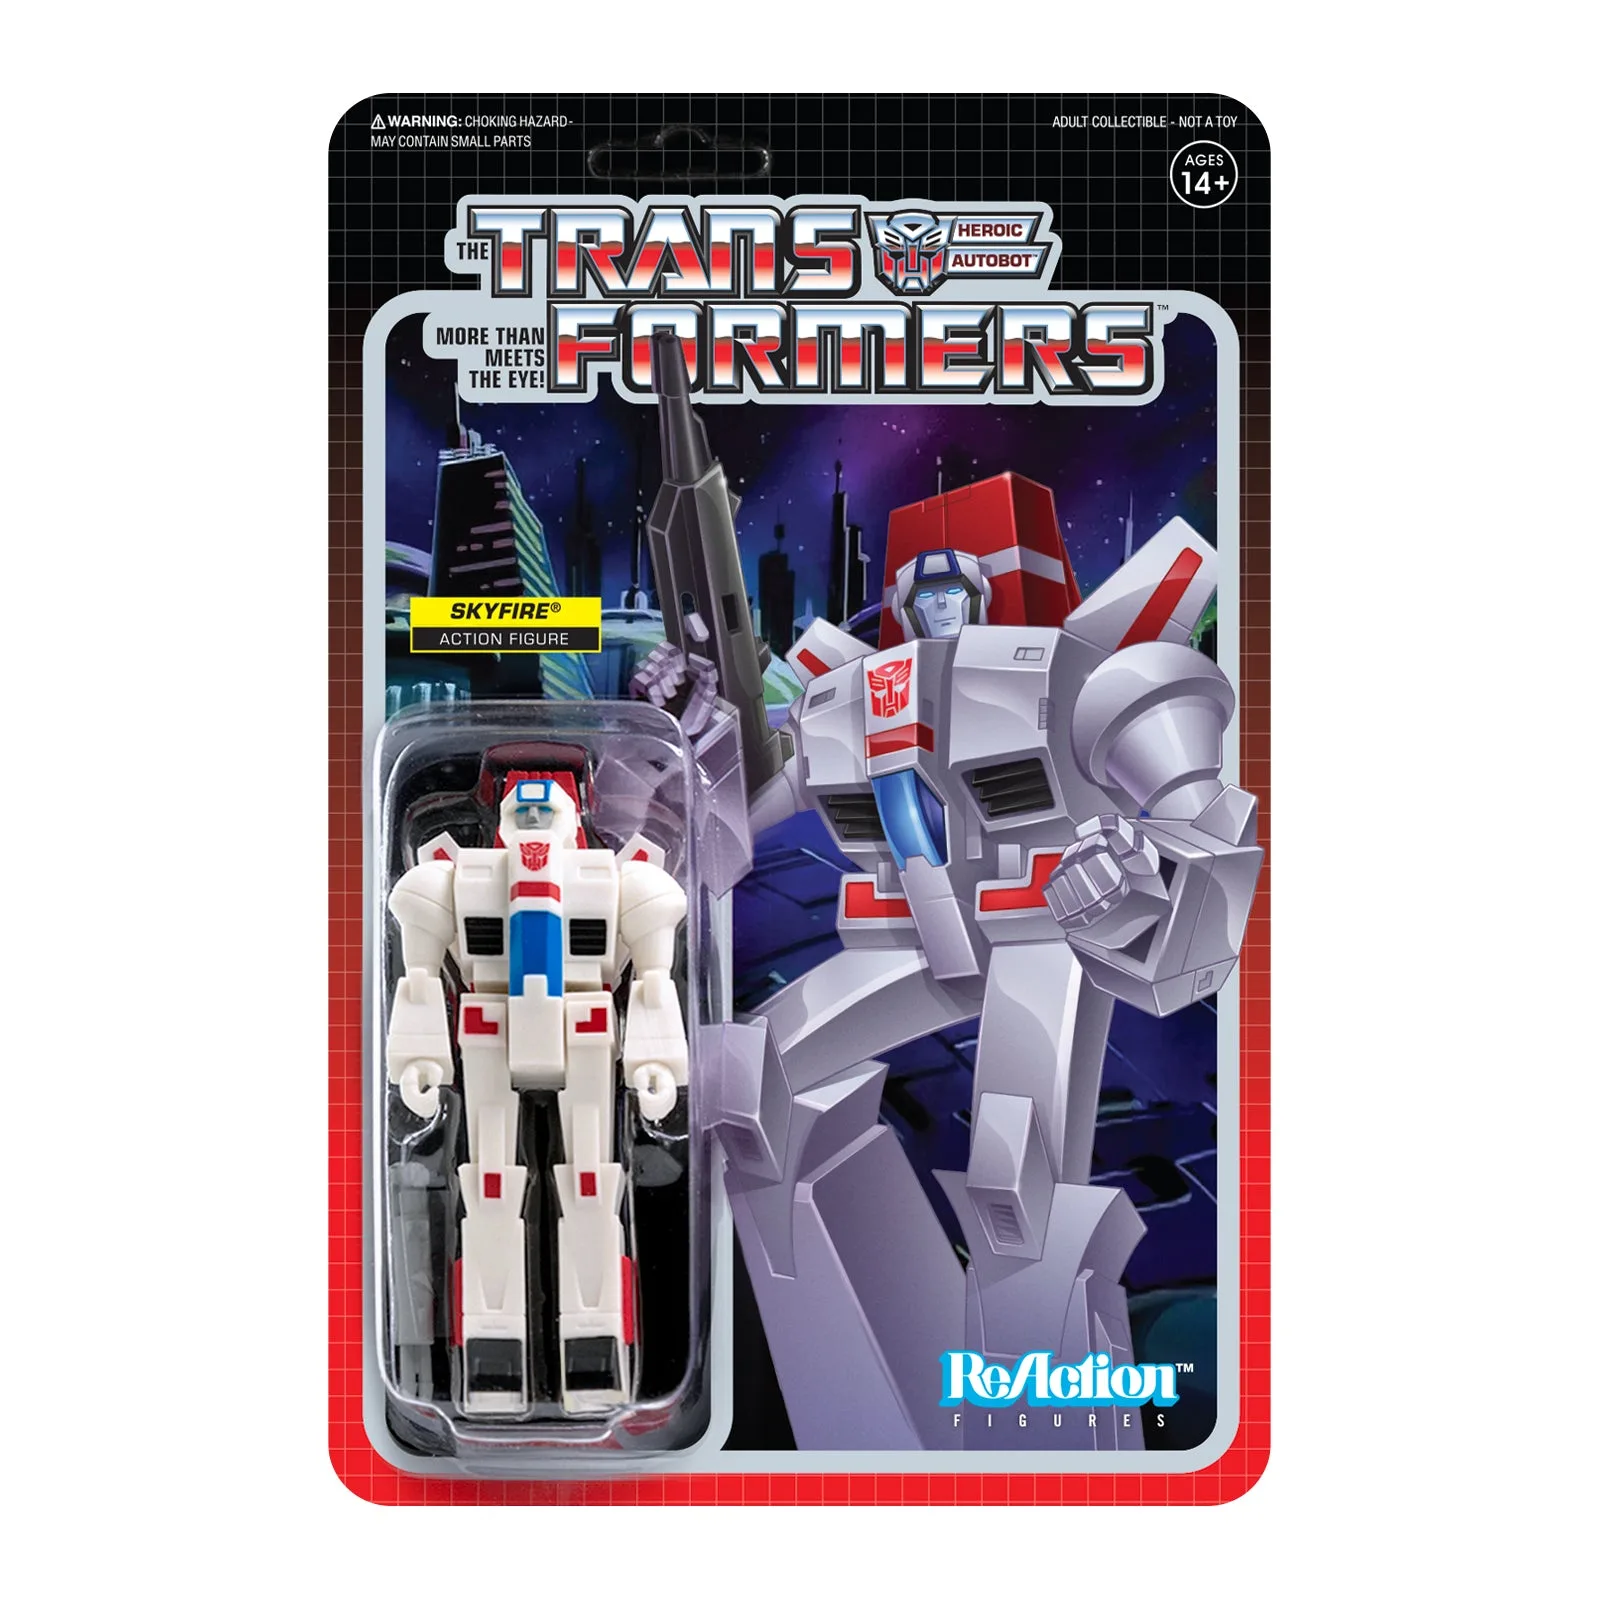
Transformers ReAction Figure Wave 2 - Skyfire
Once the base is ready, add props and details. Use small pieces of foam to create rocks or crates, and paint them to match the scene. You can also use model railroad accessories for realistic details. Finally, place your figures in dynamic poses and adjust the props to create a balanced composition.
- Cut foam board to size and assemble the base
- Texture and paint to create depth
- Add props and accessories to enhance the scene
- Position figures and make final tweaks
Lighting and Final Touches
Proper lighting can make your diorama look professional. Use small LED strip lights or spotlights to illuminate the scene. Position lights to avoid harsh shadows and highlight the figures' details. If you want a dramatic effect, use colored lights to match the mood—blue for night scenes, warm white for indoor settings.
Finally, add finishing touches like weathering to the walls, a clear coat to protect paint, and maybe a label or plaque with the figure's name. Consider adding a glass cover or using a display case to keep dust away. Your Super7 diorama display is now ready to impress!
- Use LED lights for energy-efficient illumination
- Experiment with light angles to reduce glare
- Apply a sealant to protect the paint
- Consider a dust cover for long-term preservation
Creative Diorama Ideas for Popular Super7 Lines
Different Super7 lines call for different scenes. For the Universal Monsters ReAction+ Wave 02 - Bride Of Frankenstein, a gothic laboratory with lightning bolts and vintage equipment would be perfect. For the Transformers ReAction Figure Wave 2 - Skyfire, a cloudy sky and mountain terrain evoke an aerial battle scene.
For music-themed figures like the De La Soul ReAction Figures Wave 01 - Kelvin "Posdnuos" Mercer (Me, Myself & I), a stage with speakers and a mic stand works great. And for the Teenage Mutant Ninja Turtles ReAction Figure Wave 2 - April ONeil, a city street with brick walls and manhole covers captures the urban vibe. Let your imagination run wild!
- Universal Monsters: spooky castle or lab
- Transformers: sci-fi hangar or alien planet
- G.I. Joe: jungle or military base
- Music figures: concert stage or recording studio
Building a Super7 diorama display at home is a fun and rewarding project that elevates your collection. With the right materials and a bit of creativity, you can create stunning scenes that showcase your favorite figures. Start with a simple backdrop and expand as you gain confidence. For more inspiration, check out our selection of Super7 figures and accessories to find the perfect pieces for your diorama. Happy building!