Derma rolling, also known as microneedling, has become a popular at-home treatment for improving skin texture, reducing fine lines, and boosting product absorption. But doing it wrong can cause irritation, infection, or scarring. That's why it's crucial to follow a safe, step-by-step approach. This guide will walk you through everything you need to know about derma rolling at home, from choosing the right roller to aftercare.
derma rolling at home
Whether you're a beginner or have tried it before, understanding the basics can make a huge difference. We'll cover the essential steps, safety tips, and how to incorporate it into your skincare routine for the best results.
What is Derma Rolling and How Does It Work?
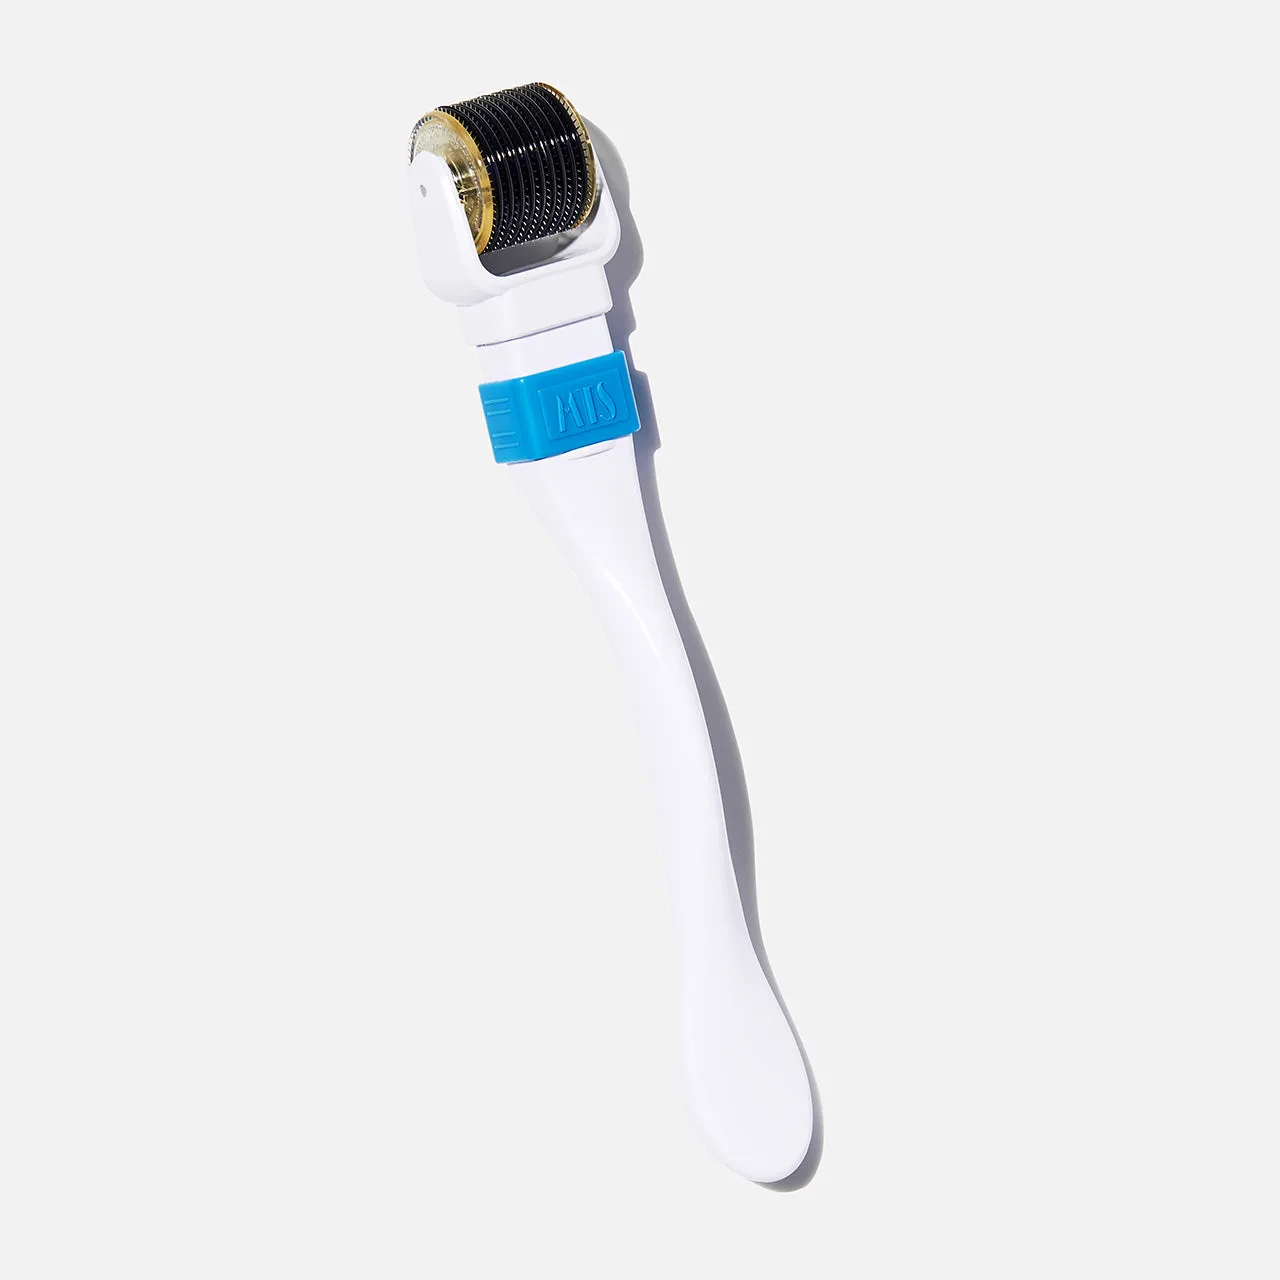
Derma rolling involves using a small roller covered in tiny needles to create micro-injuries on the skin's surface. These micro-injuries trigger the body's natural healing process, stimulating collagen and elastin production. This can help improve skin texture, reduce the appearance of scars and fine lines, and enhance the absorption of skincare products.
At-home derma rollers typically have needle lengths ranging from 0.2mm to 0.5mm, which are safe for home use. Longer needles (0.5mm and above) should be left to professionals. Using the right needle length is key to achieving results without damaging your skin.
- 0.2mm-0.3mm: Ideal for enhancing product absorption and improving skin texture.
- 0.5mm: Can help with fine lines and mild scarring, but use with caution and proper technique.
Before You Start: Preparing Your Skin and Tools
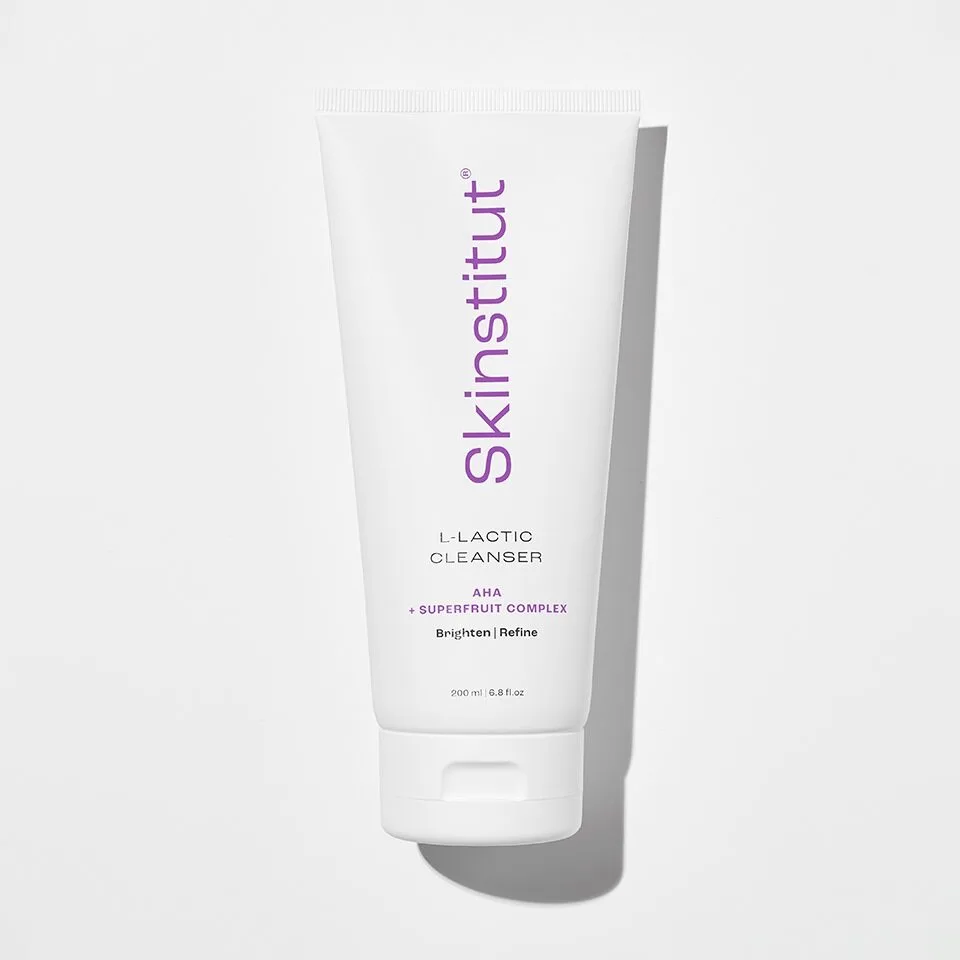
Preparation is vital for a safe and effective derma rolling session. Start by thoroughly cleansing your face with a gentle cleanser to remove dirt, oil, and makeup. You can use a product like the L-Lactic Cleanser, which gently exfoliates while cleansing, ensuring a clean canvas for the treatment.
Disinfect your derma roller by soaking it in 70% isopropyl alcohol for at least 10 minutes, then rinse with warm water and let it air dry. Never use a dirty roller, as this can introduce bacteria into the skin and lead to infections.
- Cleanse your face thoroughly and pat dry.
- Sanitize your derma roller with alcohol before and after each use.
- Ensure your skin is completely dry before starting.
Step-by-Step Derma Rolling Technique
Now that you're prepped, it's time to roll. Start by dividing your face into sections: forehead, cheeks, chin, and nose. Gently press the roller against your skin and roll vertically, horizontally, and diagonally in each section. Apply light pressure—you don't need to press hard. The goal is to create a slight redness, not pain.
Avoid sensitive areas like the under-eye region and any active acne or broken skin. If you have a breakout, skip that area entirely. After rolling, allow your skin to rest for a few minutes before applying your skincare products. This is the perfect time to use a hydrating serum or moisturizer to maximize absorption.
- Roll each section 3-4 times in different directions.
- Do not roll over the same area more than 3 times to avoid over-exfoliation.
- If you feel pain, stop immediately—you're pressing too hard.
Aftercare: Soothing and Protecting Your Skin
After derma rolling, your skin is more sensitive and vulnerable. Immediately apply a soothing, hydrating product to calm the skin. A moisturizer like the Moisture Defence – Ultra Dry Skin can help replenish moisture and support the skin's barrier. Avoid using active ingredients like retinol or acids for at least 24 hours post-treatment.
Sun protection is non-negotiable. Your skin will be more prone to UV damage, so apply a broad-spectrum sunscreen the next morning. Also, avoid makeup and heavy skincare for a few hours to let your skin breathe.
- Use a gentle, fragrance-free moisturizer after rolling.
- Skip exfoliating or active serums for 24-48 hours.
- Wear sunscreen daily, especially after derma rolling.
How Often Should You Derma Roll?
Consistency is more important than frequency. For at-home rollers, once every 1-2 weeks is generally recommended. This allows your skin enough time to heal and regenerate. Over-rolling can lead to inflammation and damage, so patience is key.
Incorporate derma rolling into your weekly routine, but listen to your skin. If you notice prolonged redness or irritation, extend the interval between sessions. Always prioritize skin health over quick results.
- Start with once every two weeks to see how your skin reacts.
- Gradually increase frequency if your skin tolerates it well.
- Never derma roll on irritated or sunburned skin.
Common Mistakes to Avoid
Many beginners make mistakes that can harm their skin. One common error is using a dull or dirty roller. Replace your derma roller every 3-6 months, depending on usage. Another mistake is rolling on active acne or open wounds, which can spread bacteria and cause scarring.
Also, avoid sharing your roller with others, as this can transfer bacteria and bloodborne pathogens. Finally, don't skip aftercare—moisturizing and sun protection are essential for recovery.
- Replace your roller regularly to maintain effectiveness and hygiene.
- Never use a roller on broken or infected skin.
- Always follow up with hydrating and protective skincare.
Enhance Your Derma Rolling Routine with the Right Products
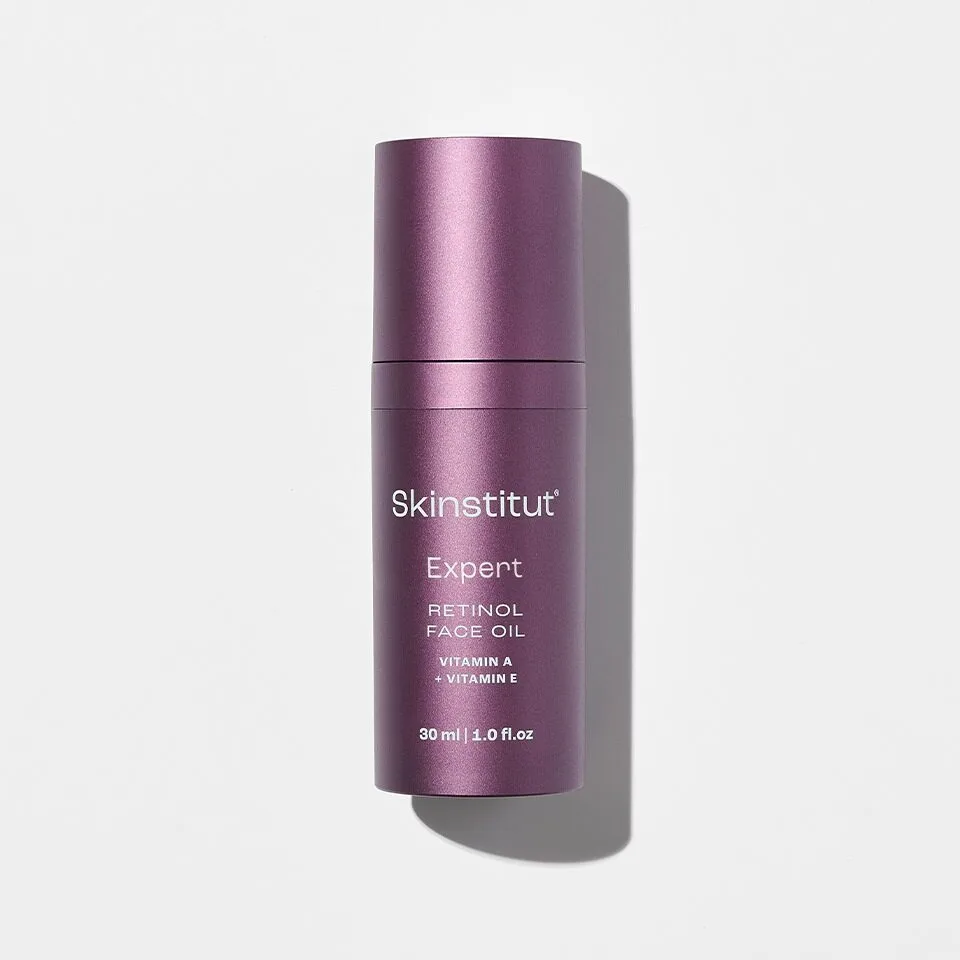
To get the most out of derma rolling, pair it with products that complement the treatment. After rolling, your skin is primed to absorb nutrients, making it the perfect time to apply a nourishing serum or oil. The Expert Retinol Face Oil is a great choice for evening out skin tone and reducing fine lines, but remember to wait 24 hours after rolling before using retinol to avoid irritation.
For hydration, the Vitamin C Ceramide Moisturiser can help brighten the skin and strengthen the skin barrier, which is especially beneficial after microneedling. Always choose products that are gentle and free from harsh fragrances.
- Wait 24 hours before applying active ingredients like retinol after derma rolling.
- Hydrating moisturizers can help soothe and repair the skin post-treatment.
- Consider a gentle cleanser like the L-Lactic Cleanser for your pre-rolling cleanse.
Derma rolling at home can be a rewarding addition to your skincare routine, offering benefits like improved texture and better product absorption. By following this step-by-step guide and prioritizing safety, you can achieve noticeable results without harming your skin. Remember to start slow, use the right tools, and always care for your skin after treatment. Ready to try it? Explore our Derma Rolling At Home kit to get started on your journey to healthier, glowing skin.