Quick Answer
To design your own bag pattern, start by sketching your idea and listing the features you need. Then create a basic pattern using measurements from a similar bag or your own dimensions, cut a mock-up in cheap fabric, and adjust until the fit and function are right. Finally, transfer your final pattern to sturdy paper and label all pieces clearly.
Designing your own bag pattern is a rewarding way to create a bag that fits your style and needs perfectly. Whether you're making a simple tote or a structured handbag, the process is the same: plan, draft, test, and refine. This guide walks you through each step so you can go from idea to finished pattern with confidence.
You don't need to be a professional pattern maker to succeed. With basic sewing tools, some graph paper, and a willingness to make a few mock-ups, you can design a bag that looks professional and functions well. Along the way, you'll make choices about fabric, hardware, and construction that affect the final result.
Start with a Sketch and a List of Needs
Before you draft anything, get a clear picture of the bag you want to make. Sketch the front, back, and sides to visualize the shape. Then list the features that matter: closure type, pockets, strap style, and size. Do you need it to hold a laptop or just a phone and wallet? Answering these questions guides your pattern dimensions and material choices.
Consider the bag's end use. A structured tote needs stiff interfacing and sturdy fabric like cork or canvas, while a soft slouchy bag can use lighter materials. Think about how the bag will be carried—by hand, over the shoulder, or crossbody—because that affects strap length and hardware needs.
- Check the back of similar patterns for hardware requirements, like the Sallie Tomato Basic Hardware Kit, which includes slider buckles and rings.
Take Measurements from a Bag You Like
If you have a bag that fits well, use it as a reference. Measure its width, height, depth, and strap length. Also note where the zipper or closure sits. These measurements give you a starting point for your pattern, but you may need to adjust for seam allowances and the thickness of your materials.
If you don't have a reference bag, decide on the dimensions based on what you plan to carry. For a tote, a good starting size is 14 inches wide by 12 inches tall with a 4-inch gusset. For a crossbody, 9 inches by 7 inches might be right. Write down all measurements before drafting.
- Add at least 0.5 inches for seam allowances on every seam.
Draft Your Pattern on Paper
Using graph paper and a ruler, draw the main pieces of your bag to scale. For a simple tote, you'll need a front/back panel, a gusset or side panel, and straps. For a more complex bag, you might have separate pieces for pockets, flaps, and linings. Label each piece with its name and grainline direction.
Consider the construction order. If you're adding a zipper, plan where it will go and how it will be inserted. For a top zipper, you'll need to split the bag body into two pieces to accommodate the zipper. Think about how the lining will be attached—whether it will be bagged out or sewn in separately.
- Use a clear ruler and a fine-tip pen for accuracy.
Choose Fabric and Hardware
The fabric you choose affects the pattern's success. For structured bags, cork fabric is an excellent choice because it's easy to sew through, pliable, and durable. For example, Rustic Tiger Eye Cork Fabric has a soft, smooth feel similar to leather and works well for bags, straps, and handles. However, avoid cork fabrics with known defects for high-stress areas; they may crack when bent or folded.
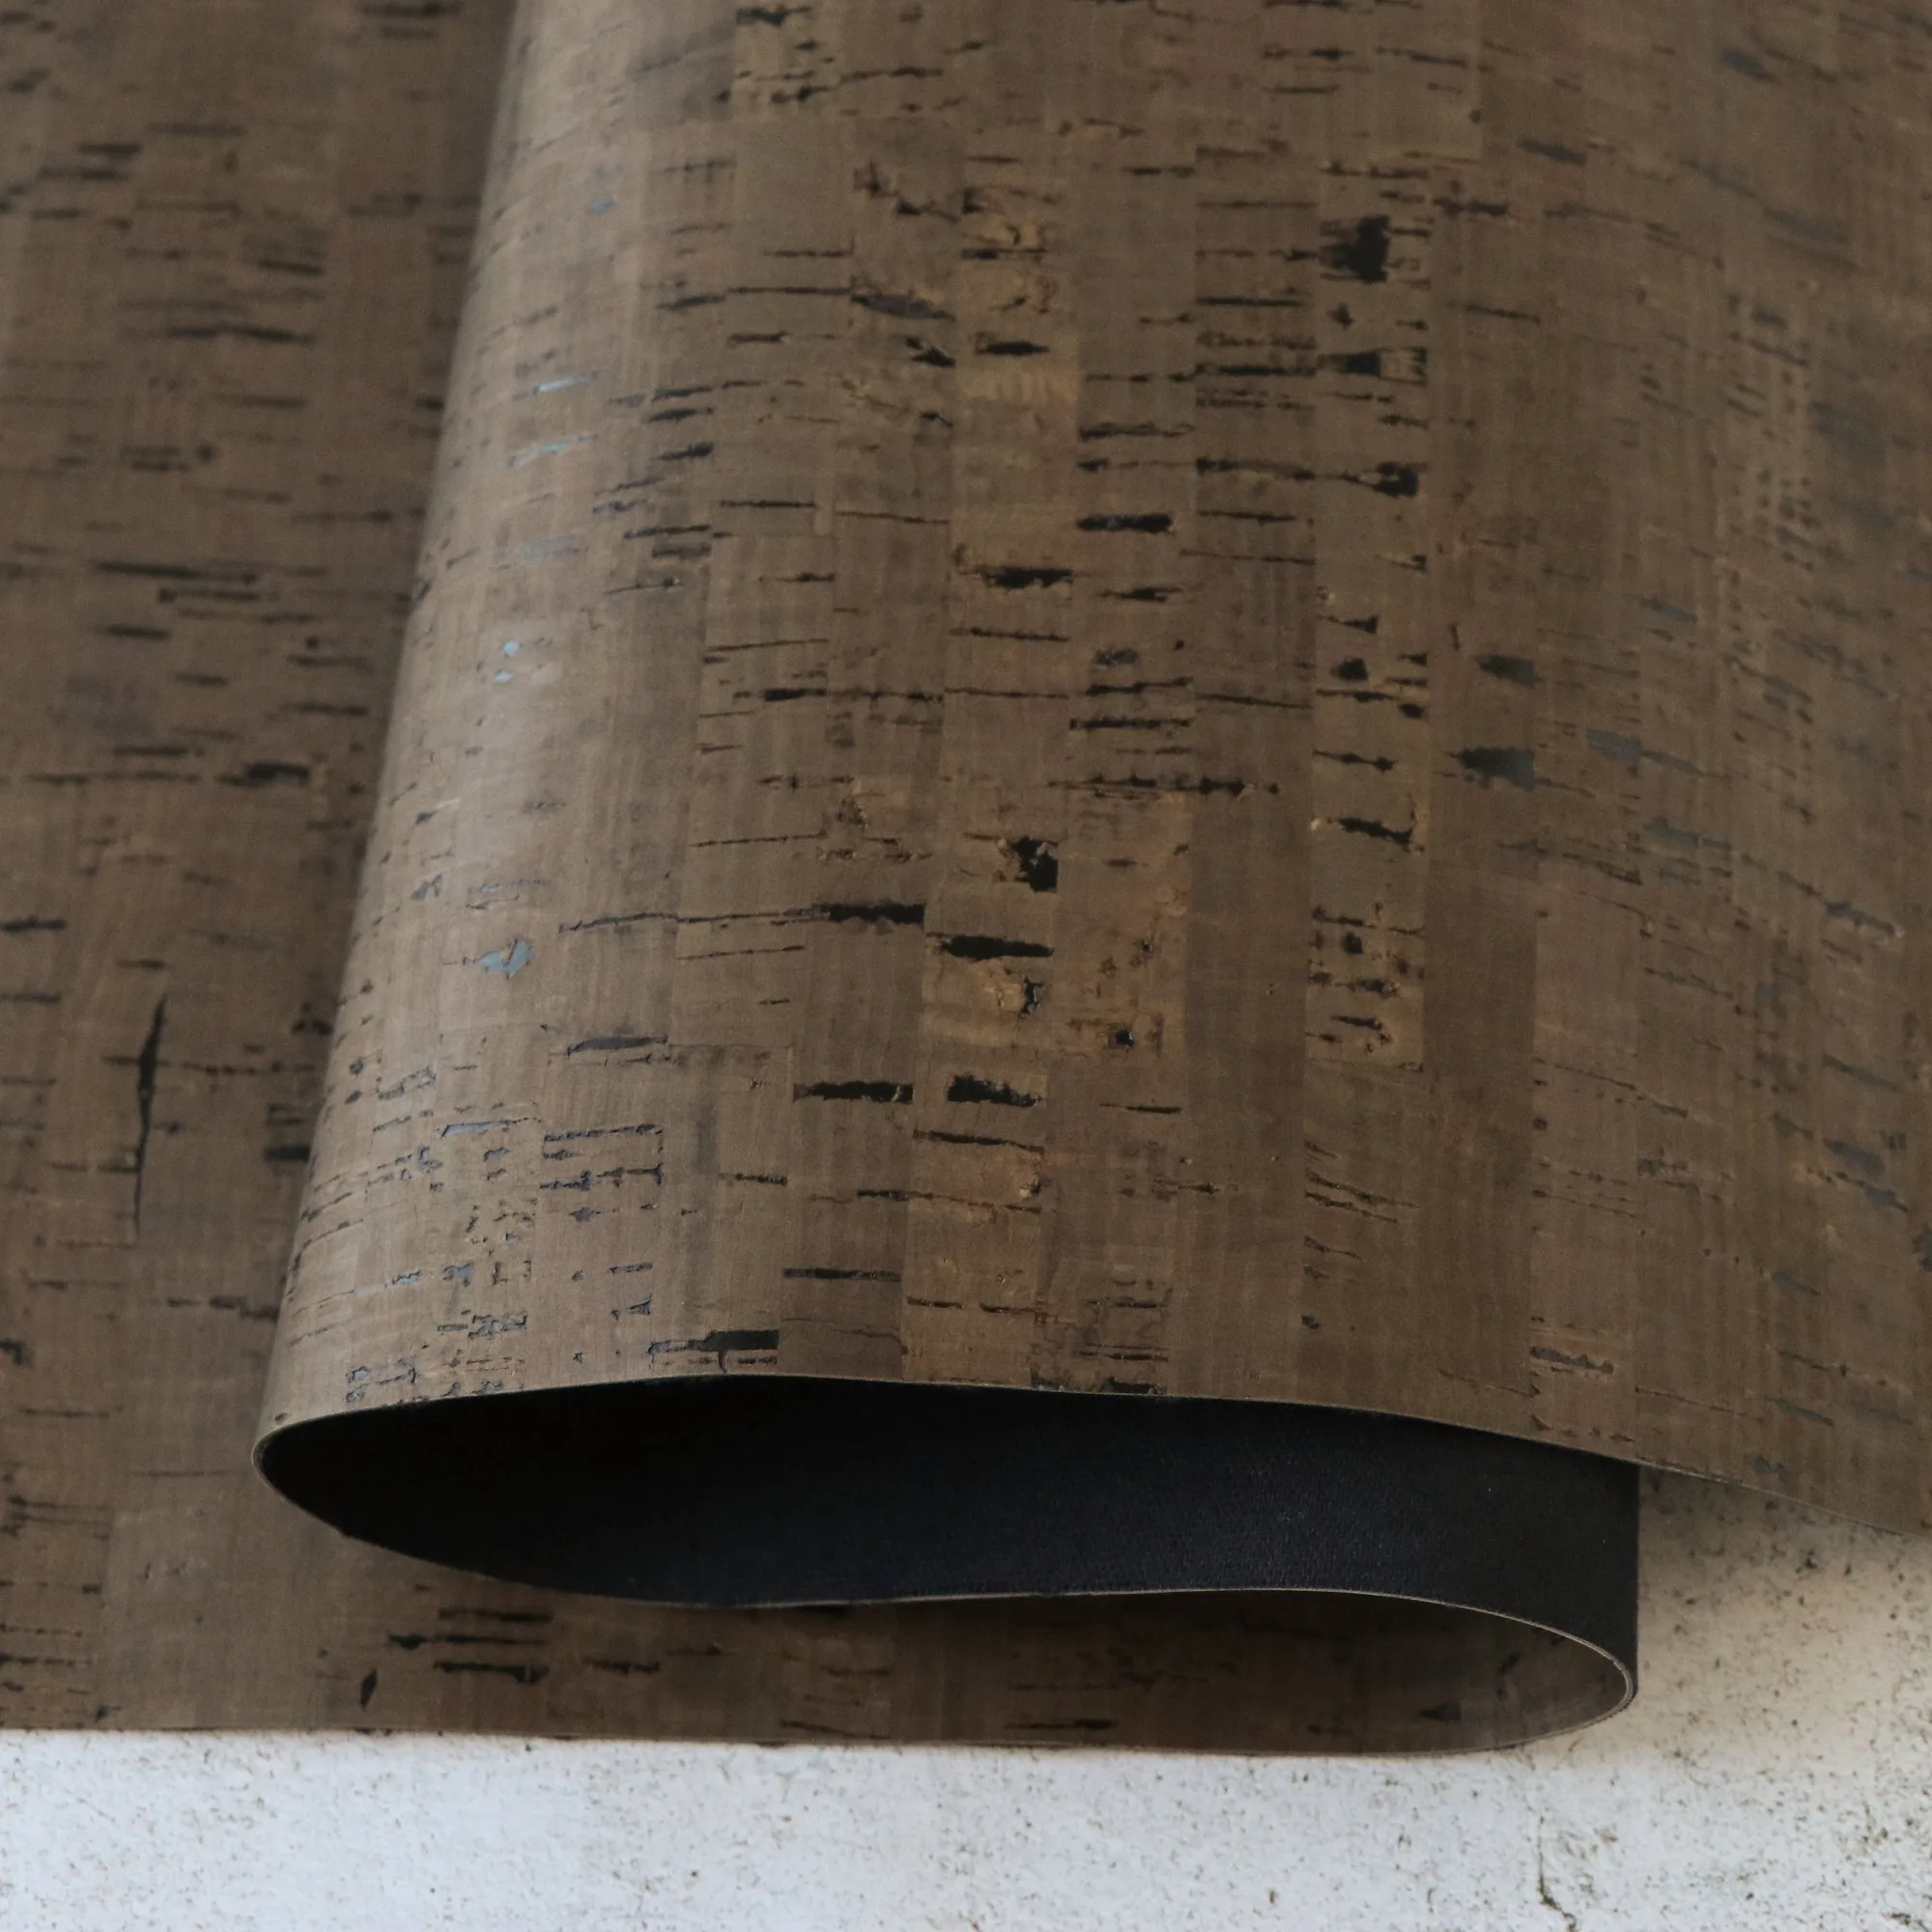
Rustic Tiger Eye Cork Fabric
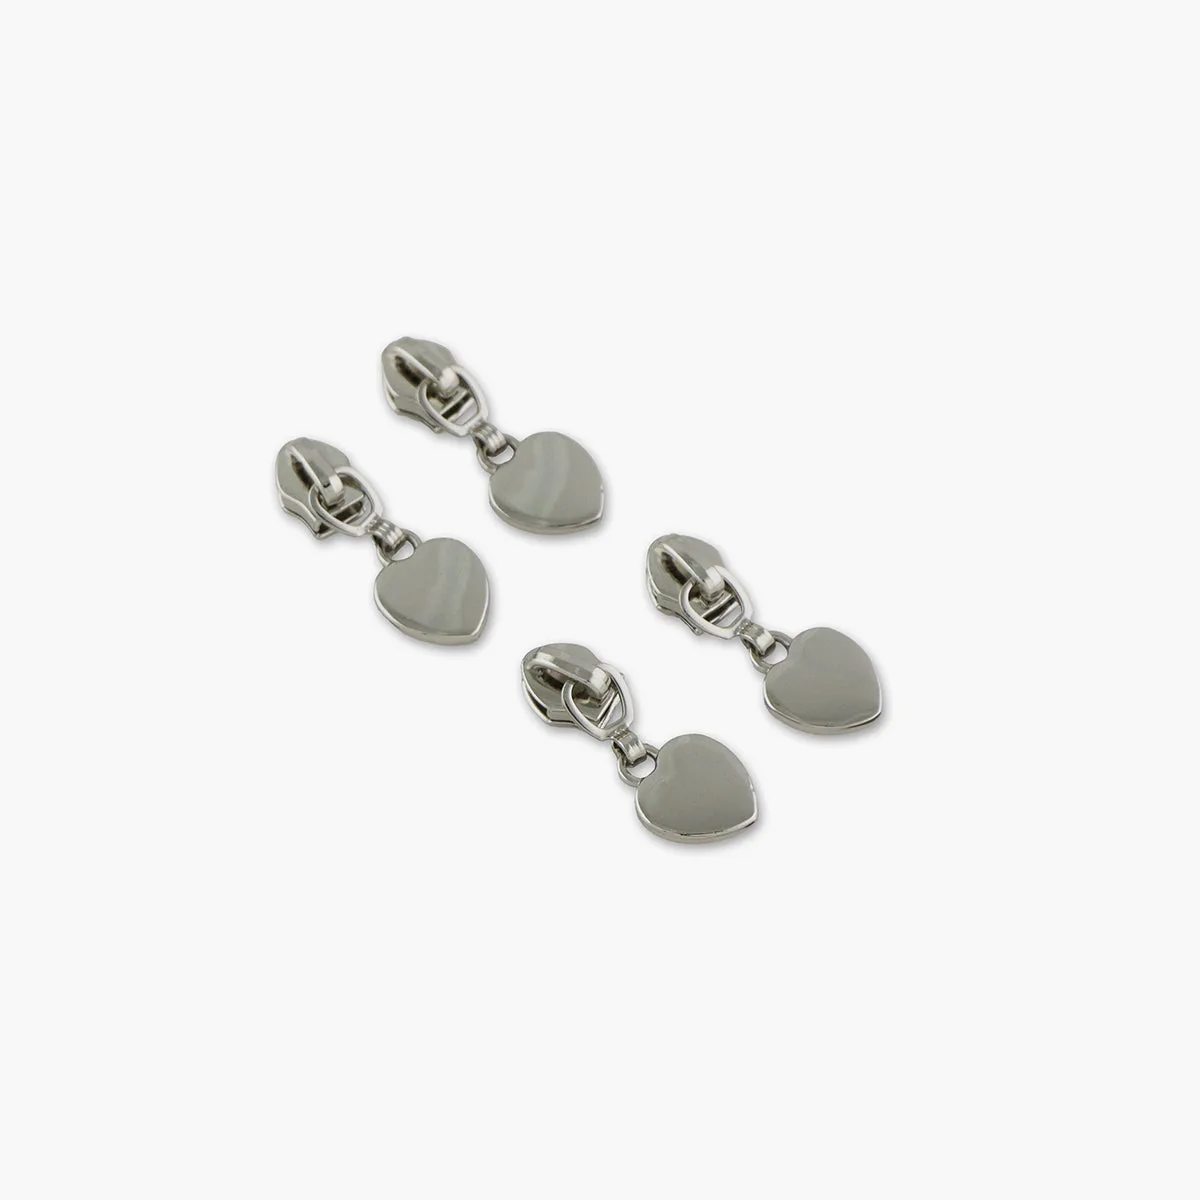
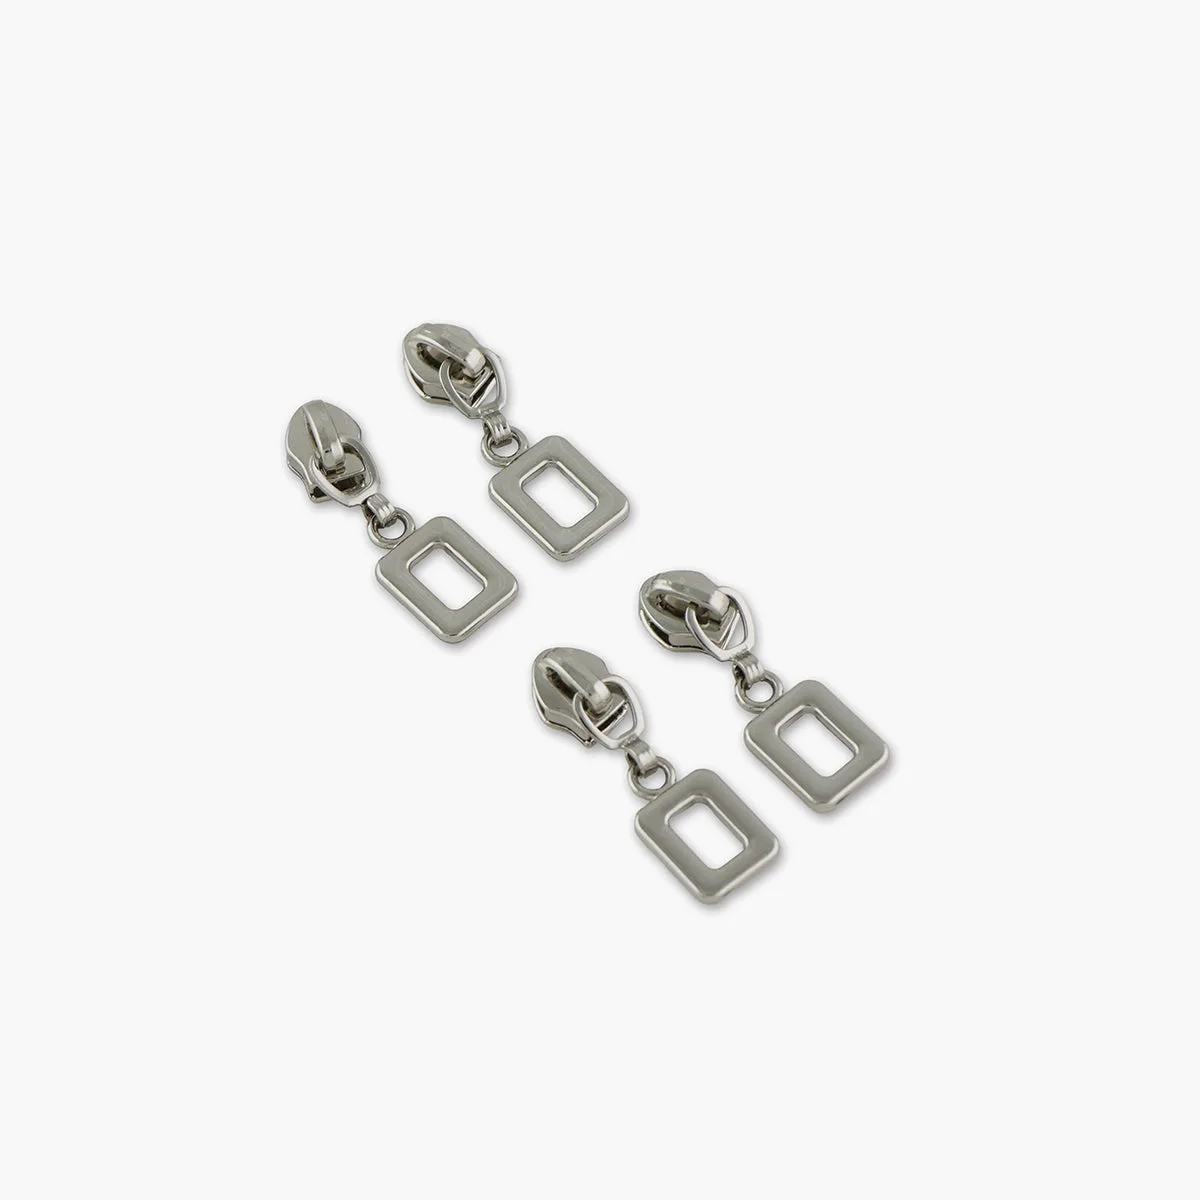
Hardware also matters. For zippers, #5 nylon coil zippers are common for bag tops. If you want a decorative touch, consider using themed zipper pulls like the Four Heart Zipper Pulls or Four Rounded Rectangle Zipper Pulls. These pulls fit #5 zippers and can be used for single or double slide zippers. For straps, you'll need slider buckles and rings, which you can find in kits like the 1/2" Style 1 Basic Hardware Kit.
- When buying cork fabric, check for defects if it's on clearance.
Create a Mock-Up and Test It
Before cutting into your good fabric, make a mock-up using cheap muslin or an old sheet. Cut out all pattern pieces and sew them together as you plan to for the final bag. This test reveals fitting issues, construction problems, and whether the size is right. Use a basting stitch so you can easily rip out seams and adjust.
During the mock-up, check the bag's proportions and how it hangs. If it's too small or too large, adjust the pattern pieces and make another mock-up. It's better to spend time here than to waste expensive cork or other materials on a flawed pattern.
- Make notes directly on the mock-up about what to change.
Refine Your Pattern
After testing, refine your pattern pieces based on what you learned. Adjust seam allowances if needed, change the shape of curves, or add darts for a better fit. Transfer any changes to your paper pattern. Then, cut out the final pattern pieces in sturdy paper or cardstock for durability.
Label each piece with the bag name, piece name, and how many to cut. Include grainline arrows and notches to help with alignment during sewing. If you plan to make the bag again, store the pattern in a labeled envelope or folder.
- Consider adding seam allowance markings to your pattern for easy cutting.
Step-by-Step Process
- Step 1: Sketch and list features: Draw your bag idea and write down all the features you need, like pockets, closure, and size. Checkpoint: Make sure you know exactly what the bag will be used for.
- Step 2: Measure a reference bag or set dimensions: Take measurements from a bag you like or decide on the dimensions based on what you'll carry. Checkpoint: Write down all measurements and add seam allowances later.
- Step 3: Draft pattern pieces on paper: Using graph paper, draw each piece of the bag to scale, including panels, gussets, and straps. Checkpoint: Label all pieces and include grainline arrows.
- Step 4: Choose fabric and hardware: Select materials that suit the bag's purpose. Consider cork fabric for structure and #5 zippers with decorative pulls. Checkpoint: Ensure your hardware fits the zipper size and strap width.
- Step 5: Make a mock-up and test: Sew a test version in cheap fabric to check fit and construction. Checkpoint: Adjust the pattern as needed before cutting into good fabric.
- Step 6: Refine and finalize your pattern: Make any adjustments, transfer the final pattern to sturdy paper, and label all pieces clearly. Checkpoint: Store your pattern neatly so you can reuse it.
Products That Help Your Bag Pattern Come to Life
- Rustic Tiger Eye Cork Fabric: This premium, cork fabric, also known as cork leather, is easy-to-sew through, pliable, and durable. Cork fabric has a similar handle to faux leather or genuine leather because it is soft, smooth, and pliable. It is not hard or brittle. Cork fabric is a great choice for a structured bag because it holds its shape and sews like leather. Use it for the outer panels, straps, and handles to get a professional look.
- Four Rounded Rectangle Zipper Pulls: Use these zipper pulls with Sallie Tomato Zippers by the Yard, or any size #5 nylon coil zipper. This size zipper is best used on the top of handbags, backpacks, totes, laptop carriers, and more! Make single or double slide zippers with these pulls. If your bag pattern includes a top zipper, these pulls add a sleek, functional finish and allow you to customize the look. They work with standard #5 zippers, so you can easily add them to your design.
- 1/2" Style 1 Basic Hardware Kit: We've made it easy for you by putting together a professional-looking Basic Hardware Kit in a variety of sizes! Now, all of the basic pieces of hardware to make a bag are included in one kit. This kit includes slider buckles and rectangle rings that are essential for adjustable straps. Having the right hardware on hand ensures your straps are secure and adjustable.
Designing your own bag pattern takes patience, but the payoff is a custom bag that fits your life perfectly. By following these steps—from sketching to testing—you'll avoid common mistakes and create a pattern you can use again and again. Happy sewing!