Quick Answer
Developing 120 black and white film at home is a straightforward process that requires a few essential chemicals and tools. This guide walks you through each step, from loading the reel to drying your negatives, so you can achieve high-quality results without a lab.
Why Develop 120 Film at Home?
Home development gives you full control over the process, from choosing your developer to adjusting development time for your desired contrast and grain. It also saves money in the long run and lets you see your images sooner.
The main trade-off is the upfront investment in equipment and chemicals, plus the need for a dark space to load the film onto the reel. However, once you have the basics, the process is quick and repeatable.
What You Need to Get Started
Gather your supplies before you begin: a developing tank that accepts 120 reels, a changing bag or completely dark room, developer, stop bath, fixer, a thermometer, and a timer. You'll also need a squeegee or film clips for drying, and a clean, dust-free area.
If you're new to home processing, consider starting with a monochrome developer that has a long shelf life and forgiving temperature latitude. Always check the developer's datasheet for recommended times and temperatures for your specific film.
Step-by-Step Development Process
- Load the film onto the reel: In complete darkness (using a changing bag or darkroom), open the 120 spool and carefully feed the film onto a stainless steel or plastic reel designed for 120. Make sure the film is fully seated in the spiral tracks to prevent touching. Practice loading with a sacrificial roll before using your real film.
- Pre-wash and prepare chemicals: Place the loaded reel into the developing tank and close it. Pre-wash with water at the same temperature as your developer (usually 68°F/20°C) for 1 minute. Meanwhile, mix your developer, stop bath, and fixer according to their instructions. Consistent temperature is key; use a thermometer to verify.
- Develop with agitation: Pour in the developer and start your timer. Agitate continuously for the first 30 seconds, then for 5 seconds every 30 seconds. Use the development time recommended by the film or developer datasheet. Inconsistent agitation can cause uneven development; keep a steady rhythm.
- Stop and fix the film: Pour out the developer and add stop bath for about 30 seconds with gentle agitation. Then pour in the fixer and follow its recommended time (usually 2-5 minutes). Fixer time varies; check your fixer's instructions. Under-fixing leaves milky negatives; over-fixing can bleach them. Follow the times.
- Wash and dry: After fixing, wash the film with running water for 5-10 minutes, or use a hypo clearing agent to shorten the wash. Add a few drops of wetting agent to prevent water spots, then hang the film to dry in a dust-free area. Use film clips to avoid kinks and hang in a bathroom with the shower off to minimize dust.
Product Spotlight
-
120 Black & White Development: Austin Camera offers 120 Black & White Development with a 3-day turnaround for develop-only orders (no prints, no scans). If you're not ready to develop at home or want a quick, reliable lab option, this service gives you quality results without the setup.
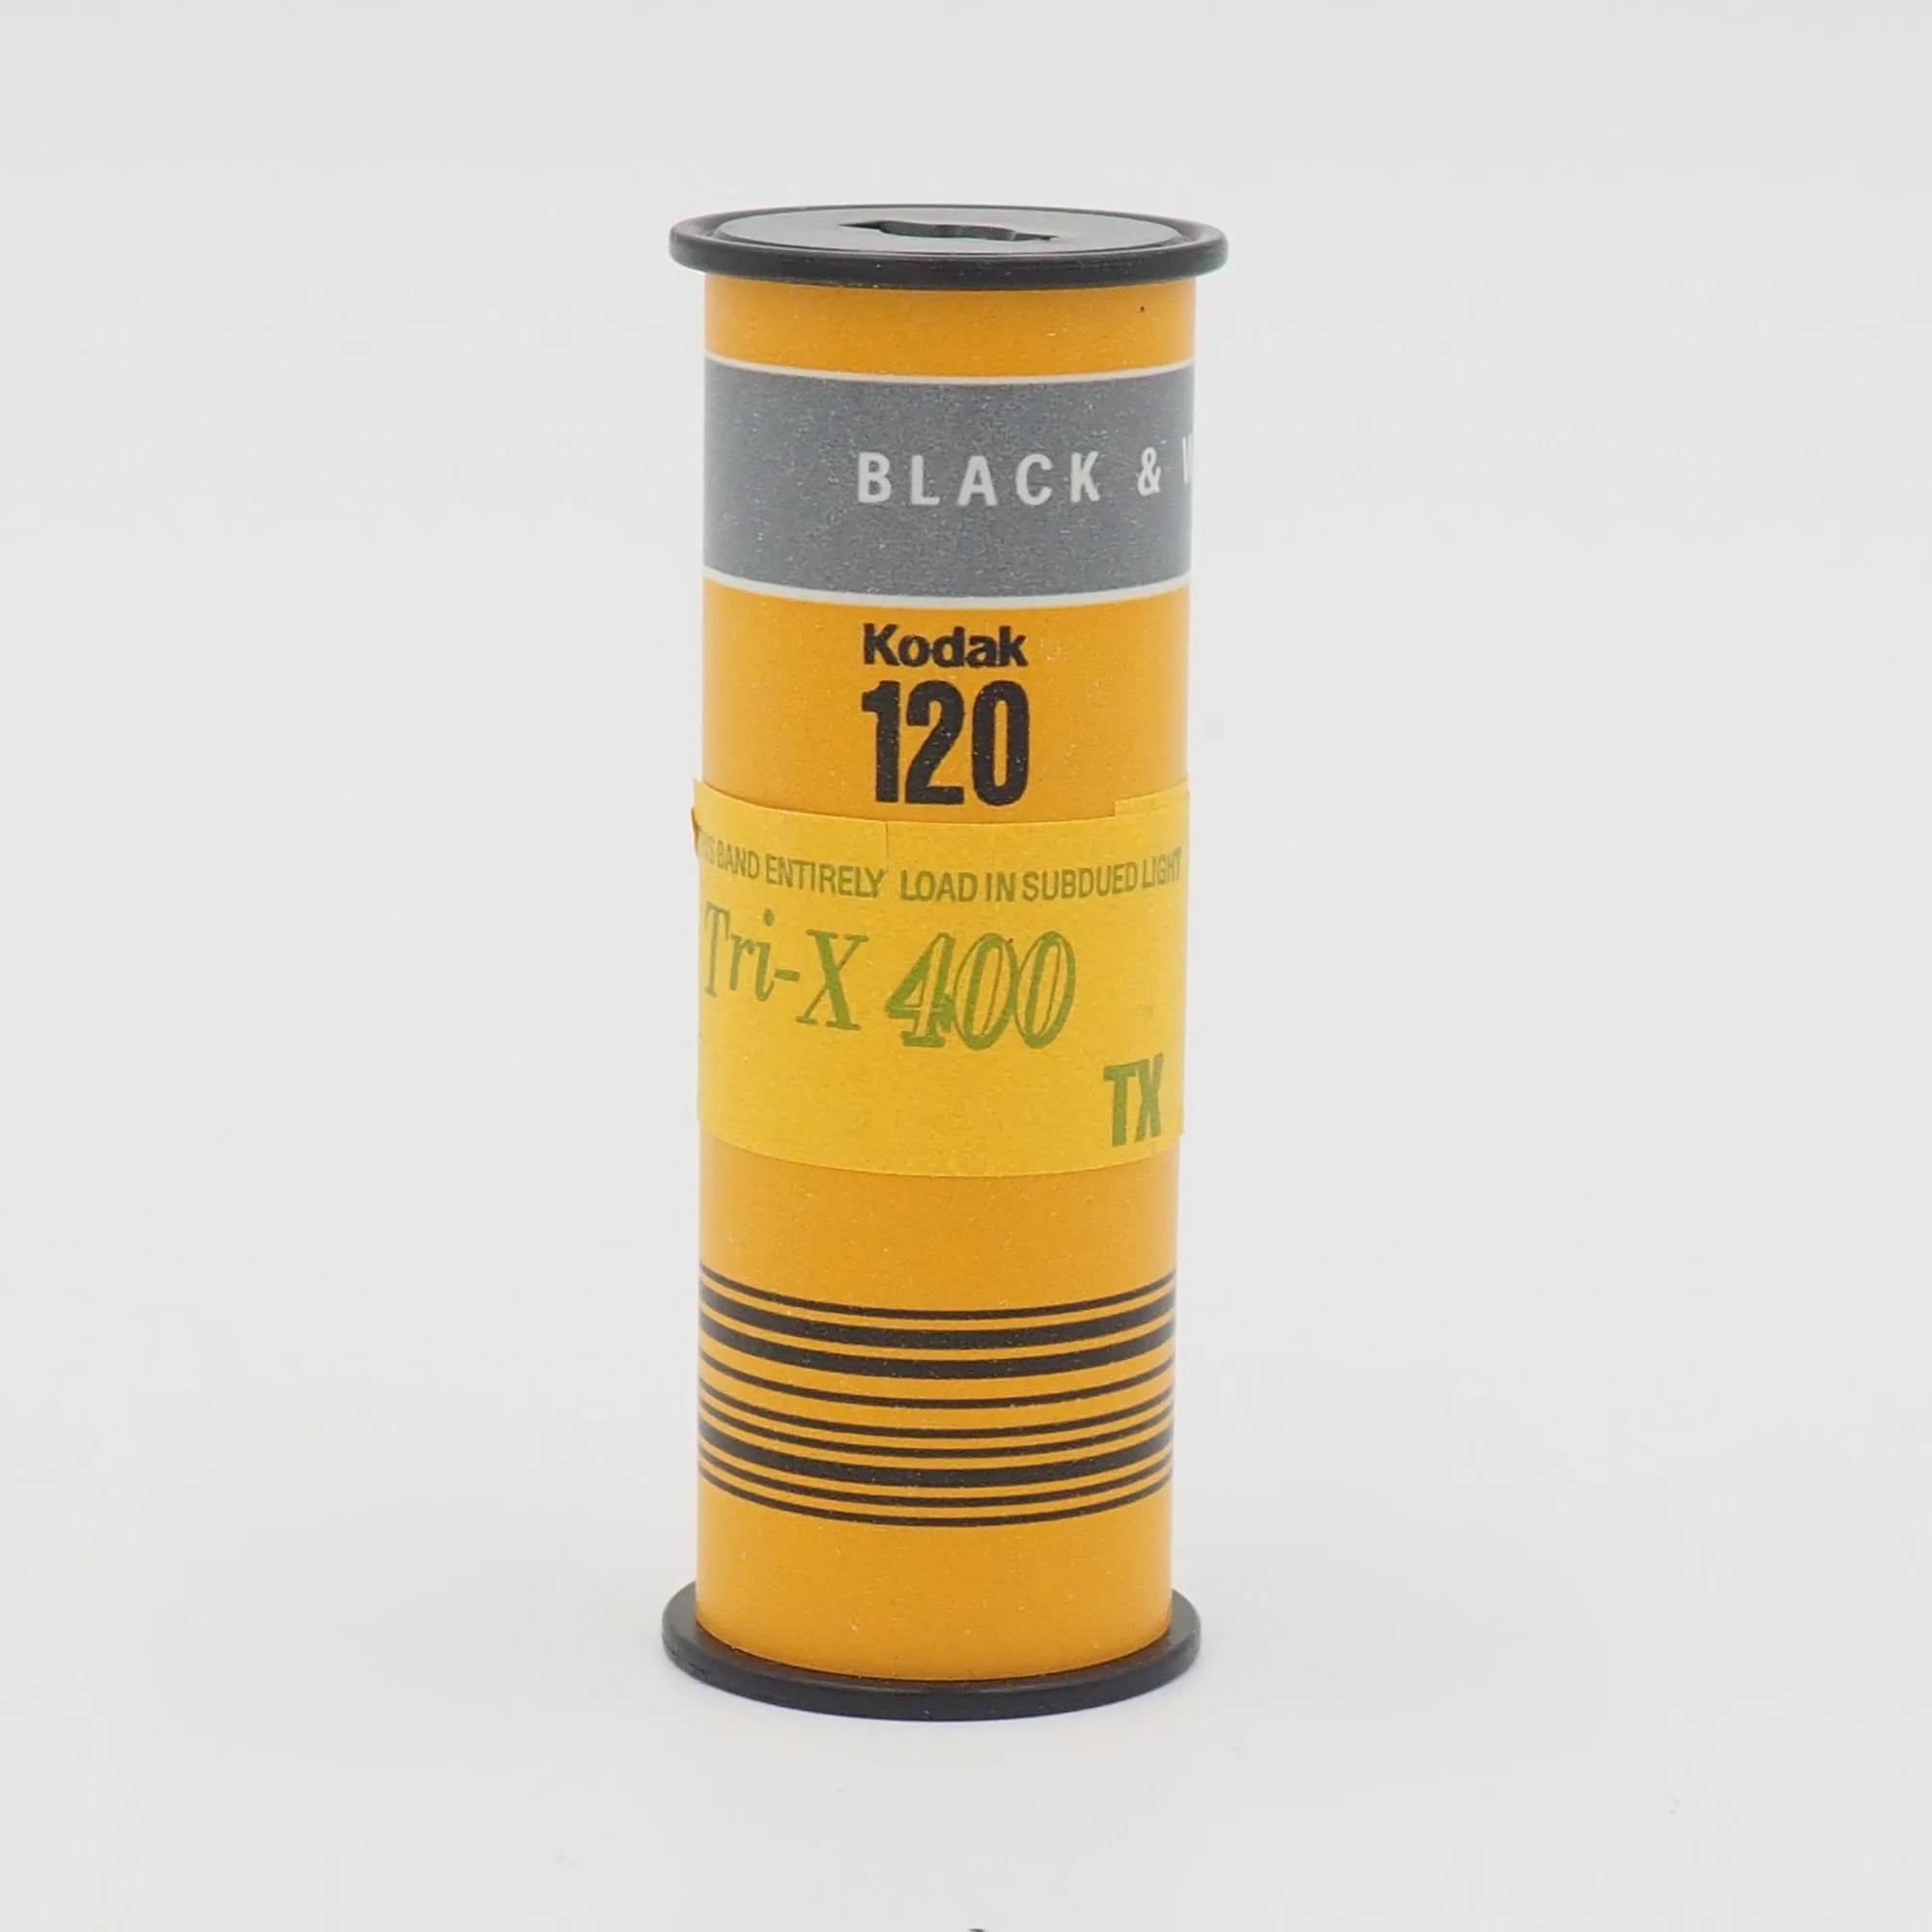
120 Black & White Development