Quick answer
Hang your glossy metal print away from direct light sources to reduce glare, and use a soft microfiber cloth for dusting to preserve the finish.
Why placement matters for glossy prints
Glossy metal prints have a reflective surface that can catch overhead lights and windows, creating hotspots that distract from the artwork. In a listening room where ambient lighting is often dimmed, the wrong angle can turn a subtle piece into a mirror. Plan the location so the print faces away from main light sources.
The 5128 Concerned Resolve Face In A Confusing Place print, for example, uses high-gloss metal that rewards careful positioning. Place it where you can see the full image without squinting, and where visitors will notice it naturally as they enter the room.
Tools you will need
A soft microfiber cloth (dry), a level, a tape measure, and a picture-hanging kit rated for the print's weight. Metal prints are lighter than framed glass art, but you still need a secure anchor, especially if the print is large. Avoid abrasive cleaners or paper towels—they can scratch the gloss.
Step-by-step display guide
- Choose the wall and lighting: Select a wall that does not receive direct sunlight or overhead spotlights. Test by holding the print at eye level and moving it until reflections disappear. Mark the spot with a pencil. Common mistake: placing the print under a bright ceiling light, which washes out the image.
- Measure and mark hanging points: Measure the print's width and divide by two to find the center. Mark the wall at your desired height (typically 57–60 inches from floor to center). Use a level to ensure the mark is straight. Checkpoint: double-check the level before drilling—a crooked print is very noticeable on a glossy surface.
- Install the hanging hardware: Use a stud finder to locate a wall stud, or install a drywall anchor rated for at least 10 lbs. Screw the hanger into the wall, then hang the print by its wire or sawtooth hanger. Common mistake: using a nail in drywall without an anchor, which can pull out over time.
- Adjust and level the print: Gently tilt the print left or right until the level bubble is centered. Once straight, press the bottom corners to seat the hanger. Step back and check again from your listening position. Checkpoint: reflections can make a level print look crooked—view it from multiple angles.
- Clean and maintain the gloss: Dust the print weekly with a dry microfiber cloth. For smudges, lightly dampen the cloth with water (never spray directly) and wipe in a straight motion. Avoid ammonia-based cleaners. Common mistake: using a wet wipe or paper towel that leaves lint or streaks on the glossy surface.
Product facts
-
5128 Concerned Resolve Face In A Confusing Place - Glossy Metal Print: Glossy metal print from the 5128 series, available in multiple sizes. The glossy surface gives vibrant color and depth but requires careful placement to avoid glare, making the steps below essential for best visual impact.
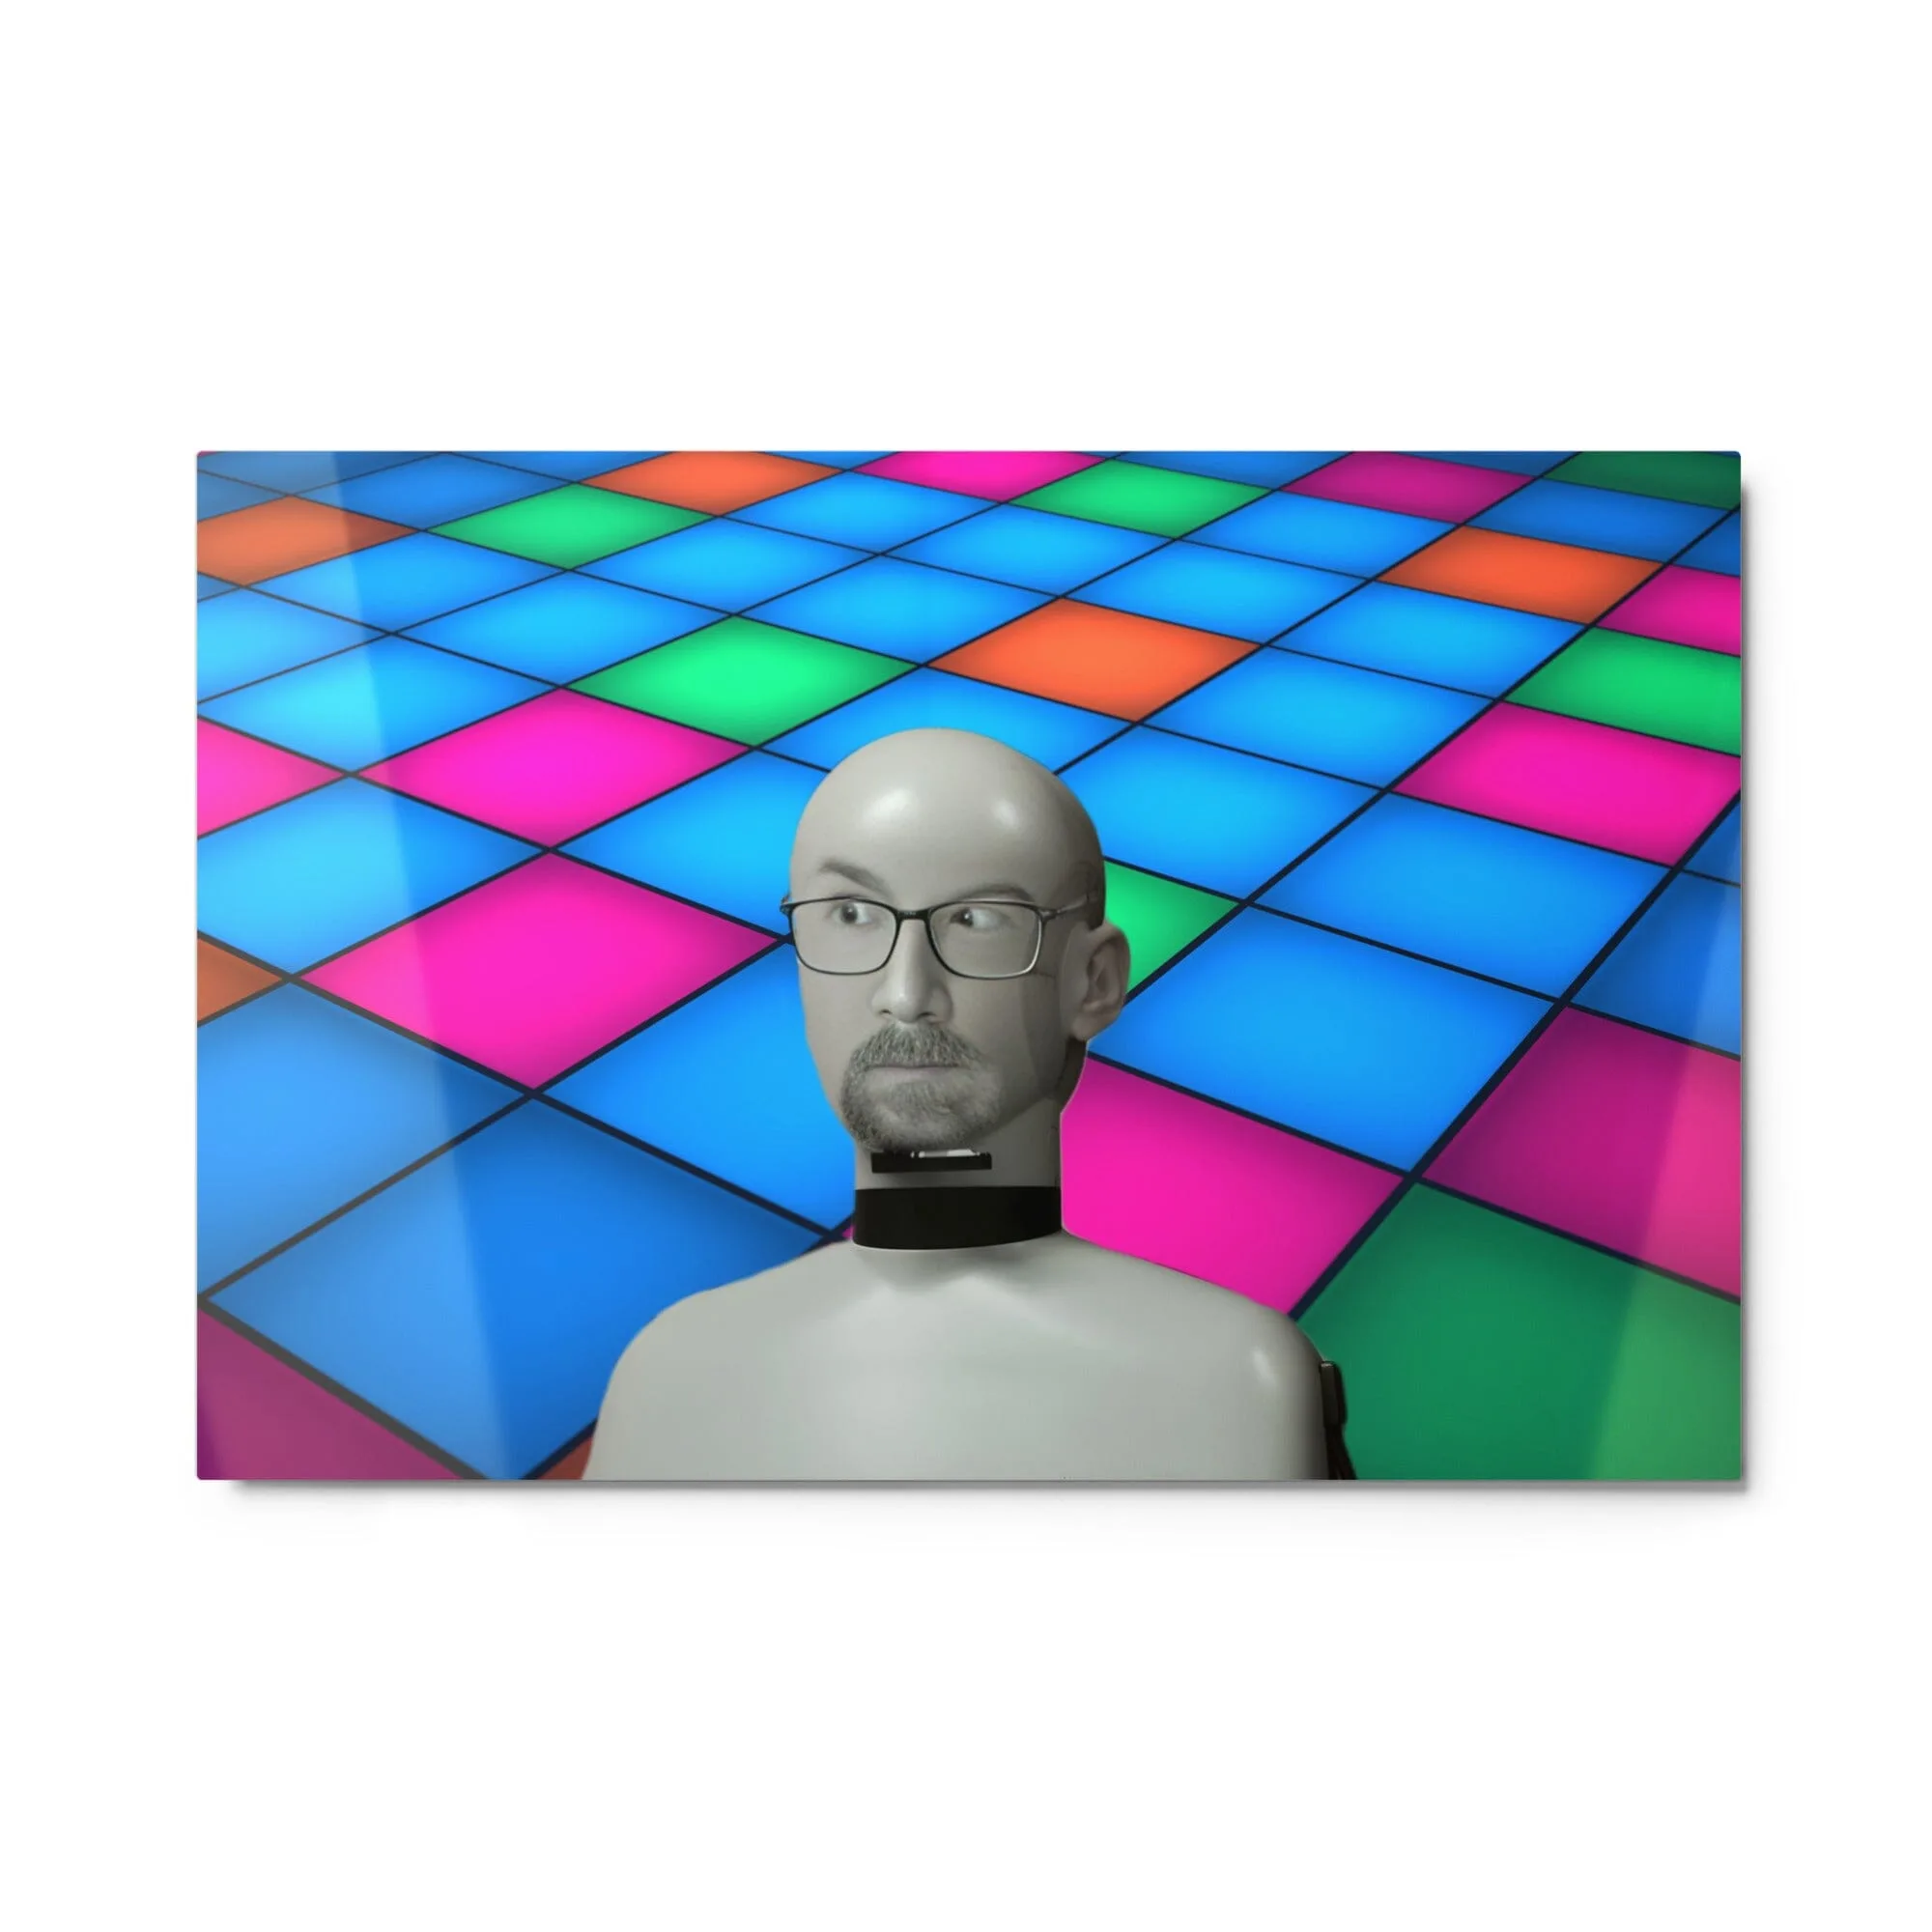
5128 Concerned Resolve Face In A Confusing Place - Glossy Metal Print