Quick Answer
Start with a clean, dry loop panel, press the hook backing firmly for full contact, and arrange patches with even spacing to avoid crowding.
Why Panel Choice Matters
The loop field on your panel or patch backing determines how well the hook side grips. Dense, tight-loop panels hold smaller patches more securely than loose-weave fabric. If your panel is part of a backpack or vest, test a patch first to see if the hook grabs evenly across the whole surface.
For patches with a sewn-on loop sheet (like the included sheet on Maxpedition morale patches), you can attach that sheet to clothing or gear and then stick the patch to it. This protects the hook backing when not in use and gives you a dedicated spot.
Placement and Spacing Tips
Crowding patches edge-to-edge can cause them to peel off when gear rubs against a surface. Leave at least 1/4 inch between patches. On a 3x5 inch panel, two standard-size patches (about 3 inches wide) fit comfortably side by side.
Consider the orientation of your patches. Most morale patches are designed to be read left to right when the wearer looks down. If you mount them on a backpack, rotate them so they are upright when the pack is on your back.
Step-by-Step Display Setup
- Prepare the Panel Surface: Wipe the loop panel with a lint-free cloth to remove dust, dirt, or oils. A clean surface lets the hook backing grip fully. Common mistake: skipping this step on a new panel that looks clean but may have manufacturing residue. If the patch peels off after a few hours, clean the panel again and try a different spot.
- Attach the Patch Firmly: Press the patch onto the panel starting from one edge and working across to avoid air bubbles. Apply even pressure over the entire patch for 5-10 seconds. Common mistake: pressing only the center leaves edges loose, and they will catch on gear and peel off. For patches with a separate loop sheet, attach the sheet to your gear first, then stick the patch to the sheet.
- Arrange for Visibility and Balance: Lay out all patches on a flat surface before attaching them. Place the largest or most meaningful patch at the center or top-left, then fill in around it. Common mistake: stacking patches too close together causes them to overlap when the panel flexes. Snap a photo of your layout before attaching so you can replicate it later if you need to remove and reattach patches.
- Check Attachment Regularly: After a day of wear, inspect each patch. Re-press any that have lifted at the edges. Over time, lint can collect on the hook side; clean it with a soft brush or tape. Common mistake: assuming a patch that stayed on for one outing will stay on forever. Rotate patches occasionally to prevent the hook material from matting down in one spot.
Patches Featured in This Guide
-
Letter V Morale Patch: Letter V Morale Patch: 0.84" x 1.18" PVC rubber with included loop-field lined sheet for sewing onto clothes or protecting the hook back. Its small size makes it ideal for tight spots on a panel or for filling gaps between larger patches.
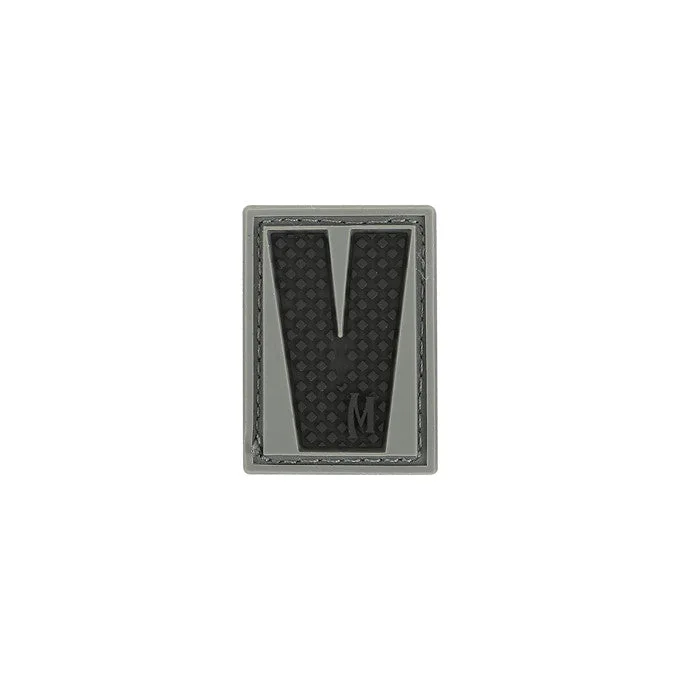
Letter V Morale Patch
-
Don't Tread On Me Morale Patch: Don't Tread On Me Morale Patch: 3" x 2.6" 3D PVC rubber with included loop-field lined sheet. The larger surface area gives a strong hold on standard loop panels, and the included sheet lets you attach it to fabric without sewing.
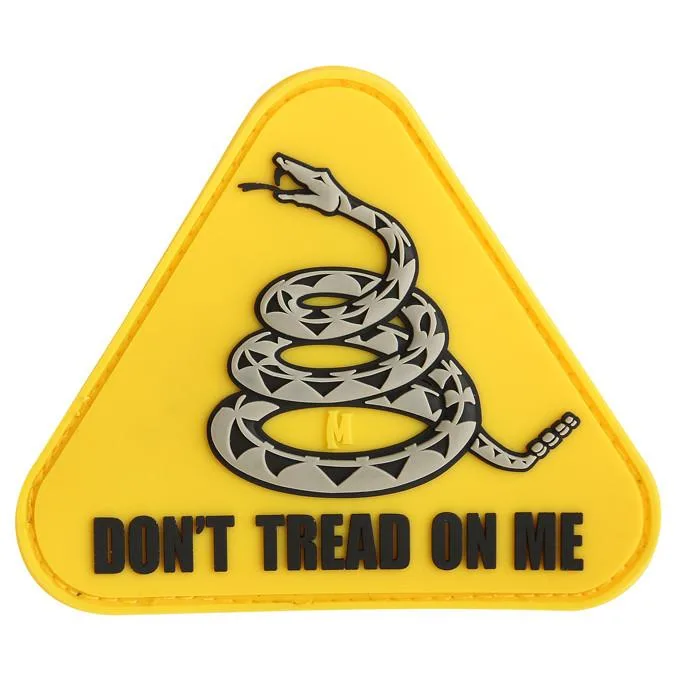
Don't Tread On Me Morale Patch
-
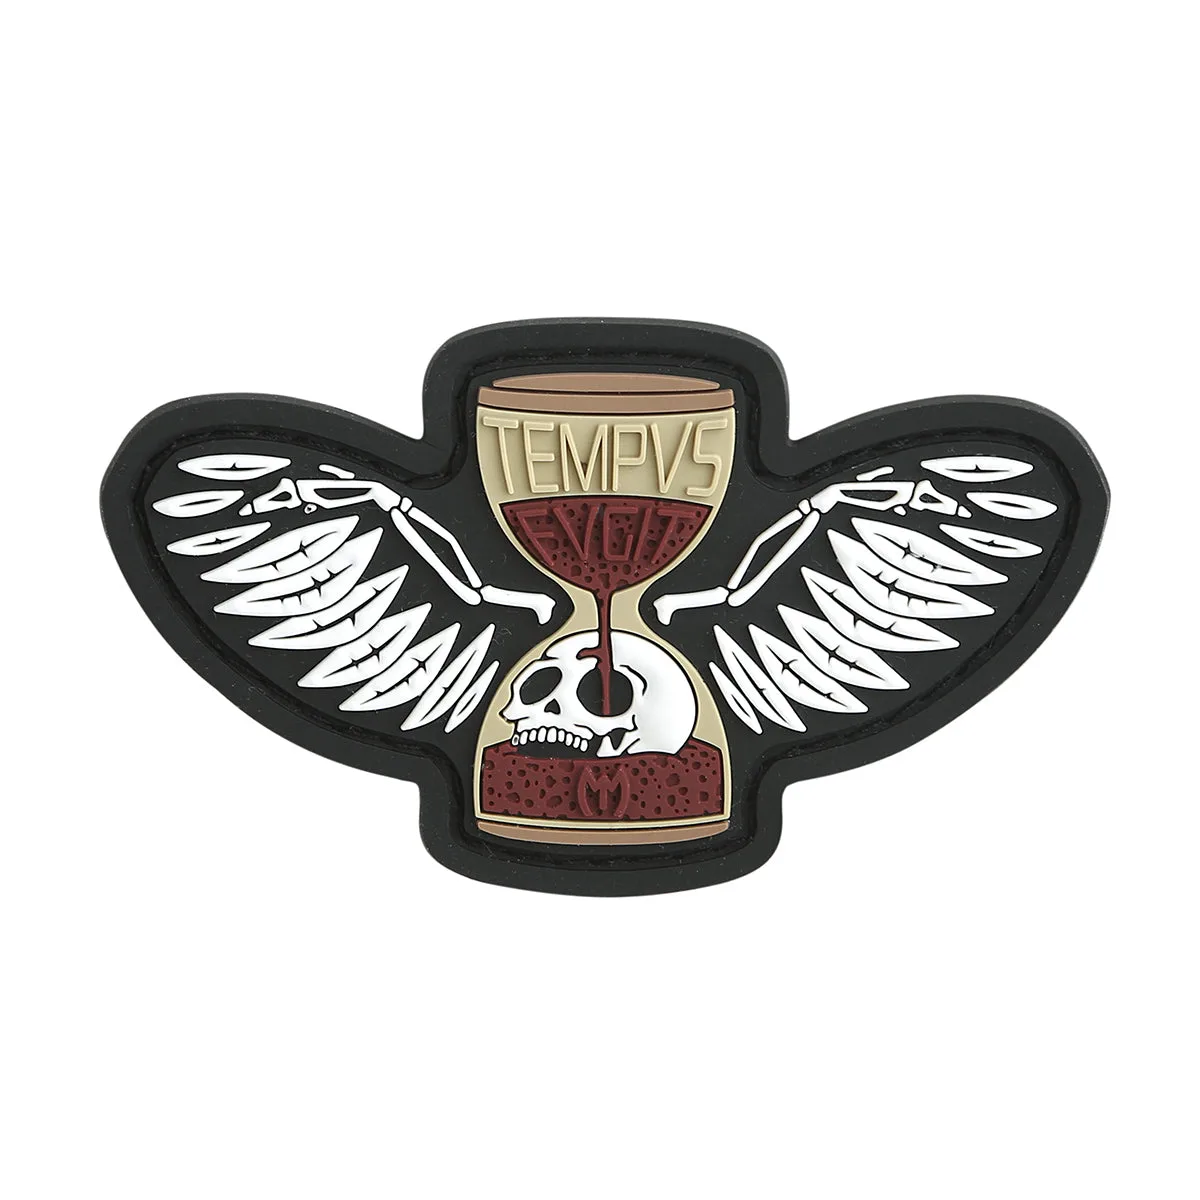
Tempus Fugit: Tempus Fugit Morale Patch: 3" x 1.75" 3D PVC rubber with included loop-field lined sheet. Its horizontal shape works well on a belt-mounted panel or along the top row of a larger display.