Quick answer
An acrylic fill means filing back the grown-out area, blending the old product, and rebuilding only the regrowth instead of removing the whole set. Do it every 2 to 3 weeks when you see a visible gap at the cuticle. Work in thin layers, keep the new product off the skin, and finish with a gel top coat for shine.
A fill is not a full set with extra steps. It is a targeted repair: you remove the lifted or grown-out product near the cuticle, blend the edge, and rebuild only that zone. Done well, the nail looks seamless and the structure stays strong.
The process is easier to learn than a full set because you are working on a smaller area. The tradeoff is that sloppy prep shows up fast. This guide walks through the acrylic infill steps in order, with the checkpoint that tells you when to move on.
When to get a fill (and when to skip it)
Book a fill when you see a clear gap between the cuticle and the old acrylic, usually around the 2 to 3 week mark. If the product is lifting, cracking, or there is any green or dark discoloration, do not fill over it. Those nails need removal and a fresh set.
If more than half the nail is grown out, or if several nails have lifted, a full set is often faster and more predictable than trying to patch. A fill is best for healthy, intact acrylic with normal regrowth.
- Checkpoint: press gently along the sidewalls. If the acrylic moves or looks cloudy at the edge, remove and redo rather than fill.
What you need before you start
You need a medium or fine grit file, a buffer, a cuticle pusher, a dust brush, and your acrylic powder and monomer. A size #16 brush is a practical all-rounder for fills because it holds enough liquid to build the new zone without flooding the cuticle.
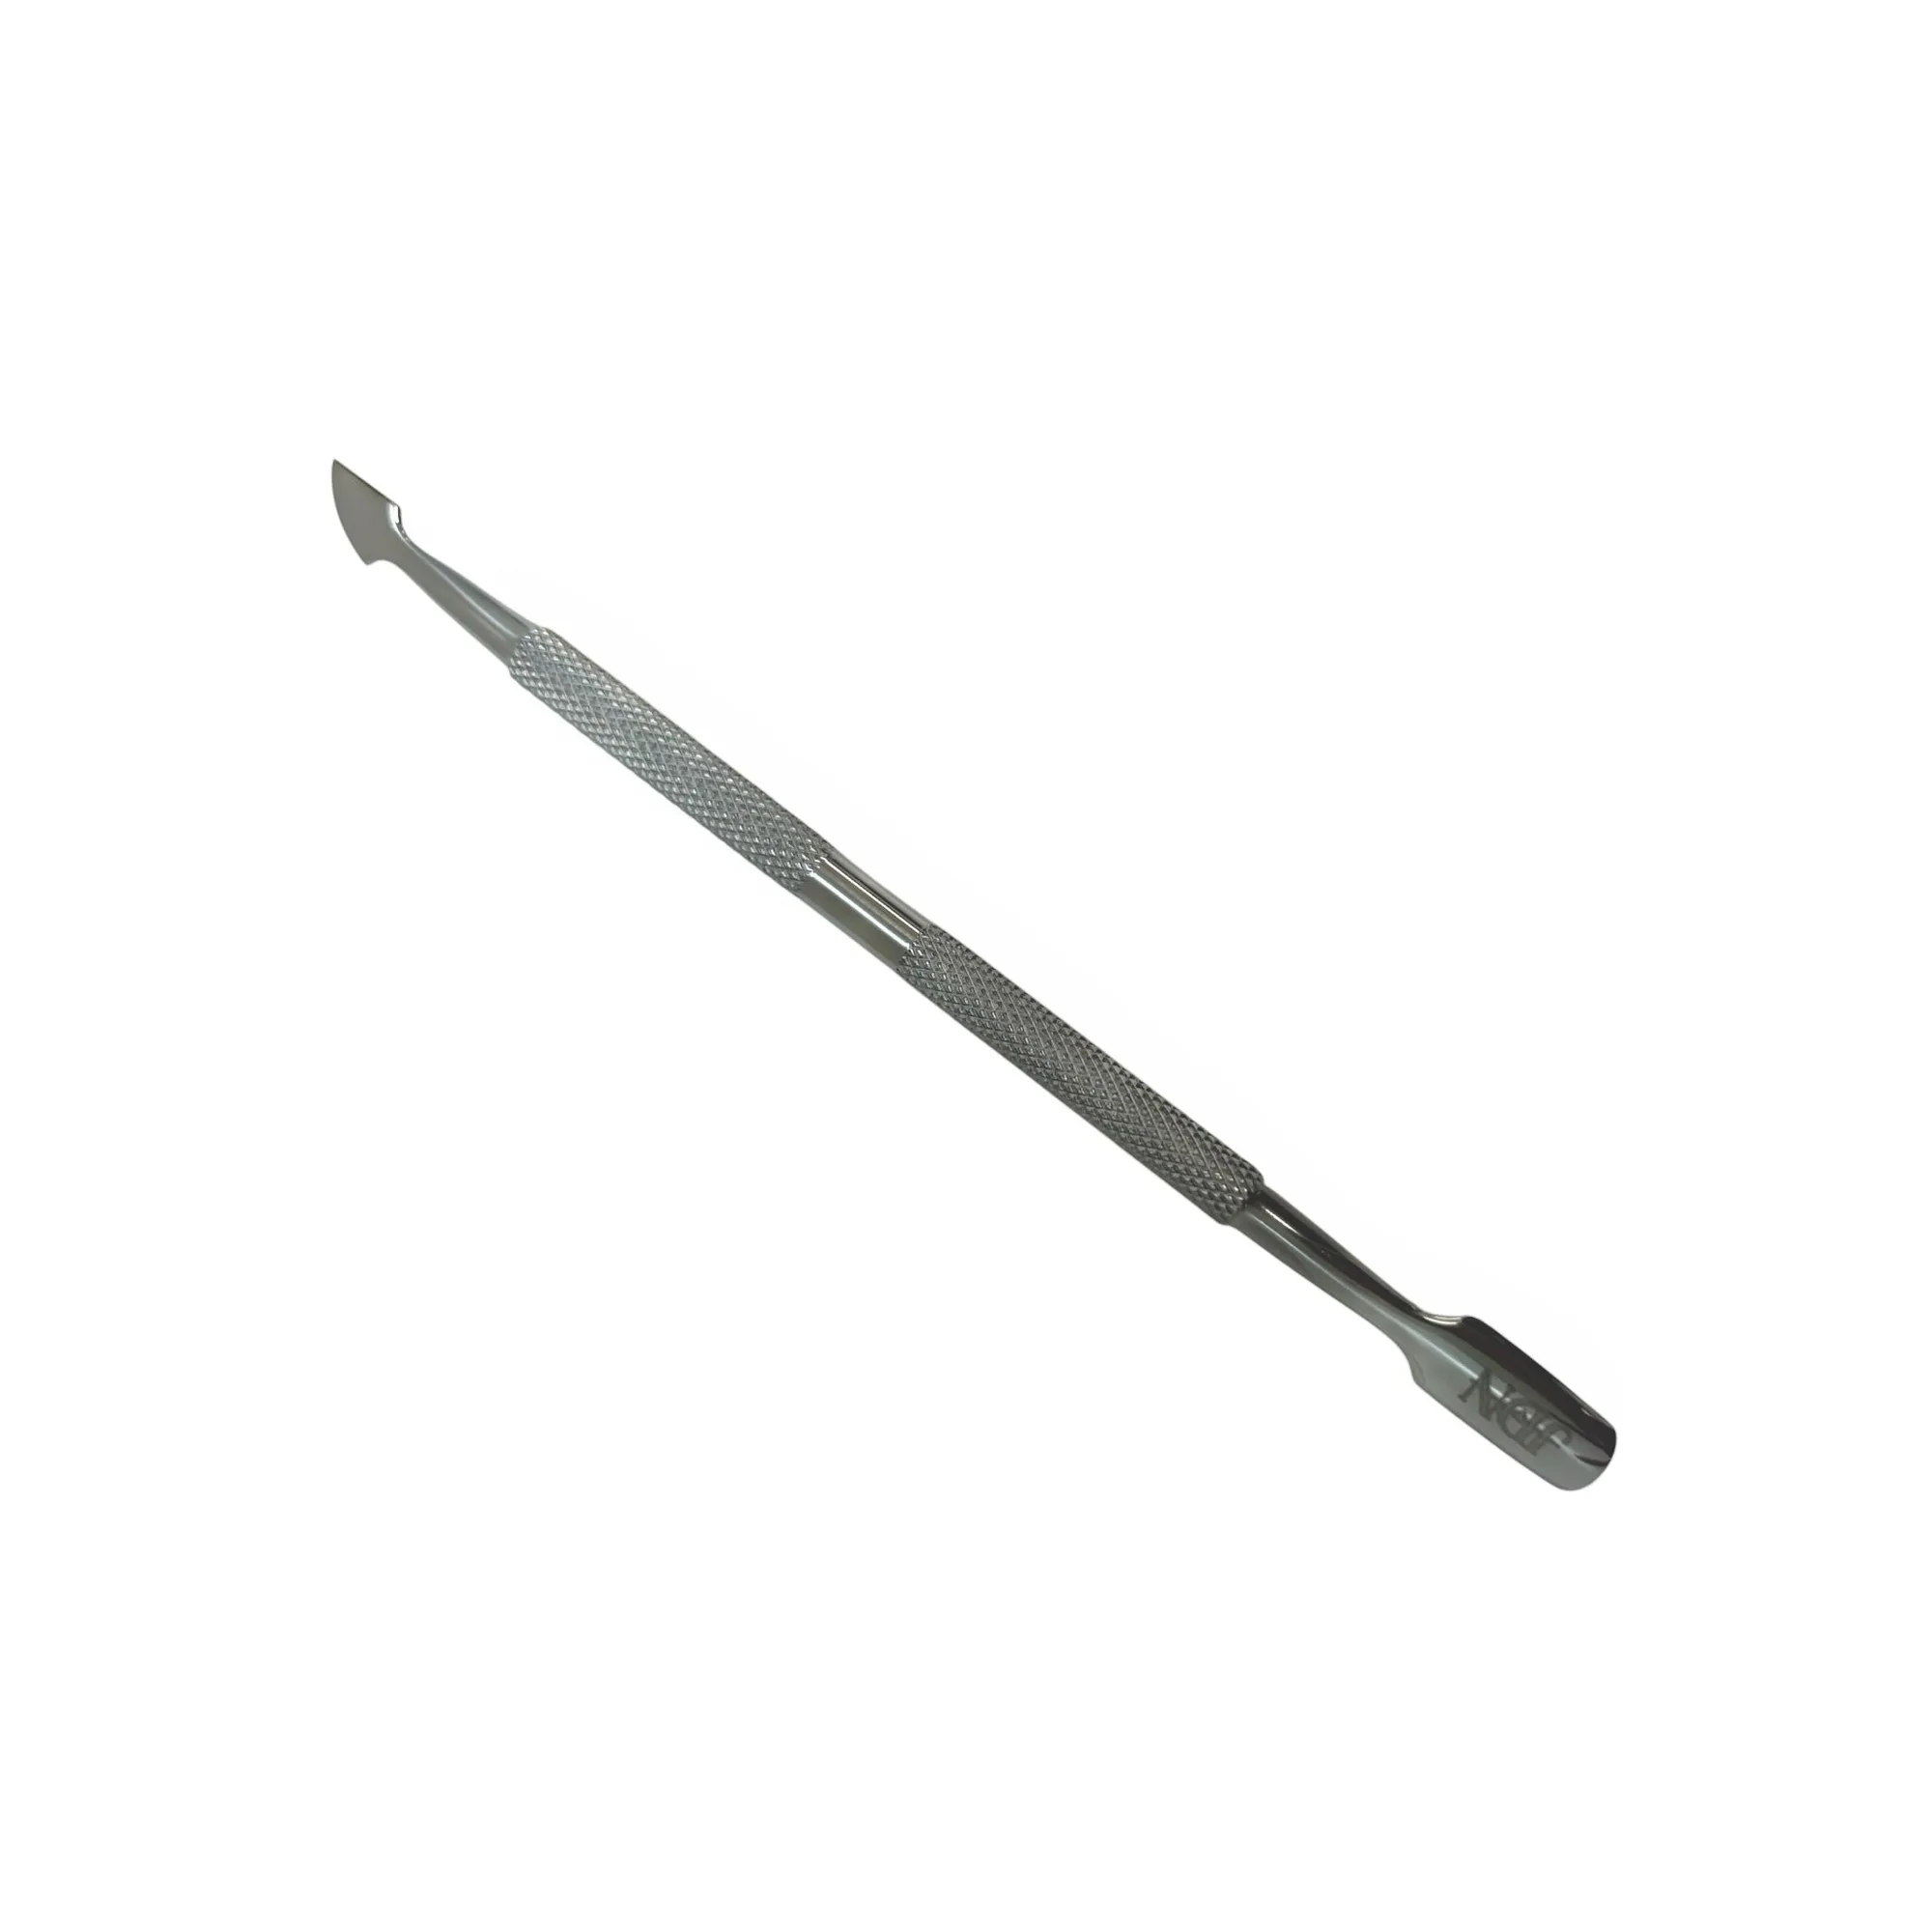
cuticle pusher
Keep your monomer in a small dish and work one nail at a time. If you are new to fills, the Fall Acrylic Nail Powder Bundle (15 Colors) includes an 8oz EMA Monomer, an acrylic brush size #16, and 15 Buttery Smooth colors, so you have the core setup in one box.
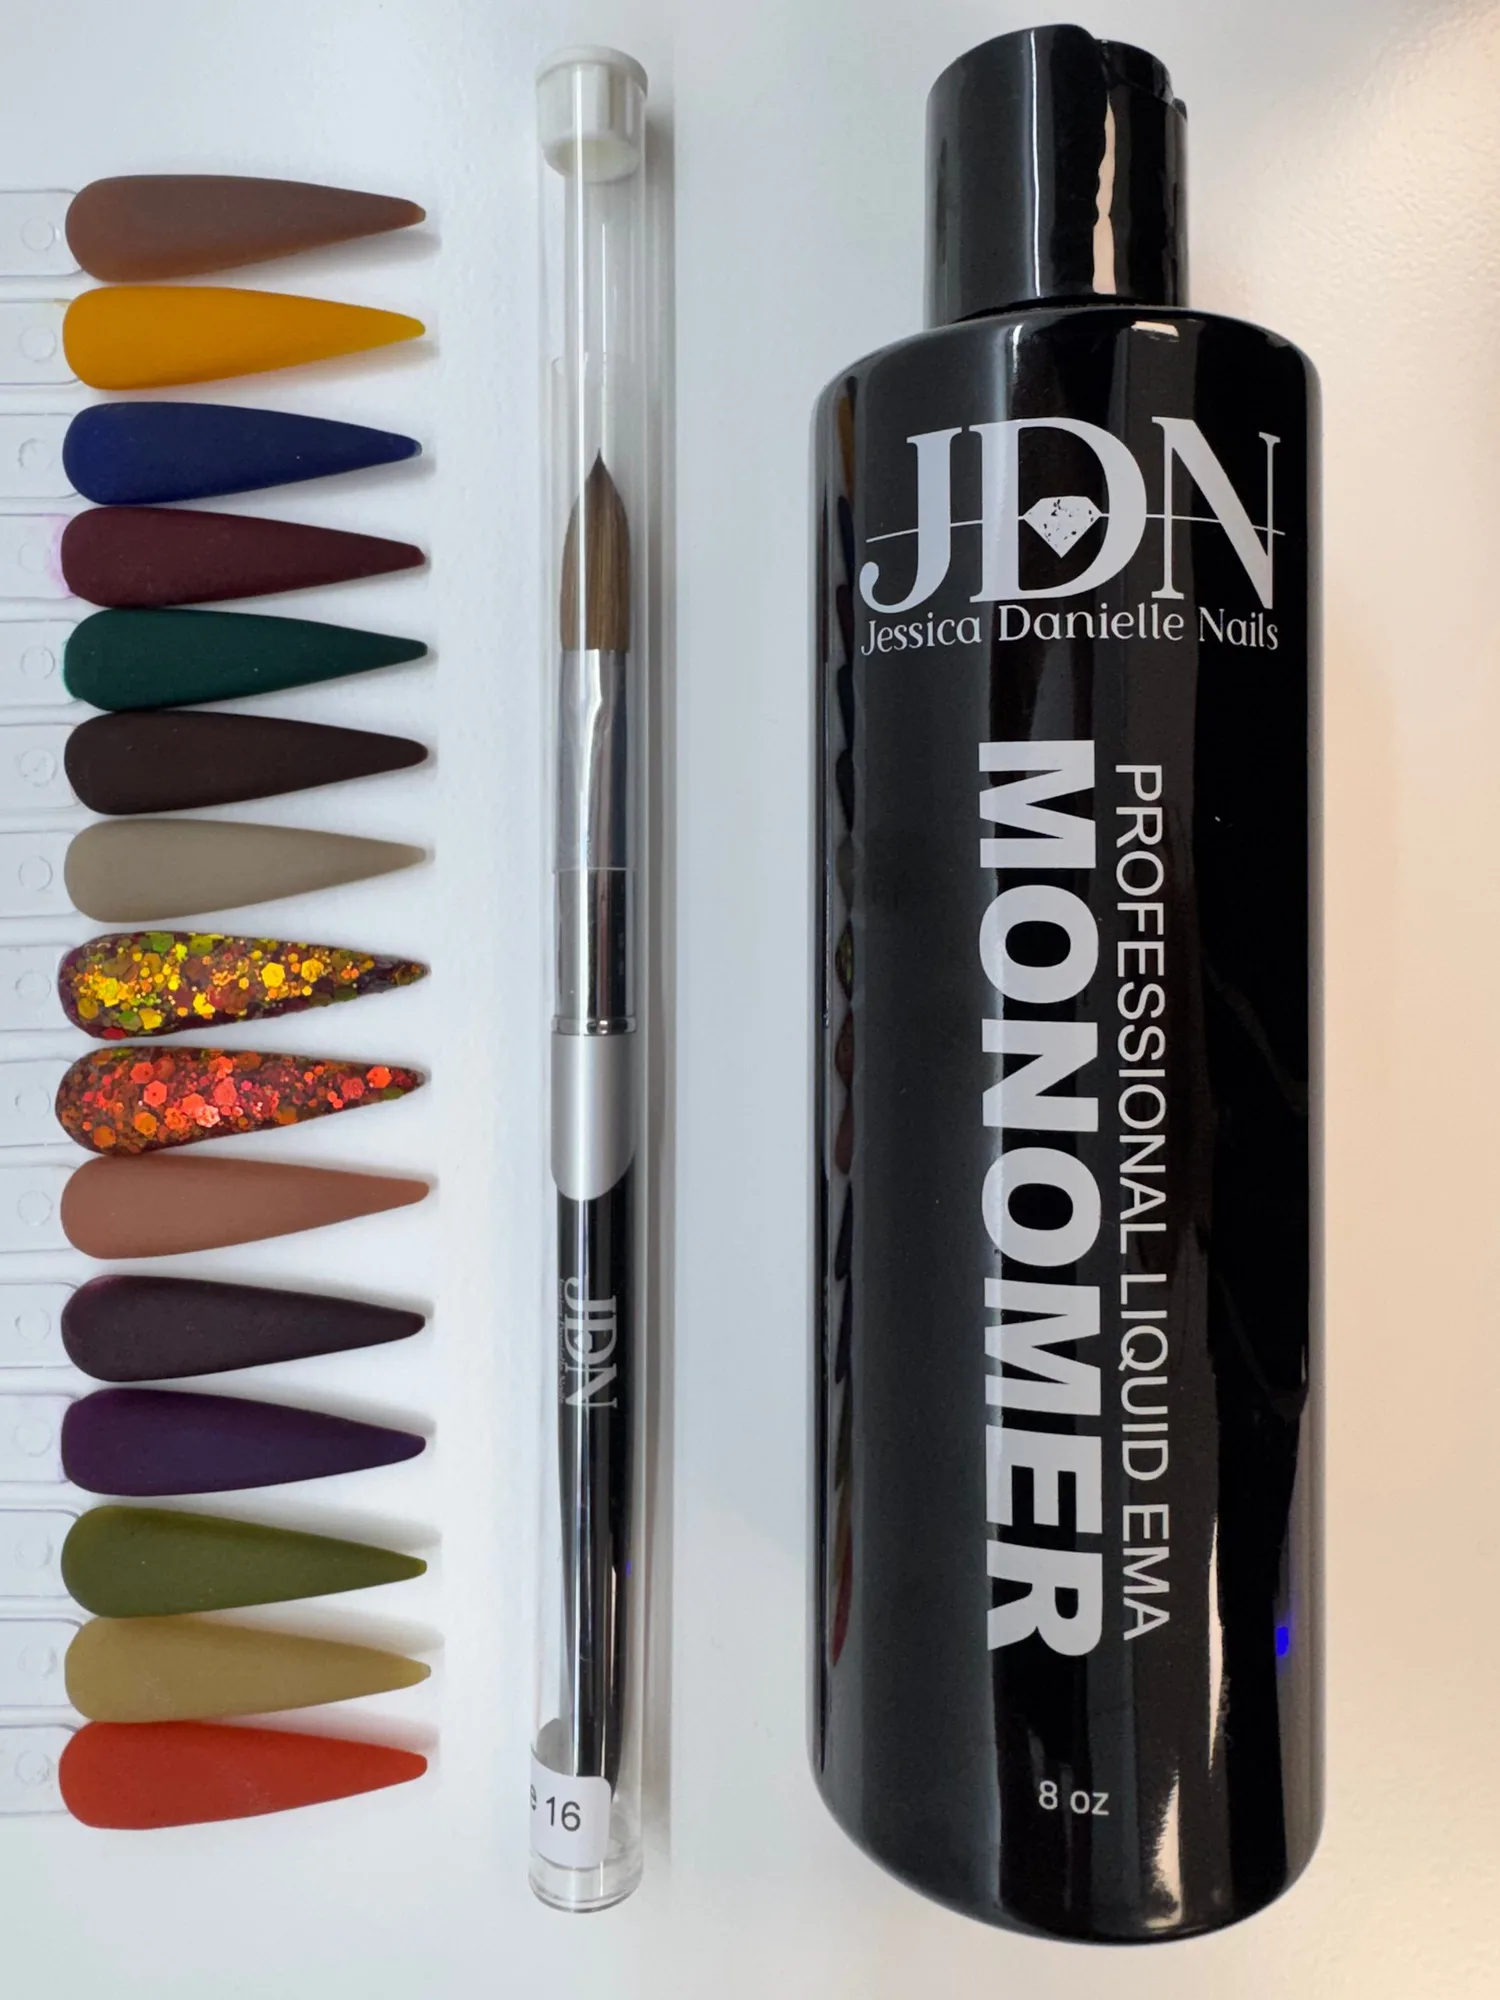
Fall Acrylic Nail Powder Bundle (15 Colors)
- Do not skip dust removal. Leftover dust causes lifting and cloudy spots under the new product.
Prep and blend the grown-out area
Push back the cuticle gently, then file the new growth down to a thin, even surface. Feather the edge of the old acrylic so there is no ridge. The goal is a smooth transition, not a flat nail.
Buff the whole nail lightly to remove shine and any leftover top coat. Wipe with a lint-free pad. This is the step most beginners rush, and it is the main reason fills lift within a week.
- Checkpoint: run a finger across the nail. You should feel no step or ledge where old product meets new growth.
Rebuild the smile line and zone 3
Pick up a small bead of acrylic and place it at the new growth area, then pat it into place with light strokes. Keep the product off the skin and build in thin layers rather than one thick blob.
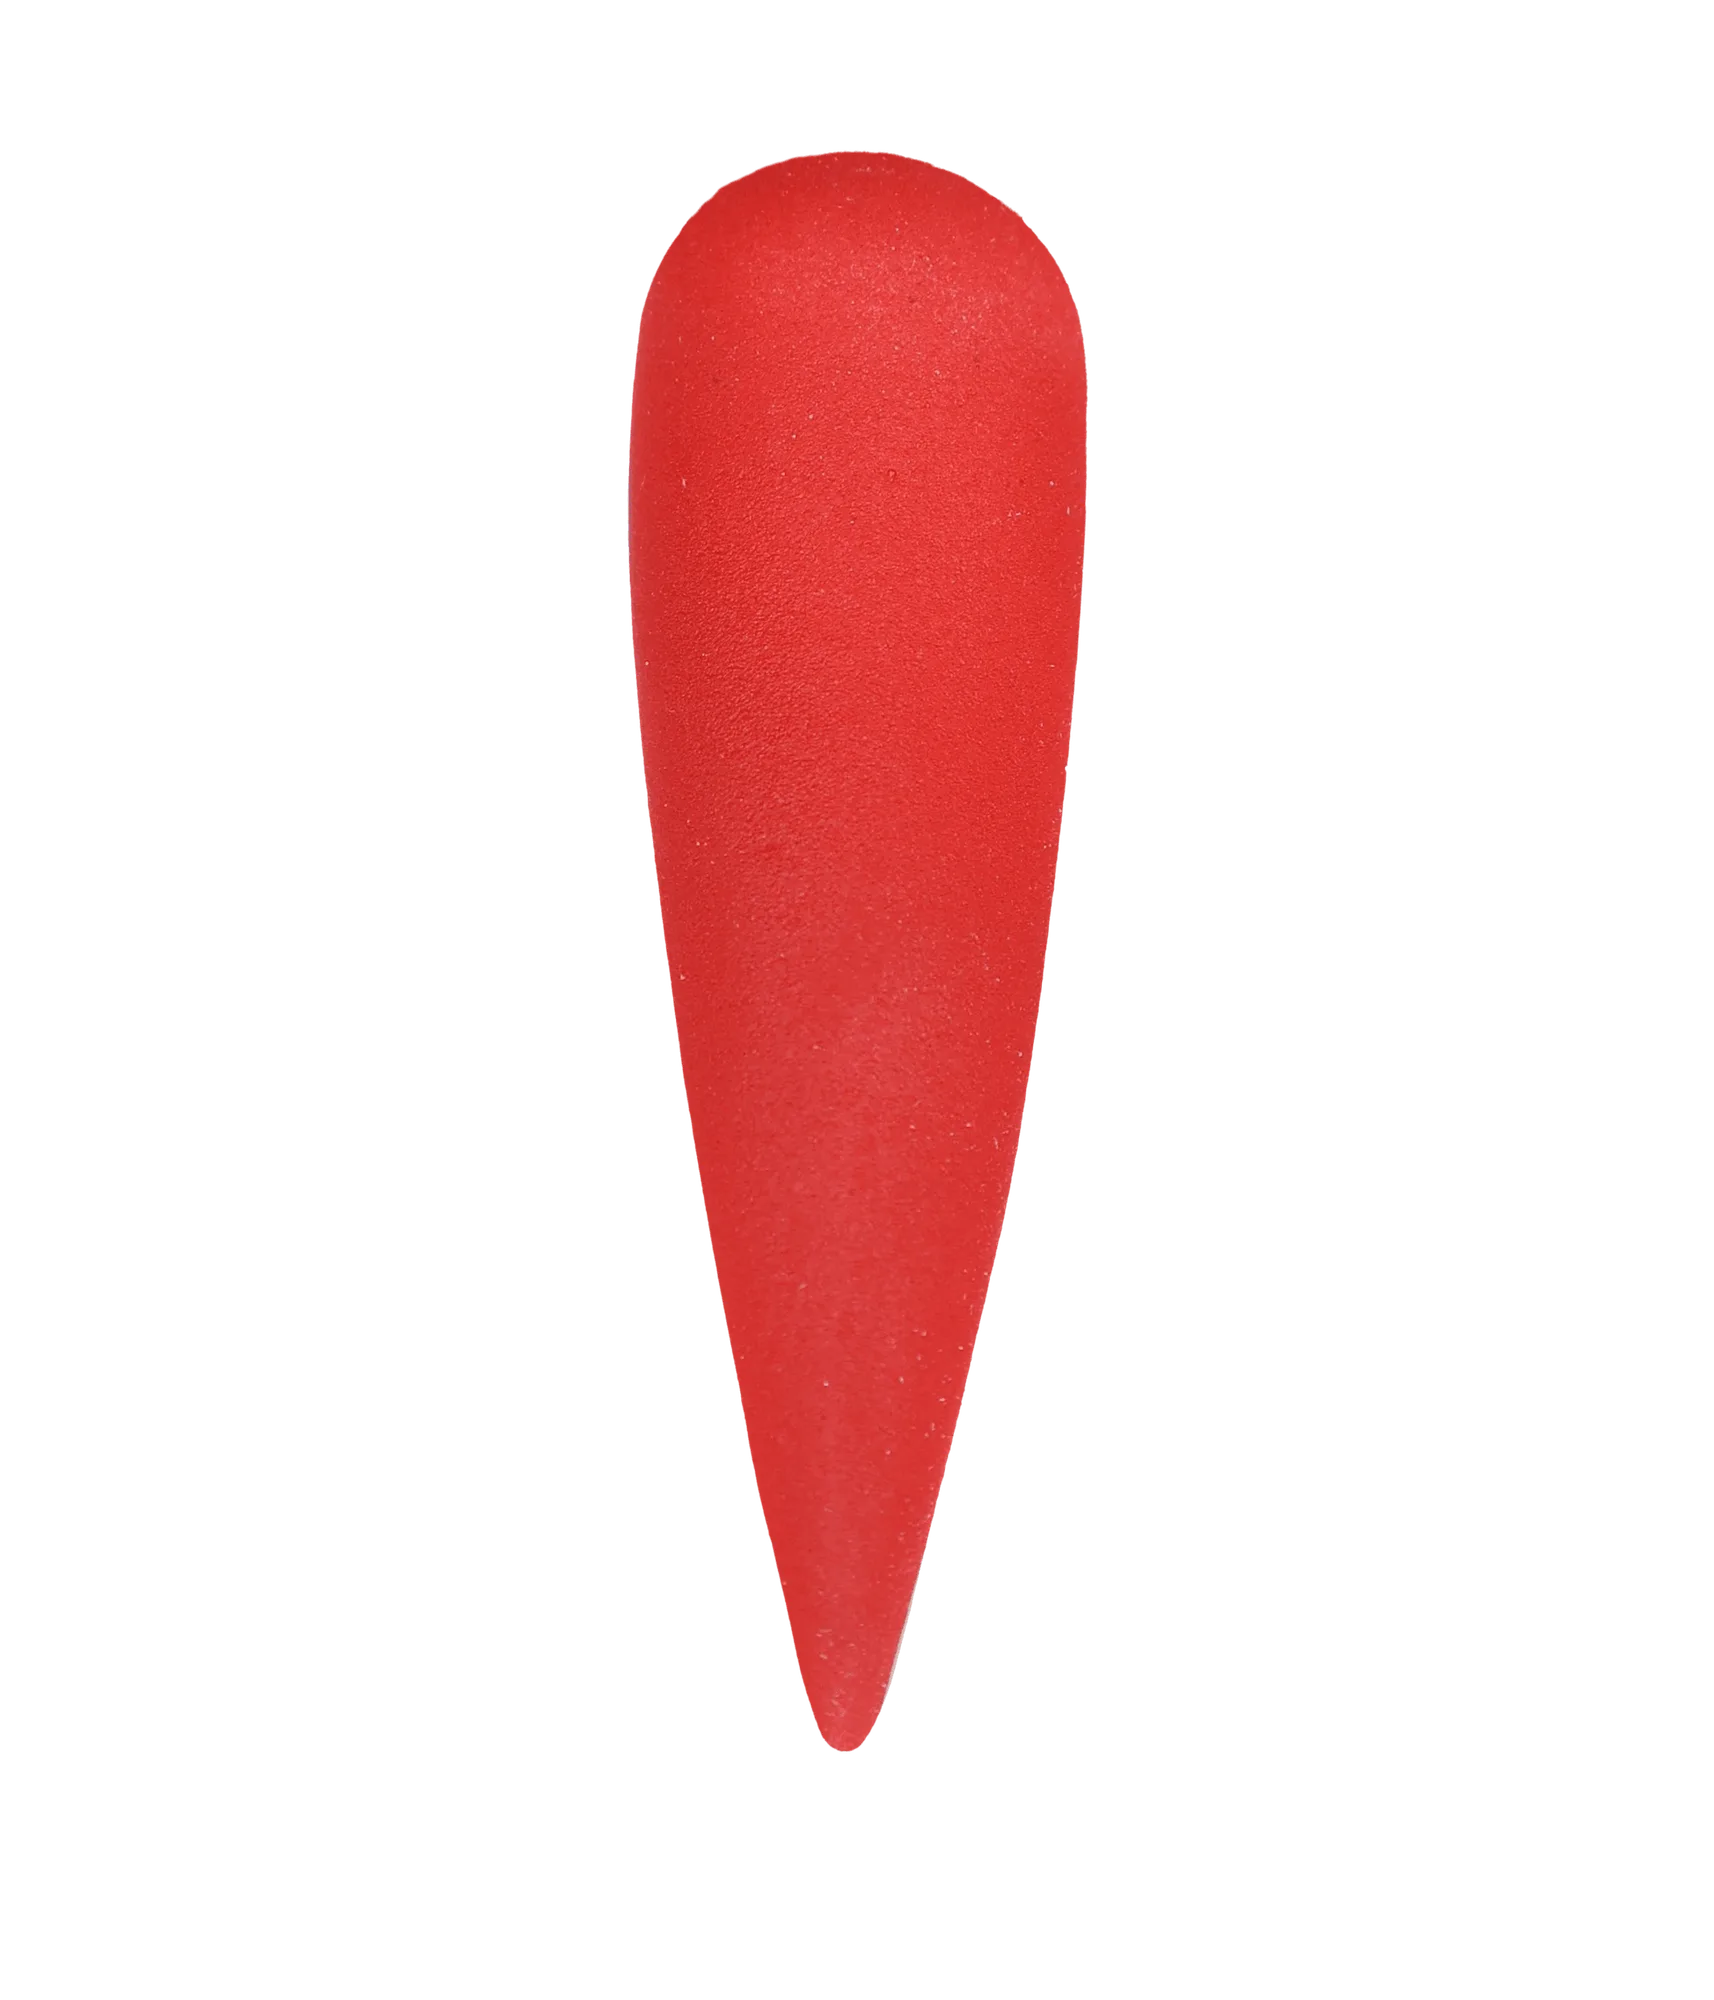
For color, a shade like #73 Plum Wine Acrylic Nail Powder has a butter-like consistency that self-levels, which helps beginners avoid ridges. If you want a seasonal look, #40 Cherry Bomb - Acrylic Nail Powder is highly pigmented and can be applied with monomer or dip system, so you can match an existing set or refresh the color.
- Checkpoint: the new acrylic should sit level with the old product. If it feels high, file it down before it fully hardens.
File, shape, and finish
Once the acrylic is fully cured, file the sidewalls and free edge to your shape. Blend the new zone into the old product so the surface is uniform. Remove dust and wipe the nail clean.
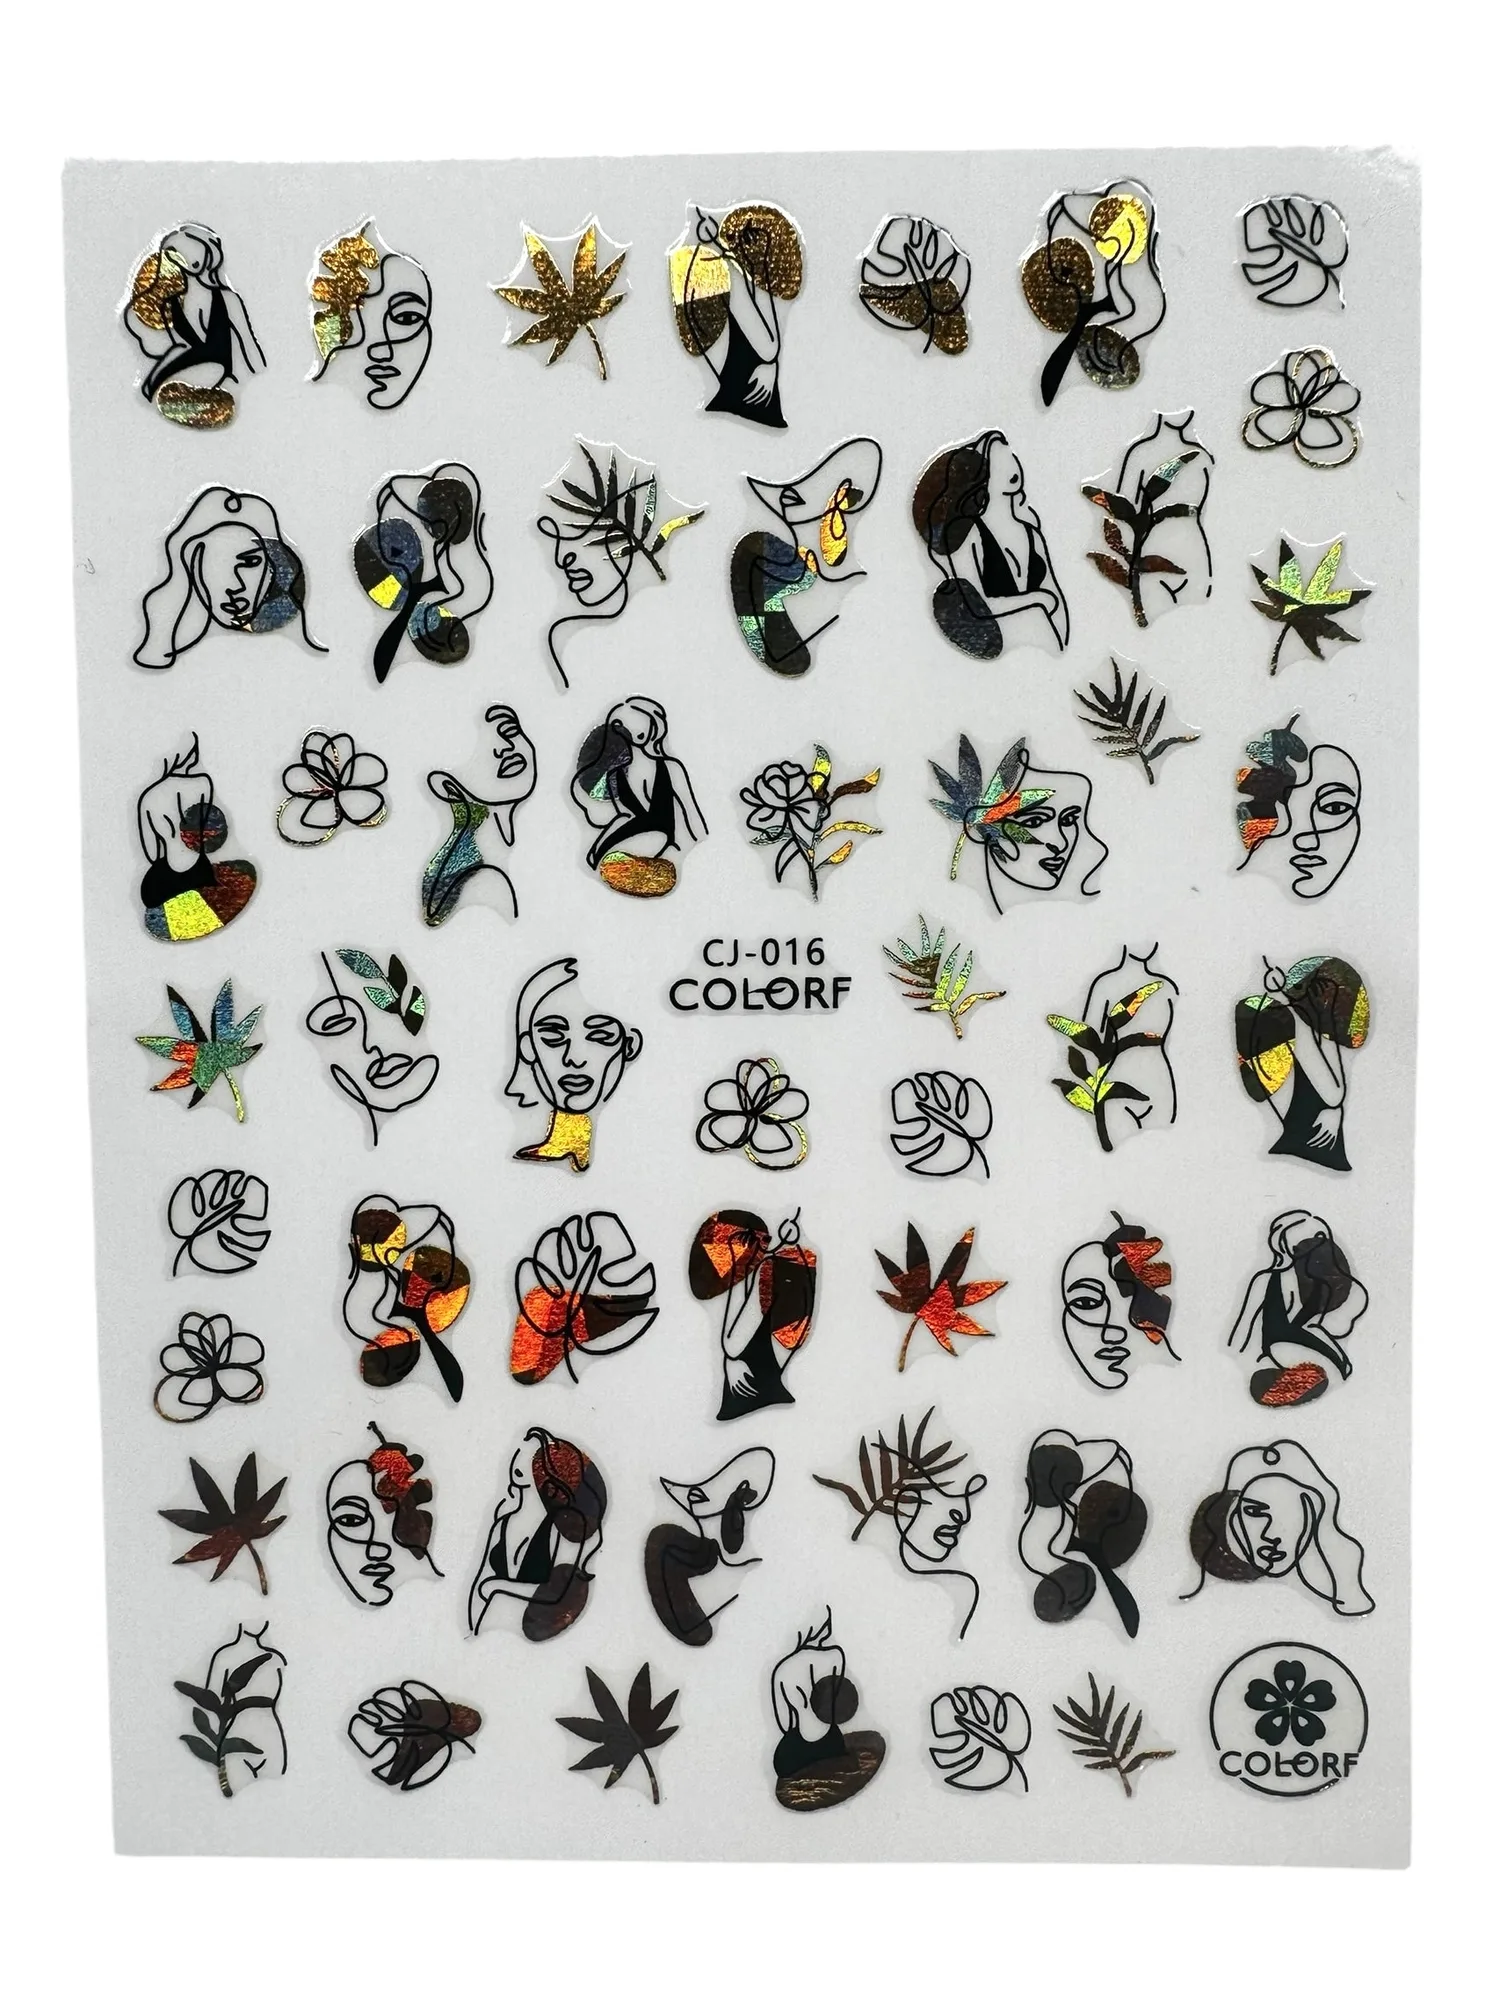
Finish with a gel top coat for shine and protection. If you want nail art, Fall Nail Leaf Stickers are a quick option: peel, apply, and seal with an ultra shine gel topcoat. They are a practical way to refresh a fill without extra painting.
- Checkpoint: the nail should look like one continuous surface, with no visible line between old and new acrylic.
Acrylic infill steps at a glance
- 1. Assess the nail: Check for lifting, cracks, or discoloration before you file. If the acrylic moves or looks cloudy at the edge, remove the set instead of filling. Checkpoint: only fill healthy, intact acrylic.
- 2. Push back cuticles and file new growth: Gently push back the cuticle, then file the grown-out area thin and even. Feather the edge of the old acrylic so there is no ridge. Checkpoint: no step or ledge should be felt between old and new growth.
- 3. Buff and remove dust: Buff the whole nail to remove shine and leftover top coat, then wipe with a lint-free pad. Skipping this causes lifting. Checkpoint: the nail should look matte and clean before you apply product.
- 4. Apply acrylic in thin layers: Place a small bead at the new growth area and pat it into place, keeping product off the skin. Build in thin layers rather than one thick blob. Checkpoint: the new acrylic should sit level with the old product.
- 5. File, shape, and blend: Once cured, file the sidewalls and free edge to shape, then blend the new zone into the old product until the surface is uniform. Checkpoint: no visible line between old and new acrylic.
- 6. Finish with gel top coat: Remove dust and apply a gel top coat for shine and protection. Add stickers or art before sealing if you want a seasonal look. Checkpoint: the nail should look like one continuous surface.
Products that help with acrylic fills
- Fall Acrylic Nail Powder Bundle (15 Colors): Includes an 8oz EMA Monomer, an acrylic brush size #16, and 15 colors from the Buttery Smooth Acrylic Powders line. A single purchase covers the monomer, brush, and color range you need for fills, which is useful if you are building a kit from scratch.
- #40 Cherry Bomb - Acrylic Nail Powder: Super fine acrylic nail powder absorbs liquid evenly and is self-leveling, with high pigmentation and super adhesion. Even absorption and self-leveling make the new growth area easier to blend, and the strong pigment helps match an existing red set.
- #73 Plum Wine Acrylic Nail Powder: Formulated for a butter-like consistency that is easy to work with and designed for precision and ease. A butter-like powder is more forgiving for beginners because it stays where you place it and levels without heavy filing.
- Fall Nail Leaf Stickers: Peel, apply, and finish with an ultra shine gel topcoat for long-lasting nail art without drawing skills. A fast way to refresh a fill with seasonal nail art when you do not want to paint freehand designs.
A fill is a skill you build with repetition. Start with one nail, keep your layers thin, and check your blend before you finish. If the acrylic is lifting or damaged, remove it and start fresh rather than filling over a problem.