Apple crisp is a beloved dessert that combines tender, spiced fruit with a buttery, crunchy topping. Using an apple crisp baking mix can shortcut the prep, but a few thoughtful tweaks can take the result from good to truly memorable. The key is knowing how to partner that mix with the right tools and techniques to unlock its full potential.
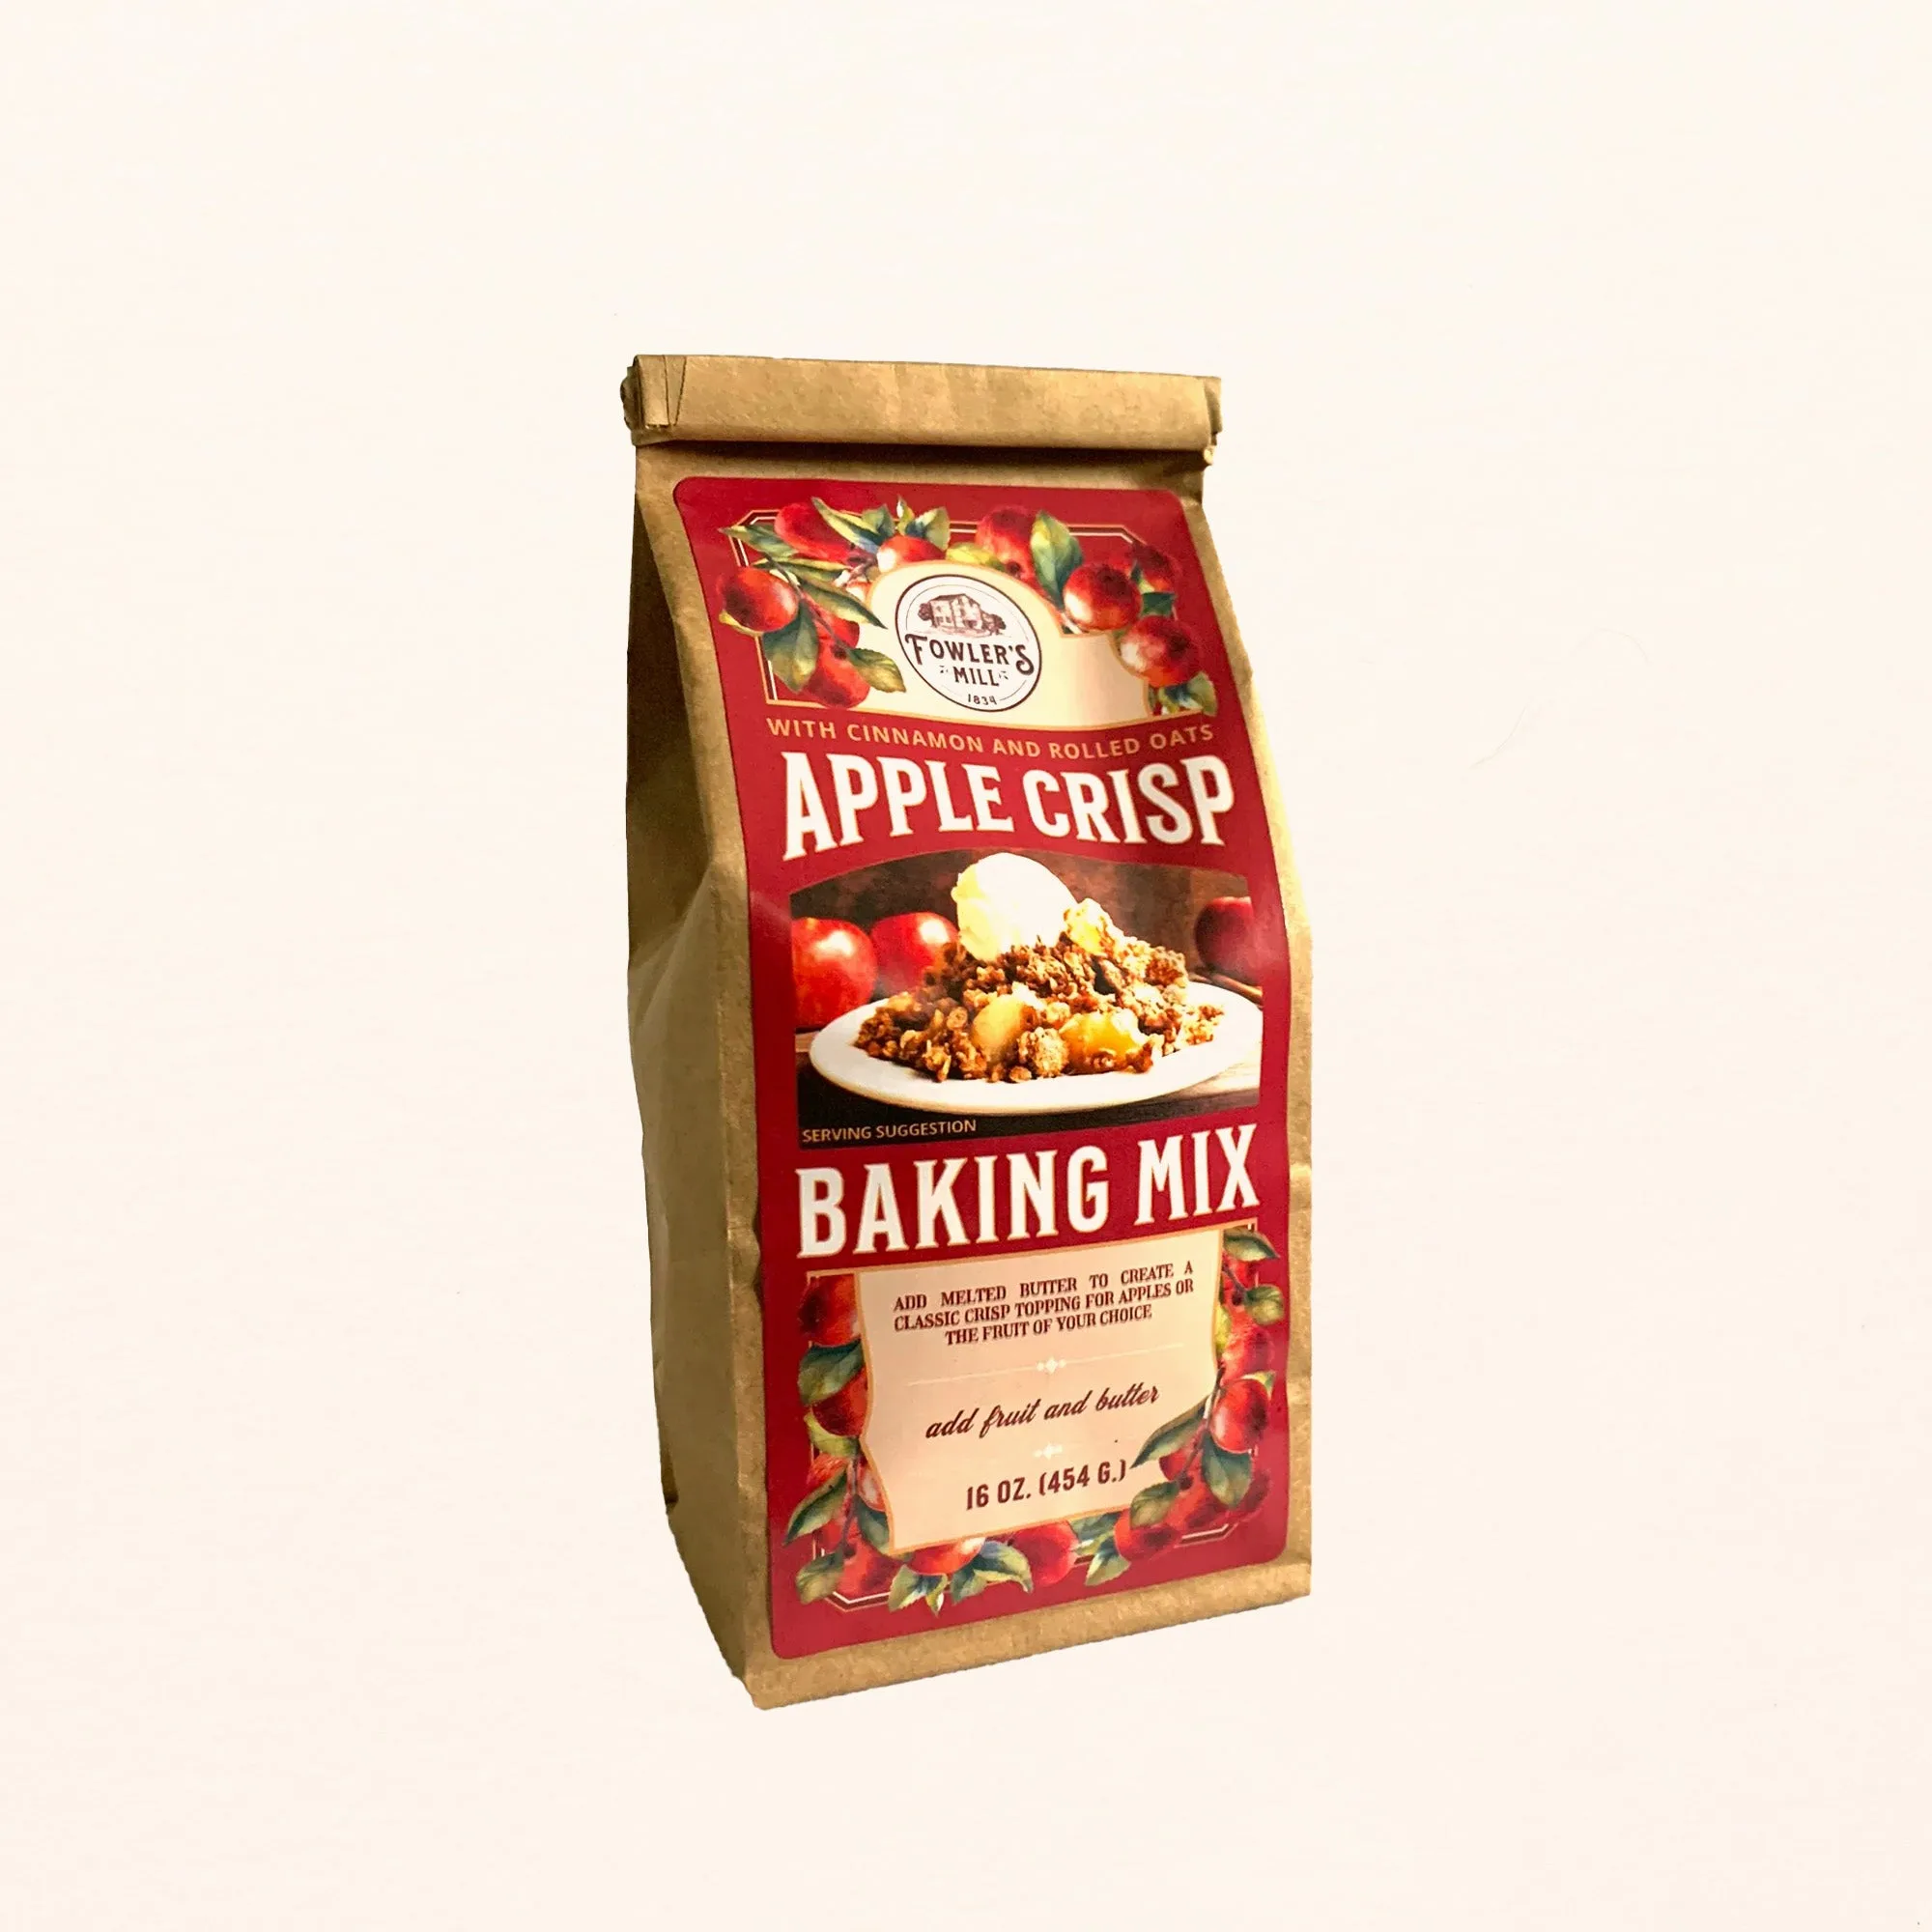
apple crisp baking mix
Whether you're using a baking mix from East Fork's pantry or your go‑to store‑bought version, these tips will help you achieve a crisp that's perfectly balanced—not too sweet, not too soggy, and with a topping that crunches in all the right ways. Let's walk through the simple steps that make the difference.
Choose the Right Baking Vessel
The pan you bake your crisp in has a huge impact on texture. A cast iron griddle or skillet is ideal because it heats evenly and retains heat well, giving the fruit a head start on cooking and helping the bottom of the topping crisp up rather than steam. The heavy material also promotes browning without burning.
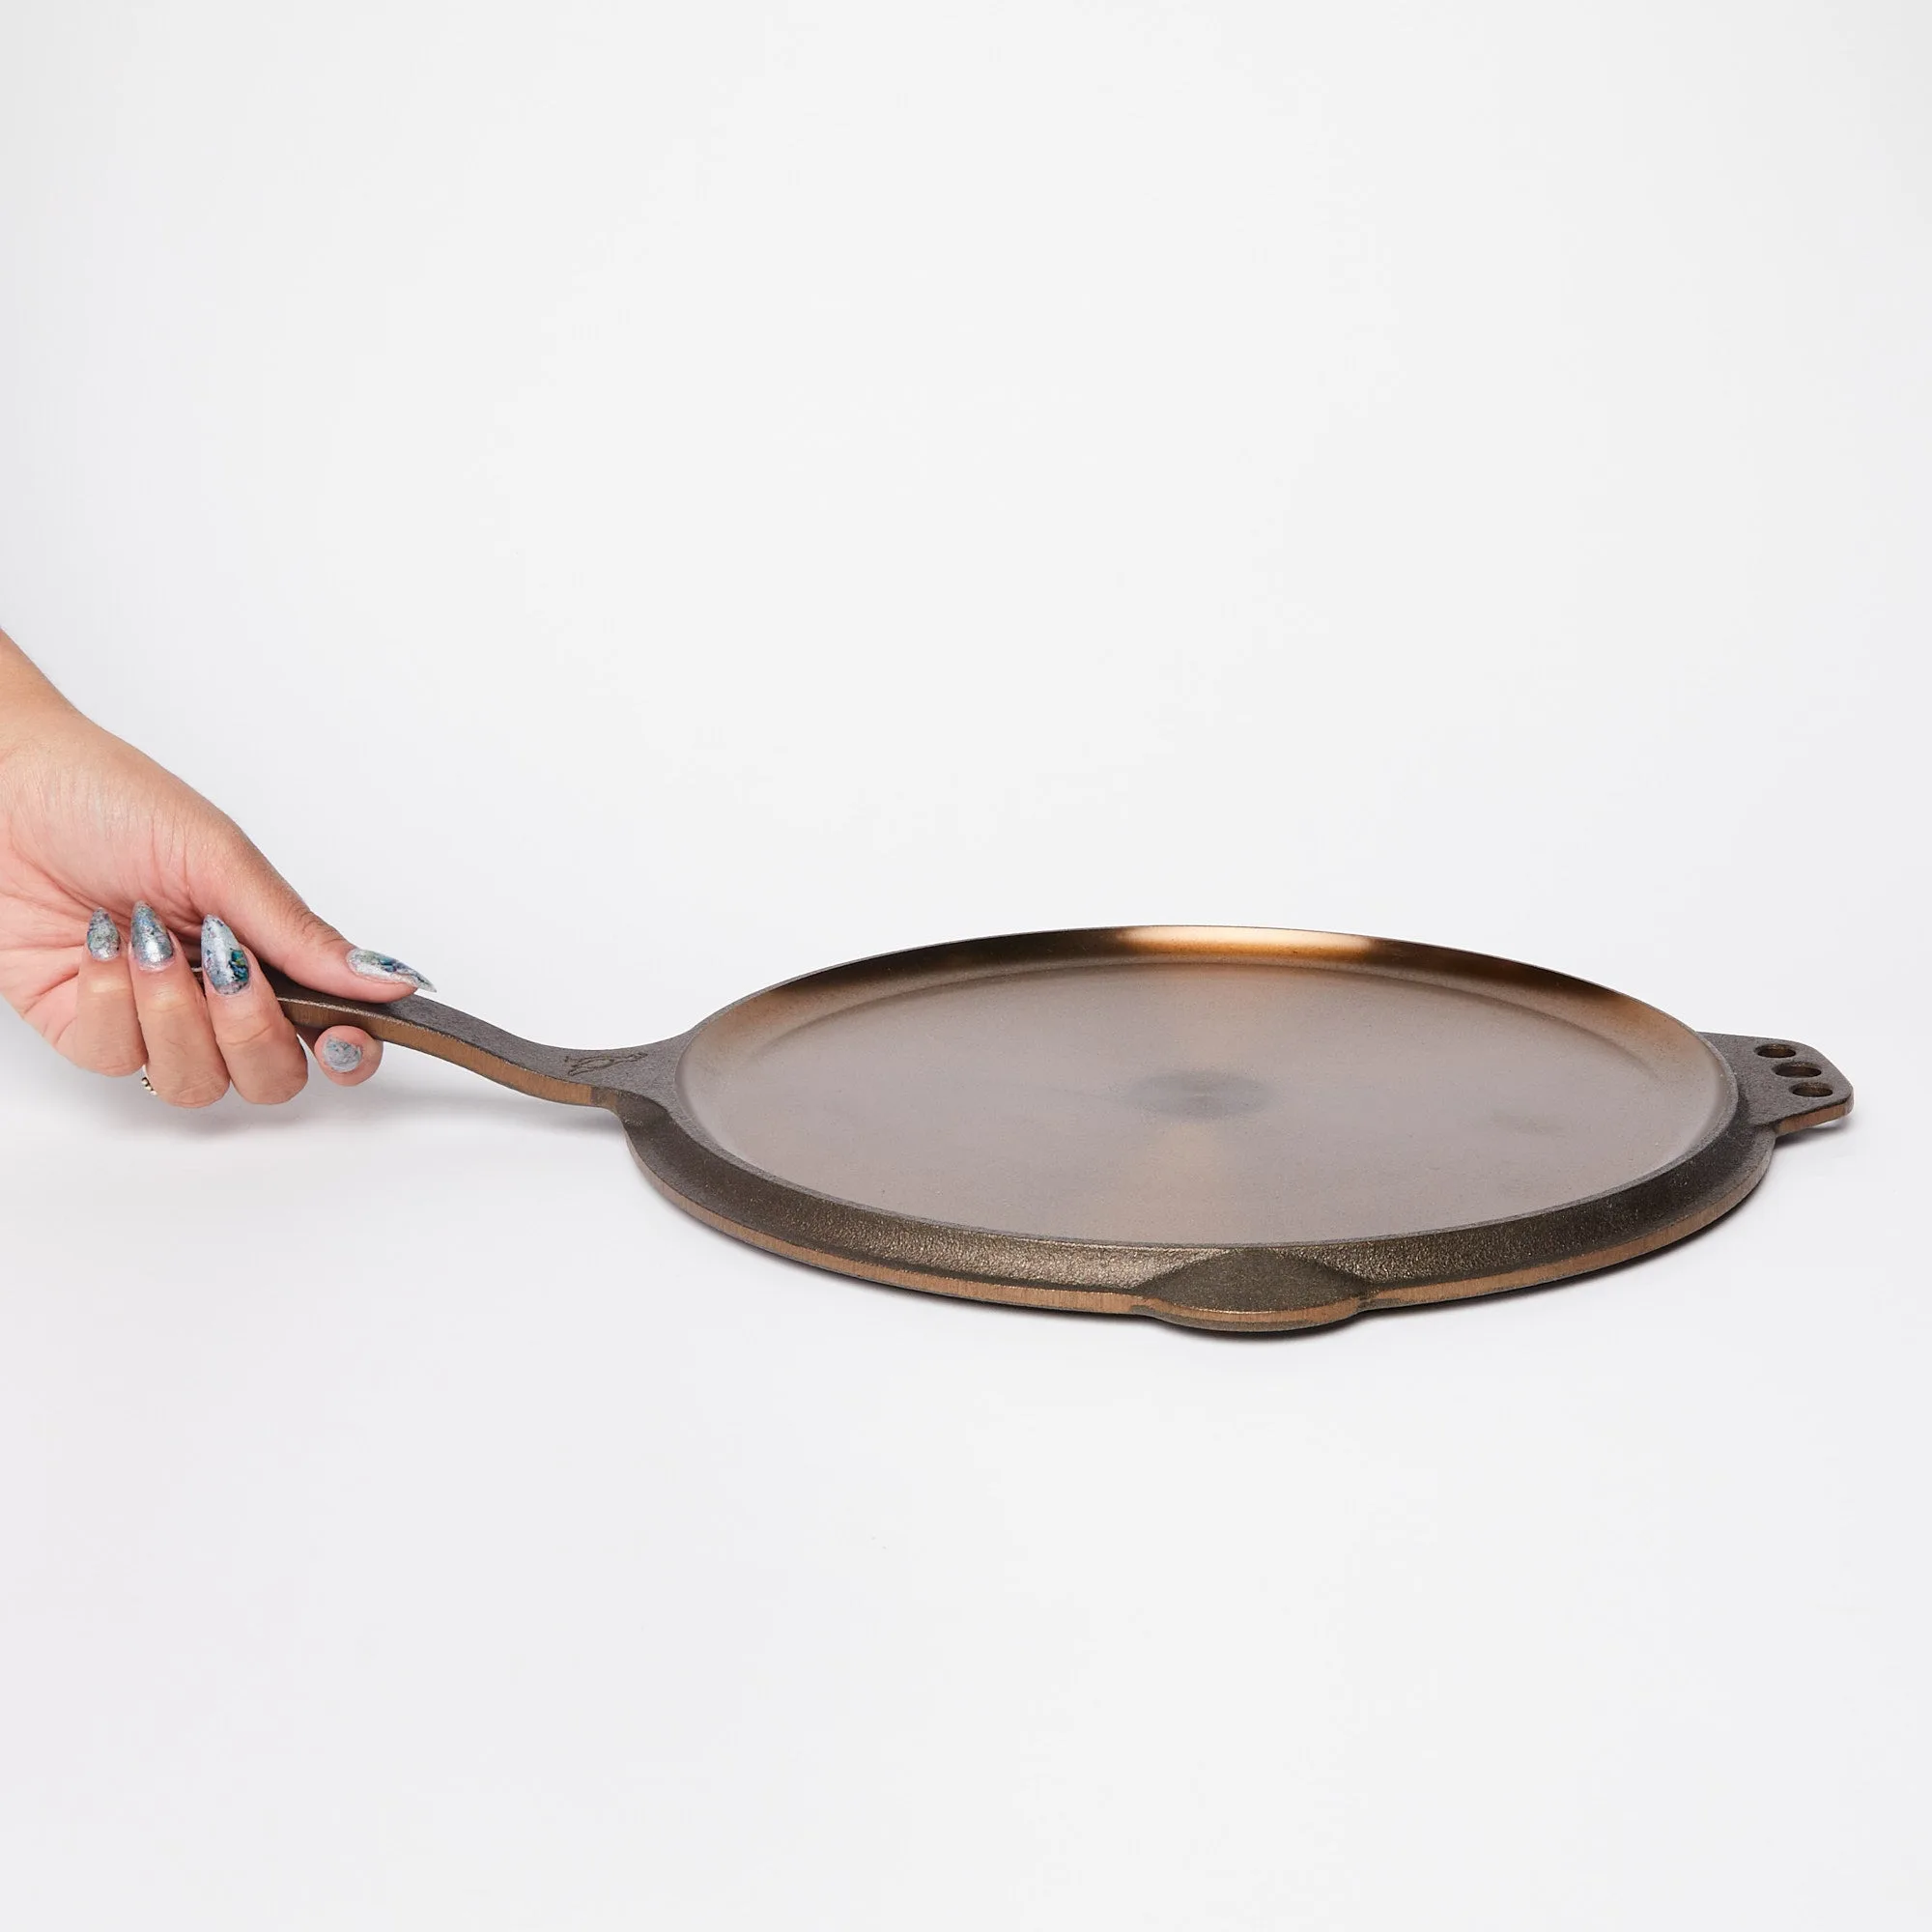
cast iron griddle
For an apple crisp, a 10‑inch skillet works perfectly. If you're scaling up, a larger griddle can handle more fruit and topping without overcrowding. Avoid glass or thin metal pans, which can lead to uneven cooking and a soggy bottom. Preheat the pan slightly before adding the filling for an extra layer of crispiness.
- Use an 8–10 inch cast iron griddle or skillet for most baking mixes; the heavier the pan, the better the heat distribution.
Add Texture and Flavor to the Topping
A baking mix gives you a solid base, but you can easily elevate it. Stir in chopped nuts, rolled oats, or a handful of shredded coconut for extra crunch. A pinch of flaky salt or a few grinds of cinnamon deepens the flavor without overwhelming the mix. Use a Tiny Whisk to blend cold butter into the dry ingredients until the mixture resembles coarse meal—this ensures a crumbly, not pasty, topping.
For a more complex flavor, try swapping half the butter with coconut oil or adding a teaspoon of vanilla. If the mix already contains sugar, you might reduce it slightly to let the fruit's natural sweetness shine. Spread the topping evenly and press it down gently so it clumps together during baking.
- Add a tablespoon of brown sugar and a handful of pecans to the recommended topping for extra crunch and richness.
Master the Baking Time and Temperature
Most baking mixes suggest a standard temperature, but you can fine‑tune for better results. Start baking at 400°F for the first 15 minutes to set the topping, then lower to 350°F to finish cooking the apples through without burning the crumble. Place the pan on the middle rack for even heat circulation.
Check doneness by inserting a paring knife into the center—the apples should be tender but not mushy, and the topping should be deep golden brown. Let the crisp rest for 10 minutes before serving; this allows the juices to thicken slightly. A dollop of whipped cream or a scoop of vanilla ice cream is the perfect finishing touch.
- Cover the crisp with foil if the topping browns too quickly before the apples are done; remove it for the last 5 minutes to re‑crisp.
With these simple adjustments, your apple crisp baking mix can deliver a dessert that tastes as if it were made entirely from scratch. The right pan, a few texture‑boosting add‑ins, and careful temperature management are all it takes. Next time you're craving a warm, fruity treat, reach for that mix and give these tips a try—you'll be delighted by the upgrade.