Quick Answer
To extend the wear of Ardell Nail Addict Nail Strips, start with clean, oil-free nails, press firmly to activate the adhesive, seal the edges, and apply a clear top coat. Avoid prolonged water exposure and wear gloves for chores to keep them fresh for up to 7 days.
You've just applied a fresh set of Ardell Nail Addict Nail Strips, and they look flawless. But how do you keep them that way for a full week? While these strips promise up to 7 days of high-shine wear, how long they actually last depends largely on how you prep, apply, and treat them. With a few simple habits, you can maximize their longevity and keep your manicure looking salon-fresh.
This guide walks you through practical steps to extend the wear of your nail strips, from the moment you open the pack to everyday aftercare. Whether you're new to nail strips or a seasoned pro, these tips help you get the most out of every pack.
Prep Your Nails for Maximum Adhesion
The secret to long-lasting nail strips lies in the prep. Start with clean, dry nails. Remove any old polish or residue with a gentle remover. Push back your cuticles and lightly buff the nail surface to create a slightly rough texture. This gives the adhesive a better grip, preventing premature lifting.
Avoid applying lotion, oil, or nail cream before application. These leave a barrier that prevents the strip from bonding tightly. If you've used a cuticle oil, wipe your nails with a lint-free wipe and a bit of rubbing alcohol to remove any oily residue. This simple step can significantly extend how long your manicure lasts.
- Use a fine-grit buffer to gently matte the nail surface—don't overdo it.
- Keep a lint-free wipe handy to remove any dust before applying the strip.
Apply with Precision and Firm Pressure
When applying the Ardell Nail Addict Nail Strips, choose the correct size for each nail. A strip that's too small leaves gaps where lifting can start; one that's too large can wrinkle or catch on edges. Use the included orange wood stick to press the strip firmly onto your nail, starting from the cuticle and smoothing outward to eliminate air bubbles.
Pay extra attention to the edges. Run the stick along the tip of the nail to ensure the strip is sealed. For added security, you can gently file the tip of the strip at a downward angle to wrap it slightly over the edge. This helps prevent snagging and lifting, which are common causes of early wear.
- Always start with the smallest strip for your pinky and work up to the thumb.
- If you see an air bubble, lift the strip slightly and re-press it smooth.
Seal and Protect with a Top Coat
While Ardell Nail Addict Nail Strips are designed to be smudge-free and durable on their own, applying a clear top coat can add an extra layer of protection. A quick-dry top coat seals the edges, making them more resistant to water and daily wear. It also adds a glossy finish that keeps your manicure looking fresh longer.
Make sure the top coat is completely dry before you use your hands. This prevents smudging and ensures the seal is not disturbed. Reapplying a top coat every few days can further extend the life of your strips, keeping them shiny and chip-free for the full 7 days.
- Choose a quick-dry top coat to minimize waiting time.
- Reapply top coat on the tips after a few days for extra protection.
Daily Habits That Keep Your Strips Intact
Your daily routine can make or break your nail strip longevity. Avoid using your nails as tools—whether that's opening cans, scratching labels, or peeling off stickers. These actions cause stress on the adhesive and can lead to lifting or chipping. Instead, use a tool or your fingertips to protect your manicure.
Water is your biggest enemy. Prolonged exposure to water, especially hot water, can weaken the adhesive. Wear gloves when washing dishes, cleaning, or gardening. When you do get your hands wet, pat them dry gently rather than rubbing. Also, avoid soaking your nails in baths or pools for long periods.
- Wear rubber gloves for any task that involves water or harsh chemicals.
- After washing your hands, gently pat them dry instead of rubbing.
Proper Aftercare and Removal
At the end of your wear period, remove the strips gently to avoid damaging your natural nails. Soak your nails in warm soapy water or use an oil-based remover to loosen the adhesive. Gently lift from the edges with the orange wood stick—never pull forcibly, as this can peel layers of your natural nail.
After removal, give your nails a break before applying a new set. Moisturize your nails and cuticles with a nourishing oil to restore hydration. This not only keeps your nails healthy but also ensures a smooth surface for your next application, helping future strips adhere better and last longer.
- Use acetone-free remover if you have sensitive nails.
- Apply cuticle oil daily to maintain nail health between applications.
7 Steps to Longer-Lasting Nail Strips
- Clean and dry your nails thoroughly: Remove old polish, push back cuticles, and lightly buff the nail surface. Wipe with alcohol to remove oils. Checkpoint: Nails should feel slightly rough and completely oil-free.
- Choose the right strip size for each nail: Match the strip to your nail width to avoid gaps or overhang. Use the orange wood stick to press firmly from cuticle to tip. Checkpoint: No air bubbles or wrinkles; strip fits edge-to-edge.
- Seal the edges with firm pressure: Run the stick along the free edge to ensure the strip is well-adhered. Optionally, file the tip at a downward angle to wrap it over the edge. Checkpoint: Edges feel smooth and don't catch on clothing.
- Apply a clear top coat: Seal the entire nail, especially the tips, with a quick-dry top coat. Let it dry completely before using your hands. Checkpoint: Nails have a glossy, uniform finish.
- Avoid using nails as tools: Use fingertips or tools to open things, type, or pick up items. This prevents stress on the adhesive. Checkpoint: Be mindful of how you use your nails throughout the day.
- Protect from water and chemicals: Wear gloves for dishwashing, cleaning, or gardening. Pat hands dry instead of rubbing. Checkpoint: After washing, gently dry your hands and avoid prolonged soaking.
- Reapply top coat every few days: Add a fresh layer of top coat to maintain shine and seal any minor wear at the tips. Checkpoint: Your manicure should still look fresh after several days.
Products That Help You Get the Most Wear
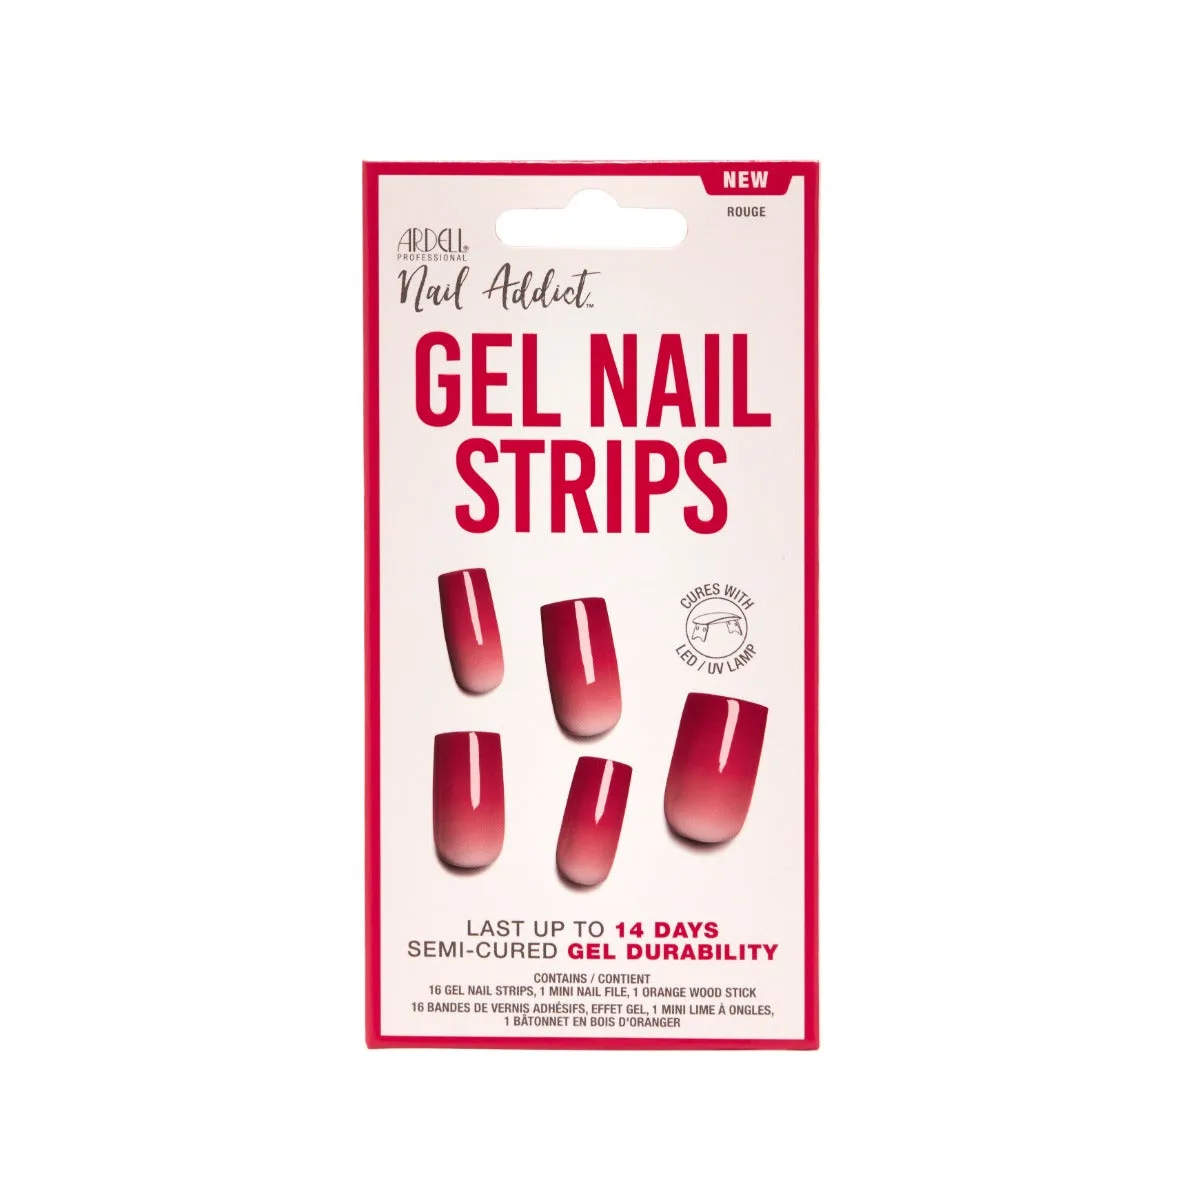
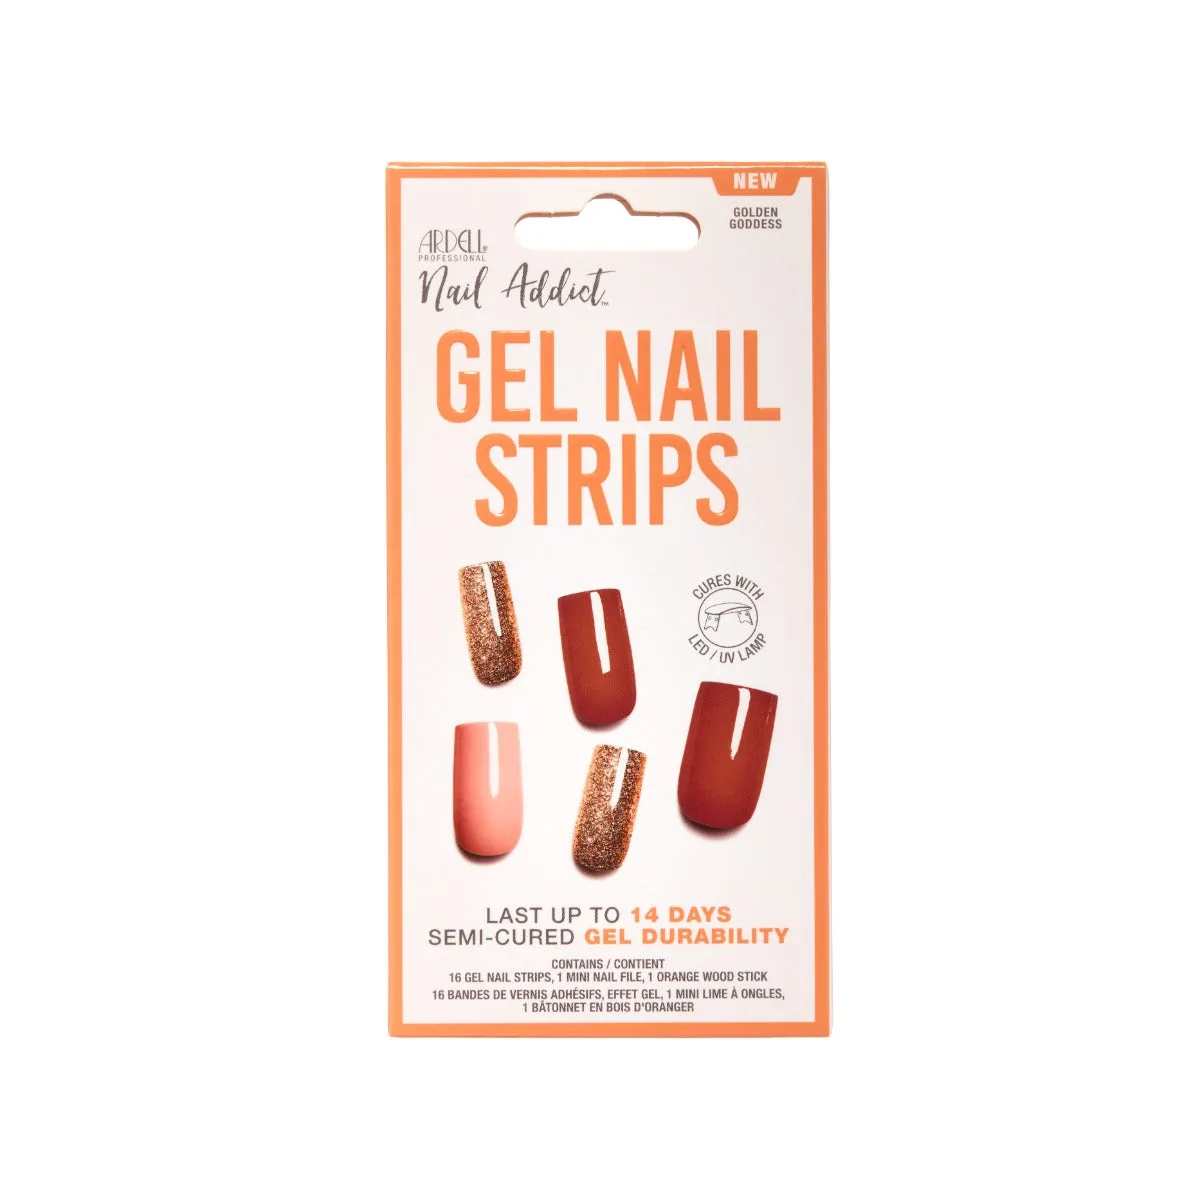
- Nail Addict Nail Strips - Angels Kiss: Each pack includes 16 nail strips, a mini dual-sided nail file, and an orange wood stick. The strips deliver a high-shine finish that lasts up to 7 days without needing an LED/UV light. The included tools are perfect for the prep and application steps above, ensuring a smooth, bubble-free application that maximizes wear time.
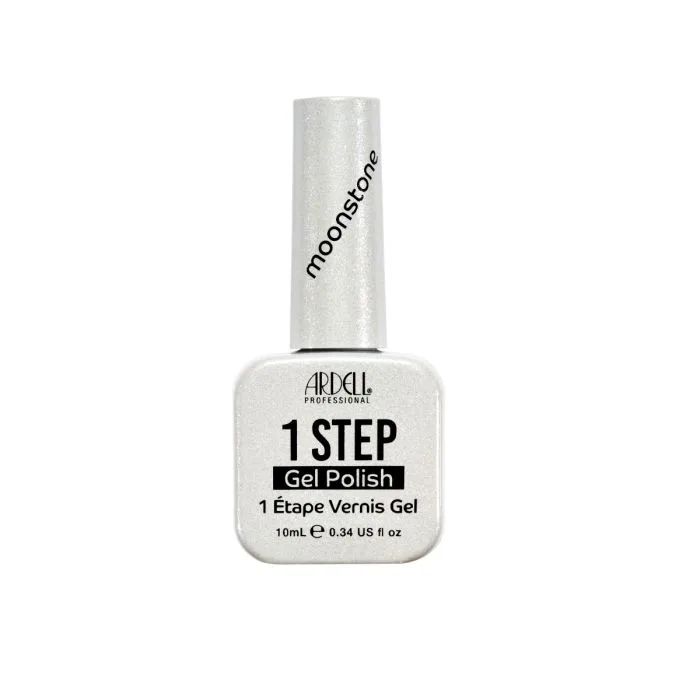
- 1 Step Gel - Feeling Frisky: This all-in-one formula combines base coat, color, and top coat in a single swipe, delivering a smooth, vibrant, glossy finish. Using a gel polish like this on top of your nail strips can add an extra layer of protection and shine, helping to seal the edges and extend wear.
By following these simple steps, you can significantly extend the wear of your Ardell Nail Addict Nail Strips, keeping your nails looking polished and chip-free for up to a week. Remember, proper prep, careful application, and protective habits are the keys to a long-lasting manicure. Enjoy your beautiful nails!