Quick answer
Fit a dog harness so you can slide two fingers under every strap, the chest plate sits flat without twisting, and the harness cannot slip over the shoulders when your dog pulls backward. Adjust one strap at a time, recheck the two-finger rule after each change, and always test the fit with a short, controlled walk before heading out.
Why a correctly fitted harness changes the walk
A harness that fits well distributes pressure across the chest and shoulders instead of concentrating it on the throat or a single narrow strap. That matters for comfort, but it also matters for control: a loose harness shifts side to side, which can rub hair away and create hot spots, while an over-tight harness restricts the shoulder movement your dog needs for a natural gait. The goal is a snug, stable fit that still allows a full range of motion.
Different harness styles sit differently on the body. A contoured chest-plate harness, for example, is designed to mold to the dog's shape and stay secure on strong pullers, while a simpler strap harness may need more frequent adjustment. Knowing which type you have tells you where to focus your fitting effort.
Start with a current measurement, not an old one
Before you touch a single strap, measure your dog's girth at the widest part of the ribcage, just behind the front legs. Use a soft tape measure and keep it snug but not tight. If your dog is between sizes or has a deep chest, size up and use the adjustment range to take in the extra room rather than squeezing into a smaller size. Weight changes, thick winter coats, and even a fresh haircut can shift the correct fit, so remeasure before each new harness purchase.
Step-by-step harness fitting
- 1. Loosen every strap before you put the harness on: Open all adjustment points to their widest setting so the harness slides over the head or steps into place without a struggle. This prevents you from forcing a tight harness over the ears or shoulders, which can make your dog wary of the gear. Checkpoint: the harness should go on with almost no resistance.
- 2. Position the chest plate or front strap correctly: The front of the harness should sit low on the breastbone, not across the throat. On a contoured harness, the chest plate should lie flat and centered. If it sits too high, the harness will press on the windpipe when your dog pulls. Common mistake: leaving the chest piece high because it looks neat—it will shift and rub once you start walking.
- 3. Adjust the girth strap first: Tighten the strap that runs behind the front legs until you can fit two fingers flat between the strap and your dog's body. This is your baseline. Do not overtighten to compensate for a loose chest panel; adjust each strap for its own job. Checkpoint: two fingers slide in easily, but the strap does not slide around on its own.
- 4. Fine-tune the chest and shoulder straps: Work forward from the girth, adjusting the chest strap so the harness sits centered on the sternum. Then check the shoulder straps—they should allow your dog to move the front legs freely without the harness twisting. Adjust one side, then the other, keeping the harness symmetrical. Common mistake: tightening only one side, which pulls the harness off-center and causes rubbing on one shoulder.
- 5. Test the fit with movement, not just standing still: With the harness on and adjusted, ask your dog to sit, stand, and take a few steps. Watch for any strap that gapes, twists, or slides toward the throat. A harness that looks perfect standing still can shift once your dog moves. Checkpoint: no strap moves more than a finger's width during normal movement.
- 6. Do the pull test: Gently apply backward pressure on the leash attachment point, as if your dog were pulling. The harness should stay in place without sliding over the shoulders or down the chest. If it slips, tighten the girth strap one notch and retest. Common mistake: testing only with a loose leash—real pulling tension reveals fit problems fast.
- 7. Recheck after the first few walks: New harnesses can settle as the material softens and your dog's fur compresses. After two or three walks, run through the two-finger check again and look for any red marks, rubbed fur, or hot spots, especially behind the front legs and under the chest plate. Next step: if you see chafing, loosen the nearest strap by one notch and check again after the next walk.
Products that support a secure fit
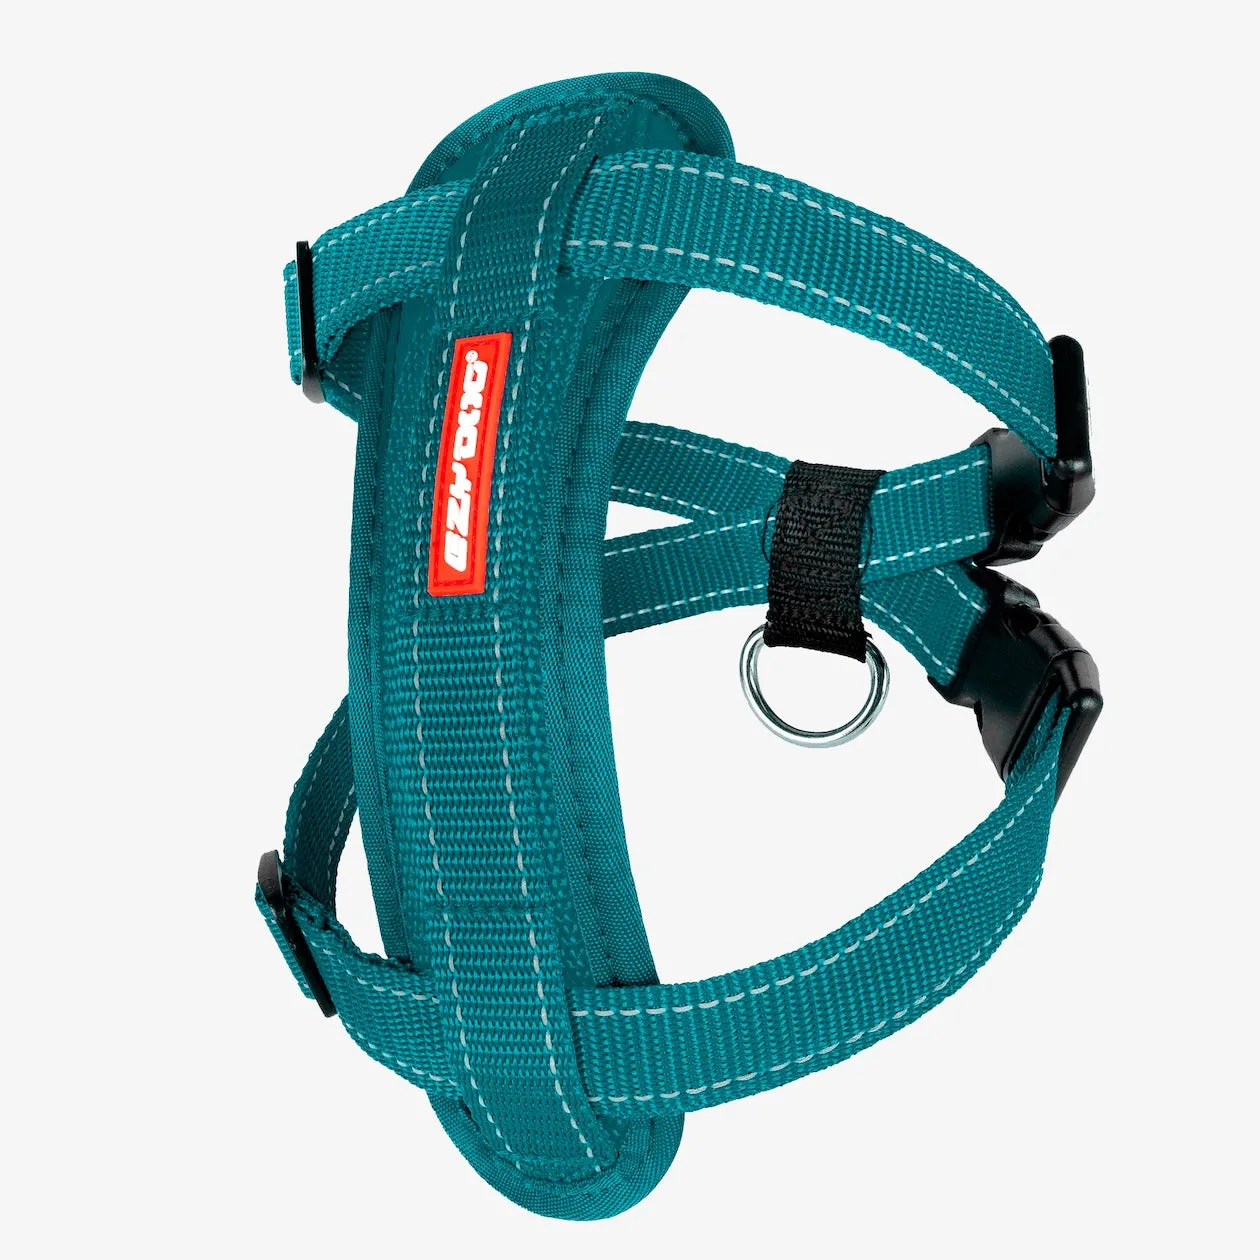
- Chest Plate™ Dog Harness: The Chest Plate Dog Harness features a contoured EVA foam chest plate that molds to your dog's shape and is designed for deep-chested breeds, with a snug, escape-proof fit for dogs from 7 lbs and up. The molded plate gives you a clear reference point for fit: it should sit flat against the chest without digging in, which makes adjusting the straps more intuitive than with a flat nylon harness.
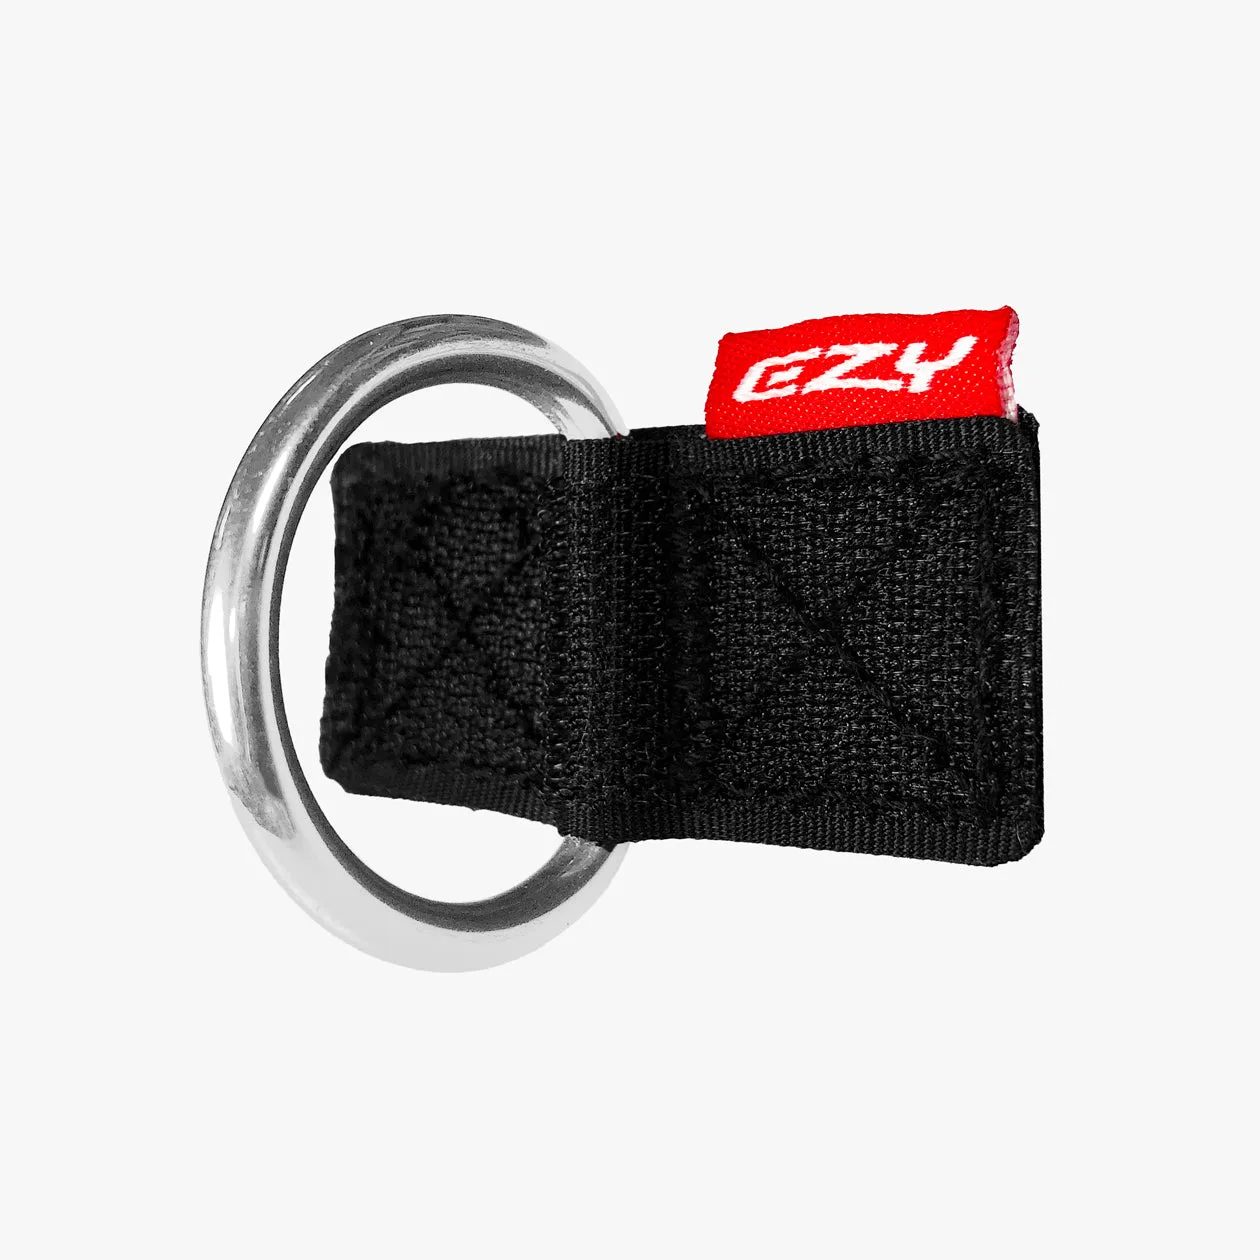
- UpFront™ Leash Attachment: The UpFront Leash Attachment transforms an EzyDog Convert or Express Harness into a training harness by adding a front leash anchor for enhanced control over dogs that pull. If you use a front-clip setup for no-pull training, the attachment point changes how the harness loads under tension, so recheck strap tension after adding it.
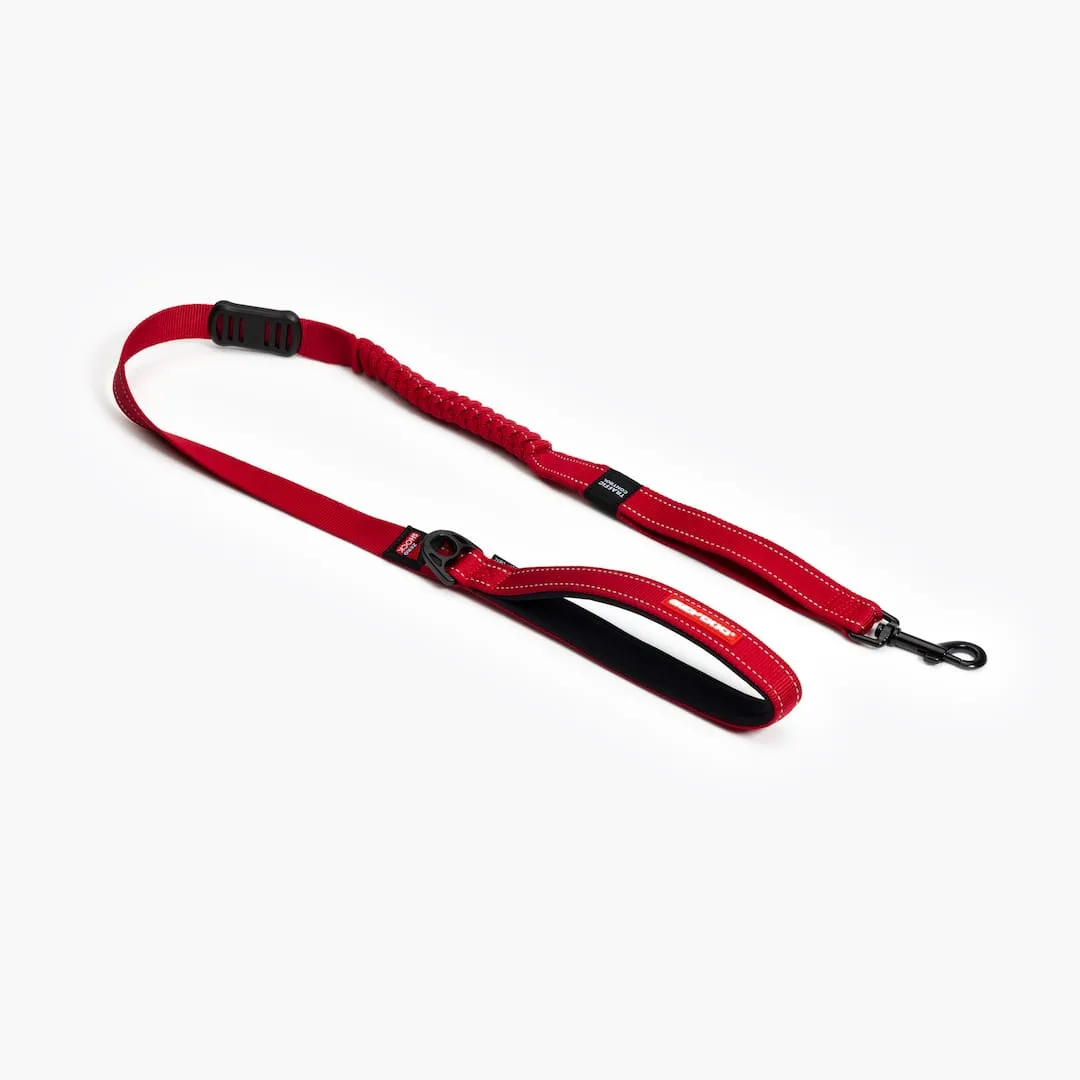
- Zero Shock™ Leash: The Zero Shock Leash uses a shock-absorbing core to reduce jarring leash tension, with soft neoprene handles and reflective stitching. A shock-absorbing leash complements a well-fitted harness by softening sudden pulls, but it does not replace correct harness adjustment.