Quick answer
To fit a Bilton toilet roll holder in matt nickel, mark the fixing points at a comfortable reach from the toilet, drill pilot holes, insert wall plugs, then screw on the backplate and snap the holder into place.
Choosing the right position
The Bilton toilet roll holder works best mounted on a solid wall at a height of about 26 inches (66 cm) from the floor and 8–12 inches (20–30 cm) in front of the toilet bowl. This placement keeps the roll within easy reach without interfering with your movement.
If your wall is tiled, avoid drilling into grout lines — the holder’s backplate is designed to sit flush on a flat surface, and grout may crack under pressure. Use a tile drill bit to prevent chipping.
What you’ll need
Gather a pencil, tape measure, spirit level, electric drill with masonry or tile bit, wall plugs (suitable for your wall type), a screwdriver, and the supplied screws. The Bilton holder comes with solid brass fixings — use them rather than generic alternatives to maintain the brushed metal finish.
For plasterboard or hollow walls, swap the standard wall plugs for cavity fixings or toggle bolts. The holder’s weight is modest, but a secure fix prevents loosening over time.
Step-by-step installation guide
- Mark the fixing points: Hold the backplate against the wall at your chosen height and use a spirit level to ensure it’s straight. Mark the two screw holes with a pencil. Common mistake: marking only one hole and assuming the second will line up — always mark both. Check the distance between holes on the backplate before drilling.
- Drill the pilot holes: Use a drill bit that matches the diameter of your wall plugs (typically 6 mm for standard plugs). Drill straight into the wall to a depth equal to the plug length. If drilling through tile, start with a smaller bit and increase size to avoid cracking. Common mistake: drilling too deep or at an angle, which can misalign the holder. Wrap masking tape around the drill bit at the correct depth as a visual stop.
- Insert wall plugs and secure the backplate: Tap the wall plugs into the holes until flush with the wall surface. Position the backplate over the plugs and drive the screws in evenly, but do not overtighten — the brass can strip if forced. Common mistake: overtightening, which can deform the backplate or damage the plaster. Hand-tighten the final quarter turn with a screwdriver for control.
- Attach the holder body: Align the holder body with the backplate and press firmly until it clicks into place. The Bilton design uses a snap-fit mechanism — no additional screws are needed. Common mistake: not aligning the body squarely before pressing, which can scratch the finish. If the fit feels too tight, check that the backplate is perfectly level before forcing it.
- Test the roll: Slide a toilet roll onto the holder and spin it to ensure smooth rotation. The roll should turn freely without catching on the wall or the holder arm. Common mistake: forgetting to check clearance from the wall — a roll that rubs will wear down the paper and scratch the nickel finish over time. Leave at least 1.5 inches (38 mm) between the holder arm and the wall.
Product details
-
Bilton Toilet Roll Holder, Matt Nickel: Crafted from solid brass with welded joints and exposed screws in a brushed metal finish. The solid brass construction means the holder is durable and resistant to corrosion in a humid bathroom, while the visible screws are part of the design — align them horizontally for a tidy look.
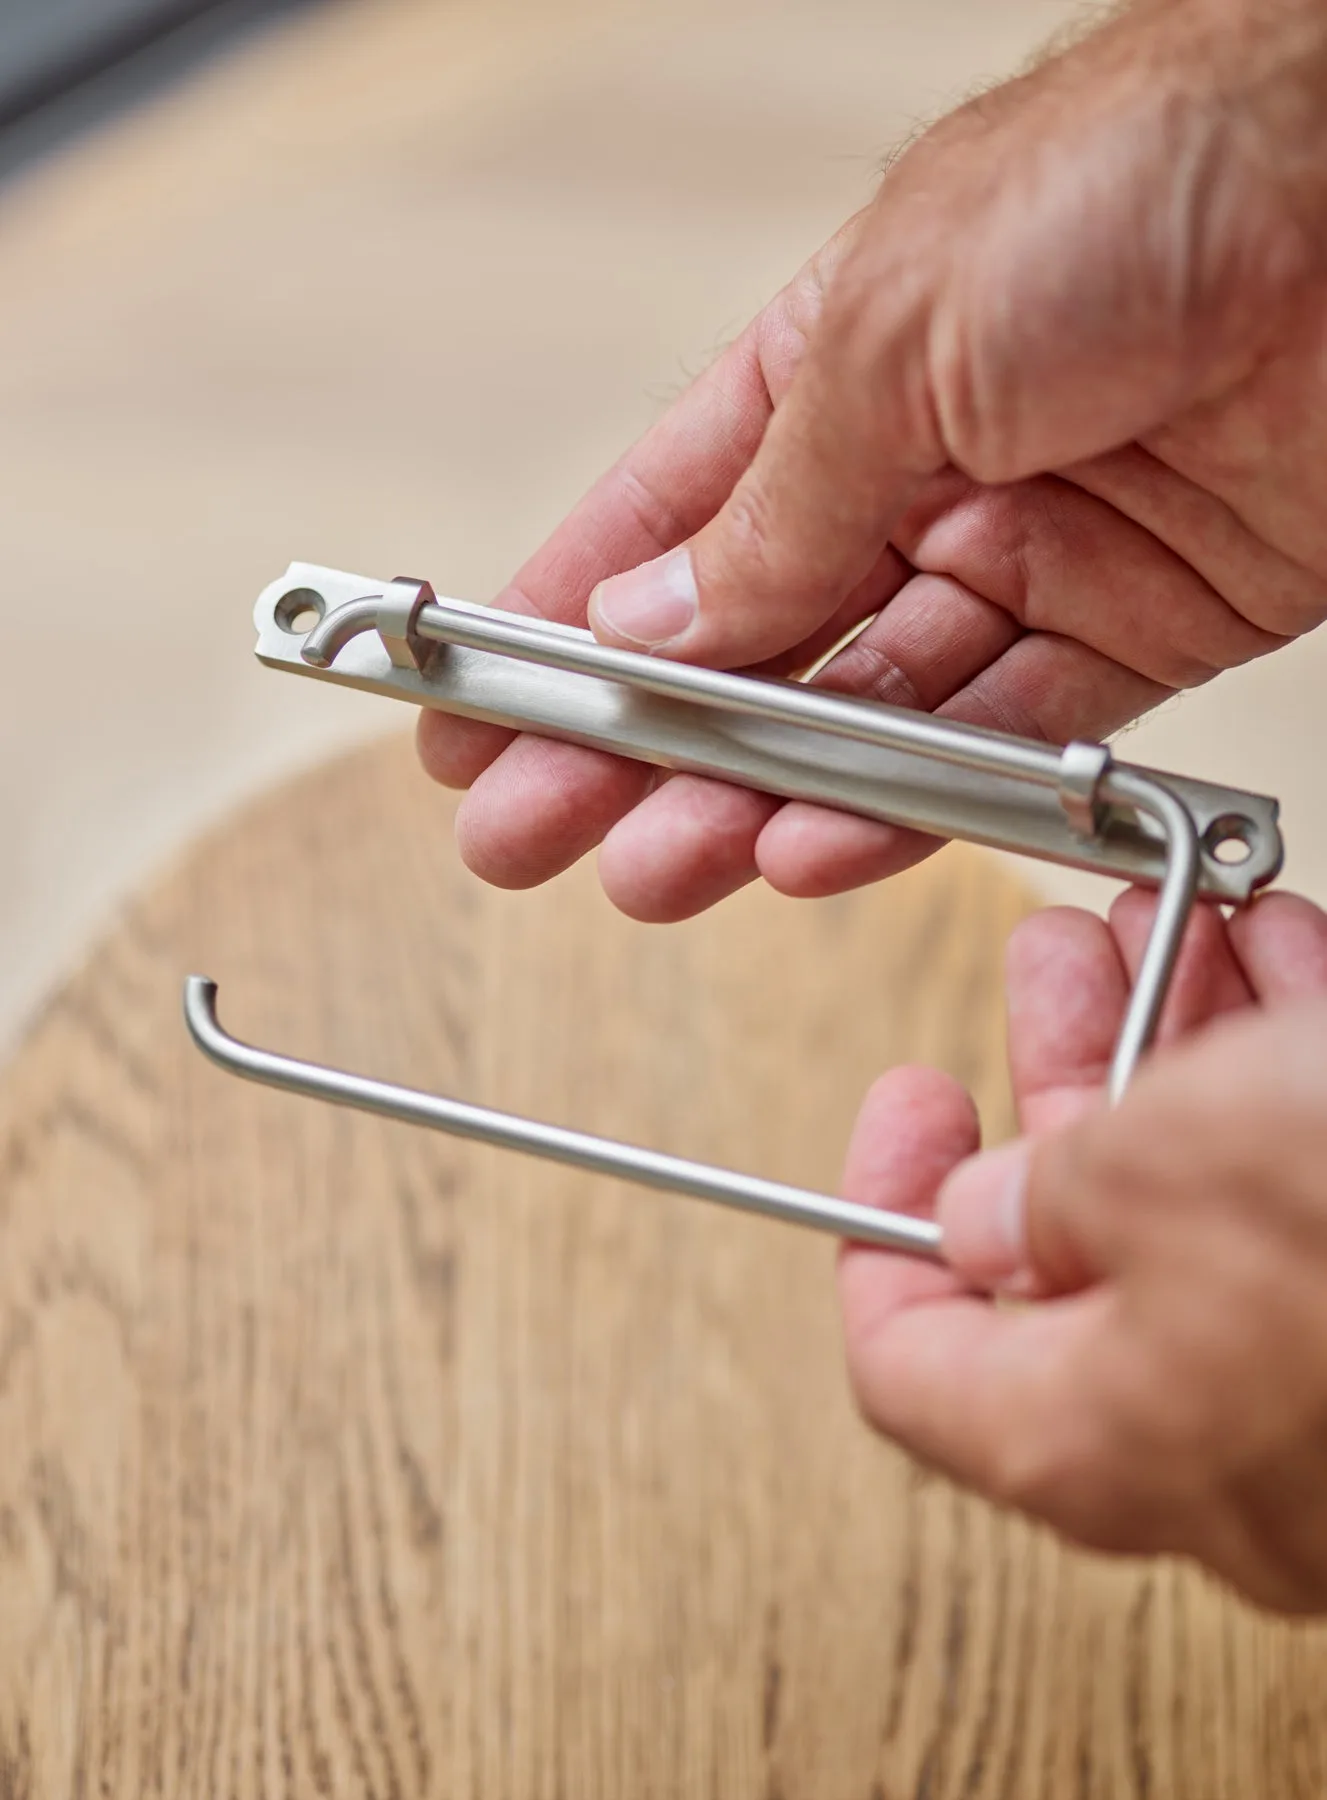
Bilton Toilet Roll Holder, Matt Nickel