Quick answer
Fit the raincover over the pushchair hood first, then secure it around the frame and handlebar, ensuring the child's face is never covered and ventilation holes are clear.
Why a proper fit matters more than you think
A raincover that is too loose can flap in the wind and let water in, while one that is too tight may restrict airflow and cause overheating. A correct fit also prevents the cover from rubbing against your child's face, which can be uncomfortable and even dangerous.
Most rain covers are designed to fit a specific pushchair model or size range. Always check the manufacturer's guidance before buying, as a universal cover may not provide the same level of protection or safety.
Know your pushchair's features first
Pushchairs with a large hood or a bumper bar may require a raincover with extra fabric or special cutouts. For example, the Out N About Nipper V6 Plus has a handlebar-mounted brake and a sporty frame, so you need a cover that doesn't interfere with the brake or the handlebar.
If your pushchair has a swivel wheel, as many all-terrain models do, check that the raincover doesn't restrict wheel movement. A cover that hangs too low could catch on the wheels and cause a hazard.
Step-by-step raincover fitting guide
- Step 1: Prepare the pushchair: Park the pushchair on a flat, dry surface and engage the brake. Remove any toys or accessories from the handlebar or frame that might obstruct the cover. Always ensure the brake is on before fitting to prevent the pushchair from rolling.
- Step 2: Position the cover over the hood: Hold the raincover by its top edge and place it over the pushchair hood, aligning the front of the cover with the front of the hood. Make sure the cover is not twisted. Check that the cover's seams are not pulling on the hood, which could cause tears.
- Step 3: Secure the cover around the frame: Pull the cover down over the sides of the pushchair and tuck any excess fabric under the seat or around the frame. Use any built-in straps or clips to secure the cover to the frame, but do not overtighten. Leave a little slack so the cover does not restrict the pushchair's folding mechanism.
- Step 4: Attach the cover to the handlebar: If your raincover has a handlebar attachment, secure it now. Ensure the cover does not cover the handlebar brake or any controls. Test the brake and handlebar movement after fitting to ensure nothing is blocked.
- Step 5: Adjust for ventilation and visibility: Make sure the front of the cover is not resting against your child's face. Adjust the cover so that ventilation holes or vents are clear and unobstructed. If the cover is transparent, check that you have a clear view of your child. If the cover fogs up, slightly adjust it to allow more airflow.
- Step 6: Final safety check: Walk around the pushchair and check that the cover is not trailing on the ground, catching on wheels, or covering any safety features. Ensure your child can breathe easily and is not overheating. If the cover seems too tight or too loose, remove it and try refitting, or consider a different size.
Raincovers that work with popular models
-
Out N About Nipper V6 Plus Pushchair - Brambleberry Red: The Out N About Nipper V6 Plus pushchair features a lightweight aluminium frame and 14-inch air-filled wheels, designed for all-terrain use and certified for running under the BS EN1888-3:2023 running standard. When fitting a raincover on this model, ensure the cover does not obstruct the handlebar-mounted brake or the swivel wheels, so you can maintain full control and maneuverability.
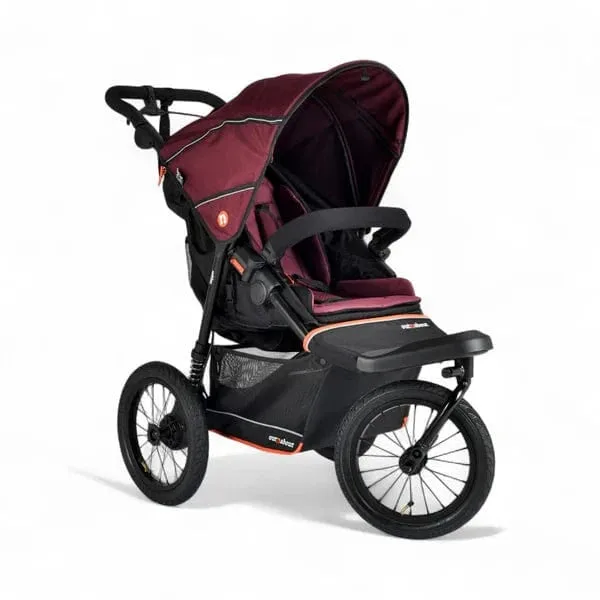
Out N About Nipper V6 Plus Pushchair - Brambleberry Red
-
Doona Liki Raincover: The Doona Liki Raincover is made of transparent material, has side holes for ventilation, a long zipper for easy access, and uses easy snap attachment to fit on the parent handle. For the Doona Liki Trike, this raincover's snap attachment makes installation quick and secure, and the transparent material lets you keep an eye on your child while riding.
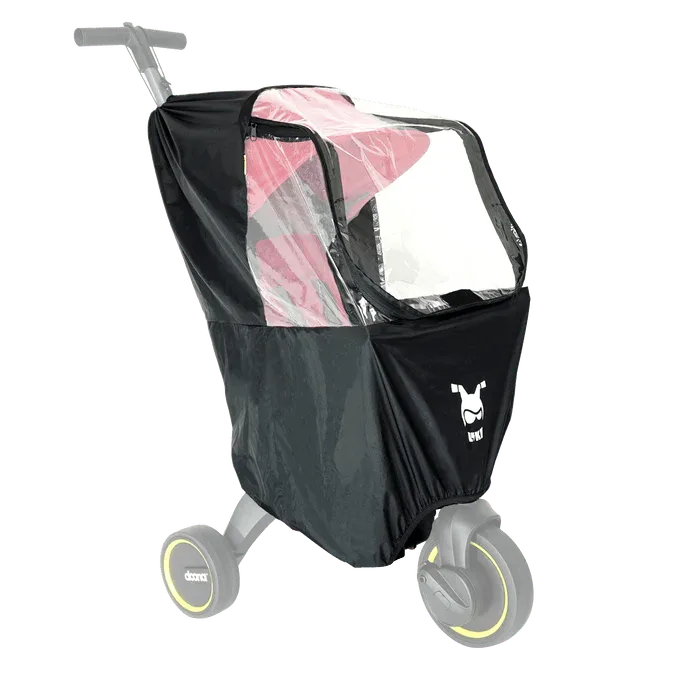
Doona Liki Raincover