Quick answer
Start with a shell fit: remove the liner, slide your foot into the empty shell, and check for about one finger-width (10–15 mm) of space behind your heel. If that gap is right, mold the liner to your foot, then buckle from the bottom up with only enough tension to hold your heel down. If the shell fit is wrong, no amount of liner work or buckle tweaking will make the boot comfortable.
Check shell fit before you touch the liner
Pull the liner out of one boot and stand the shell on a flat surface. Slide your bare foot in until your toes lightly touch the front, then reach behind your heel. You want roughly 10–15 mm of space—about one finger—between your heel and the back of the shell. Less than that and your toes will jam on the downhill; much more and your foot will slide, causing shin bang and lost control. Repeat on the other foot, since most people are slightly asymmetric. This shell fit check is the single most important ski boot fitting tip because it tells you whether the boot can ever fit, regardless of liner or buckle adjustments.
Mold the liner to your foot, not the other way around
Heat-moldable liners need consistent pressure and heat to take your shape. Warm the liner according to the manufacturer's instructions—typically in an oven at low temperature—then slide your foot in with a thin ski sock, buckle the boot loosely, and stand in a natural stance for 10–15 minutes while the liner cools. Avoid walking around during this time; flexing the boot prematurely can create pressure points. If your liners are not heat-moldable, skip the oven and rely on break-in time and buckle tuning instead. For boots with a BOA Fit System, dial the tension to a medium setting during molding so the liner conforms without being crushed.
Buckle from the bottom up and tighten ski boot buckles with purpose
Start with the buckle closest to your toes and work upward. The lower two buckles should be just snug enough to keep your foot from sliding—think of them as holding your foot, not clamping it. The upper buckles control heel hold and shin contact; tighten them until your heel lifts no more than a few millimeters when you flex forward. A common mistake is overtightening the top buckle to compensate for a loose heel, which cuts circulation and causes cold feet. If you feel pressure on the top of your foot, loosen the lower buckles first.
Address pressure points with targeted fixes
If you feel a sharp pressure point on the shell, check whether the liner is bunched or the tongue is misaligned. For minor hot spots, a thin adhesive pad on the outside of the liner can redistribute pressure. For persistent issues on the inside of the shell, a bootfitter can punch or grind the plastic—something you should not attempt at home without experience. Remember that comfortable ski boots are not loose; they are snug with even pressure. If you can wiggle your whole foot freely, the boot is too big, not too tight.
Your home ski boot fitting steps
- Do the shell fit check: Remove the liner, slide your bare foot into the shell, and measure the gap behind your heel. Aim for about one finger-width (10–15 mm). Checkpoint: if the gap is outside that range, stop—the boot is the wrong size and no liner or buckle adjustment will fix it.
- Mold the liner (if heat-moldable): Warm the liner per the manufacturer's instructions, insert your foot with a thin sock, buckle loosely, and stand still for 10–15 minutes. Common mistake: walking or flexing during cooling creates pressure points. Stay put until the liner is fully cool.
- Buckle bottom-up and set heel hold: Snug the lower two buckles just enough to stop foot sliding, then tighten the upper buckles until heel lift is minimal when you flex forward. Checkpoint: you should feel even pressure, not sharp pinching. If your toes go numb, loosen the lower buckles first.
- Fine-tune with targeted fixes: Use thin adhesive pads on the liner for hot spots. For shell pressure, see a bootfitter for punching or grinding—don't attempt it at home. Remember: comfortable ski boots are snug, not loose. If your foot moves freely, the boot is too big.
Boots and parts that support a better home fit
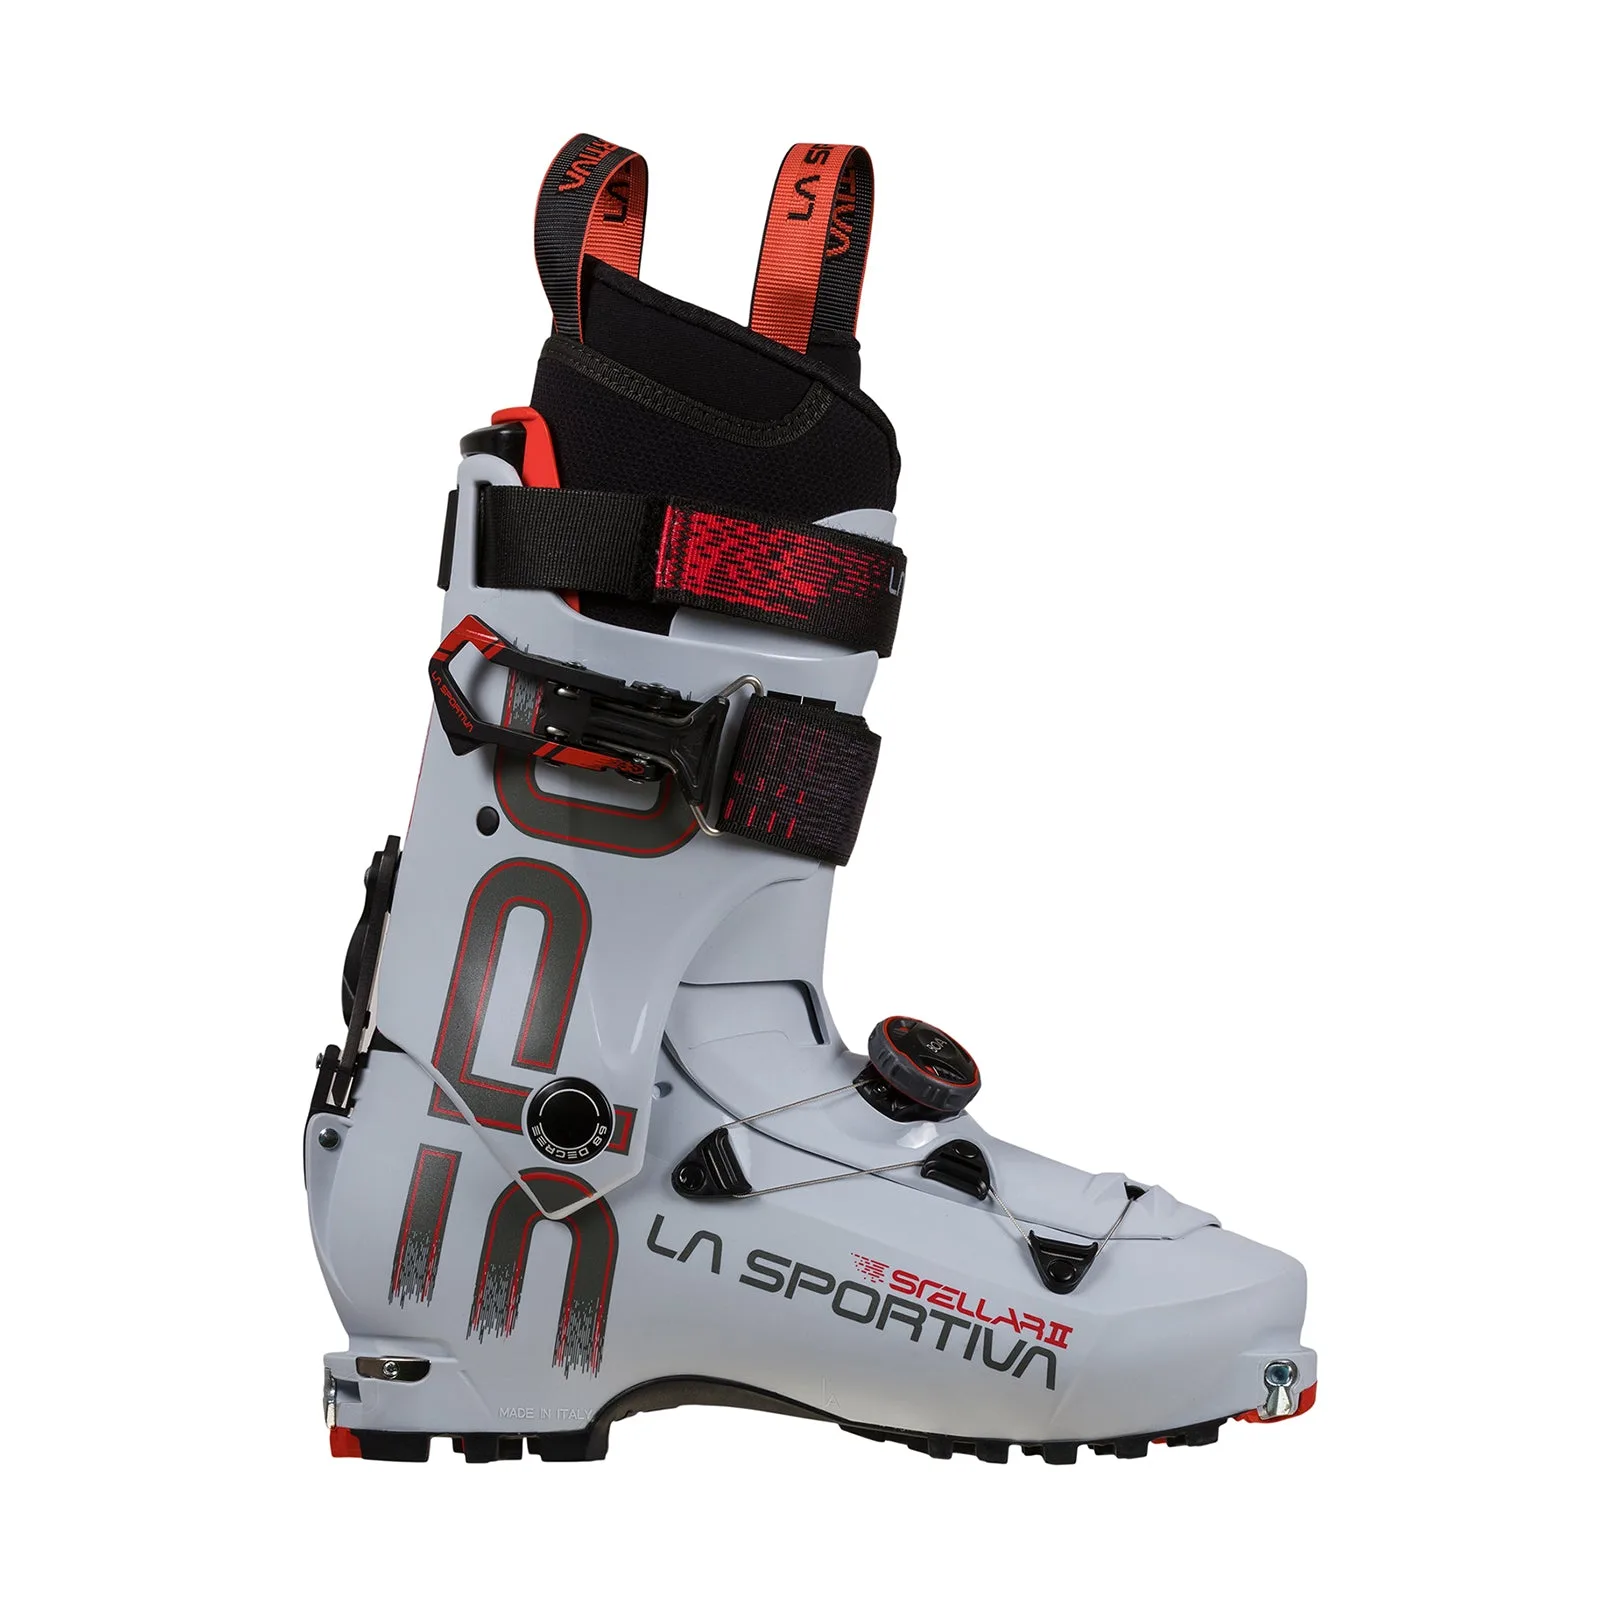
- Stellar II: Designed for touring and ski mountaineering objectives, the Stellar II is versatile, lightweight, and provides excellent range of motion. It features the EZ 3D Flex Tongue with BOA Fit System for a quickly personalized fit and is compatible with Tech and AT bindings. The BOA system lets you fine-tune tension without unbuckling, which is useful during liner molding and on the skin track. The lightweight build and range of motion also make it easier to stand naturally while the liner cools.
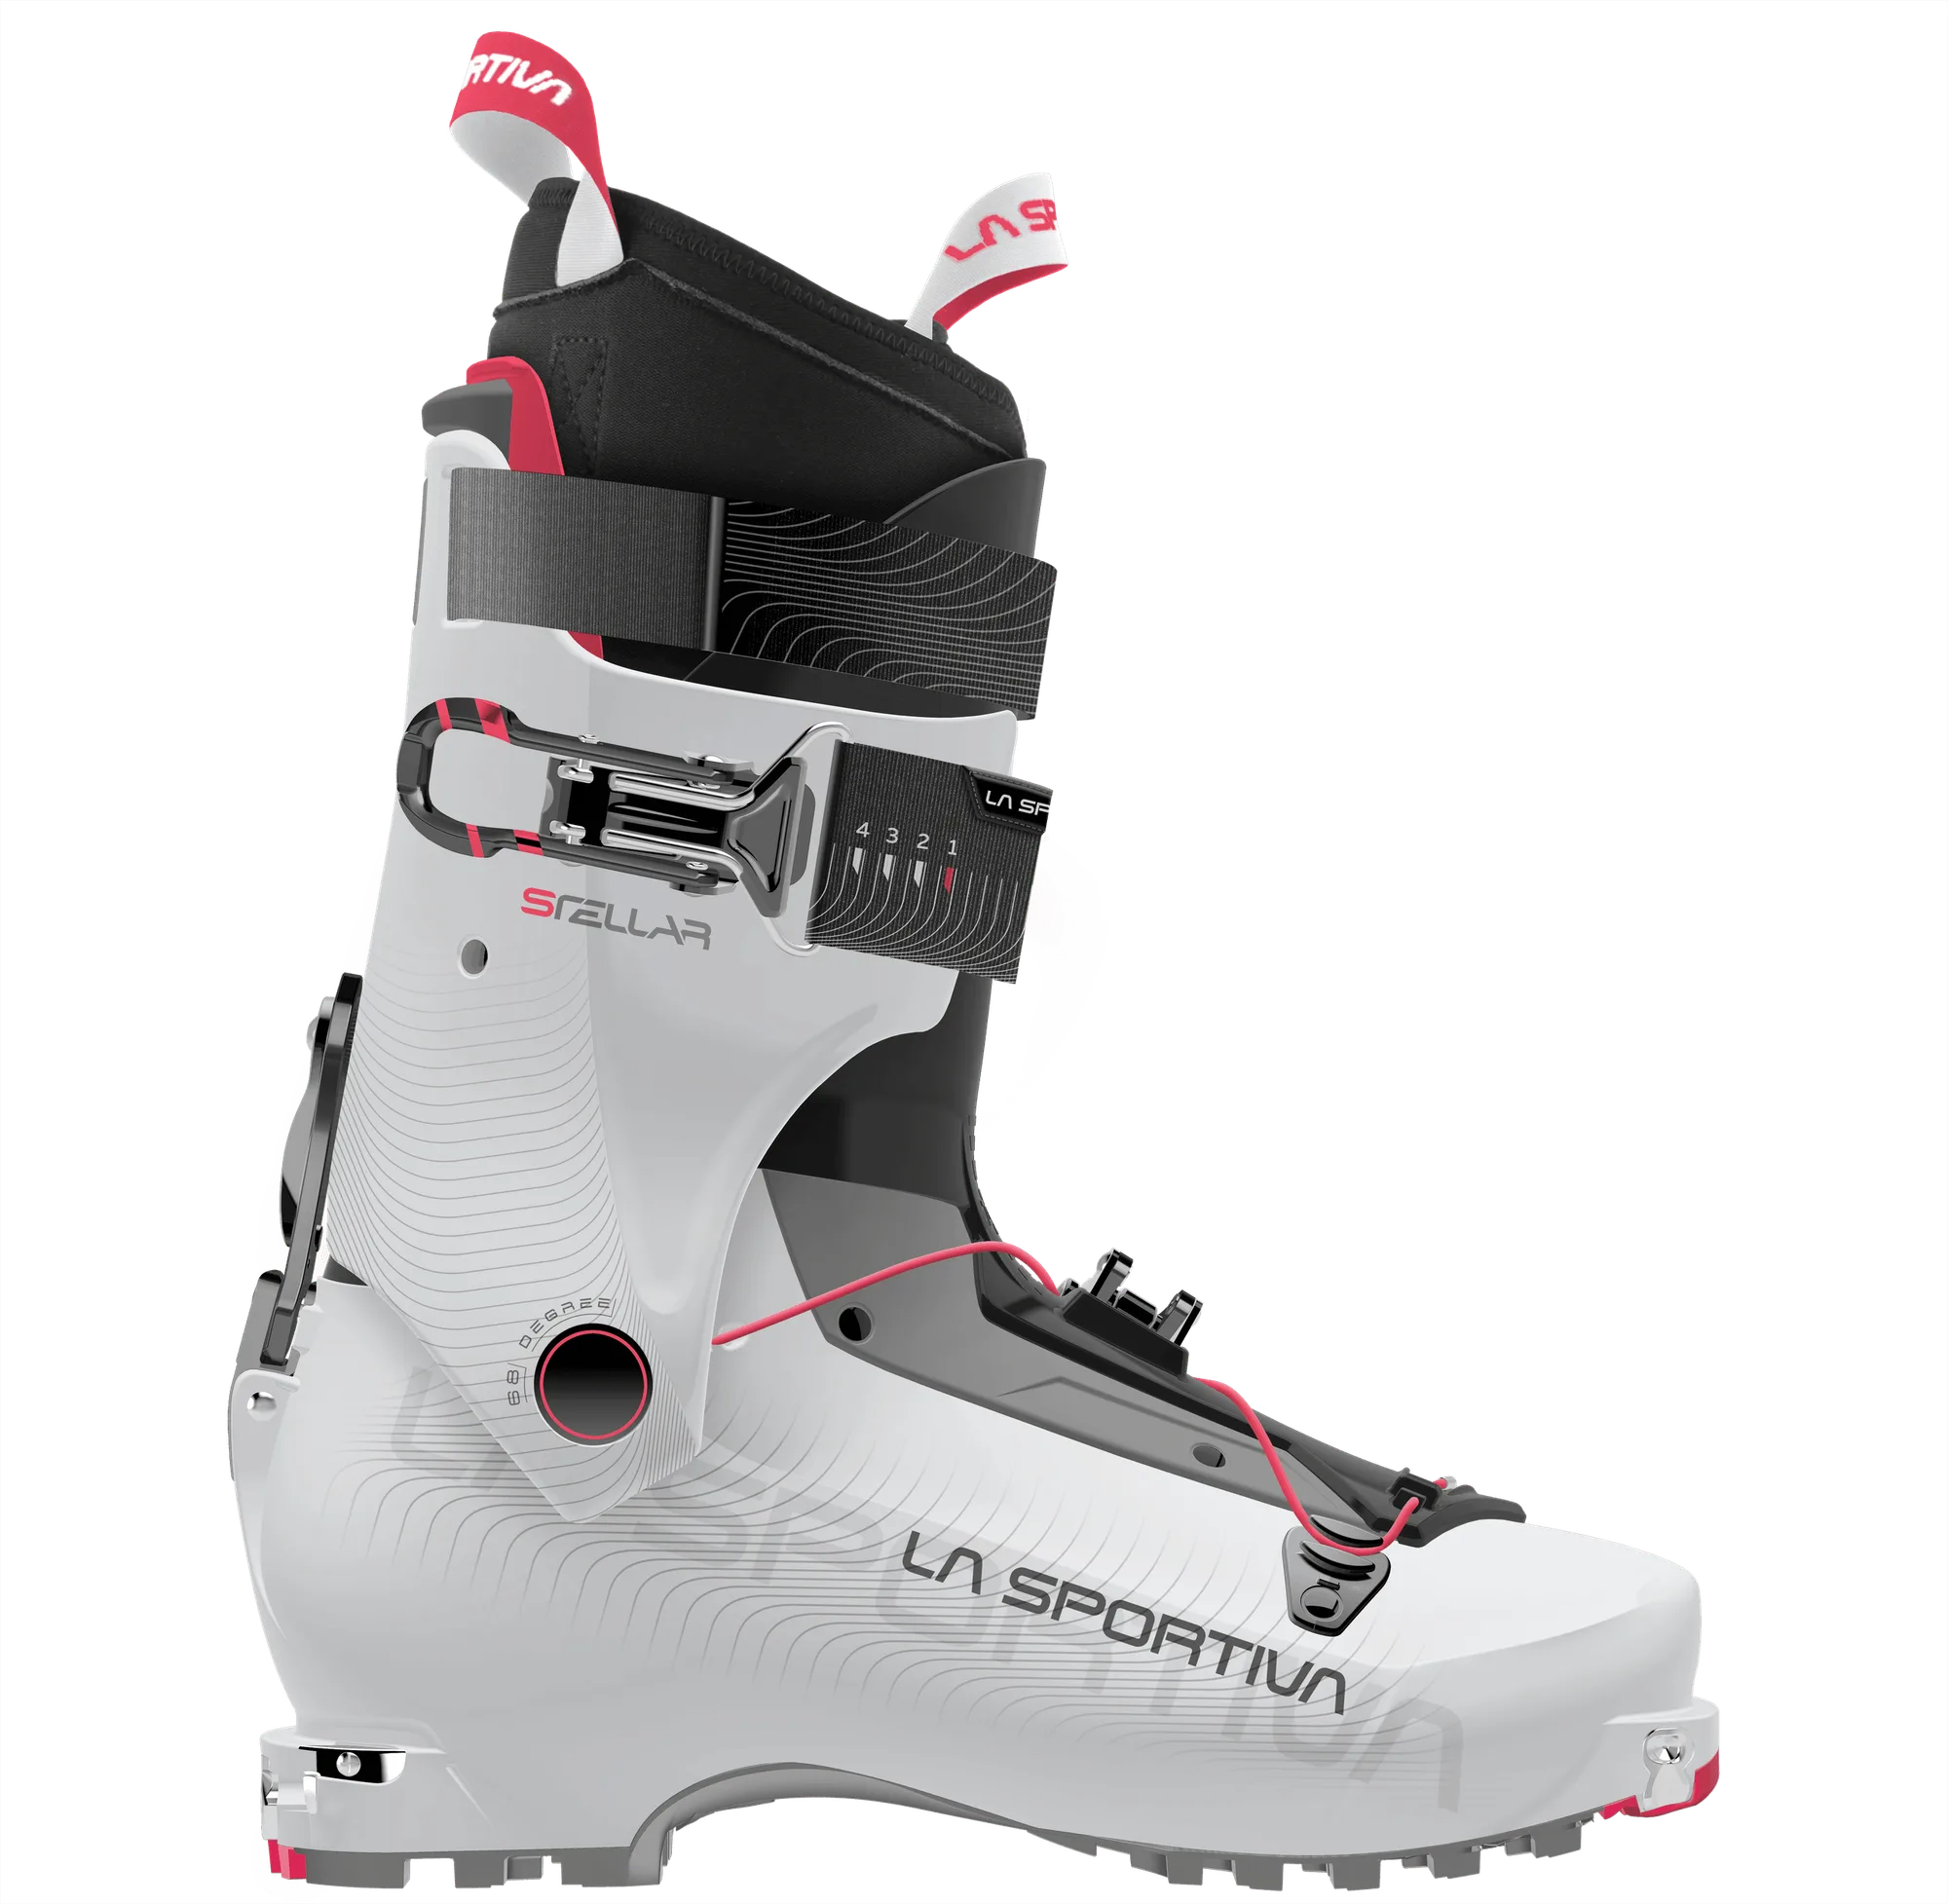
Stellar
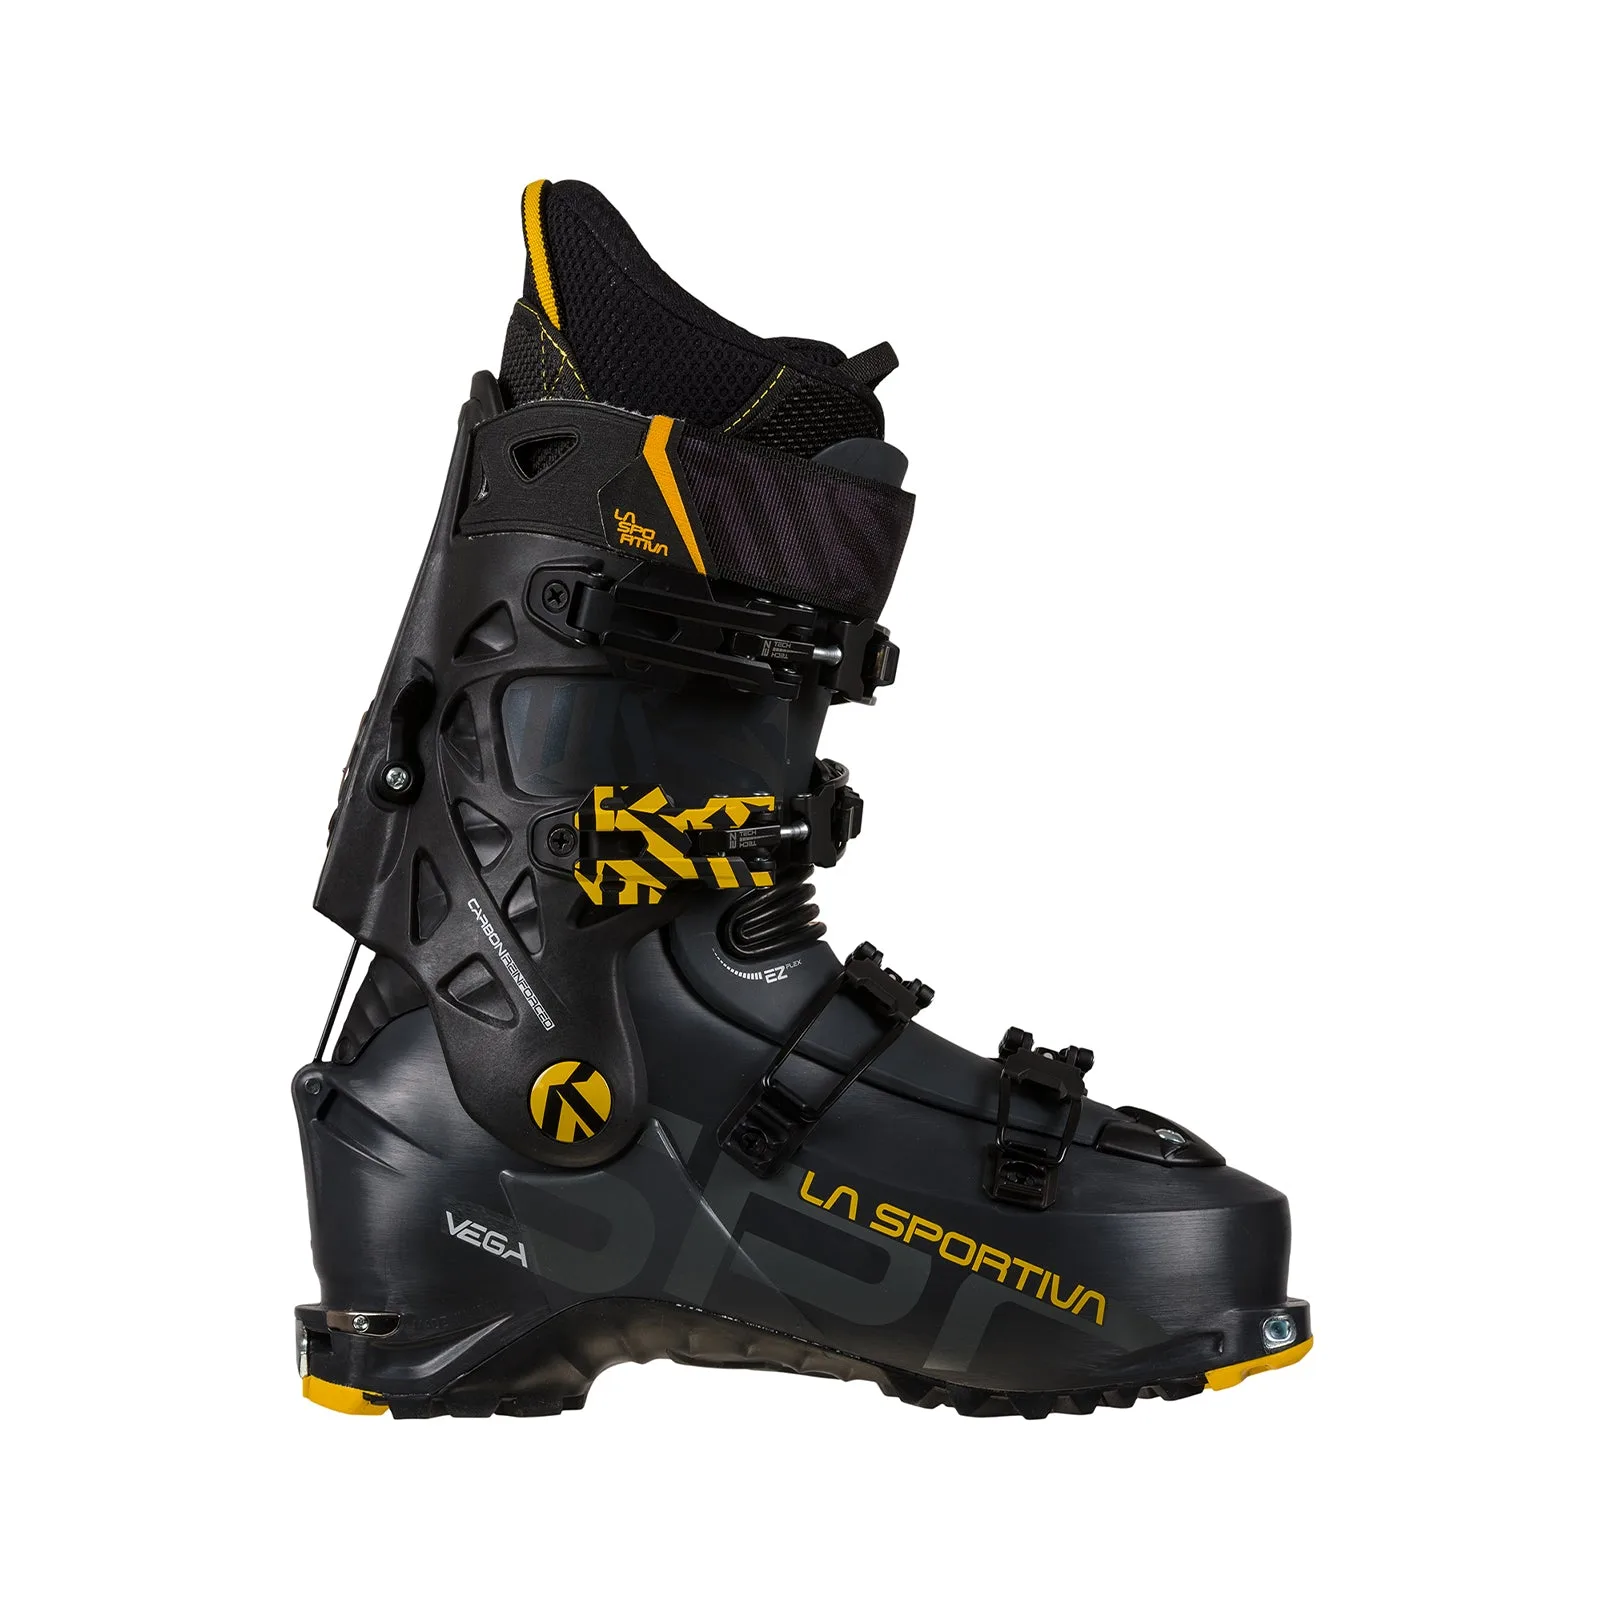
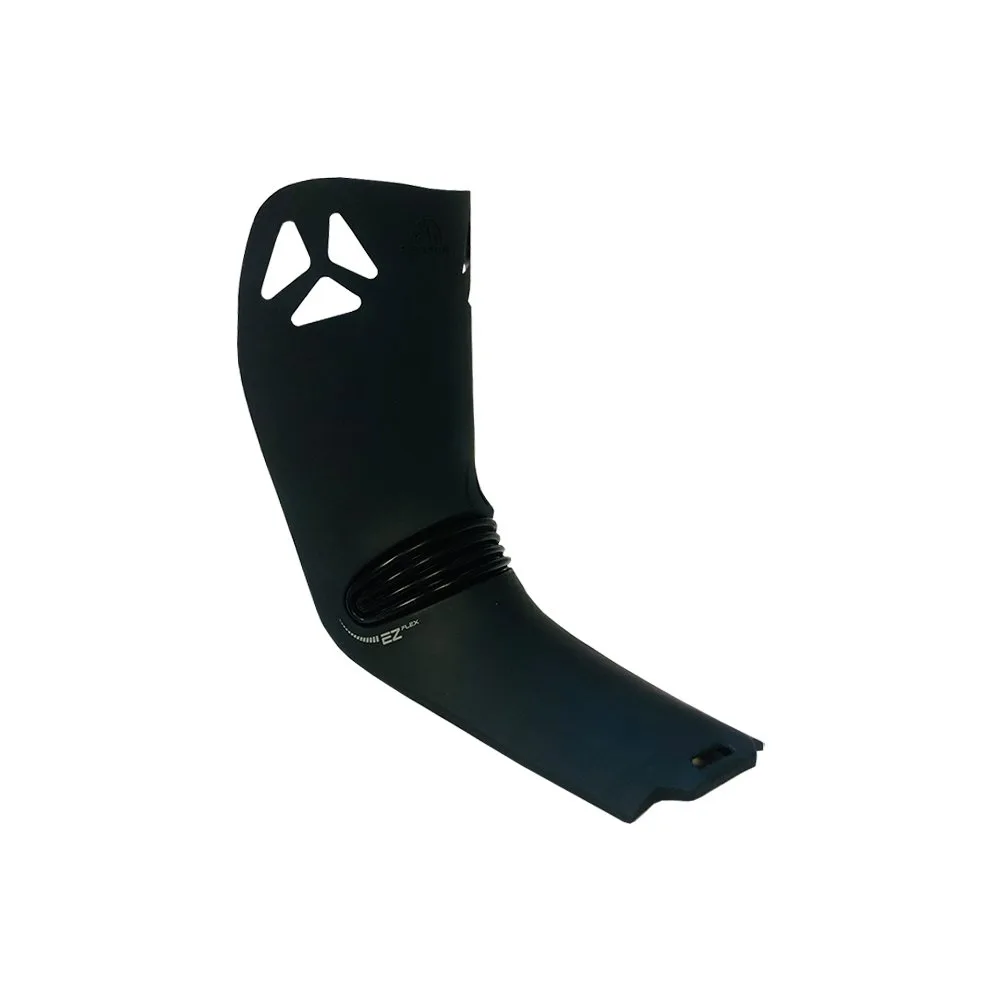
- Tongue Vega Men's: Replacement EZ Flex Grilamid tongue for La Sportiva Vega ski boots, sold as a pair and available in multiple sizes to match your boot's specifications. If your Vega boot's tongue is worn or deformed, a fresh replacement restores the original fit and flex characteristics, so your home fitting efforts aren't undermined by a tired component.