Quick Answer
If your press-on nail has lifted but is still whole, reattach it with nail glue gel. If it is cracked but still sitting on the nail bed, a thin layer of glue gel over the crack plus a light cure will hold it for the rest of the day. If the tip has snapped off or the nail is split across the stress area, replace that single nail rather than rebuilding it. Keep spare sizes from your set so a press-on nail emergency never ruins your plans.
A press-on nail rarely breaks at a convenient moment. It catches on a car door, pops off while you're typing, or splits right before you walk into something you can't be late for. The good news is that most damage falls into a few predictable categories, and each one has a different fix.
This guide walks through the symptom, the likely cause, the corrective action, and the point where you should stop repairing and swap the nail instead. You'll also see which CLAWSIE Nails sets give you the best odds of a clean, quick repair.
First, Identify What Actually Broke
Before you reach for glue, look closely at the damage. A lifted nail is still intact but has lost its bond to your natural nail. A cracked nail has a visible line but is still attached. A snapped nail has lost its free edge or split through the middle. Each one behaves differently under stress, so the repair has to match.
Press-on nails fail in predictable places. The sidewall is where lifting usually starts because that's where water and daily friction get in first. The stress area, just past the natural nail tip, is where cracks and snaps happen because that's the lever point when you use your nails as tools.
- Lifted but whole: reattach with glue gel.
- Cracked but attached: seal the crack with a thin glue gel layer and cure.
- Snapped or split across the stress area: replace the single nail.
How to Reattach a Lifted Press-On Nail
A lifted nail is the easiest fix. Remove the nail completely rather than trying to glue it back down while it's half on. Clean any old adhesive from both the press-on and your natural nail with a gentle buff and a wipe of alcohol. Let both surfaces dry fully, then apply a small dot of nail glue gel to the press-on and press it down at a slight angle, starting from the cuticle edge.
Hold for 20 to 30 seconds. If you're using a glue gel that needs UV, cure it under a lamp for the time your product instructions specify. Avoid washing your hands or soaking them for at least an hour so the bond can set. This is the same basic method covered in our step-by-step application guide, just done on one nail instead of ten.
- Never glue over old adhesive; it weakens the new bond.
- Press from cuticle to tip to push out air bubbles.
- Skip hand washing for an hour after reattaching.
How to Seal a Cracked Press-On Nail
A crack that hasn't reached the edge can often be sealed. Wipe the area dry, then use a fine brush or the tip of your glue gel applicator to work a small amount of gel into the crack. You want the gel inside the crack, not sitting on top of it. If your glue gel requires UV, cure it under the lamp, then gently buff the surface smooth.
This is a short-term fix, not a permanent one. A sealed crack will usually hold for a day or two of normal activity, but it will fail faster if you use that nail to open cans, peel labels, or scrub without gloves. Treat the repaired nail as fragile and it will last longer.
- Work gel into the crack, not over it.
- Buff lightly after curing so the surface stays smooth.
- Expect one to two days of wear from a sealed crack.
When to Stop Repairing and Replace the Nail
Some damage isn't worth fixing. If the tip has snapped off, if the crack runs through the stress area, or if the nail has bent and left a white stress mark, the structure is compromised. Gluing it back together creates a weak point that will fail again, often at a worse moment. Replace that single nail instead.
This is why ordering a set with a spare-friendly size range matters. If you have a few extra nails in your size, a press-on nail emergency becomes a two-minute swap instead of a canceled plan. Keep your spares in the original box or a small pouch so you're not hunting for them later.
- Replace, don't repair, if the tip is gone.
- Replace if the crack crosses the stress area.
- Keep spare nails in your bag for fast swaps.
Preventing the Next Break
Most breaks come from using your nails as tools. Opening a can, scraping a label, or prying something loose puts force exactly where press-ons are weakest. Keep a keychain tool or a small opener nearby and you'll cut your break rate dramatically. Wearing gloves for dishes and cleaning also protects the bond from water and heat.
Fit matters too. A press-on that's slightly too wide or too narrow puts uneven pressure on the sidewalls and lifts faster. If you're between sizes, size down rather than up, and check that the nail sits flat without gaps at the sides. A good fit is the single biggest factor in how long a set lasts.
- Use a tool, not your nails, to open or pry.
- Wear gloves for dishes and cleaning.
- Size down if you're between sizes.
Repair Diagnosis: Match the Damage to the Fix
- Lifted but whole: The nail has separated from your natural nail but has no cracks or missing pieces. Remove it, clean off old adhesive, and reattach with nail glue gel, curing if your product requires it. Repair. This is the most reliable fix and can last as long as the original application.
- Cracked but still attached: A visible line runs across the nail but the tip is intact. Work glue gel into the crack, cure if needed, and buff smooth. Avoid using that nail for anything forceful. Repair short-term. Expect one to two days, then replace.
- Snapped tip or split through the stress area: The free edge is gone or the crack crosses the point where the nail bends. The structure is compromised and glue won't restore it. Replace. Pull a spare from your set and swap it in.
CLAWSIE Sets That Make Repairs Easier
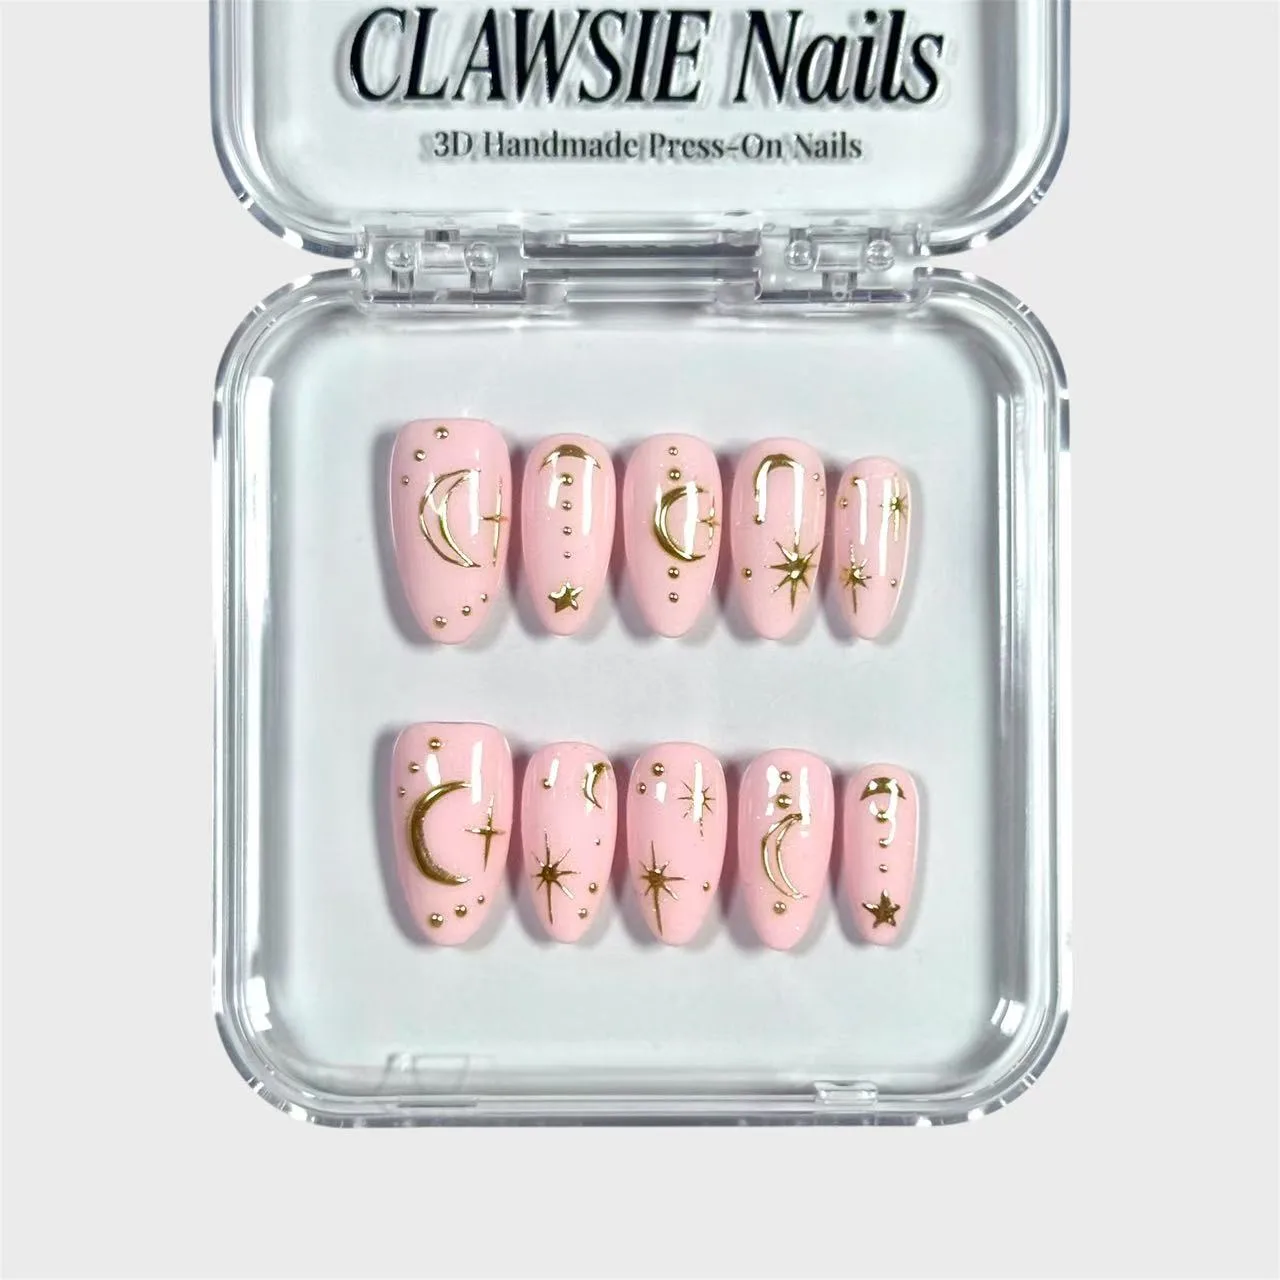
- Pink stardust: Pink stardust press-on nails are available in sizes S, M, and L, with size selectable as an option. A wider size range makes it more likely you'll have a spare that actually fits, so a single broken nail is a quick swap rather than a full set replacement.
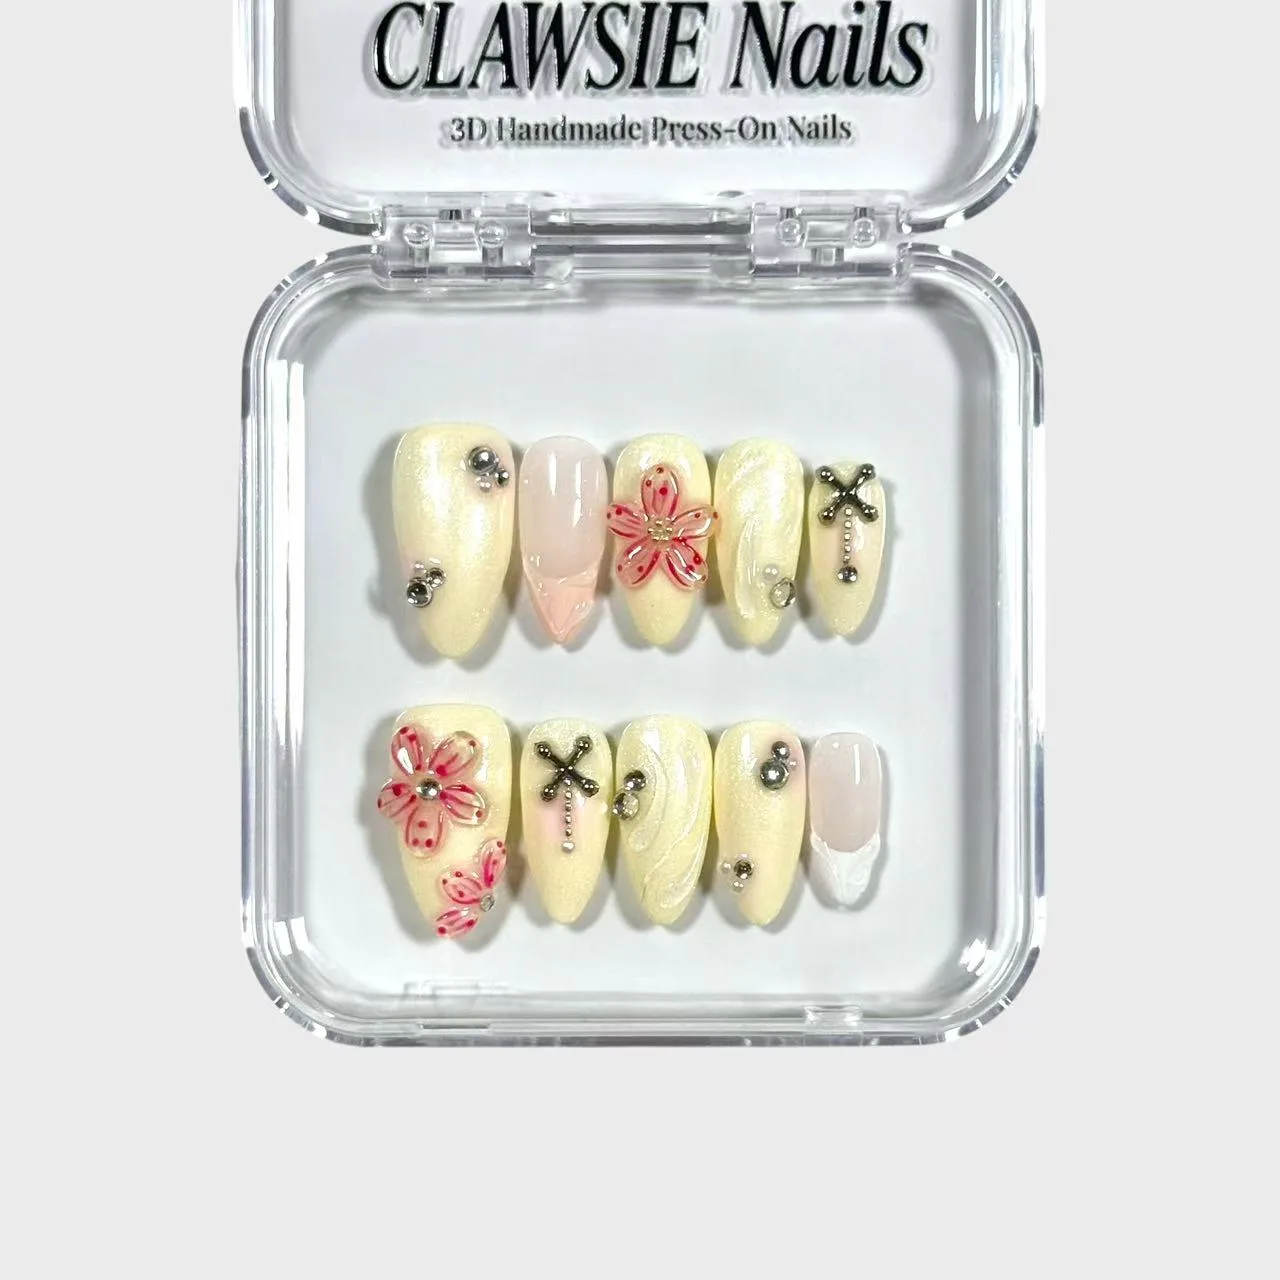
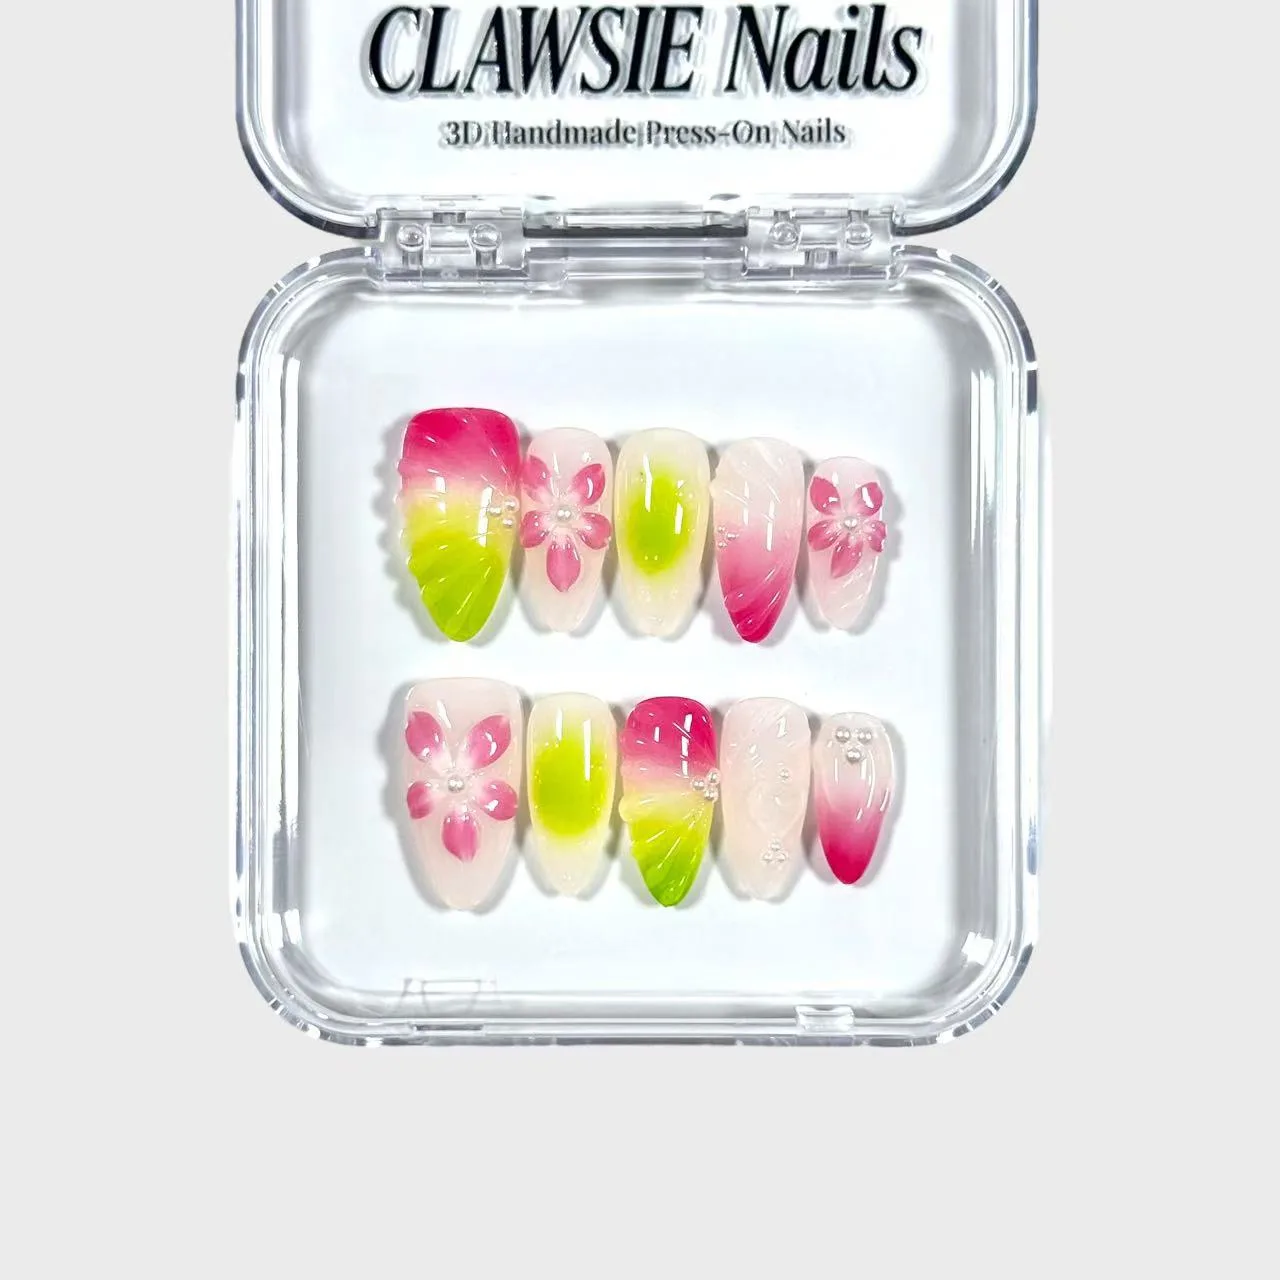
- HANAMI: Hanami is a set of medium almond press-on nails with shimmering ivory tones, soft pink floral blossoms, and sparkling crystal accents, described as durable and reusable. Reusable nails can be cleaned and reattached after a lift, which means a repair doesn't cost you the design. The 3D details also mean you should seal cracks carefully rather than buff aggressively.
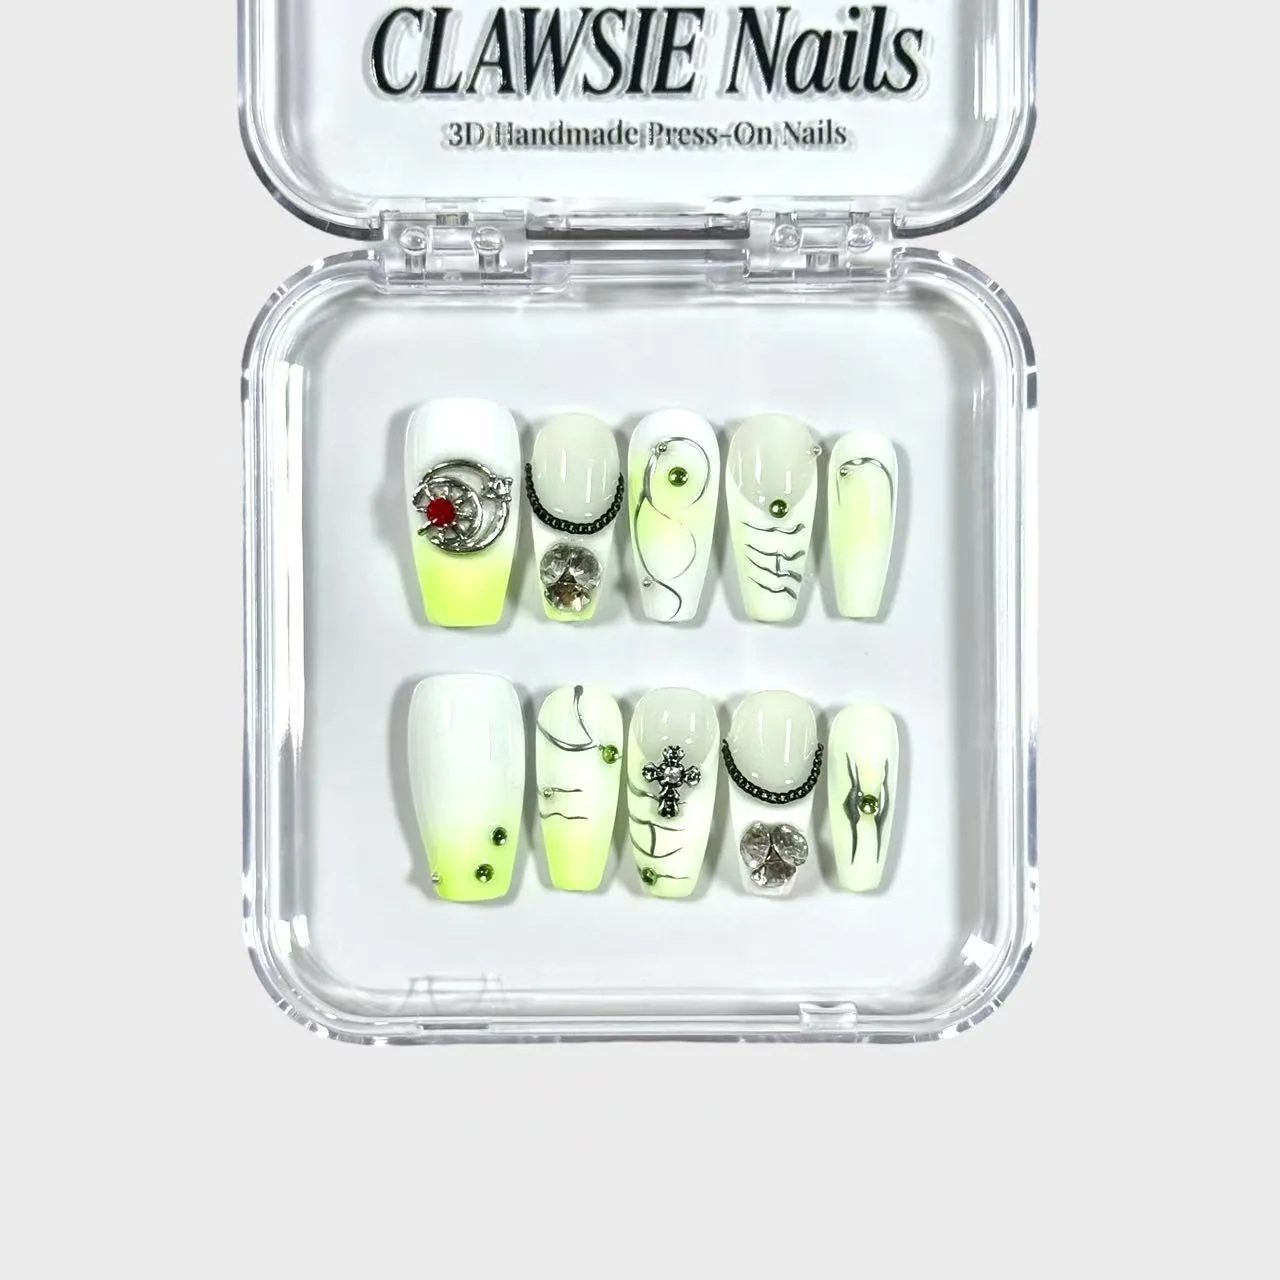
- NEONNOVA: Neonnova is a set of medium coffin press-on nails with neon green ombré gradients, abstract black line art, and shimmering crystal accents, described as lightweight and reusable. Lightweight nails put less stress on the natural nail, which can reduce lifting. If a Neonnova nail cracks, the bold line art makes a sealed crack less noticeable than it would be on a plain finish.
Most broken press-on nails fall into one of three categories, and matching the fix to the damage is what keeps your set looking intact. Reattach lifts, seal small cracks, and replace anything that's snapped. Keep a few spares in your size and you'll never lose a whole set to one bad moment.