Quick Answer
Most bag making mistakes—crooked seams, zipper issues, hardware misalignment—are fixable with simple techniques. Start by diagnosing the problem, then apply the right corrective action. If a mistake compromises the structure or finish beyond repair, know when to cut your losses and start over.
Everyone makes mistakes when sewing bags, even seasoned makers. The key is knowing how to fix them without ruining your project. This guide covers common bag making problems and offers clear, step-by-step solutions.
Whether you're dealing with a wavy zipper, a crooked seam, or hardware that won't stay put, you'll find practical fixes here. We'll also help you decide when a mistake is worth fixing and when it's better to start fresh.
Crooked Seams and Misaligned Panels
Crooked seams are a common frustration. They often happen when fabric stretches or when you're sewing thick layers. To fix a slightly off seam, use a seam ripper to remove the stitches carefully, then pin the pieces together again, matching notches and edges. Use a walking foot or a longer stitch length to prevent shifting.
If the seam is only slightly crooked but still functional, consider leaving it and adding a decorative topstitch to camouflage the issue. For misaligned panels, check that you've cut accurately and that your interfacing is applied evenly. If the problem persists, your pattern may need adjustments—make a test version in muslin before cutting your good fabric.
- Always test on scrap fabric first to check stitch tension and foot pressure.
Zipper Issues: Wavy, Puckered, or Stuck
Zippers can be tricky. Wavy zippers often result from stretching the fabric while sewing. To fix, remove the zipper and apply fusible interfacing to the zipper tape area before reinserting. Sew with a zipper foot, keeping the fabric flat and not pulling.
Puckering happens when the fabric is too thick or the zipper is too heavy for the project. Use a lighter zipper or reduce seam bulk by trimming and clipping curves. If the zipper pulls are stuck, check for fabric caught in the teeth and clear it. Lubricate the zipper with a little soap or zipper lubricant if it's stiff.
If a zipper is beyond repair, replace it. Choose a quality zipper that matches your project's weight. For example, a #5 zipper is sturdy for bags, while a #3 is lighter for smaller pouches.
- Press zippers carefully; avoid direct heat on nylon coils.
Hardware Misalignment and Loose Attachments
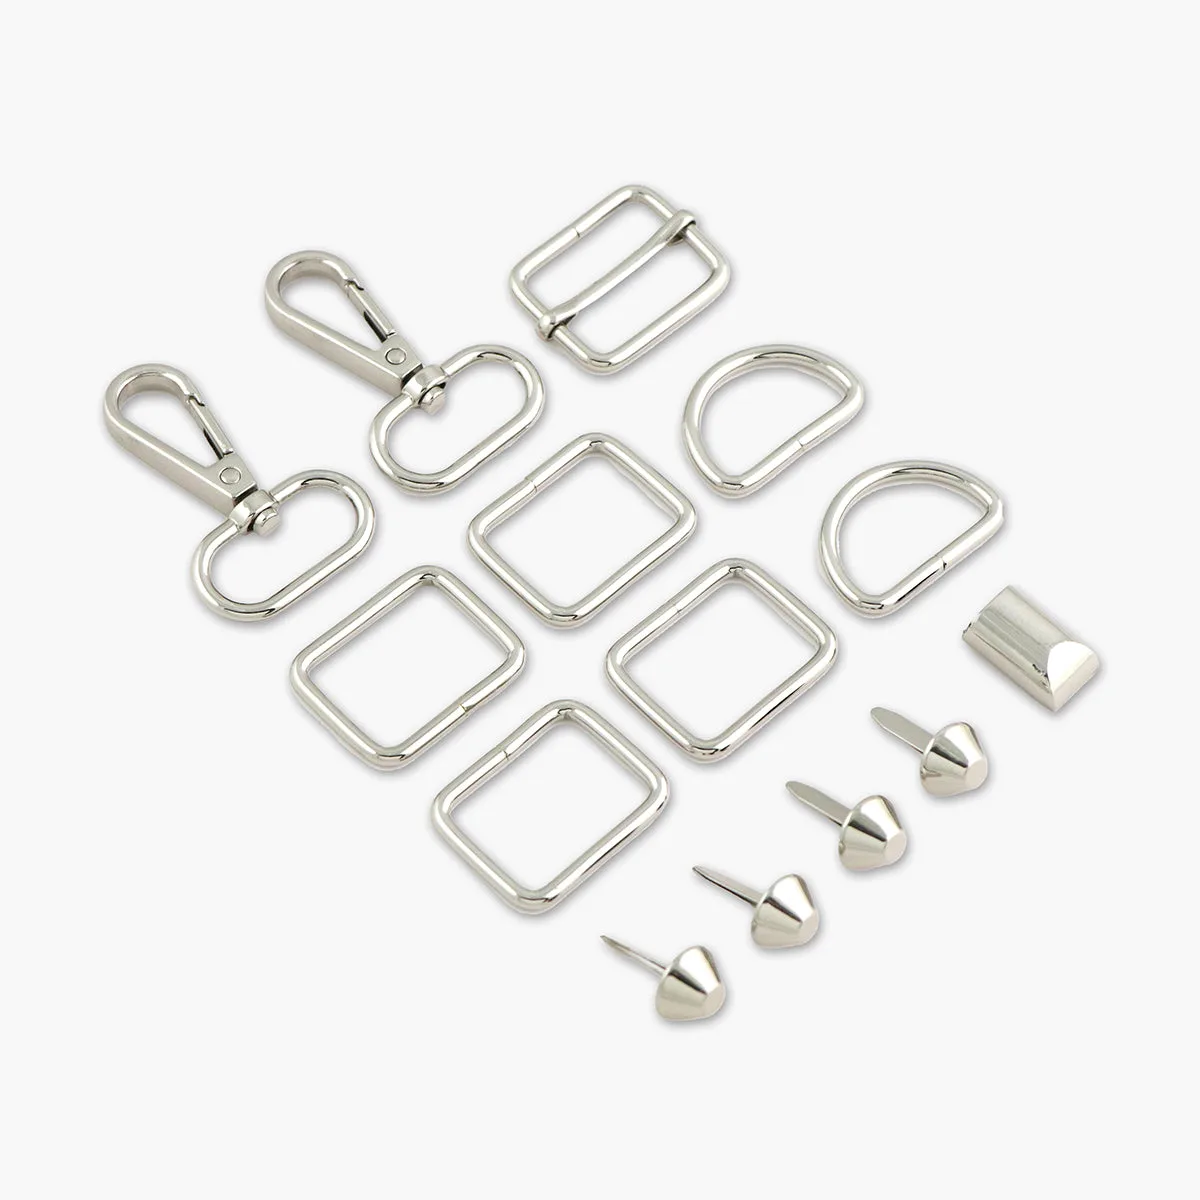
Hardware like D-rings, swivel hooks, and purse feet need to be aligned and securely attached. If a swivel hook is crooked, remove the stitching or the screw and reattach it, ensuring the hardware sits flat against the fabric. Use a hardware kit that includes all matching pieces to avoid mismatches.
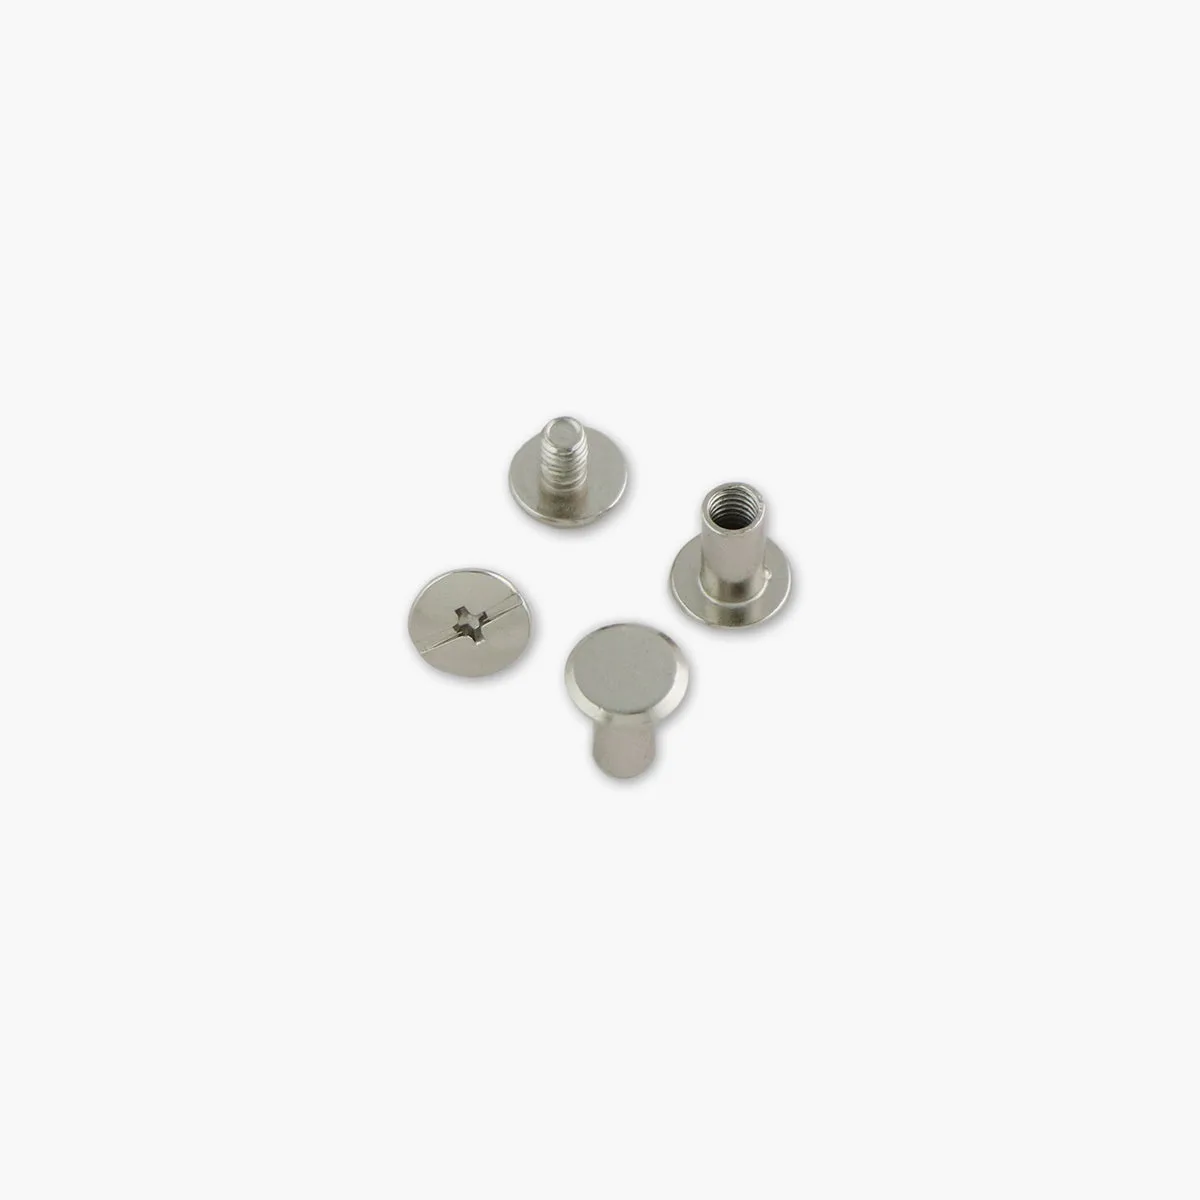
For Chicago screws that loosen over time, apply a drop of threadlocker or a tiny bit of glue to the threads before tightening. If you're using purse feet, mark their positions carefully before punching holes to keep them even. A template or a ruler helps ensure symmetry.
If hardware holes stretch or tear, reinforce the area with interfacing or a patch of fabric before reattaching. For permanent issues, consider adding a decorative patch or applique to cover the damage.
- Use a piece of tape to mark the correct position for hardware before attaching.
Fabric Handling: Slippery, Stretchy, or Thick Materials
Different fabrics behave differently. Slippery fabrics like vinyl or faux leather can shift while cutting and sewing. Use clips instead of pins to avoid leaving holes, and use a Teflon foot or roller foot to help the fabric feed evenly. For stretchy fabrics, stabilize with interfacing or use a walking foot to prevent distortion.
Thick fabrics like canvas or cork can cause skipped stitches. Use a needle designed for heavy fabrics, such as a size 90/14 or 100/16, and adjust the stitch length. If the machine struggles, try hand-cranking over the thickest parts or use a hump jumper to keep the presser foot level.
If you've sewn a seam incorrectly on a difficult fabric, removing stitches may leave visible holes. In that case, consider covering the area with a patch, applique, or a decorative element rather than ripping out the seam.
- Always test your needle and thread on a scrap piece of the same fabric before starting.
Diagnosis: Is It Worth Fixing?
- Symptom: What do you see? Crooked seam, wavy zipper, loose hardware, or fabric damage? Identify the exact issue before deciding on a fix.
- Likely Cause: What probably caused it? Stretching, incorrect needle, or misaligned markings? Understanding the cause helps you avoid repeating the mistake.
- Corrective Action: What's the fix? Ripping out and resewing, adding interfacing, or adjusting hardware. Apply the appropriate solution step by step.
- Stop or Choose Another Option: If the fabric is damaged beyond repair or the structure is compromised, consider starting over or altering the design to cover the flaw. Know when to cut your losses and repurpose the materials.
Products That Help
- Daphne Handbag Hardware Kit: All of the necessary pieces of hardware to make one Daphne bag are included in one kit. Included in Hardware Kit: (4) 1" Rectangle Rings, (2) 1" Swivel Hooks, (1) 1" Slider Buckle, (2) 1" D-Rings, (4) 1/2" Purse Feet, and (1) Metal Zipper Tail. Having a complete, matched set of hardware ensures consistent sizing and finish, reducing the chance of misalignment or mismatched pieces that can lead to attachment mistakes.
- 12 Large 10mm Chicago Screws: Our Chicago Screws are perfect for securing straps, or thick areas on purses, backpacks, wallets, and more. This hardware is designed to enhance durability and aesthetic appeal. Chicago screws provide a secure, adjustable fastening for straps and thick layers. They're easy to remove and reattach if you need to fix a misaligned strap, making them a forgiving hardware option.
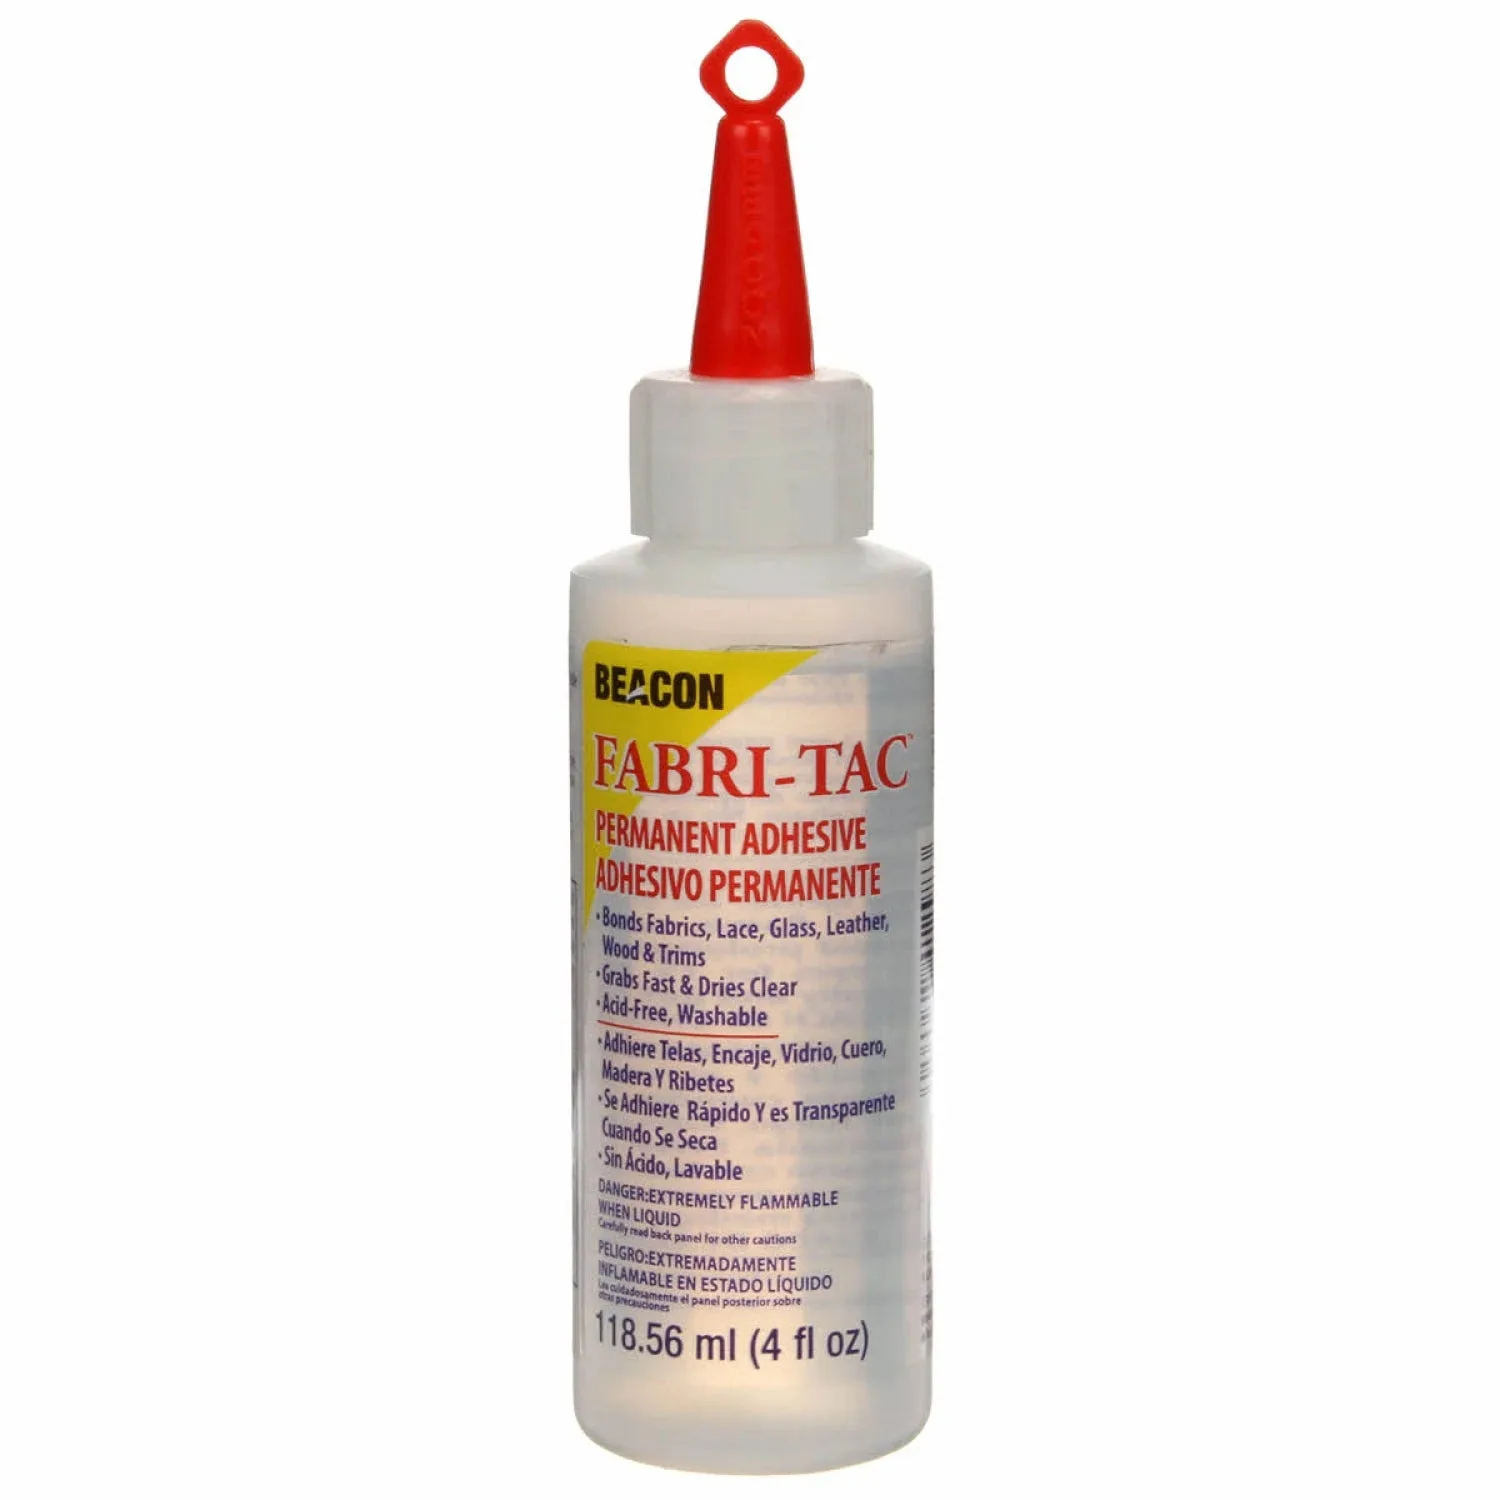
- Fabri-Tac Glue Adhesive 4 oz: This crystal clear fabric adhesive has a permanent fast grab and dries quickly. Delicate enough for lace but strong enough for leather. Washable. A strong fabric glue can be a lifesaver for quick fixes, like securing a seam allowance or attaching a patch to cover a mistake, especially on fabrics that don't pin well.
Mistakes are part of the learning process in bag making. With these troubleshooting tips, you can fix many common issues and salvage your project. Remember to take your time, test on scraps, and don't be afraid to rip out a seam if it means a better final result. Happy sewing!