Quick Answer
Most common sewing mistakes trace back to one of four things: the wrong needle, the wrong thread tension, a dull blade or needle, or fabric that shifted while you sewed. Fix the cause before you unpick anything, because re-sewing over the same setup usually reproduces the same error. If a seam has already been unpicked twice, stop and re-cut the piece or switch to a simpler construction.
Every sewist makes mistakes, and the difference between a frustrating afternoon and a finished project is knowing which errors are worth fixing and which ones you should walk away from. This guide treats each problem the way a mechanic would: identify the symptom, name the likely cause, apply the corrective action, then decide whether to keep going.
Work through one issue at a time. Change a single variable, sew a test seam on scrap, and only then commit to your project fabric. That habit alone prevents most of the sewing mistakes to avoid that show up on finished quilts and garments.
Start With a Diagnostic Test Seam
Before you touch your project, sew a two-inch seam on the same fabric with the same thread, needle, and stitch length. If the test seam looks clean, the problem is in how the fabric was handled, not the machine setup. If the test seam fails too, you have a machine or notion issue you can solve without ripping out a single stitch.
Keep a labeled scrap of each fabric you sew so you can repeat this test later. It takes thirty seconds and saves hours of unpicking.
- Use the same needle, thread, and presser foot as your project seam.
- Sew in the same direction and at the same speed you plan to use.
- Label the scrap with the fabric name and date so you can repeat the setup.
Skipped Stitches and Loose Thread
Skipped stitches usually mean the needle is wrong for the fabric, bent, or installed backwards. A needle that is too fine for a heavy fabric will flex instead of piercing cleanly, and a needle with a burr will catch and drop stitches. Replace the needle first, then rethread the machine from scratch with the presser foot up so the thread seats in the tension discs.
If the stitches are loose rather than skipped, check that the bobbin is wound evenly and inserted in the correct direction for your machine. A bobbin that spins the wrong way produces tangles on the underside no matter how you adjust the top tension.
- Change the needle before adjusting tension; a fresh needle fixes more problems than any dial.
- Rethread with the presser foot up so the thread sits properly in the tension discs.
- Match needle size to fabric weight rather than to the thread you happen to have.
Puckered Seams and Wavy Edges
Puckers along a seam often come from stretching the fabric as you feed it. Let the feed dogs move the fabric and guide it lightly with your fingertips rather than pulling. If the fabric is lightweight or stretchy, a walking foot or a strip of tear-away stabilizer under the seam can keep the layers moving together.
Wavy edges on a quilt or garment usually mean the two layers were different lengths when you pinned them. Pin every few inches, match the raw edges, and sew with the longer layer on the bottom so the feed dogs can ease in the extra fabric.
- Stop pulling the fabric; guide it and let the feed dogs do the work.
- Pin or clip every two to three inches on stretchy or slippery fabrics.
- Sew a test seam on scrap before committing to the project piece.
Zipper Problems: Wavy Tapes and Broken Pulls
A wavy zipper tape almost always means the zipper was sewn in while stretched. Stabilize the tape with a strip of fusible interfacing or a piece of the Grasscloth Brown by Heather Peterson for Riley Blake Designs, a 100% cotton basic with a woven look that holds its shape well for pouch and bag projects. Sew slowly, and do not pull the tape as you go.
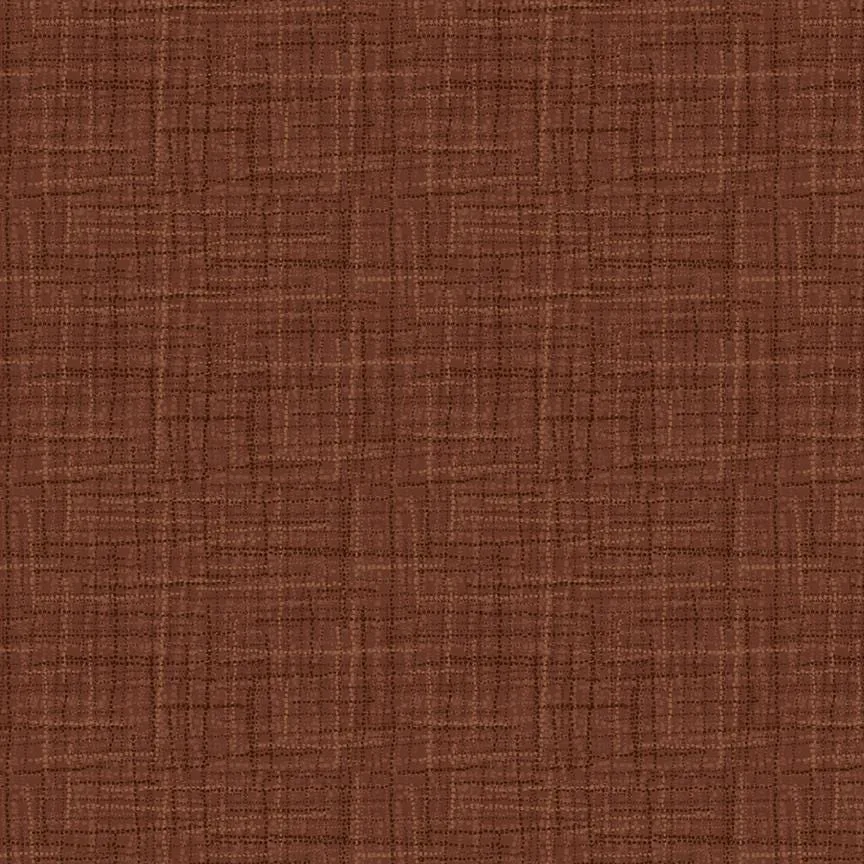
Grasscloth Brown by Heather Peterson for Riley Blake Designs
If the zipper pull separates from the track, check whether the slider was forced past the top stop. A replacement zipper is usually faster than repairing a damaged slider, and a kit that includes the zipper and instructions removes the guesswork.
- Fuse a strip of interfacing behind the zipper tape before sewing.
- Sew from the bottom of the zipper toward the top to avoid stretching.
- Test the zipper by zipping it closed before you trim any seam allowances.
Fabric Shifting and Crooked Seams
Crooked seams are usually a pinning problem, not a sewing problem. Pin perpendicular to the seam line so the pins can be removed without distorting the fabric, or use clips on thick layers. If you are sewing a long seam, mark the seam allowance with a removable pen or a piece of painter's tape on the machine bed as a guide.
For quilting, a quarter-inch foot with a guide keeps the seam allowance consistent. For garments, stay-stitching the curves before construction prevents the edges from stretching out of shape.
- Pin perpendicular to the seam so pins slide out easily.
- Use a quarter-inch foot or a tape guide on the machine bed.
- Stay-stitch curved edges before joining pieces.
When to Stop Unpicking and Start Over
Unpicking weakens fabric and thread, and a seam that has been sewn and ripped twice rarely looks better the third time. If you have unpicked the same seam twice, stop. Re-cut the piece, simplify the construction, or choose a different pattern that suits the fabric you already own.
The same rule applies to a project that has gone wrong in three separate places. A fresh start with a simpler plan costs less fabric and less frustration than chasing a fix through every step.
- Two unpicks on the same seam is the limit; re-cut instead of re-sewing.
- Three unrelated errors in one project signals a pattern or fabric mismatch.
- Set the project aside for a day before deciding to abandon it.
Symptom, Cause, Fix, and Stop Point
- Skipped stitches: Likely cause: wrong, bent, or backwards needle, or thread not seated in the tension discs. Fix: replace the needle and rethread with the presser foot up, then test on scrap. Stop if the needle is new and correctly threaded but stitches still skip; the machine likely needs service.
- Puckered seam: Likely cause: fabric stretched while feeding or layers of different lengths. Fix: guide without pulling, pin every few inches, and add stabilizer on lightweight fabrics. Stop if the fabric is already stretched out of shape; re-cut the piece rather than pressing it back.
- Wavy zipper tape: Likely cause: the zipper was sewn in while stretched. Fix: fuse interfacing behind the tape, sew slowly from the bottom up, and do not pull the tape. Stop if the tape is already distorted; replace the zipper instead of trying to press it flat.
- Crooked seam: Likely cause: inconsistent seam allowance or pins placed parallel to the seam. Fix: use a quarter-inch foot or tape guide and pin perpendicular to the seam line. Stop unpicking after two attempts; re-cut the piece and re-sew with a guide.
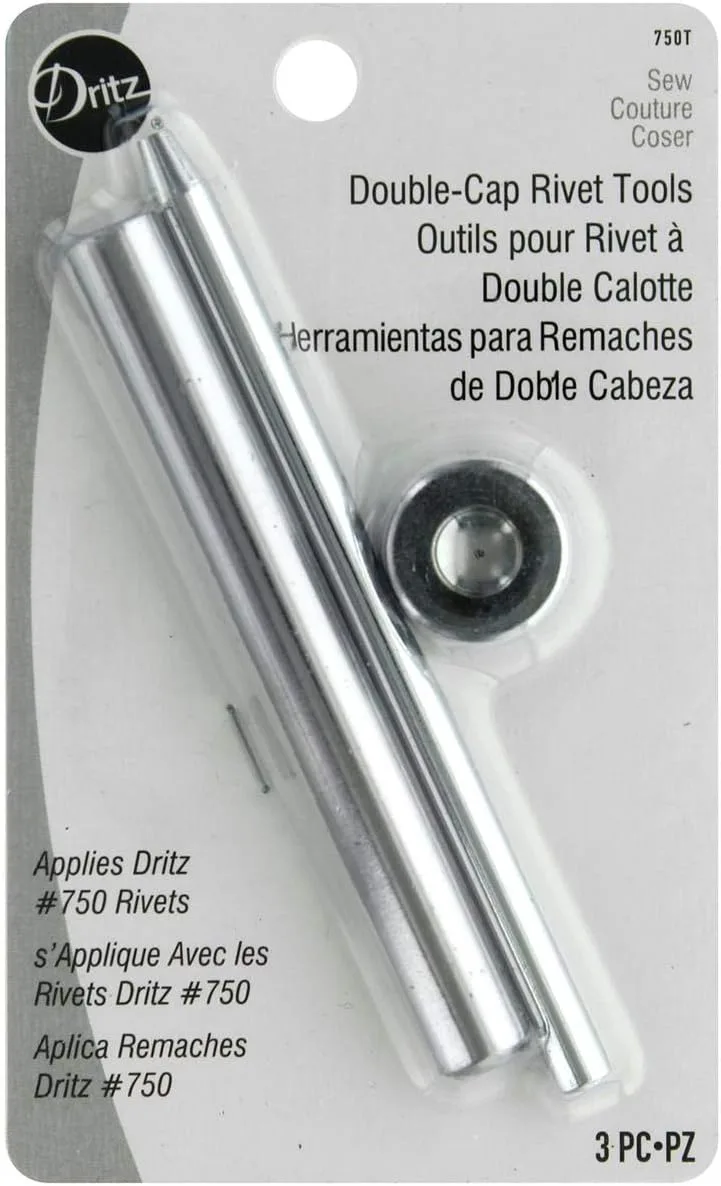
- Crushed rivet: Likely cause: wrong setting tool or too much force. Fix: use the Double-Cap Rivet Tools Nickel with the hole cutter anvil and setter, and practice on scrap first. Stop if the rivet post is already bent; cut it out and start with a fresh rivet.
Notions and Fabrics That Prevent Repeat Mistakes
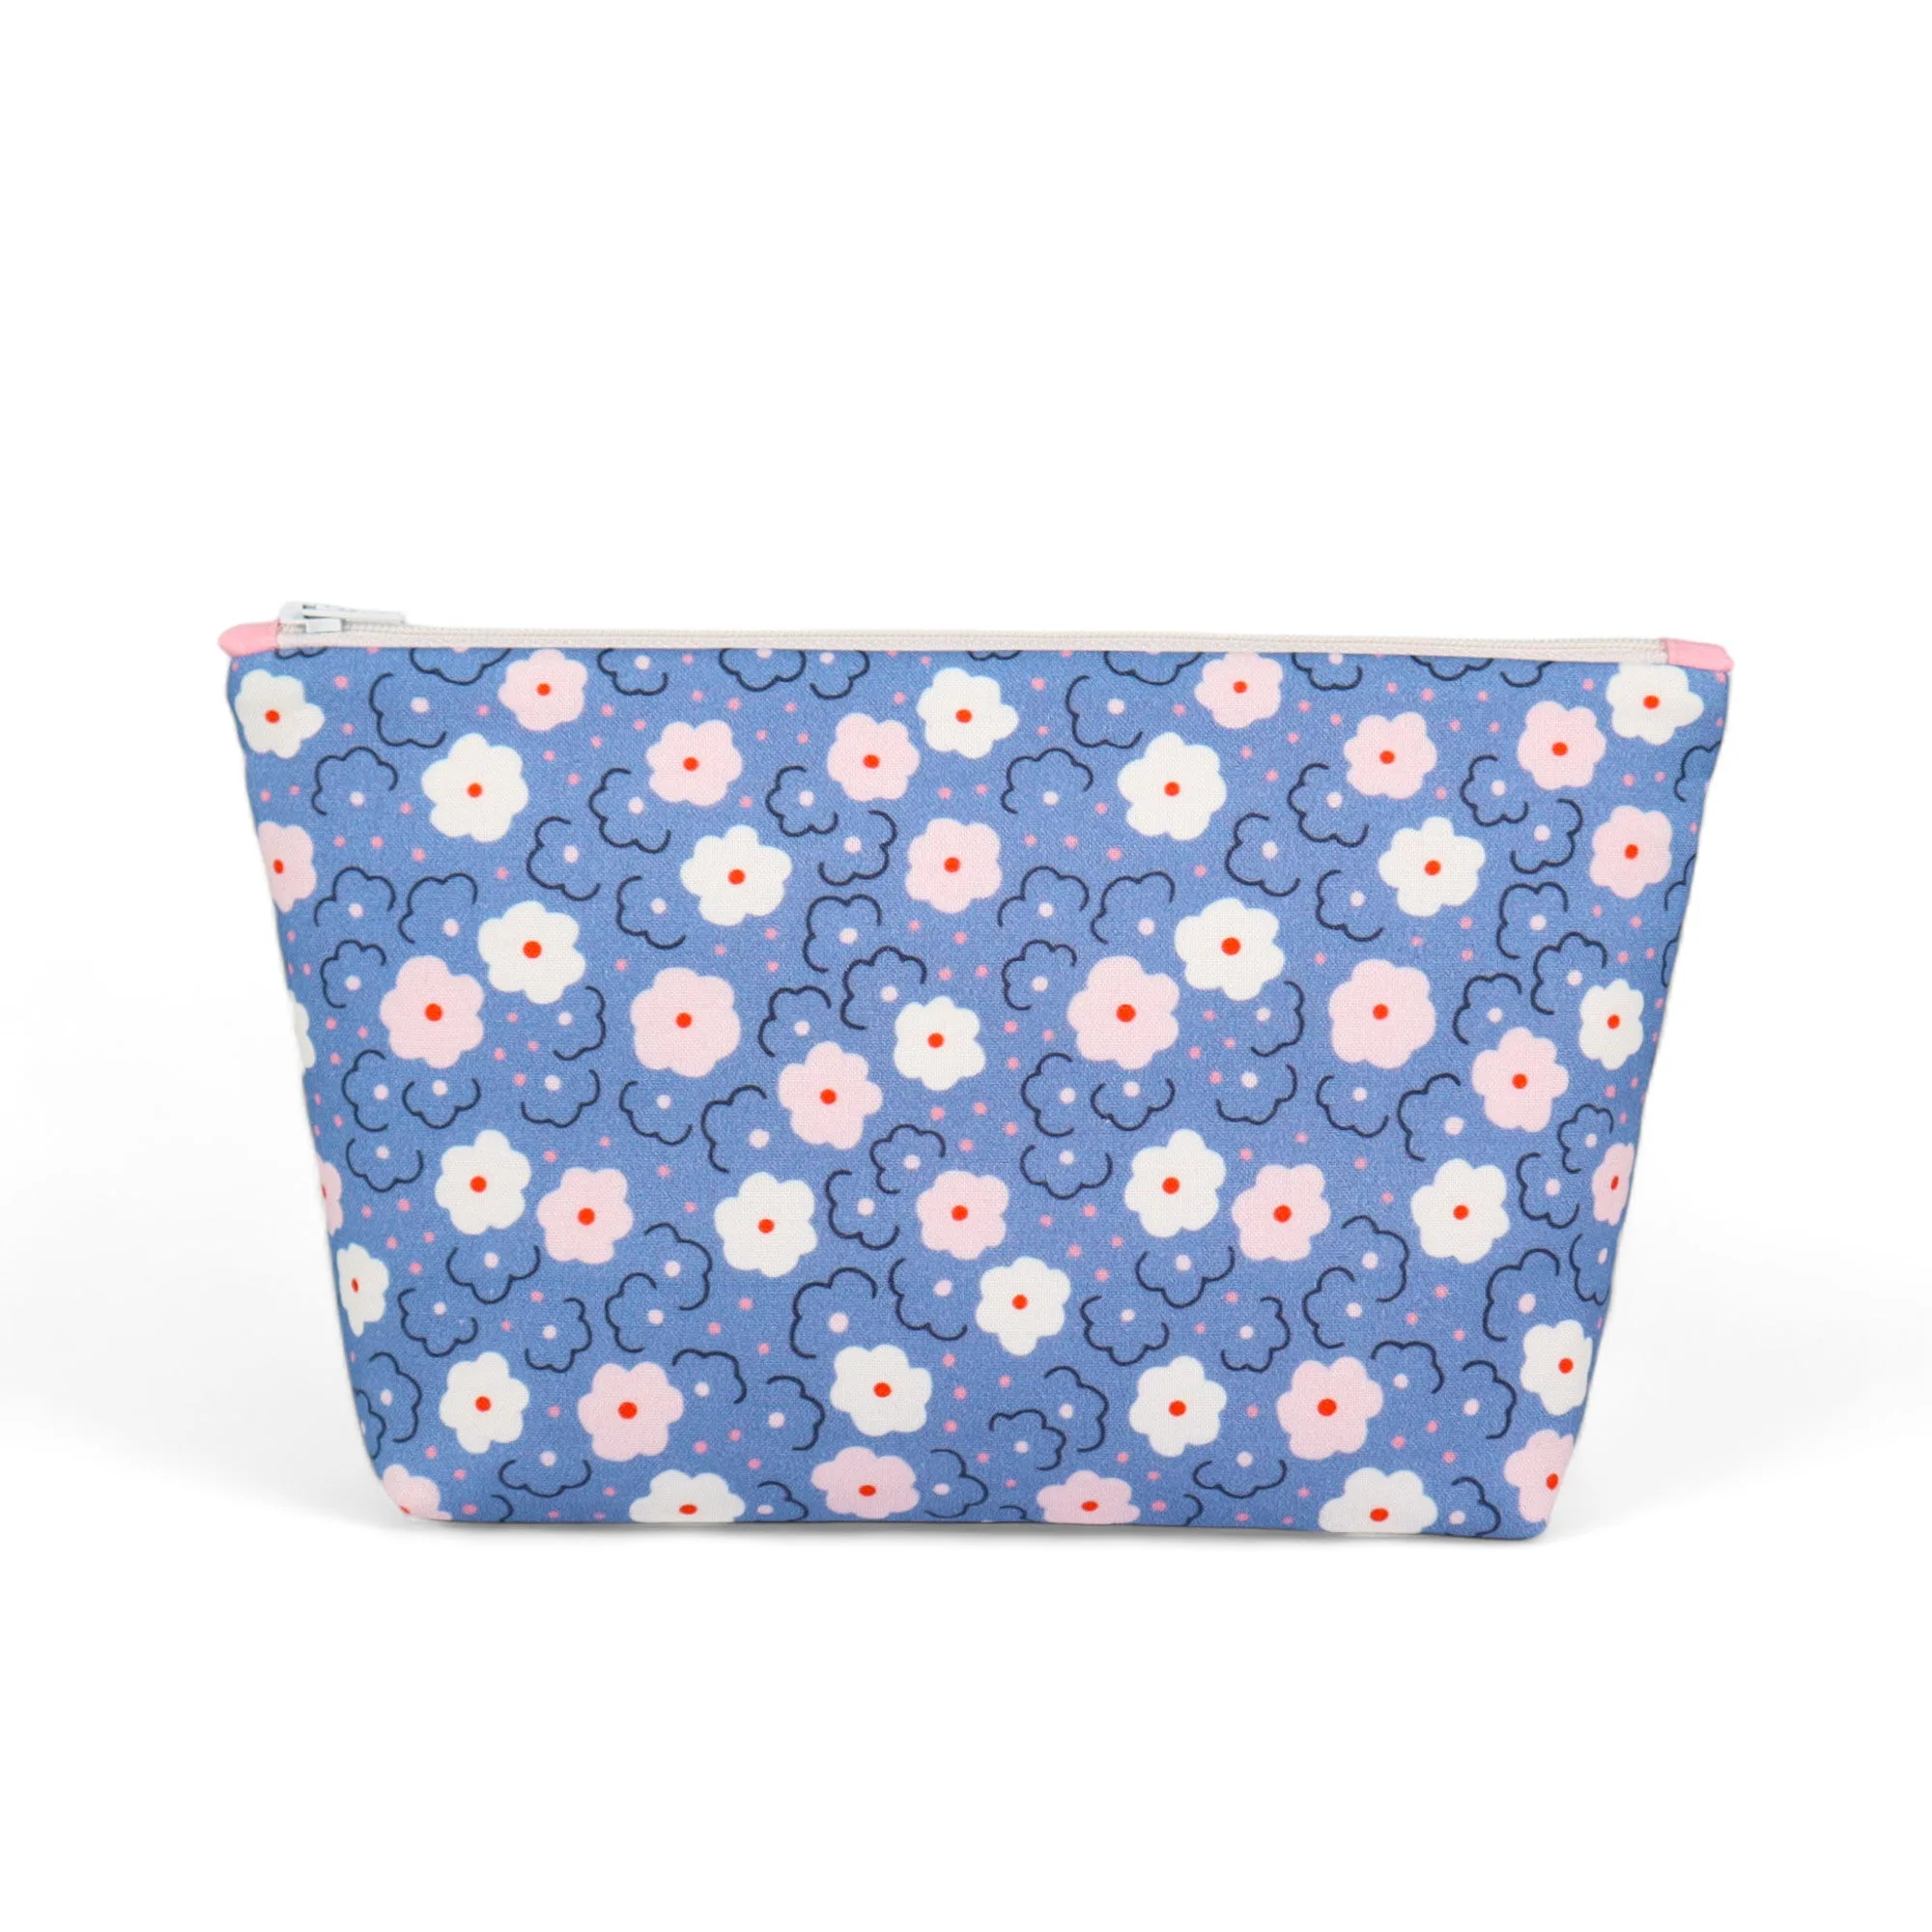
- Zipper Pouch Sewing Kit: This kit includes fabric and clear, step-by-step written instructions for creating a lined pouch with a smooth zipper finish, and it is designed for confident beginners through experienced sewists. A kit with pre-matched fabric and written steps removes the two most common sources of zipper mistakes: mismatched materials and unclear construction order.
- Grasscloth Brown by Heather Peterson for Riley Blake Designs: This 100% cotton Riley Blake Designs basic is 43/44 inches wide and features dimensional color that creates a woven look, suitable for backgrounds or as a feature fabric in quilting, apparel, and home decor. A stable woven cotton holds its shape during zipper and seam construction, which reduces the stretching that causes wavy edges.
- Double-Cap Rivet Tools Nickel: These hand tools apply Double-Cap Rivets and include a hole cutter anvil and setter in a nickel color. Having the correct setting tools prevents the crushed or misaligned rivets that force you to re-cut a strap or bag panel.
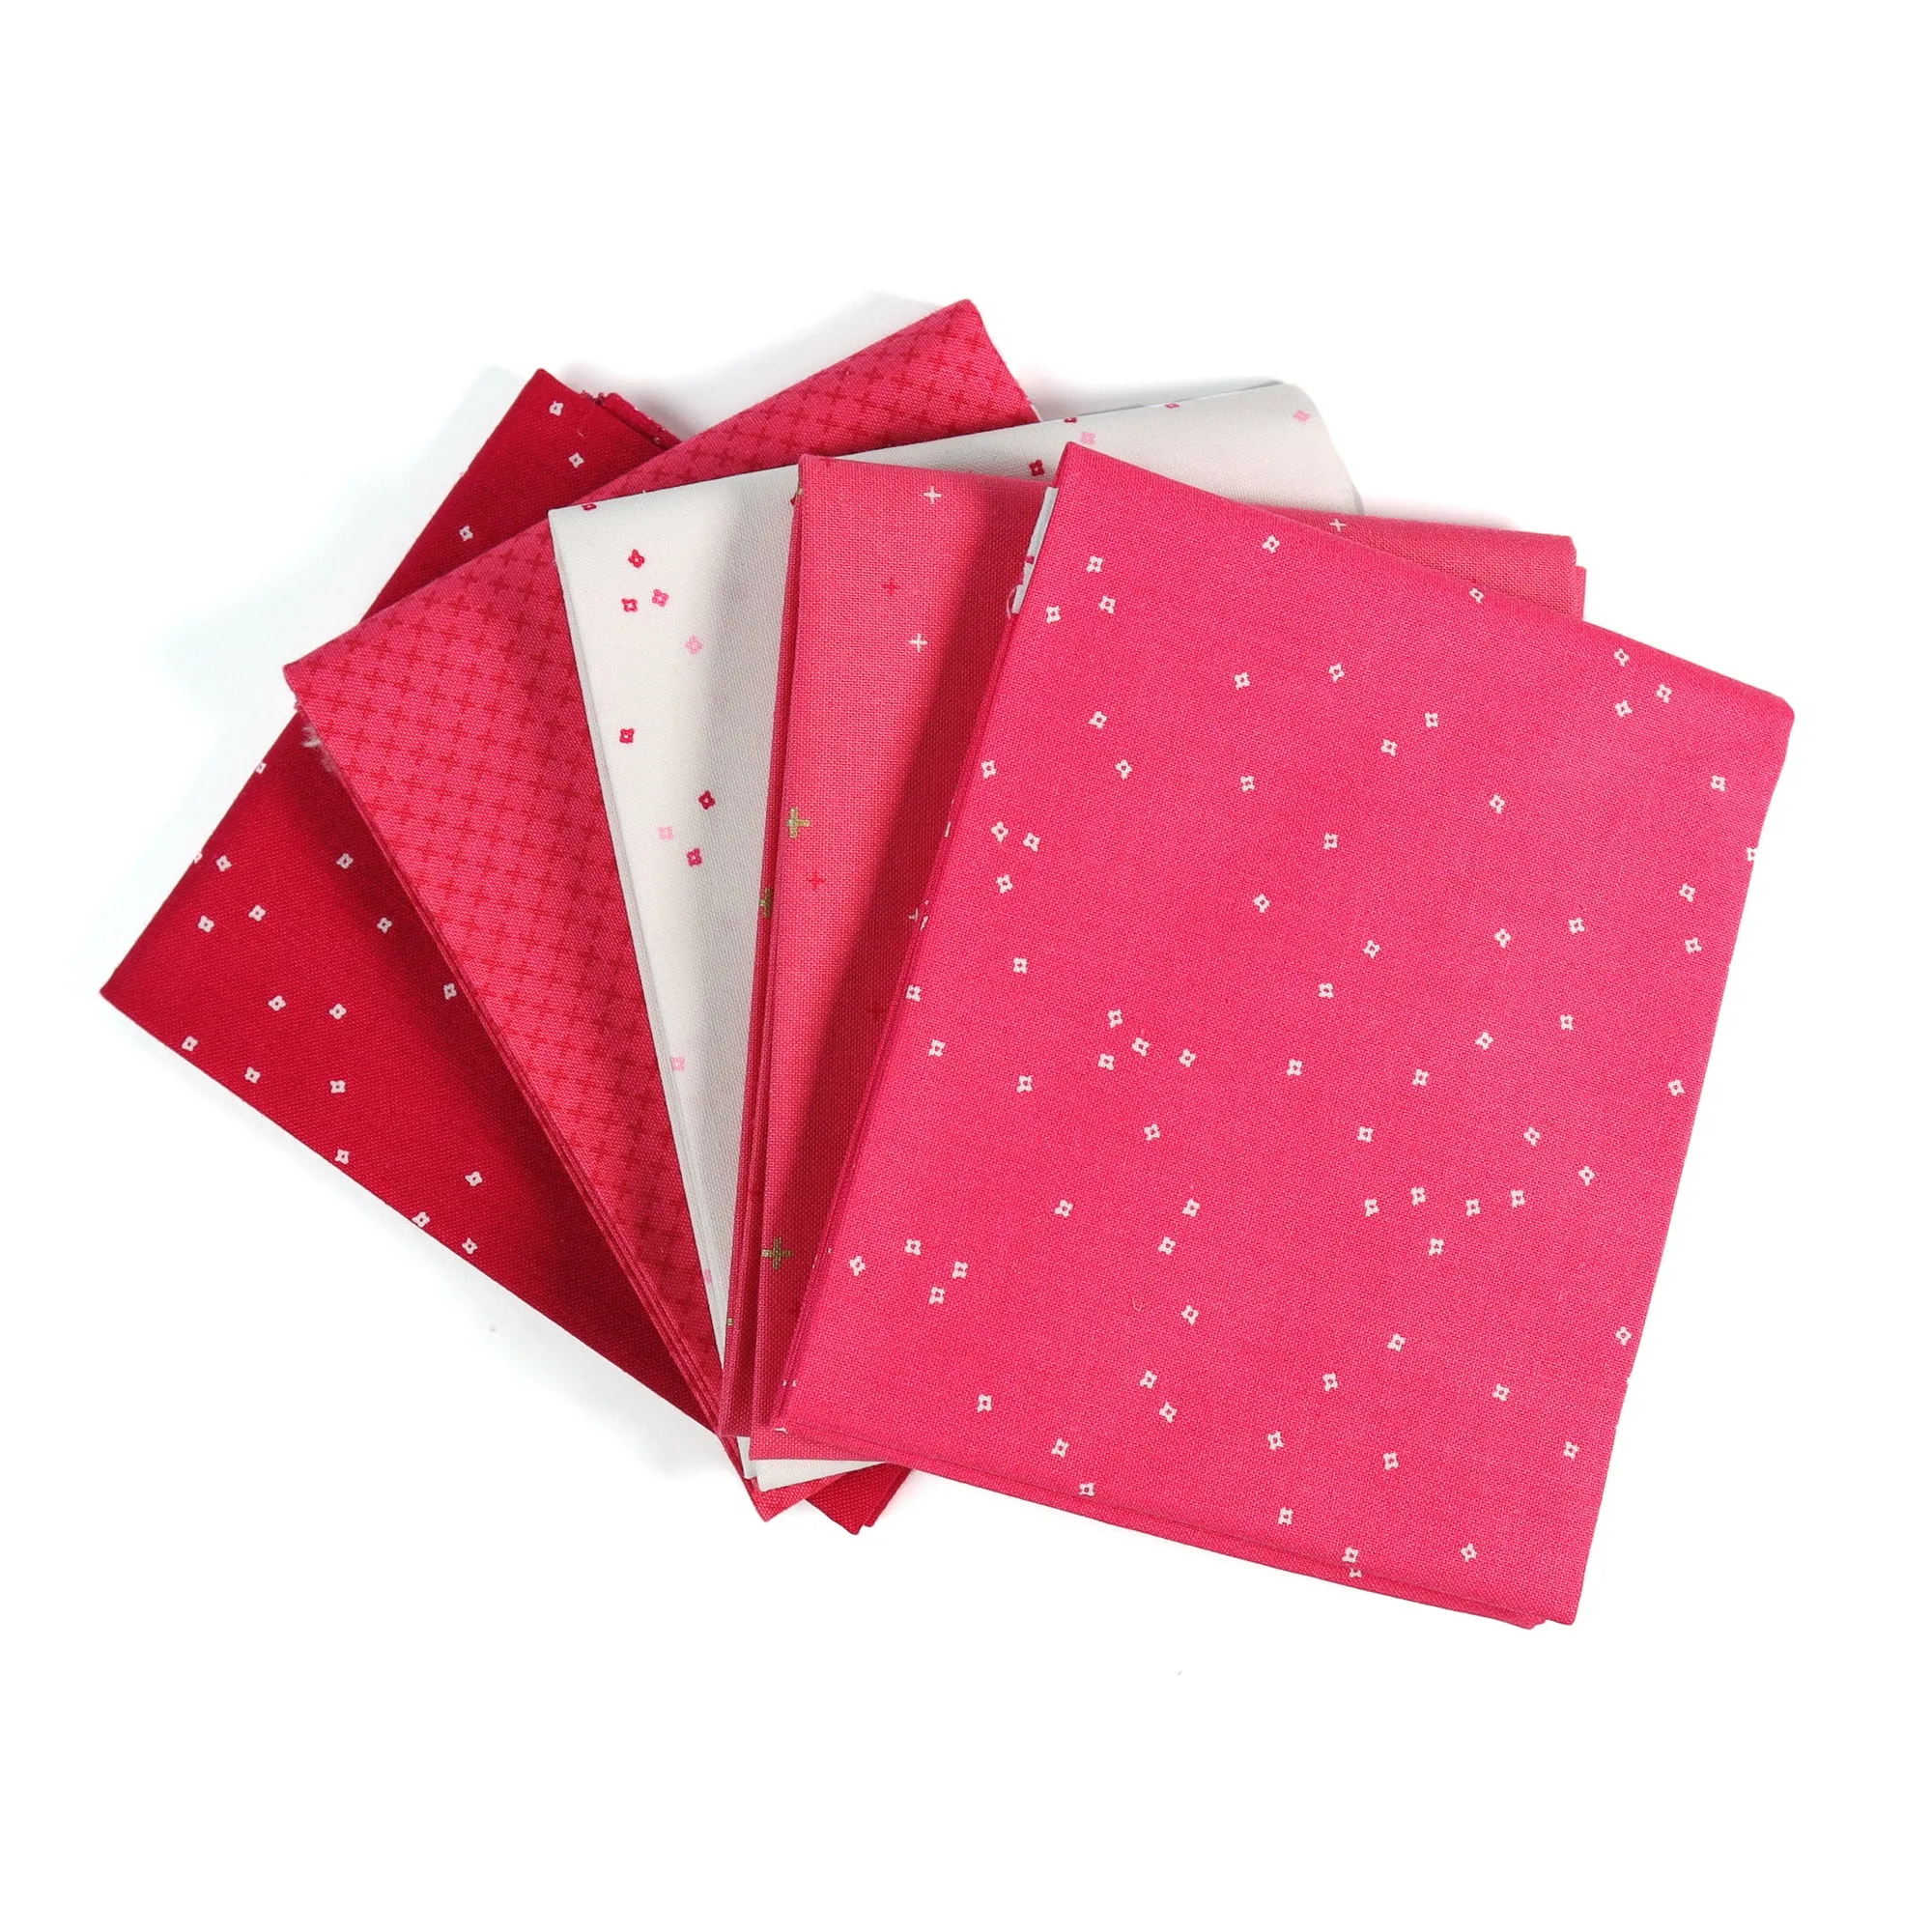
- Hot Pink (5) Piece Fat Quarter Bundle: This bundle includes five pieces of Riley Blake Designs fabric in different shades and tones, with each fat quarter approximately 18 by 22 inches, and it works for quilting, gifting, building your stash, or Crosscut Sewing Patterns. Pre-coordinated fat quarters give you matching fabric for test seams and re-cuts without buying extra yardage when a mistake forces a fresh piece.
Most sewing mistakes are setup problems, not skill problems. Test on scrap, change one variable at a time, and set a limit on how many times you will unpick the same seam. A fresh piece of fabric is almost always cheaper than an afternoon spent fighting the same error.