Quick answer
Most needlepoint tension problems come from three things: working with thread longer than about 18 inches, stitching in a hoop or frame that is not drum-tight, or using a needle that is too large for the mesh. Fix those three first. If your canvas is already blocked and framed, stop and re-block rather than stitching over the uneven area.
You finish a row, step back, and the stitches look lumpy. Some sit tall and proud, others sink into the canvas, and the whole area has a rippled look that flat stitching should not have. That is tension, and it is one of the most common frustrations stitchers bring up.
The good news is that tension is rarely a mystery. It leaves a trail, and once you know which symptom you are looking at, the fix is usually a small change to your thread length, your frame, or your needle rather than a full restart.
Start by reading the symptom
Before you change anything, look closely at how the stitches are misbehaving. Loops that sit above the canvas surface usually mean your thread is too long and has started to fray or twist back on itself. Stitches that look tight and pinched, pulling the canvas threads together, point to over-pulling on the last half of each stitch. A wavy, rippled canvas with otherwise even stitches is almost always a framing problem, not a stitching problem.
Write down what you see on a scrap of paper or in your project notes. If you are working from a stitch pamphlet, note which stitch you were using when the unevenness appeared. Basketweave and continental behave differently, and a stitch that crosses canvas threads will show tension errors more dramatically than one that follows the grid.
- Loops or bumps on top: suspect thread length or twist.
- Pinched, tight stitches: suspect over-pulling.
- Rippled canvas with flat stitches: suspect the frame, not your hands.
Thread length is the most common culprit
Cut your working thread to roughly 18 inches, and shorter if you are using silk or a fiber that frays easily. Long thread passes through the canvas many times, and each pass adds a little twist and abrasion. By the time you reach the end of a 30-inch strand, the thread is thinner and weaker than when you started, which is why the last few stitches of a long strand look different from the first few.
Let your needle dangle every few stitches so the thread can unwind. If you see the strand starting to kink, stop and let it spin out before continuing. This one habit fixes a surprising share of uneven needlepoint stitches, and it costs you nothing but a few seconds per row.
- Cut new lengths often rather than stitching to the very end of a strand.
- Let the needle hang freely to release twist.
- If a strand starts to look fuzzy, retire it.
Check your frame or hoop tension
Your canvas should be drum-tight before you take a single stitch. If you can push the canvas surface down with a fingertip and it stays dented, it is too loose, and no amount of careful stitching will give you an even surface. Roller frames and stretcher bars hold tension better than most hoops over a long project, which is why many stitchers move to bars for anything larger than a small ornament.
If you are using stretcher bars, match the bar size to the design plus a margin for taping or binding the edges. A canvas that is mounted slightly off-square will fight you the whole way, and the unevenness will look like a tension problem when it is really a mounting problem.
- Test tightness with a light fingertip press before every session.
- Re-tighten hoops as you work; canvas relaxes as it is handled.
- Mount the canvas square to the bars, not just centered.
Match the needle to the mesh
A needle that is too large for the mesh pushes canvas threads apart and distorts the holes, which makes every stitch sit differently. A needle that is too small is harder to control and encourages you to pull harder to compensate. The needle should pass through the mesh with light resistance and without spreading the canvas threads.
Mesh count is the number you need. An 18 mesh canvas has smaller holes than a 13 mesh canvas, so the two projects will not use the same needle. If you are unsure which size you have, check the product details before you start rather than guessing from the look of the canvas.
- If the needle spreads the mesh, it is too large.
- If you have to push hard, it is too small.
- Keep separate needles for 13 mesh and 18 mesh projects.
When the unevenness is already stitched in
If the uneven area is small and in a background section, you can often work a second pass of the same stitch over it to even out the surface, provided the canvas is not already crowded. Do not do this on a stitch that crosses threads diagonally, because a second pass will thicken the line and make the problem more visible.
If the area is large, or if the canvas has rippled, stop stitching. Continuing adds more distortion, and the fix is blocking, not more thread. Blocking can correct a surprising amount of unevenness, but it works best when the canvas is not over-stitched. Set the project aside, block it, and reassess before you commit to the next section.
- Small background areas: a careful second pass may even things out.
- Diagonal stitches: do not double-stitch.
- Large rippled areas: block first, stitch later.
Tension diagnosis chart
- Loops or bumps sitting above the canvas: Thread is too long, twisted, or frayed. Cut a fresh strand around 18 inches and let the needle dangle to unwind every few stitches. If the bumps disappear within the first ten stitches of a new strand, thread length was the cause.
- Pinched stitches pulling the mesh together: You are over-pulling, often on the second half of each stitch. Ease off on the final tug and let the thread lie flat in the hole rather than cinching it. If the canvas holes look stretched or oval, the needle is also too large for the mesh.
- Rippled canvas with otherwise flat stitches: The mounting is too loose or off-square. Re-mount on stretcher bars sized to the design plus a margin, and check the recommended bar size if the product lists one. Stop stitching until the canvas is drum-tight; more stitches will not fix a mounting problem.
- Unevenness already stitched into a large area: Do not add a second pass over diagonal stitches. Stop, block the canvas, and reassess the surface before continuing. If blocking does not even it out, the piece is a candidate for finishing as-is rather than a full restart.
Canvas details that affect tension
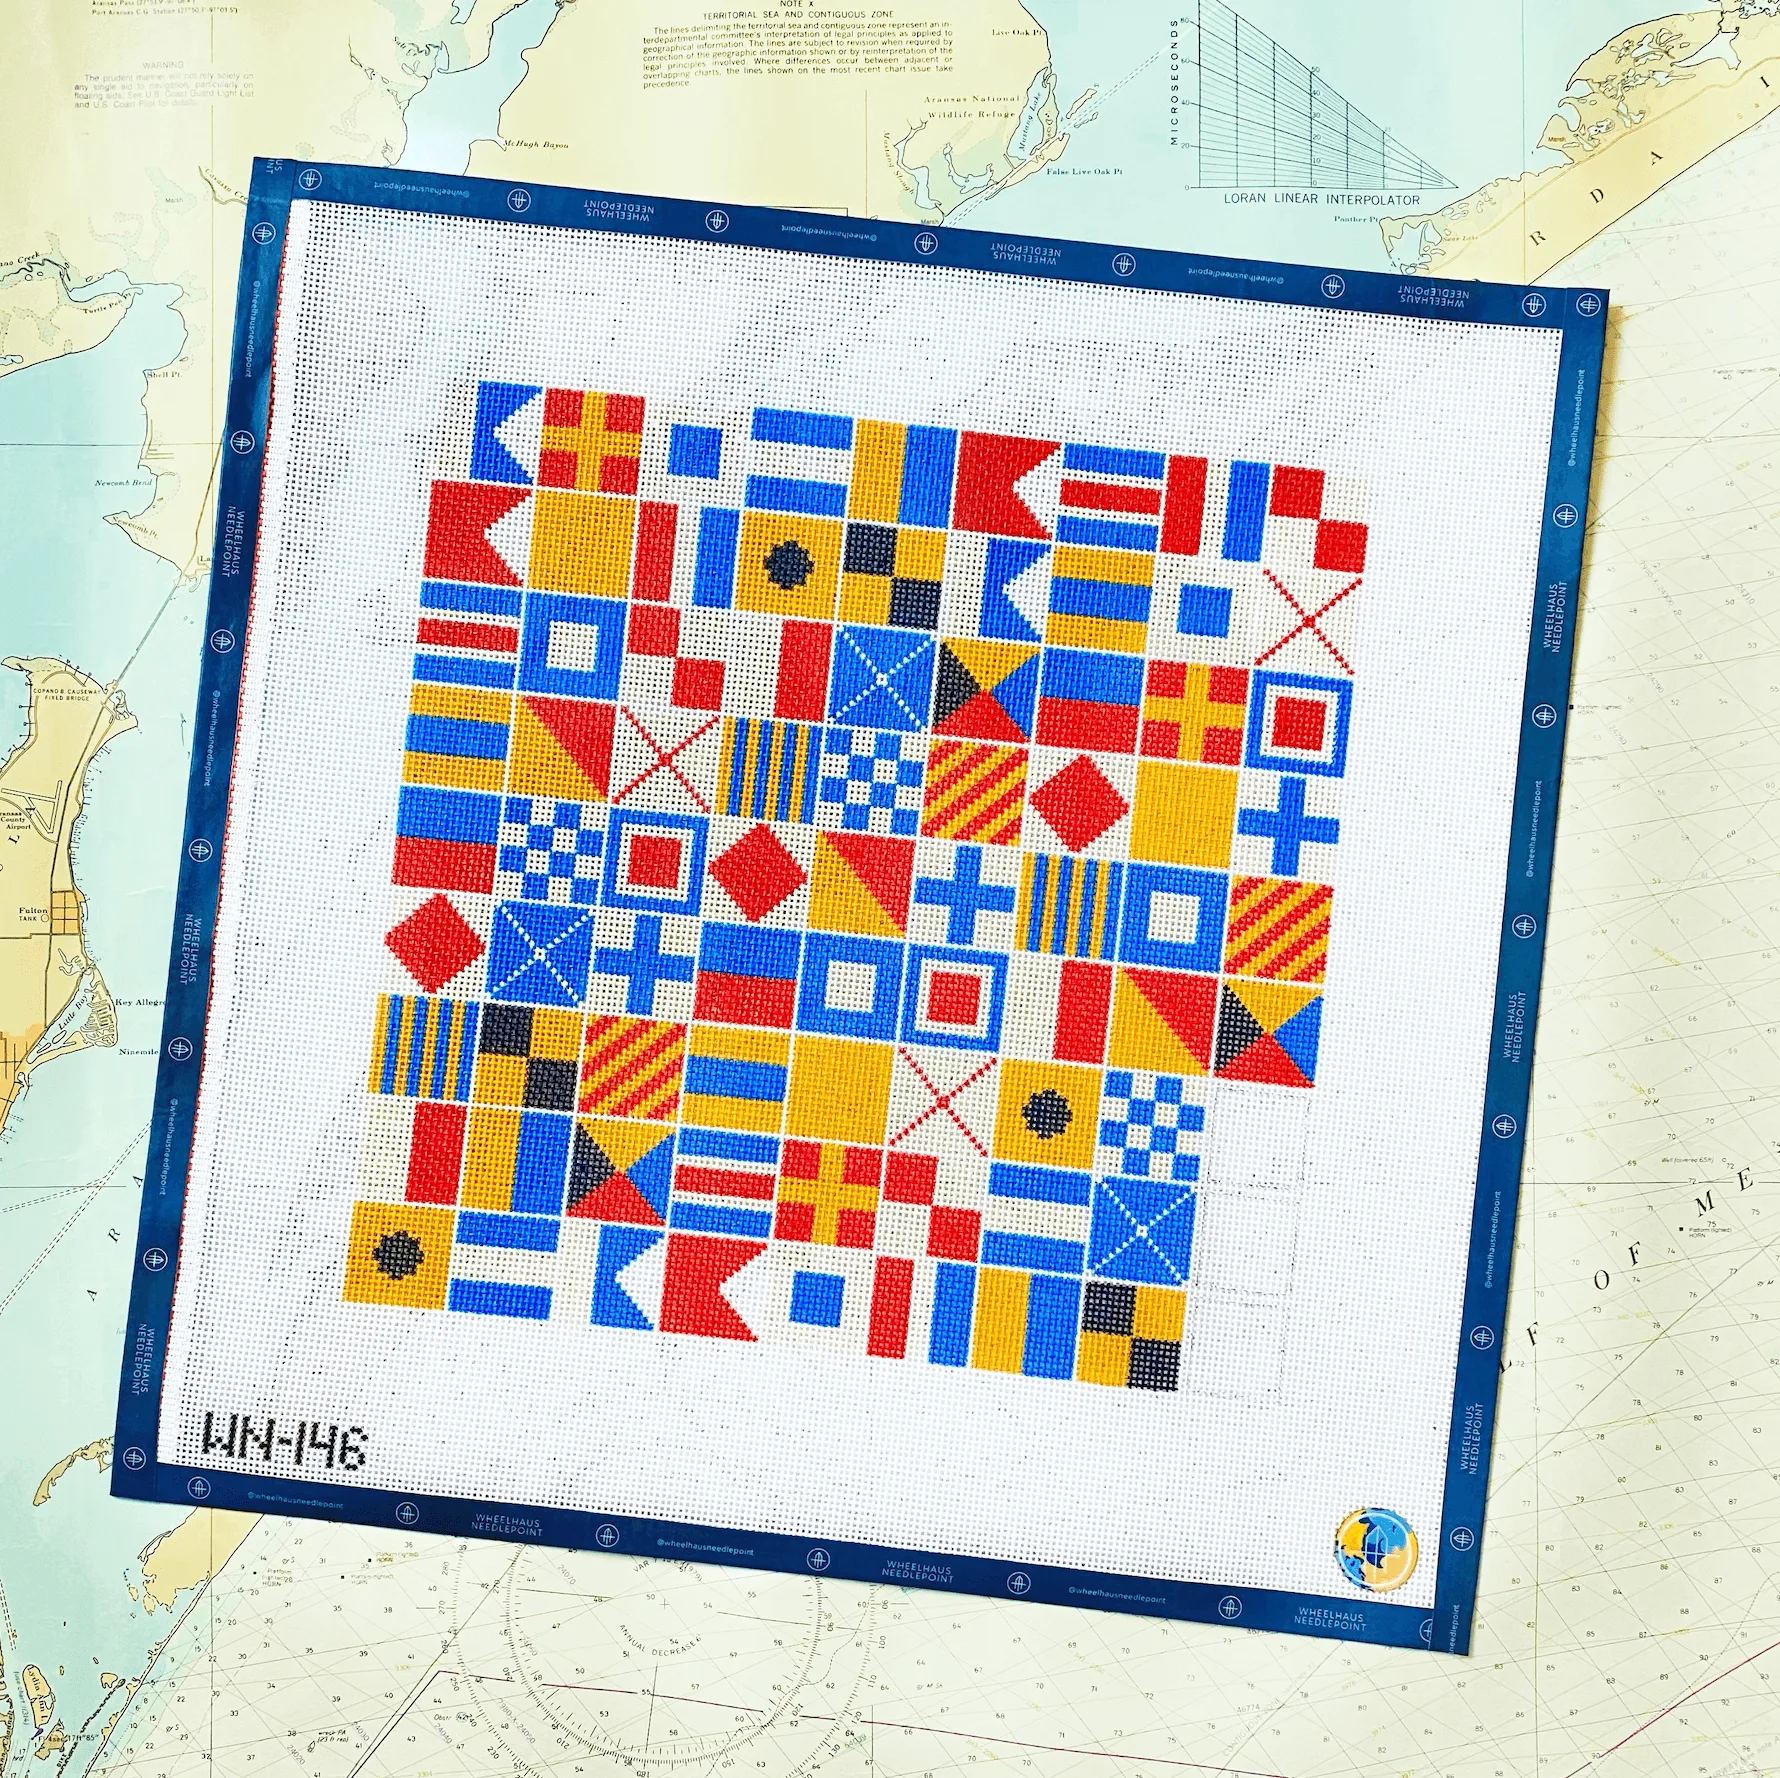
- Nautical Flag Alphabet Sampler: 13 mesh, design 11.75 inches wide by 11.75 inches high, hand painted and stitch painted. A 13 mesh canvas takes a larger needle and heavier thread than 18 mesh, so check your needle size before you start. At nearly 12 inches square, this is also a project that benefits from stretcher bars rather than a hoop, since the canvas needs to stay drum-tight across a large area.
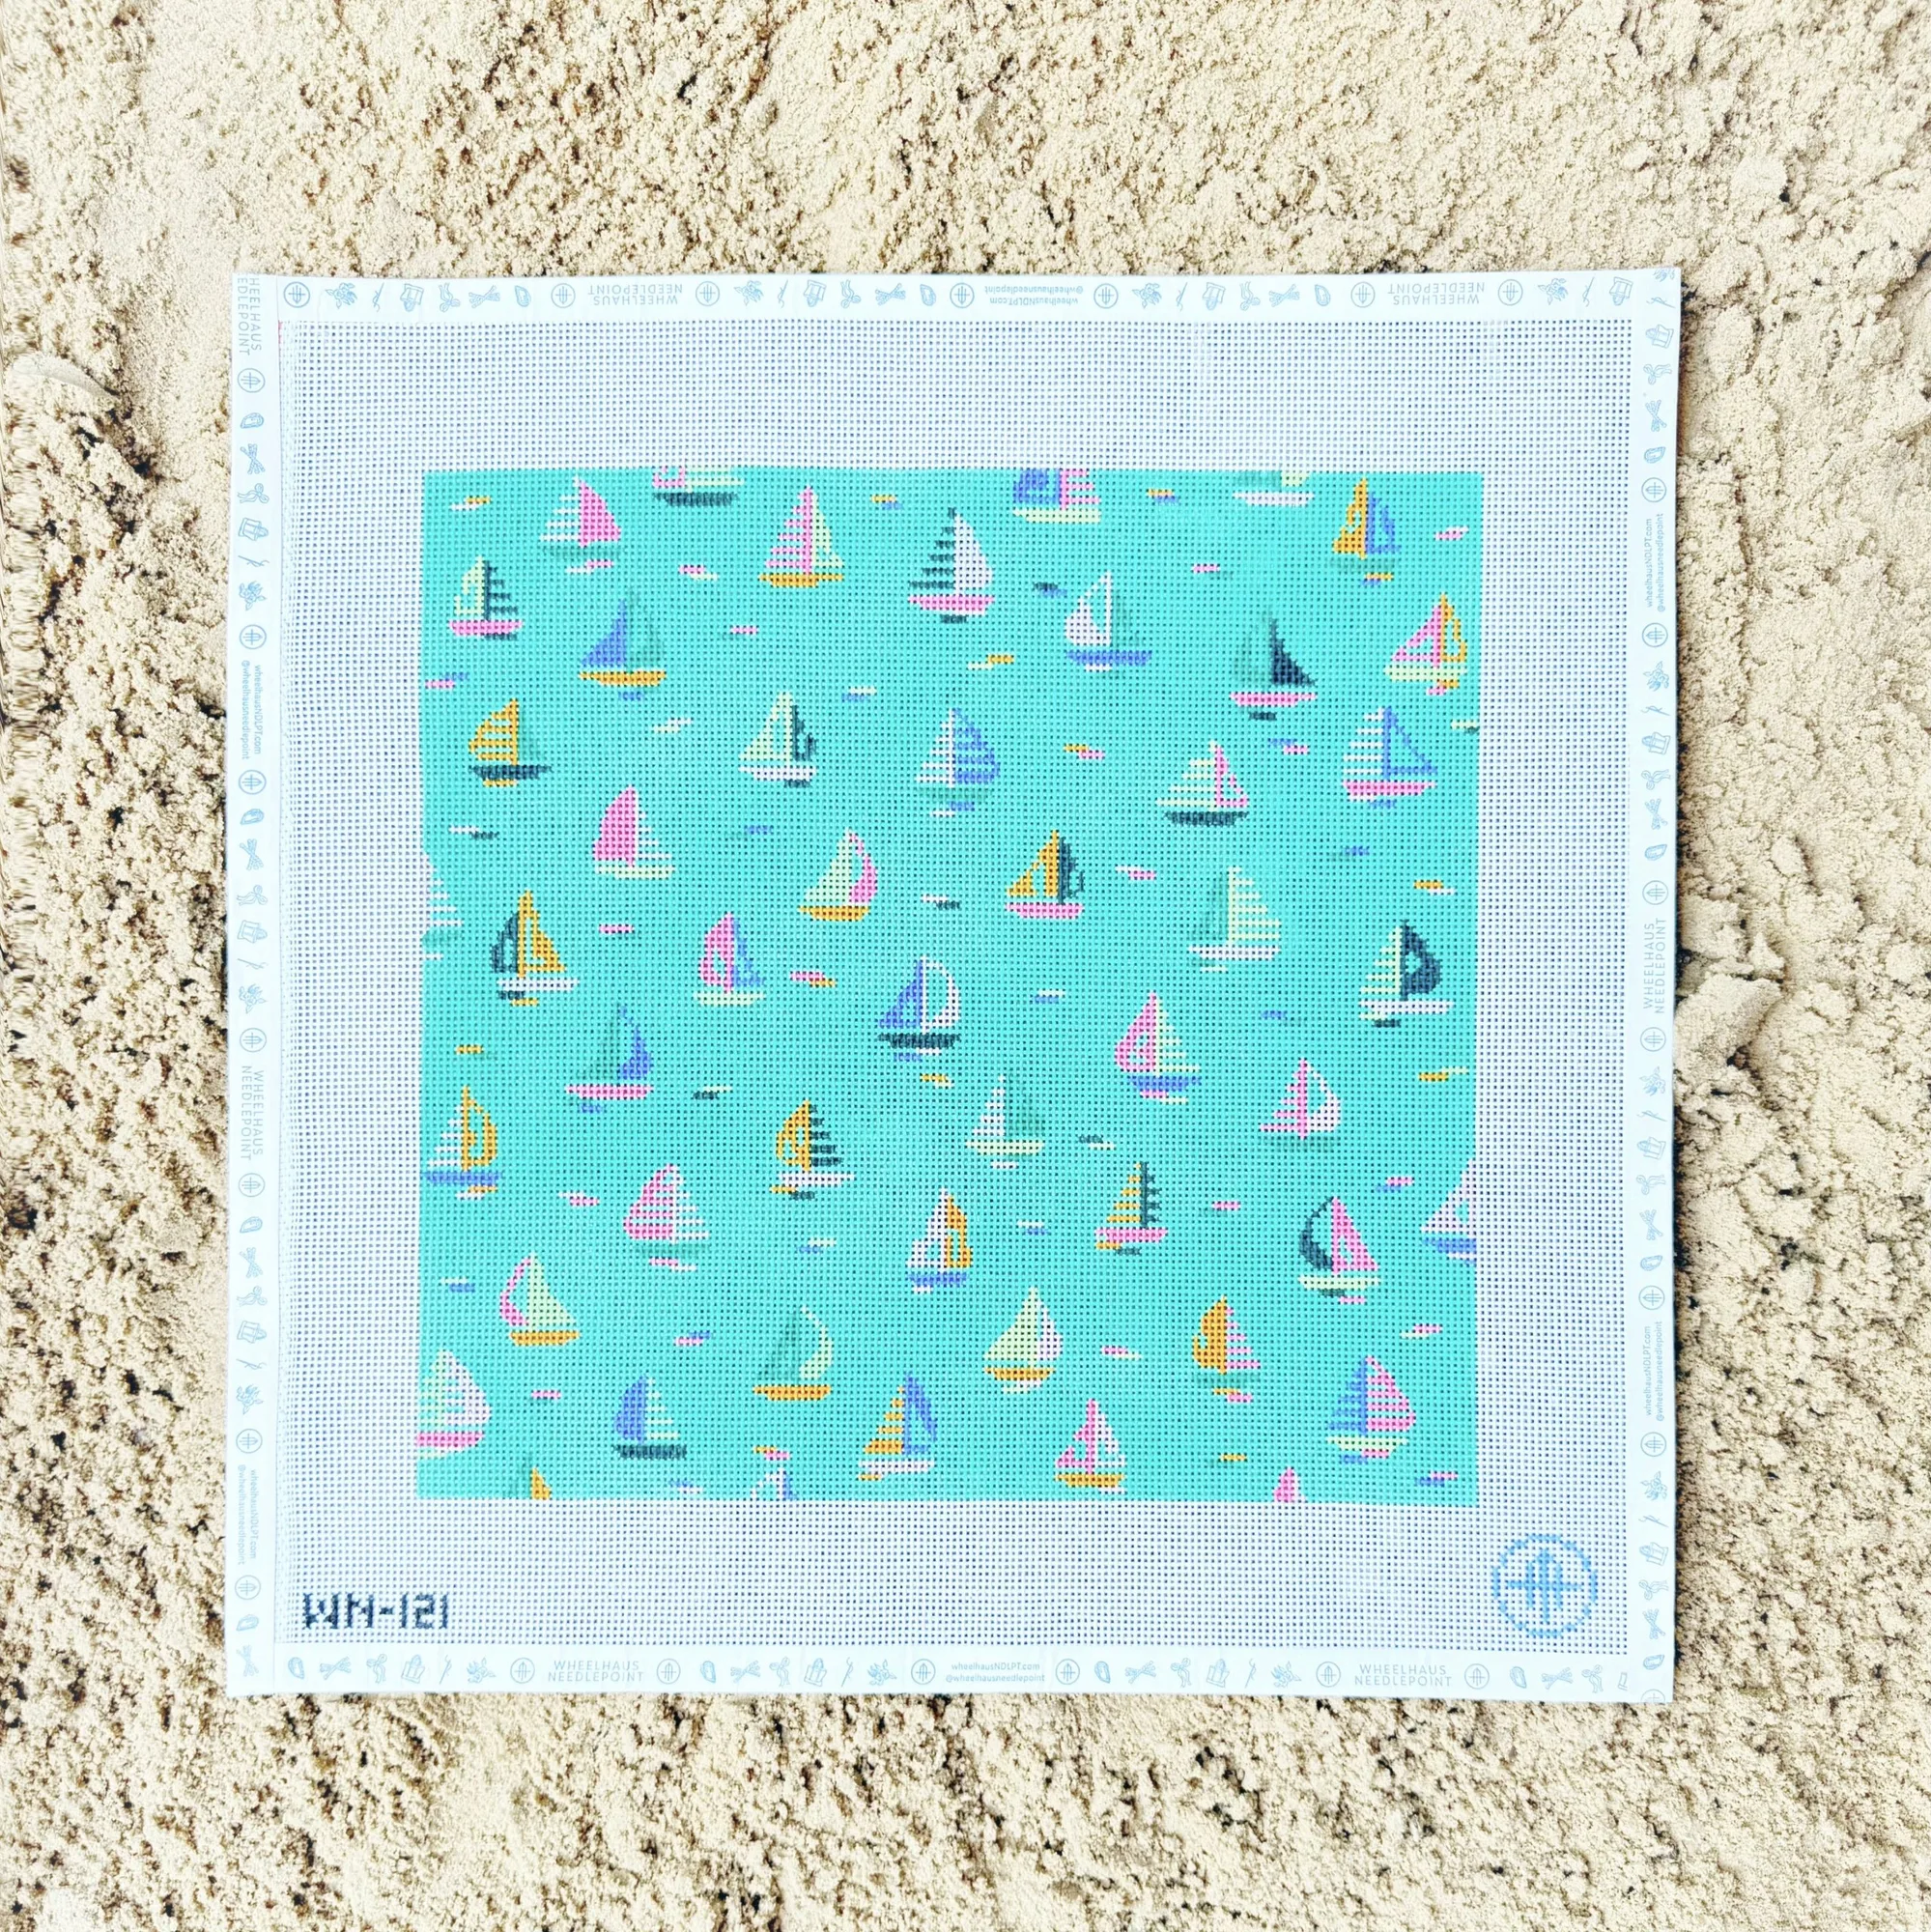
- Come Sail Away - Tray: 13 mesh, stitch painted, design 12 x 12, with a recommended stretcher bar size of 16 x 16. The recommended bar size gives you a clear mounting target, and the extra margin matters for tension. Mounting this design on 16 x 16 bars keeps the working area taut and leaves room to bind the edges, which reduces the pull that shows up as rippled stitching.
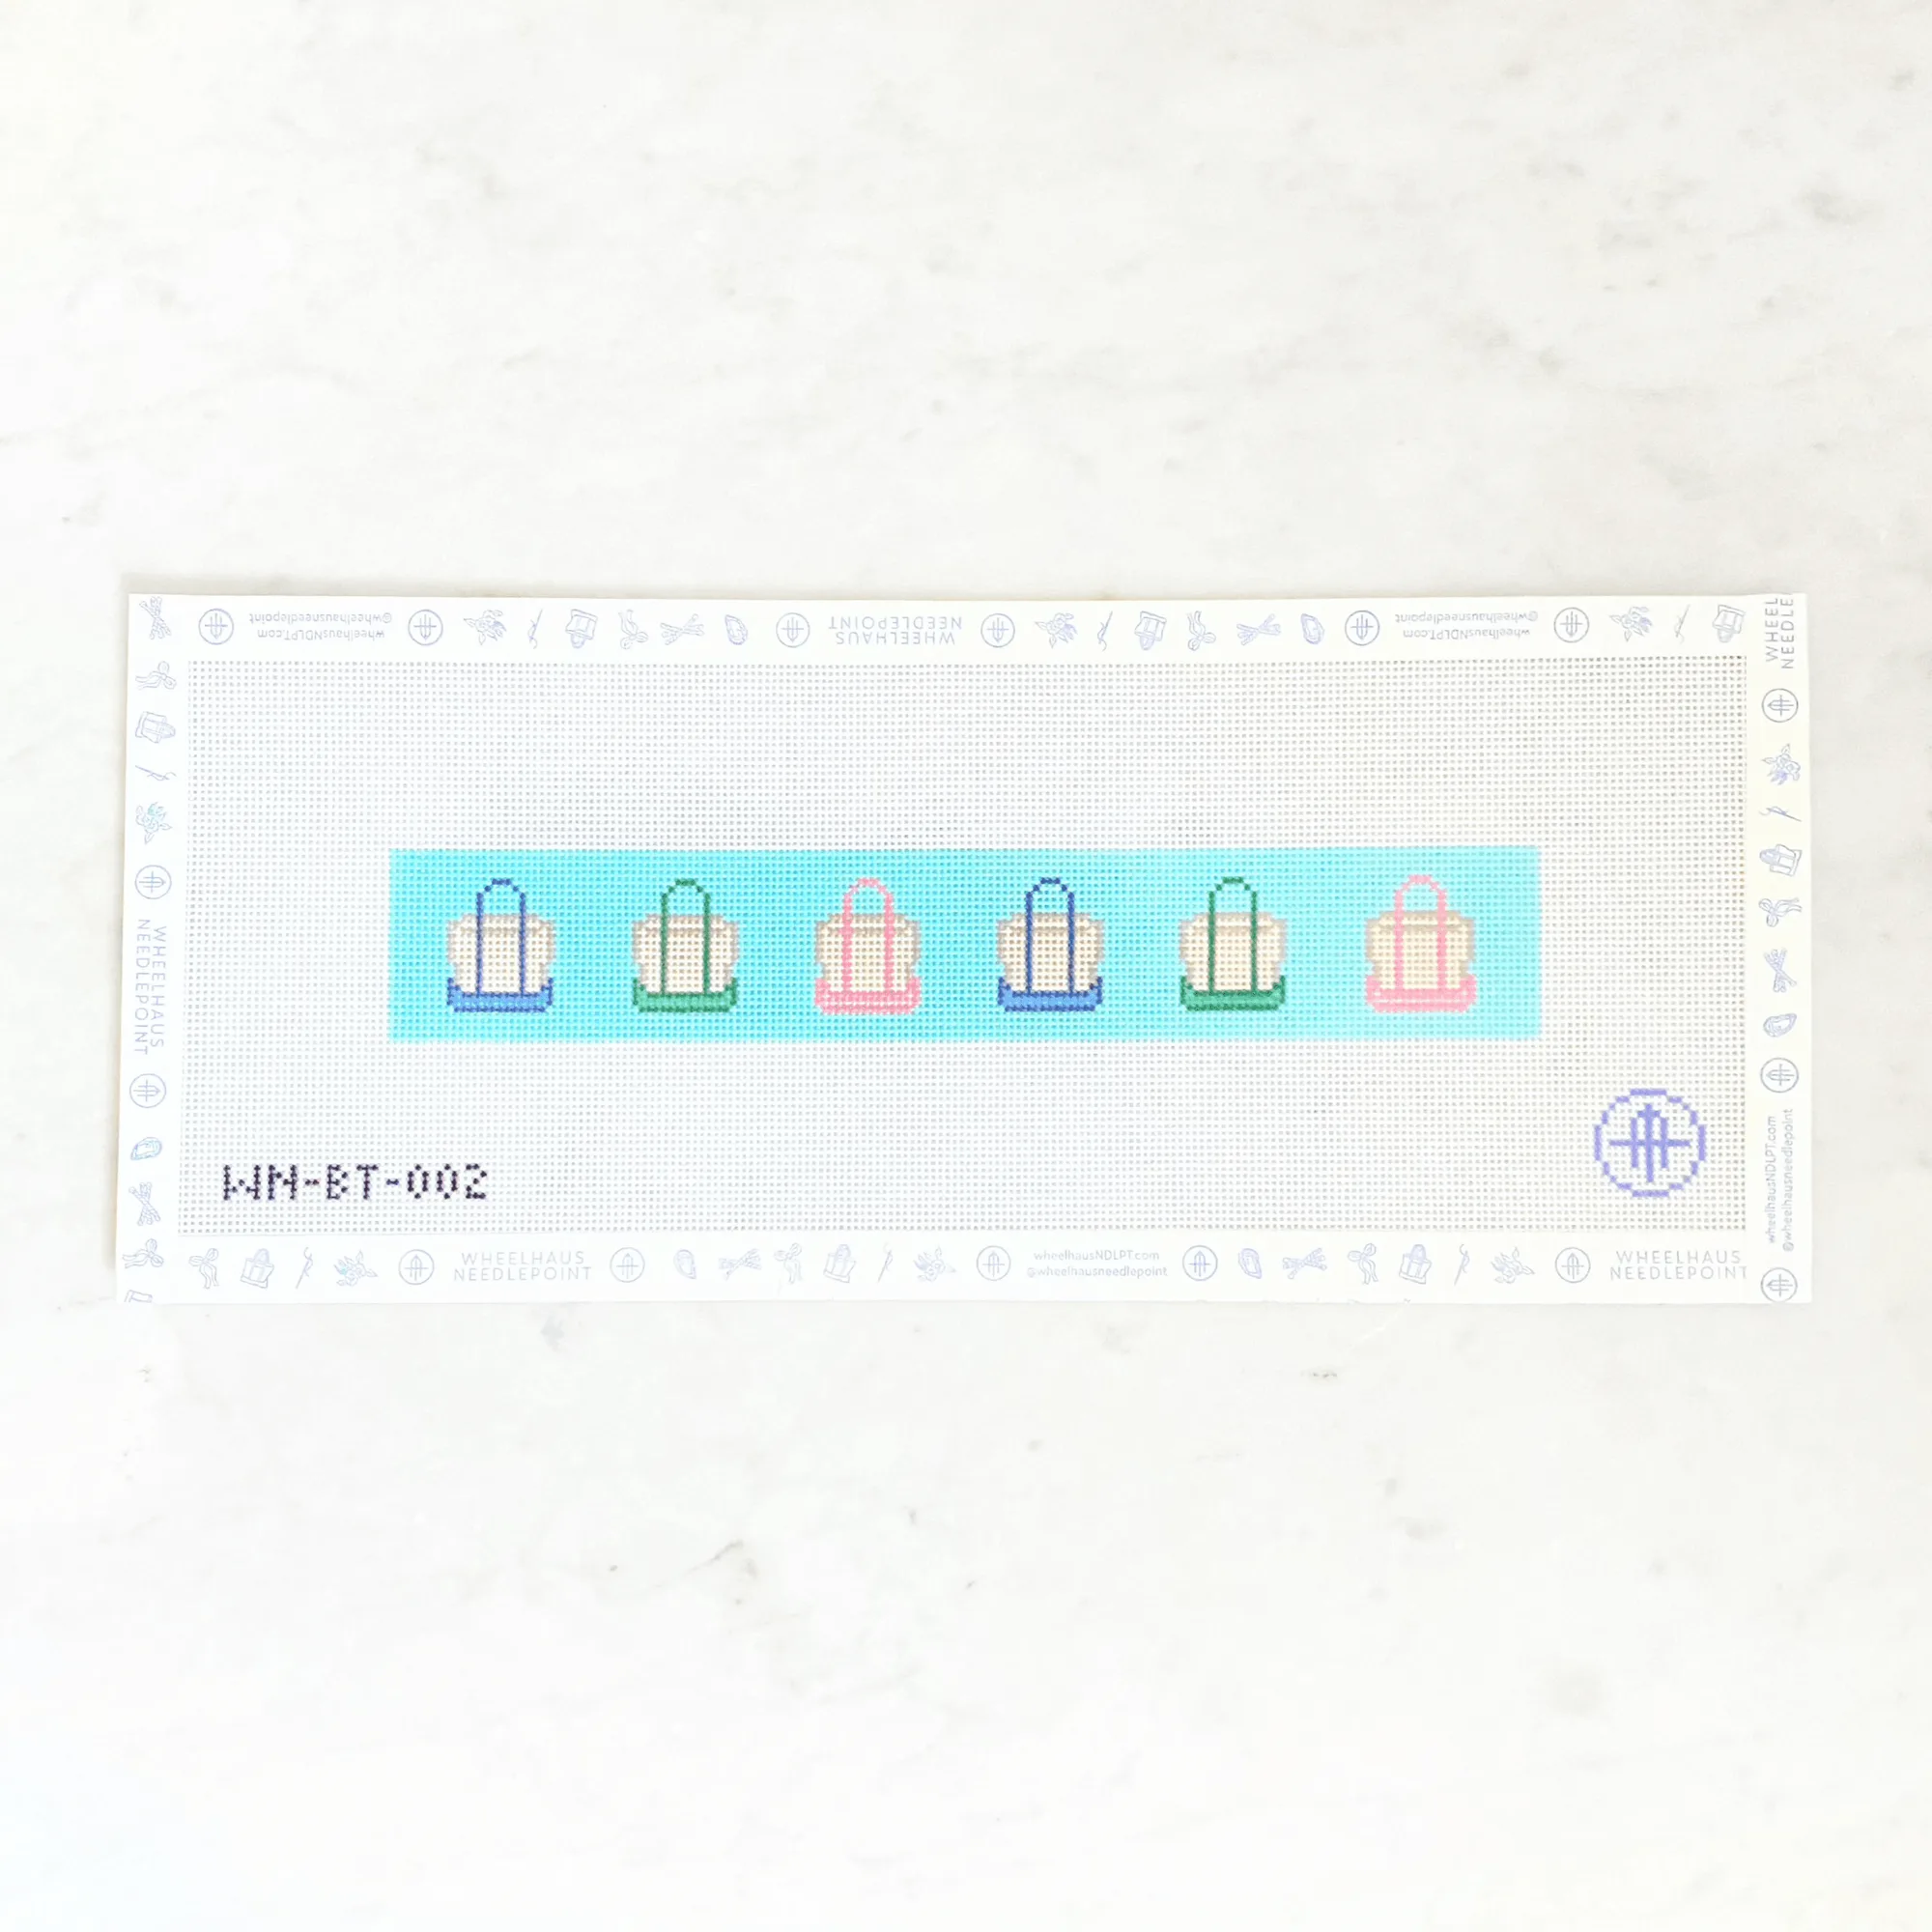
- Tote Key Fob: 18 mesh, design 9 x 1.5 inches. A long, narrow 18 mesh piece is easy to stretch out of shape if you grip it while stitching. Use a small frame or bar setup and let the canvas carry the tension instead of your hand.
Uneven stitches are information, not failure. Check thread length, frame tightness, and needle size in that order, and you will fix most needlepoint tension problems before they spread. When the unevenness is already worked in, block first and stitch second.