Quick answer
To frame an offset print art poster without damage, use a frame with UV-protective glazing, an acid-free mat or spacers to keep the print off the glass, and secure the print with archival tape or mounting corners.
Why framing matters for offset prints
Offset prints are produced using a commercial printing process that lays down ink in fine dots. While they are more durable than a standard home print, they still need protection from UV light, humidity, and physical contact. A well-chosen frame not only displays the artwork but also preserves its color and paper integrity over time.
Choosing the right frame size and style
Offset prints come in standard and non-standard sizes. For example, the Bus print by Keith Kavanagh measures 24" x 17", while the Village Print by Goldie Bartlett is 24" x 15.5". Measure your print carefully before buying a frame. If you cannot find an exact match, consider a custom frame or use a slightly larger frame with a mat that accommodates the difference. A simple, neutral frame often works best to let the artwork stand out.
Step-by-step framing guide
- Step 1: Gather your materials: You will need a frame with glazing (glass or acrylic), an acid-free mat or spacers, archival mounting corners or tape, a clean workspace, and soft gloves to avoid fingerprints. Avoid using regular tape or glue; they can stain the print over time.
- Step 2: Prepare the print: Handle the print by the edges with clean, dry hands or gloves. Lay it flat on a clean surface. If it has been rolled, place it under a light weight for a few hours to flatten it. Do not try to force a curled print flat inside the frame; it may buckle later.
- Step 3: Install the mat or spacers: If using a mat, place the print behind it and center it. If you prefer a float mount (no mat), use spacers to create a small gap between the print and the glazing. This prevents the print from sticking to the glass. Spacers are essential for float mounting; without them, condensation can cause the print to adhere to the glass.
- Step 4: Secure the print: Use archival mounting corners or acid-free tape to attach the print to the backing board. Place corners at each edge of the print, or use tape hinges on the top edge only to allow for expansion. Never tape the print directly to the front of the backing board; it may tear when removed.
- Step 5: Assemble the frame: Place the glazing, mat (if used), print with backing board, and frame backing into the frame. Secure with the frame's clips or brads. Check that the print is centered and free of dust before sealing. Use a lint-free cloth to clean the glazing before final assembly; dust trapped inside is hard to remove later.
- Step 6: Hang and display: Hang the framed print away from direct sunlight, high humidity, and heat sources. Use a level to ensure it is straight, and consider using two wall anchors for heavier frames. Rotate the display location occasionally if possible to minimize uneven fading.
Offset prints to consider
-
Bus: The Bus print is a 24" x 17" offset print designed by Keith Kavanagh, part of the Thank Goodness You're Here brand. Its non-standard size means you may need a custom frame or a mat that fits a standard 24" x 18" frame opening.
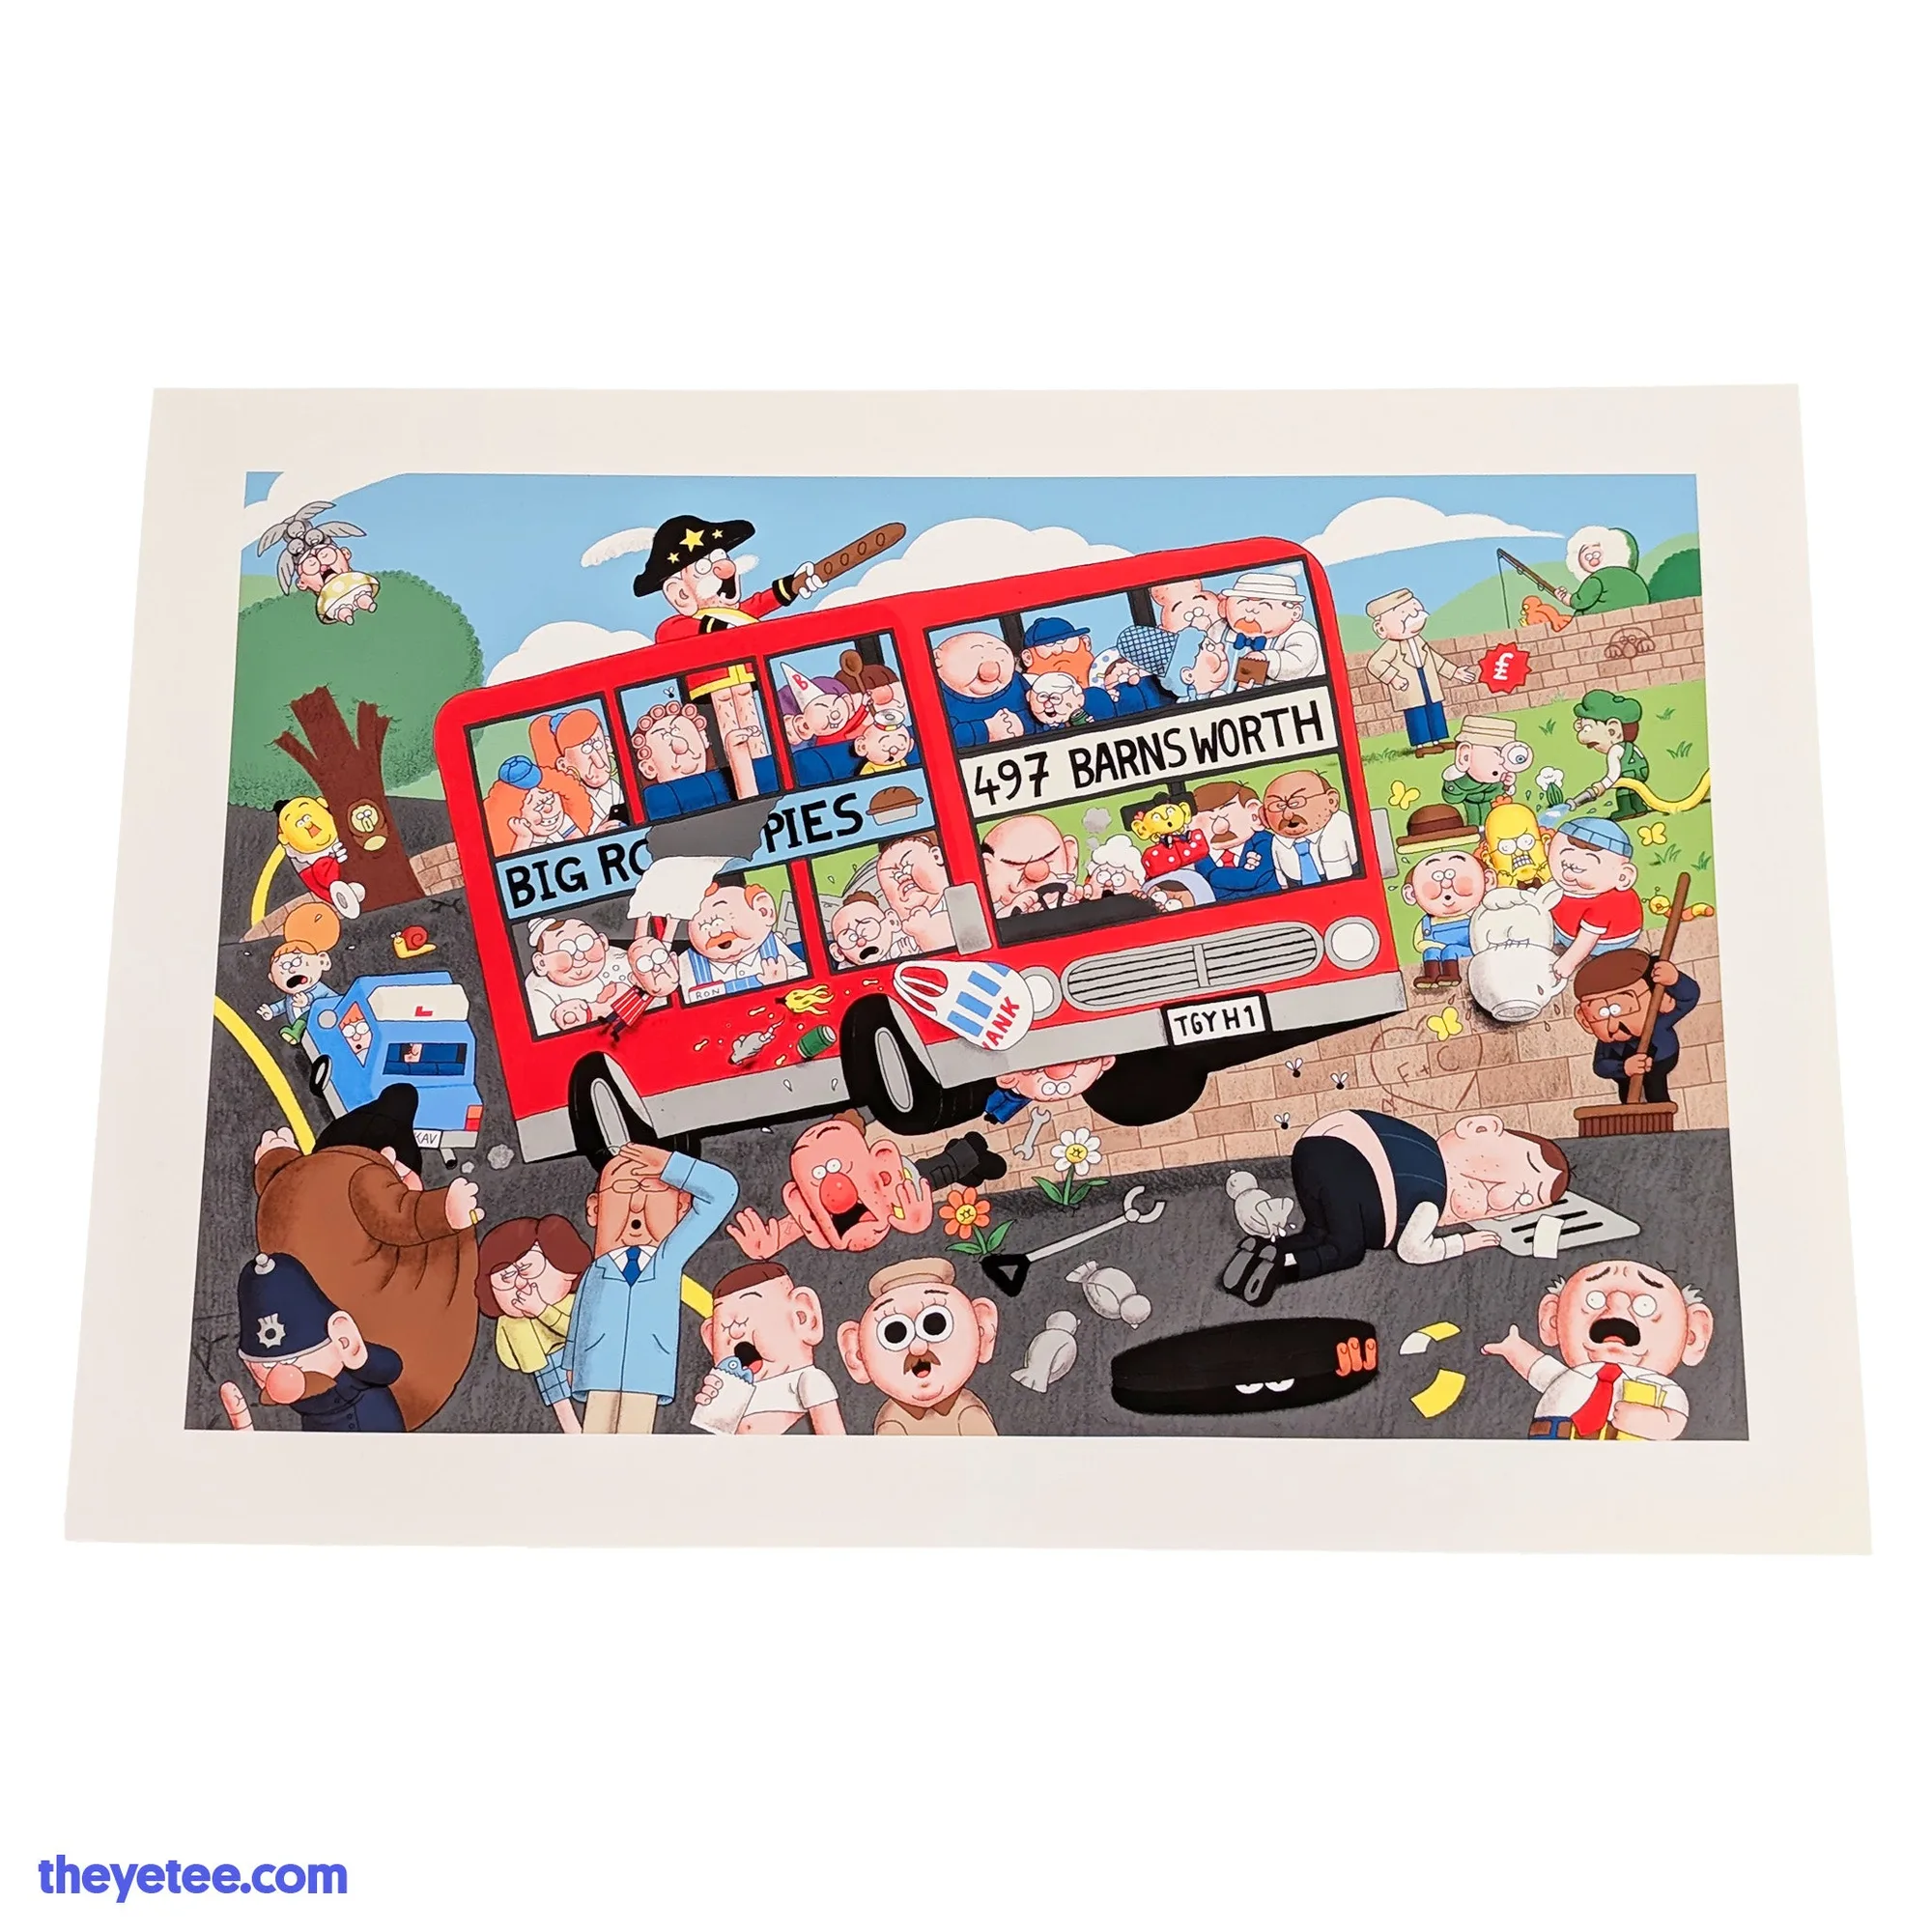
Bus
-
Village Print: The Village Print is a 24" x 15.5" offset print designed by Goldie Bartlett, associated with Untitled Goose Game. The narrower width requires a frame with a mat that centers the print properly, or a custom frame for a flush fit.
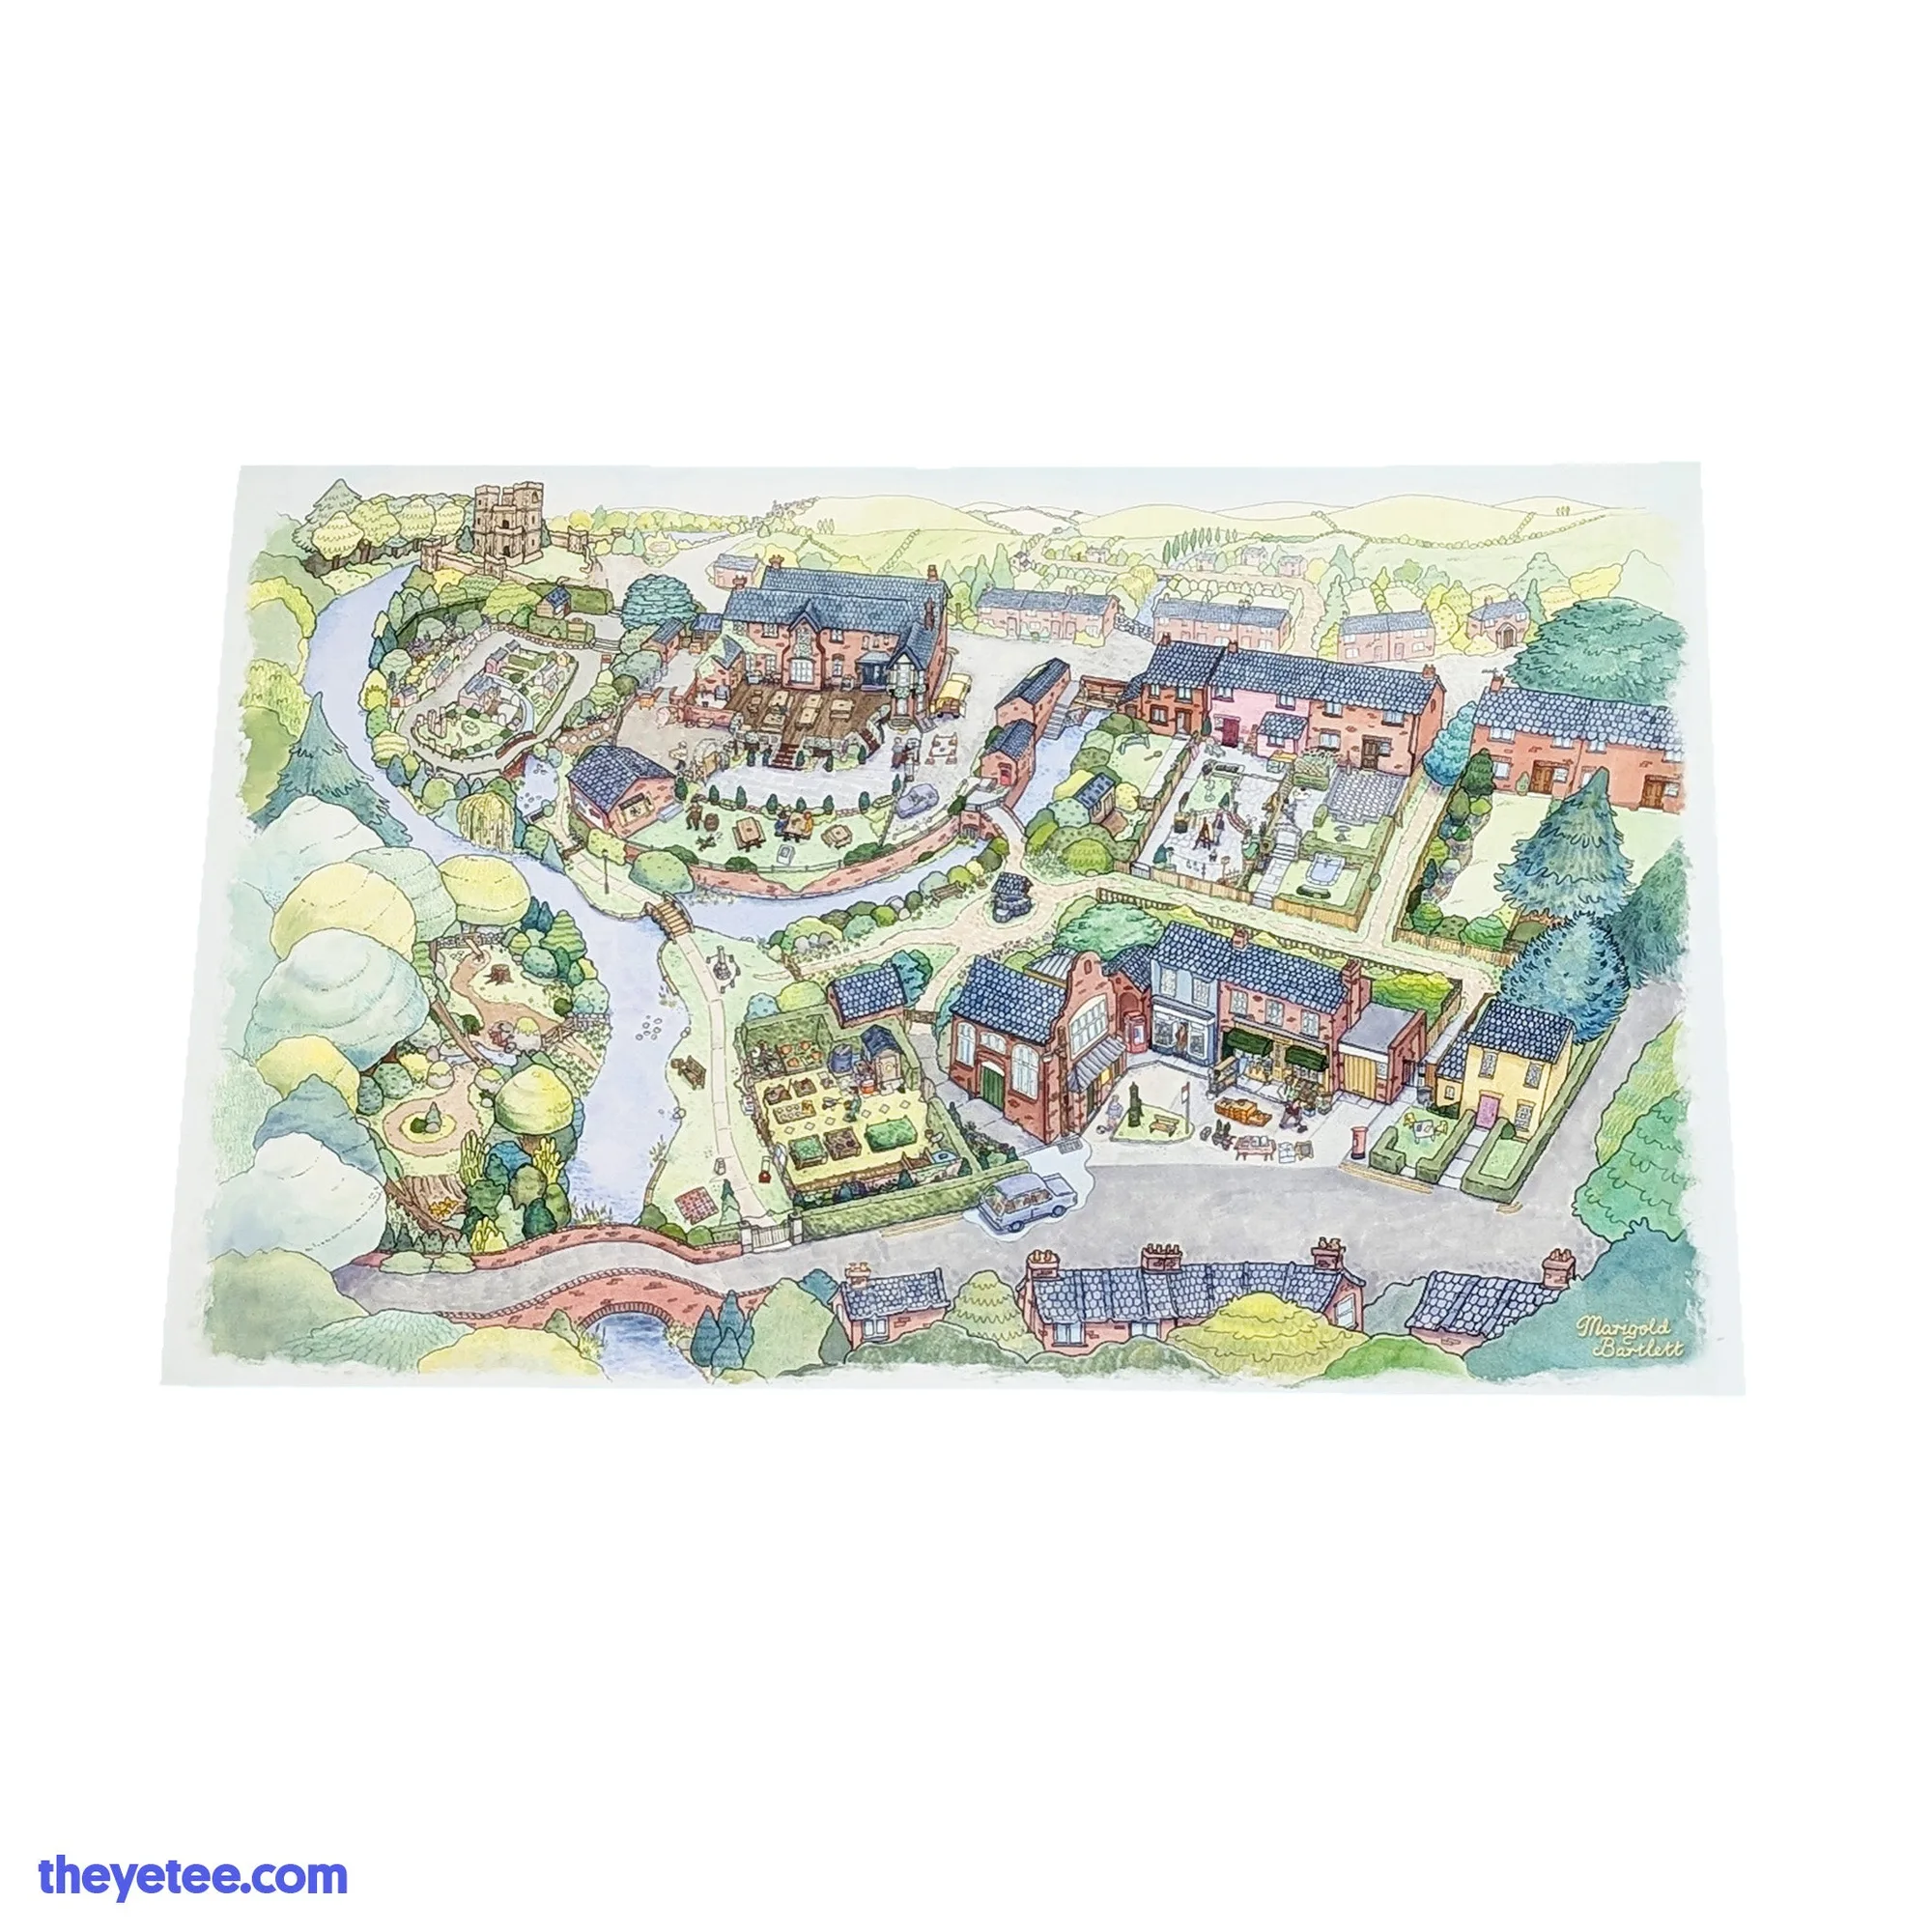
Village Print


