Quick answer
Hang a disc swing from a swing beam or a dedicated swing hanger using rated hardware, then set the disc 16 to 24 inches above the ground for younger kids or higher as they grow. Check the beam for cracks and the rope for fraying before every play session, and keep the swing path clear of other equipment.
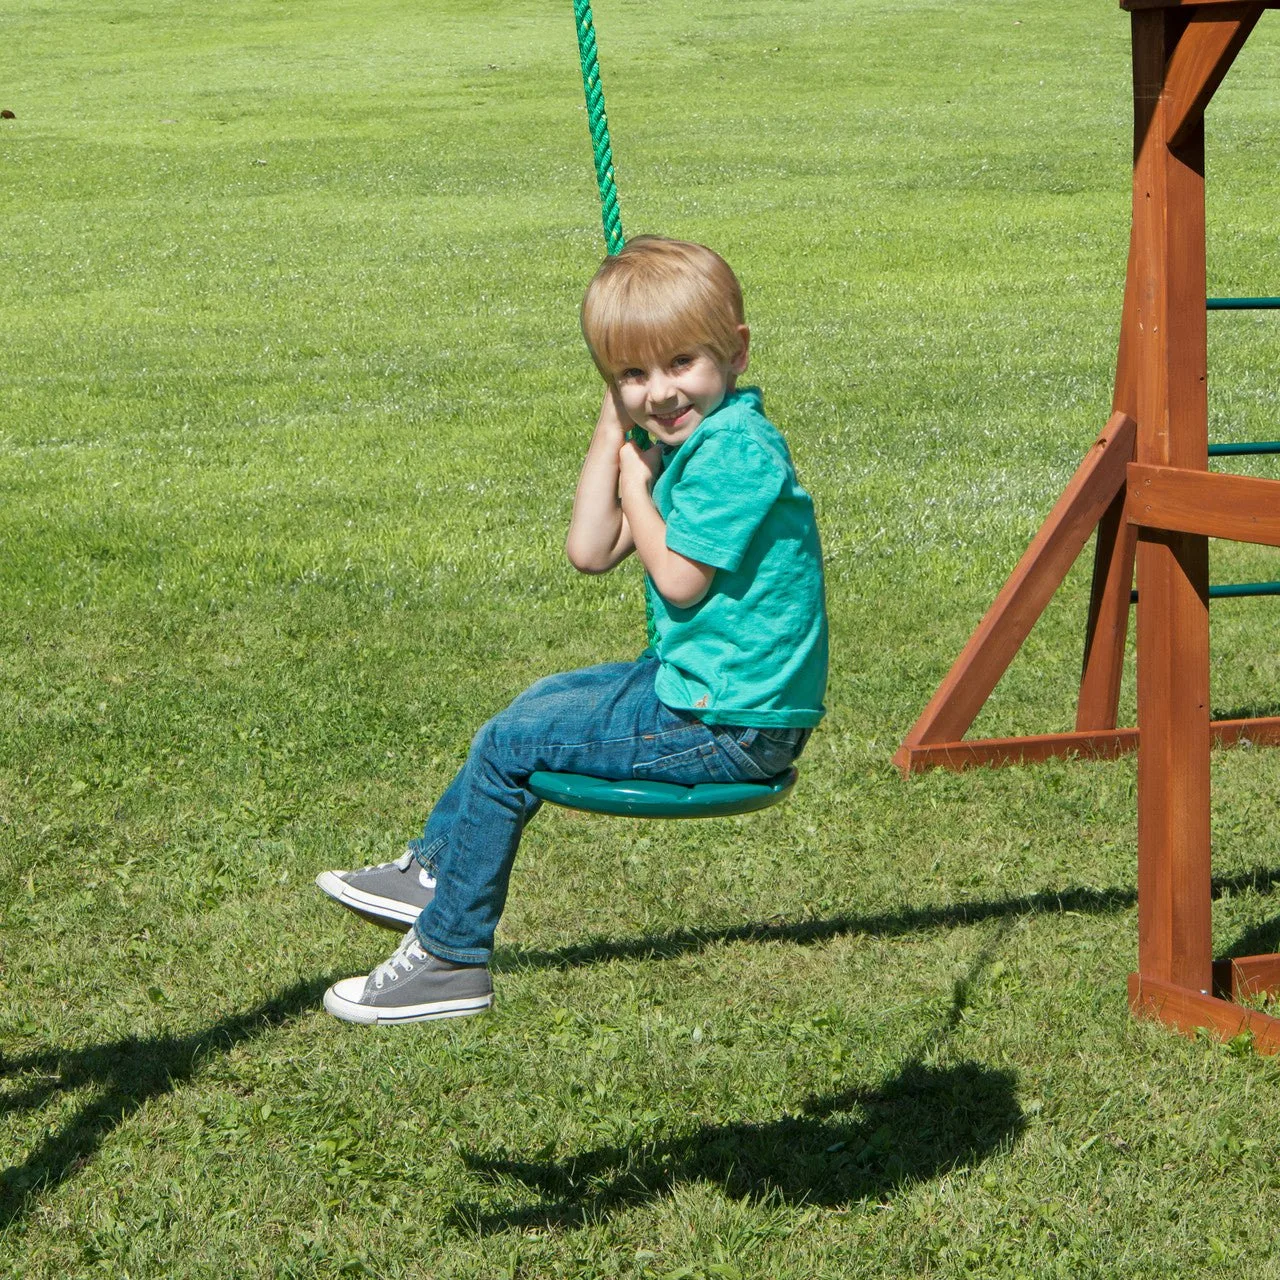
disc swing
A disc swing gives kids a different kind of motion than a belt swing: they sit, spin, and balance on a single point, which builds core strength and coordination. That also means the installation matters more than it does for a standard swing, because all the load goes through one rope and one hanger.
This guide walks through hanging a disc swing on a wooden swing set, from choosing the beam location to setting the height and checking wear over time. It applies to most Gorilla Playsets models, including the Empire Extreme Swing Set and Great Skye I Swing Set, which both use standard swing beams and hangers.
Pick the right spot on the swing beam
Choose a section of the swing beam that is at least 24 inches from any other swing hanger or attachment point. Disc swings move in a circle as well as forward and back, so they need more side clearance than a belt swing. If the beam already has three or four hangers, remove one belt swing temporarily rather than crowding the beam.
Check the underside of the beam at the mounting point. You want clean, solid wood with no cracks, knots, or previous screw holes within a few inches. On most Gorilla Playsets, the beam is pre-drilled for hangers, so use those holes when they line up; if you must drill new ones, keep them centered on the beam width and at least 2 inches from the edge.
- Common mistake: mounting the disc swing at the very end of the beam, where leverage puts extra stress on the wood.
- Checkpoint: with the swing hanging, push it side to side and confirm the disc clears the beam, the frame, and any other swings.
Use rated hardware, not just any rope and hook
A disc swing needs a hanger that can handle dynamic loads, not just static weight. Look for a swing hanger rated for at least 500 pounds and a rope that is specifically sold for swing use. Hardware-store rope and eye bolts are often not rated for the repeated shock loads a swing produces, even if they look strong enough.
If you are adding a new swing position, the Swing Beam Add On - Hardware-Only Kit includes six iron ductile swing hangers, six spring clips, an A-frame bracket, a triangle support brace, and galvanized carriage bolts. Note that the kit does not include lumber or swings, so you still need a beam section and the disc swing itself. The spring clips make it easy to swap the disc swing out for a belt swing later.
- Common mistake: using a single lag bolt or a decorative hook instead of a proper swing hanger.
- Checkpoint: every connection point, from beam to hanger to rope to disc, should be rated for swing use and tightened before the first ride.
Set the height and rope length
For kids under 5, set the bottom of the disc about 16 to 20 inches above the ground so they can sit down without help. For older kids, 24 to 30 inches gives more swing clearance and lets them mount from a standing position. Measure from the lowest point of the disc, not the rope, and recheck after the first few uses as the rope settles.
Cut or adjust the rope so the disc hangs level and the knot or clamp sits below the hanger, not inside it. A figure-eight knot or a manufacturer-supplied clamp both work, but leave at least 6 inches of tail below the knot and melt or tape the end to prevent fraying. If the rope is too long, the disc will drag; too short, and kids will hit their legs on the beam.
- Common mistake: setting the height for the tallest child and assuming younger kids can grow into it.
- Checkpoint: have the intended user sit on the disc with feet just off the ground before you trim the rope.
Teach the right way to use a disc swing
Disc swings are best for sitting and spinning, not standing or doing flips. Show kids how to sit in the center, hold the rope above the disc with both hands, and keep their feet down until the swing stops. One rider at a time, and no pushing from behind while someone is spinning.
Set a rule that the disc swing is off-limits when the rope is wet or icy, because hands slip more easily. If your set has a 360° Turbo Tire Swing like the Sun Palace Deluxe Swing Set, keep the disc swing on a separate beam section so the two spinning elements do not collide. The same spacing rule applies to the Sun Palace Swing Set and Mountaineer Swing Set, which both have multiple play elements on the same structure.
- Common mistake: letting kids stand on the disc or loop the rope around a wrist.
- Checkpoint: watch the first few sessions and correct technique before it becomes a habit.
Inspect rope, hardware, and beam regularly
Check the rope for fraying, flat spots, and stiffness every month during heavy use, and replace it at the first sign of wear. Run a hand along the rope where it passes through the hanger, since that is where friction damage shows up first. Tighten the hanger bolts and spring clips at the same time.
Look at the beam around the hanger for cracks, splinters, or crushed wood. Cedar is durable outdoors, but repeated spinning loads can loosen hardware over time. If you find a crack that runs across the beam, stop using that swing position until the beam is repaired or replaced. A disc swing is only as safe as the beam and hardware holding it.
- Common mistake: checking only the disc and ignoring the rope and beam.
- Checkpoint: put a recurring reminder on your phone for the first of each month during play season.
Decide whether to add installation service
Gorilla Playsets offers an Add Installation option on most swing sets, including the Empire Extreme Swing Set, Great Skye I Swing Set, Mountaineer Swing Set, Sun Palace Deluxe Swing Set, and Sun Palace Swing Set. That service covers assembling the set itself, not mounting a disc swing you bought separately, so clarify with the installer before the visit if you want the disc swing hung at the same time.
If you are comfortable with a drill, a level, and basic hardware, hanging a disc swing is a 30 to 45 minute project. If your set is new and still in boxes, having the installation team assemble it first and then hanging the disc swing yourself is usually the simplest path.
- Common mistake: assuming the installation add-on includes accessories that were not part of the original set.
- Checkpoint: confirm in writing what the installation covers before the crew arrives.
Disc swing installation steps
- Choose the beam position: Pick a spot at least 24 inches from other hangers with solid, uncracked wood underneath. Checkpoint: swing the disc side to side and confirm it clears the frame and other equipment.
- Install a rated swing hanger: Use a swing hanger rated for at least 500 pounds, with galvanized bolts through the beam. Common mistake: reusing a decorative hook or a single lag bolt that is not rated for swing loads.
- Attach the disc swing rope: Thread the rope through the hanger and tie a figure-eight knot or use the supplied clamp, leaving a 6-inch tail. Checkpoint: tug firmly on the rope to confirm the knot holds before anyone sits on the disc.
- Set the height for the rider: Adjust so the bottom of the disc sits 16 to 20 inches above ground for younger kids, 24 to 30 inches for older kids. Common mistake: setting it for the tallest child and leaving younger kids unable to mount safely.
- Test with the intended user: Have the child sit, hold the rope with both hands, and swing gently while you watch for clearance and stability. Checkpoint: no feet dragging, no rope rubbing on the beam, no contact with other swings.
- Inspect monthly: Check rope for fraying, tighten hanger bolts and spring clips, and look for cracks in the beam around the hanger. Replace the rope at the first sign of wear and stop using the position if the beam is cracked.
Swing sets that work well with a disc swing
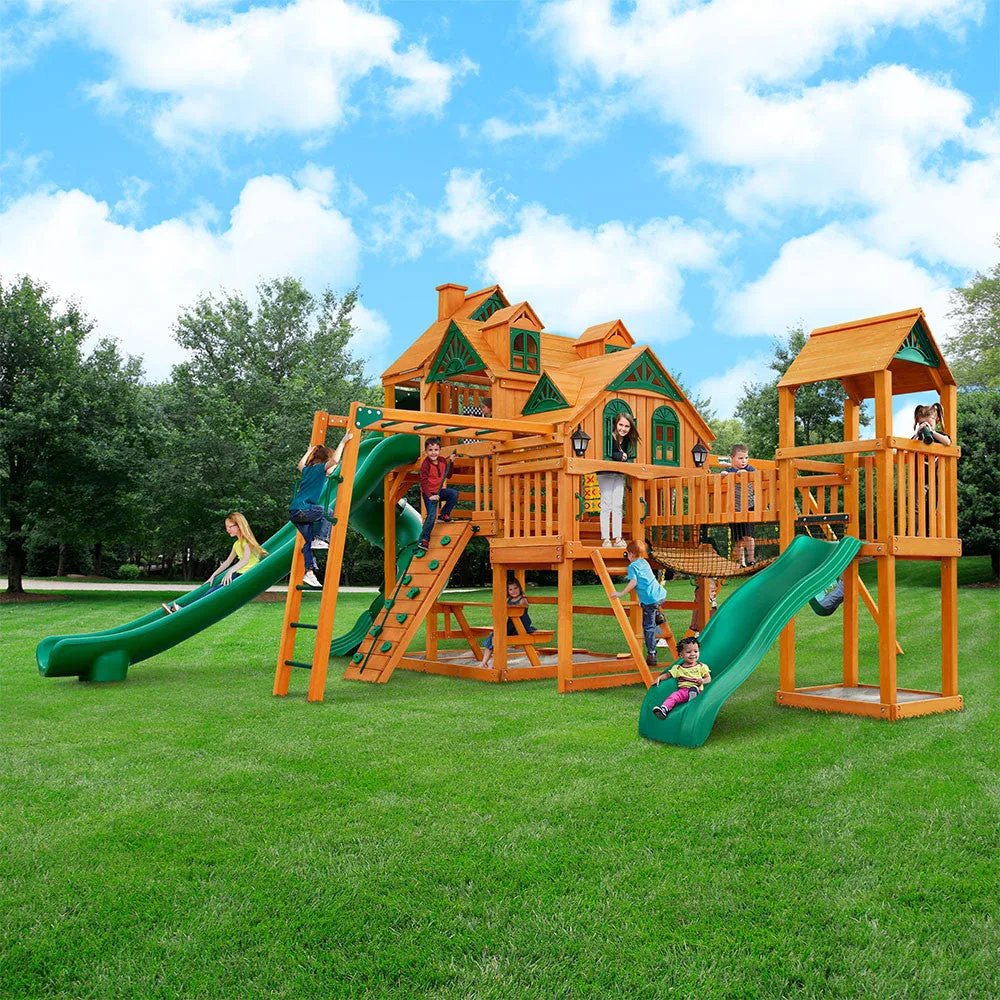
- Empire Extreme Swing Set: The Empire Extreme Swing Set has three play decks, over 50 sq. ft. of play space, three slides, monkey bars, a Clatter Bridge and Tower, and a rock wall with climbing rope. With this many play elements, plan the disc swing location carefully so the spin path stays clear of the bridge, tower, and monkey bars.
- Sun Palace Deluxe Swing Set: The Sun Palace Deluxe lets kids play on three levels and includes a 360° Turbo Tire Swing on the ground level. If you already have a spinning tire swing, put the disc swing on a different beam section so two spinning riders never cross paths.
- Swing Beam Add On - Hardware-Only Kit: The kit includes one A-frame bracket, one triangle support brace, six iron ductile swing hangers, six spring clips, and galvanized carriage bolts, but no lumber and no swings. This is the right hardware set if you are adding a new swing position for a disc swing, but you must supply the beam lumber and the disc swing separately.
A disc swing is one of the simplest add-ons you can hang on a Gorilla Playsets swing beam, but it puts all the load through one hanger and one rope. Take 30 minutes to choose the spot, use rated hardware, set the height for the actual rider, and check the rope and beam each month. Done right, it becomes the swing kids reach for first.