Quick answer
Treat a giant 3ft round puzzle as a floor project, not a table activity. Clear a low-traffic floor space, sort the 48 pieces by edge and color, and build the border first so kids can see the shape take hold. Work in 15- to 20-minute sessions, and let your child place the final piece.
Why the floor changes everything
A 3-foot round puzzle has a wider footprint than most kids' tables, so pieces slide off or get leaned on before the picture comes together. Moving to the floor gives everyone room to circle the puzzle and reach the far side without dragging pieces. It also turns the build into a shared space where two or three kids can work at once. If you have a rug, use it: a slightly textured surface keeps pieces from skating when someone bumps the edge.
Set up so the pieces stay findable
Before anyone places a piece, empty the travel bag into a shallow tray or rimmed baking sheet. Loose pieces on a wide floor get kicked, stepped on, or absorbed into couch cushions. A tray keeps all 48 pieces visible and lets you slide the whole project under a sofa between sessions. Keep the bag itself nearby so cleanup is one motion, not a hunt.
Sort, then build the ring
Have kids pull out the pieces with a flat outer edge first. On a round puzzle, that curved border is the anchor, and it gives the group a visible finish line from the start. Once the ring is closed, sort the remaining pieces into two or three color piles based on the artwork. With a bright, character-driven puzzle, kids can usually match a piece to a character's area faster than they can match it to a shape.
Steps to finish a giant 3ft puzzle with kids
- Pick a floor zone and clear it: Choose a low-traffic spot with at least 4 feet of open floor so kids can walk around the puzzle. Remove toys, cords, and anything with wheels. Common mistake: starting on a table, where the 3-ft span overhangs the edge and pieces fall. Checkpoint: can two kids sit on opposite sides without touching knees? If the space is tight, build against a wall and work from three sides instead of four.
- Dump pieces into one rimmed tray: Empty the travel bag into a baking sheet or shallow bin. Keep the bag folded nearby for storage. Common mistake: spreading pieces across the floor, where they get lost or chewed by pets. Checkpoint: count that all 48 pieces are in the tray before starting. A tray also lets you slide the whole project out of the way mid-build.
- Build the outer ring first: Have kids find every piece with a flat or curved outer edge and connect them into a circle. This gives the group a visible boundary. Common mistake: jumping into the middle of the artwork, which leaves a shapeless pile and kills momentum. Checkpoint: the ring should close with no gaps before you move inward. If the ring stalls, flip pieces over and check the edge shape rather than forcing a fit.
- Sort the middle by character or color: Divide the remaining pieces into two or three piles based on the artwork, such as sky, ground, or a character's outfit. Kids match colors faster than shapes at this stage. Common mistake: sorting into too many piles, which makes the choice overwhelming. Checkpoint: each pile should be small enough to hold in two hands. Let your child pick the pile they want to work on first.
- Run 15- to 20-minute build sessions: Set a timer and stop while the group still wants more. Long sessions lead to slumped shoulders and forced pieces. Common mistake: pushing to finish in one sitting. Checkpoint: if two pieces have been forced in a row, take a break. End each session by sliding the tray and puzzle under a couch or against a wall.
- Let your child place the last piece: Save the final piece for your kid, even if you are the one who found it. The finish matters more than the credit. Common mistake: an adult filling the last gap to speed things up. Checkpoint: take a photo of the finished 3-ft circle before cleanup. Then zip it back into the travel bag so the next build starts clean.
Puzzle options that fit this approach
- Dadisi Academy Giant 3ft 48 Piece STEM Puzzle (Everett Entrepreneurship) Minding My Business: Dadisi Academy Giant 3ft 48 Piece STEM Puzzle (Everett Entrepreneurship) Minding My Business is a 3-ft round puzzle with a coordinating travel bag, and Everett is a member of the Dadisi Academy Crew. The round shape and included bag make it easy to store the whole project between sessions, which is the main reason big puzzles stall out.
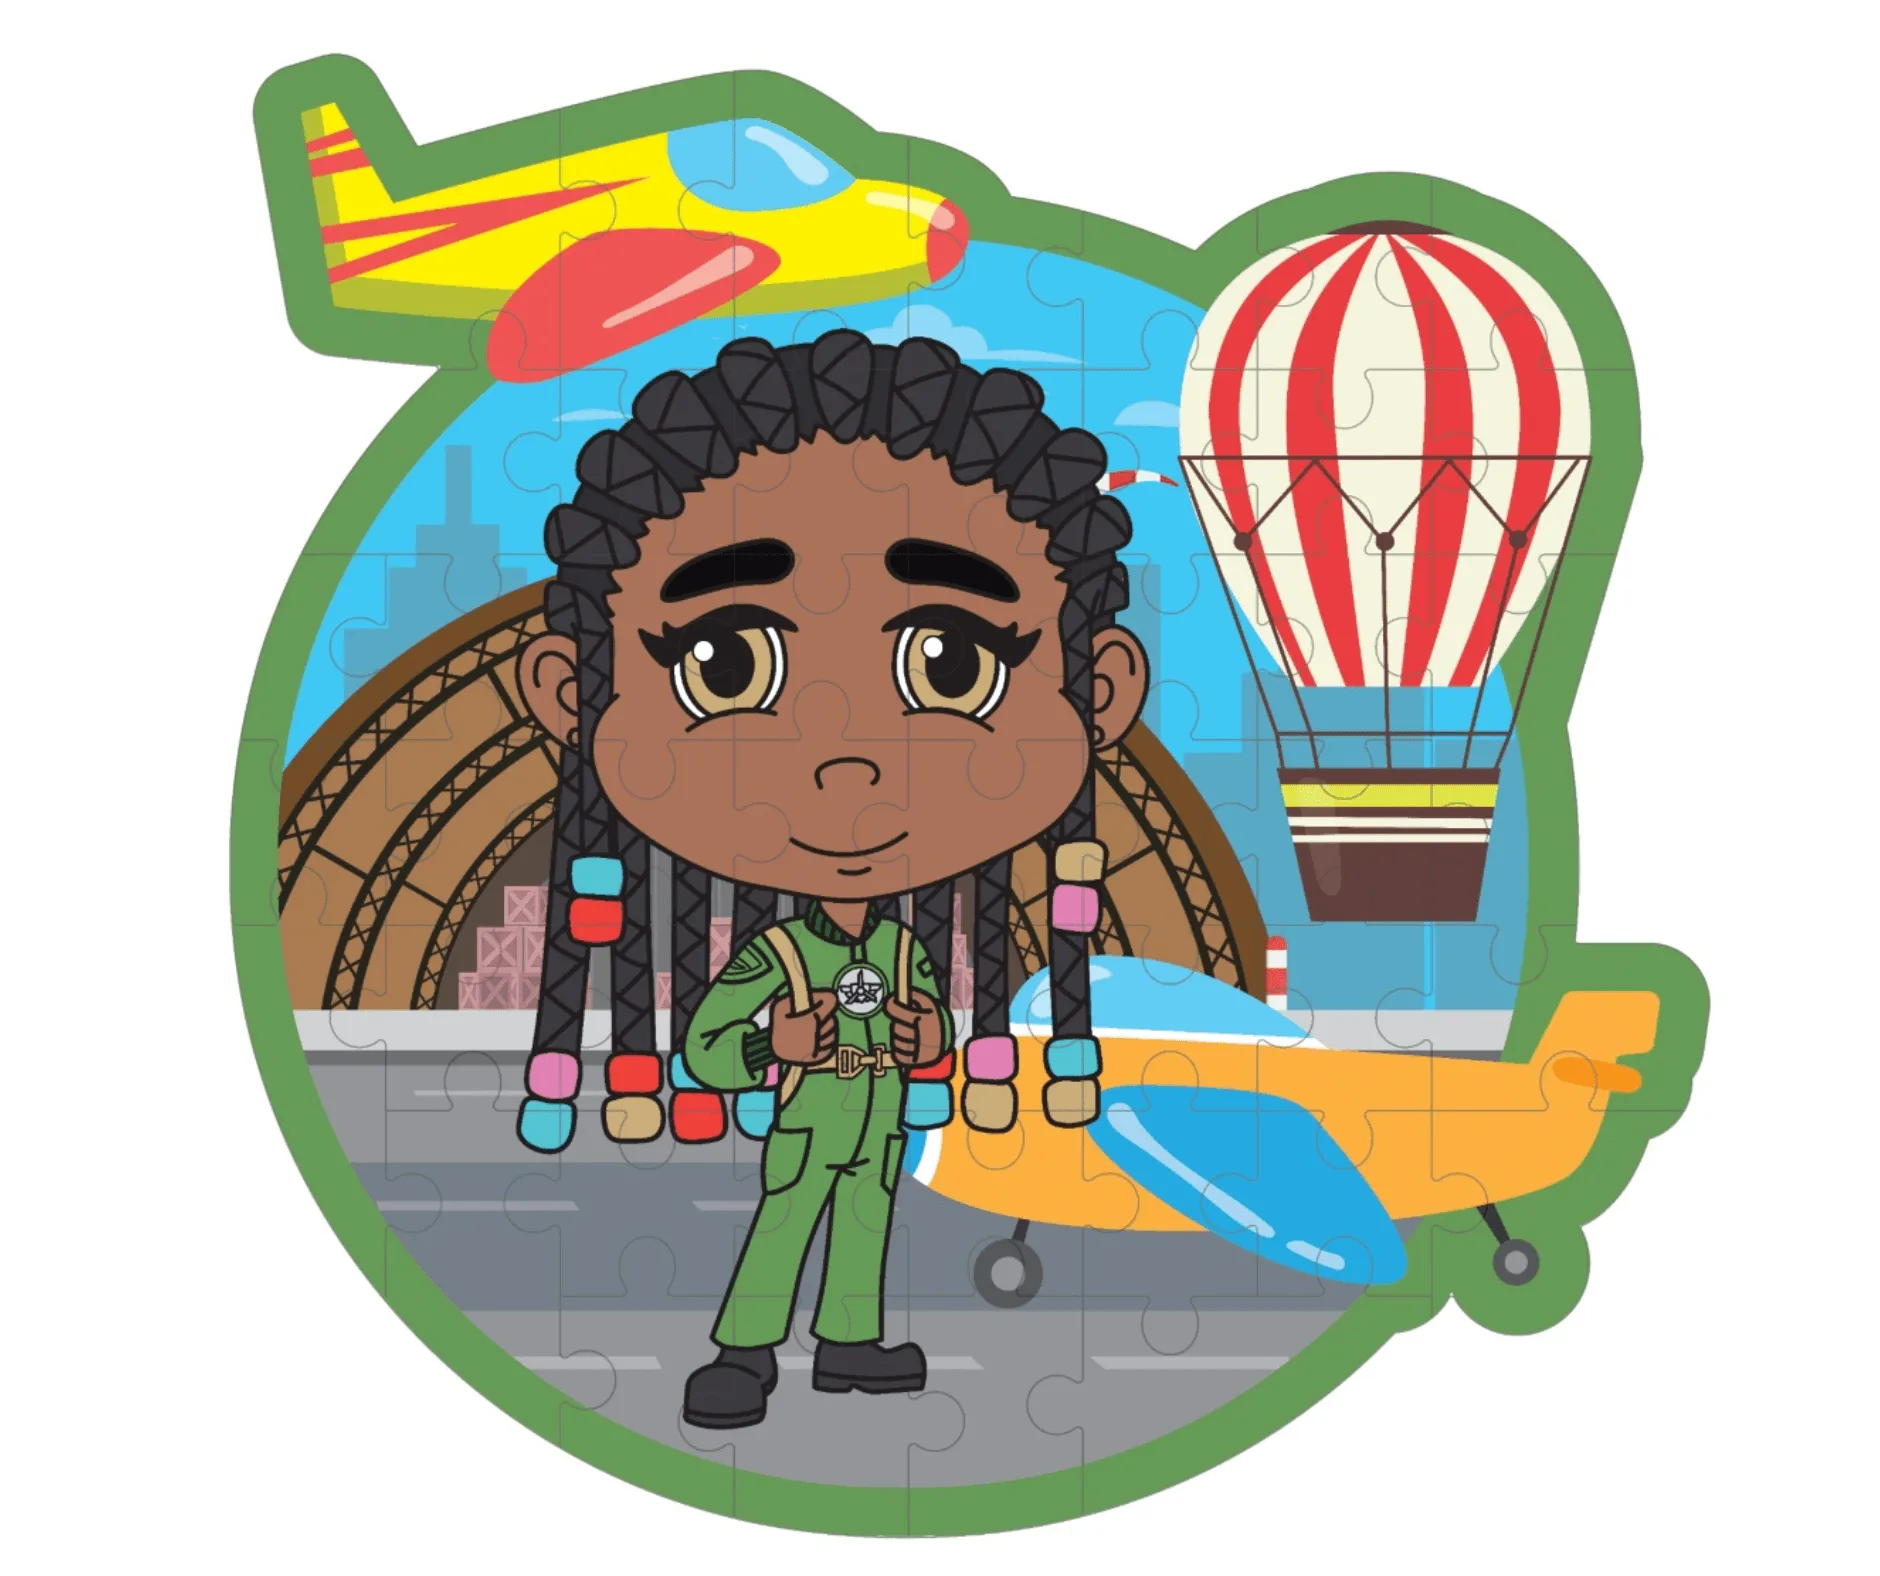
- Dadisi Academy Giant 3ft 48 Piece STEM Puzzles (Skye) I'm Plane Crazy!: Dadisi Academy Giant 3ft 48 Piece STEM Puzzles (Skye) I'm Plane Crazy! is a 3-ft round puzzle with a coordinating travel bag, and Skye wants to be in the clouds all day. A strong character theme gives kids a sorting strategy beyond edge pieces, so they can group by color and subject instead of guessing.
- Dadisi Academy Giant 3ft STEM Puzzle (Haylee Medical Science) Saving The World Ouchie at a time!: Dadisi Academy Giant 3ft STEM Puzzle (Haylee Medical Science) Saving The World Ouchie at a time! is a 3-ft round puzzle with a coordinating travel bag, and Haylee represents medical sciences. When the theme connects to a real interest, kids are more likely to return for a second session instead of abandoning the build.