Quick answer
You can hem pants and shorts at home with a tape measure, pins, an iron, and a needle and thread—or iron-on hem tape if you want a no-sew hem. Mark the length with shoes on, press a clean fold, and stitch or fuse it in place. For fluid fabrics like silk charmeuse, a hand stitch or hem tape gives a softer finish than a machine.
A hem is one of the few alterations you can do at home without a sewing machine, and it changes how a garment hangs more than almost anything else. The trick is not the stitching—it is the measuring and pressing before you ever thread a needle.
This guide walks through how to hem pants and shorts at home, including a no-sew hem option, with checkpoints so you do not shorten a pair you cannot wear again. It applies to trousers, shorts, and fluid styles like silk charmeuse, where a light hand matters more than speed.
Gather the right tools before you cut or pin
You need a tape measure or ruler, sharp fabric scissors, straight pins or sewing clips, an iron, and a needle and thread that match the fabric. For a no-sew hem, add iron-on hem tape. A marking tool such as tailor's chalk helps on dark fabrics, and a seam ripper is useful if you plan to remove an old hem first.
Work at a table with good light and clear space. If you are hemming shorts, the same tools apply—just less length to manage. For delicate fabrics, use a fine needle and a thread that matches the garment so the stitching disappears.
- Checkpoint: press the fabric before measuring so any wrinkles do not throw off your length.
Put on the shoes you will wear with the garment
Hem length depends on footwear. Put on the exact shoes or heel height you plan to wear with the pants or shorts, then stand naturally. Have someone mark the fold line with a pin or chalk, or mark it yourself in a mirror. Ask them to mark a few points around the leg so the hem stays level.
Do not measure while seated or barefoot unless that is how you will wear the garment. A half-inch difference in heel height can change whether the hem skims the floor or drags.
- Common mistake: marking only the front of the leg, which can leave the back hem uneven.
Decide your finished length and add hem allowance
For a classic trouser, the hem usually just touches the top of the shoe with a slight break. For shorts, decide whether you want a mid-thigh or closer-to-knee finish. Mark your desired finished length, then add about 1 to 1.5 inches of fabric for the hem allowance—more for a deep, weighted hem on fluid fabrics.
If you are unsure, mark longer than you think. You can always trim more, but you cannot add fabric back. For silk charmeuse, a slightly deeper hem helps the fabric drape rather than flip.
- Checkpoint: pin the fold and walk a few steps before cutting anything.
Press the fold, then stitch or fuse it
Turn the garment inside out and fold the raw edge up to your marked line. Press the fold with an iron on a setting appropriate for the fabric—use a pressing cloth on silk or delicate materials. For a stitched hem, sew a simple running or slip stitch close to the fold, catching only a thread or two of the outer fabric so it stays invisible.
For a no-sew hem, place iron-on hem tape inside the fold, press according to the tape instructions, and let it cool before moving the garment. This is the fastest option for a quick fix, though it is less durable through repeated washing than stitching.
- Common mistake: pressing too hot on silk; always test on a hidden inner seam first.
Check the result and finish the inside
Turn the garment right side out and check the length in the mirror with your shoes on. Look at the hem from the side and back—this is where uneven folds show up. If a section pulls or twists, unpick that part and re-press rather than tugging it flat.
Trim any loose threads and press the finished hem once more from the inside with a pressing cloth. Let the garment hang for a few hours before wearing so the fabric settles.
- Checkpoint: if the hem ripples, the stitch is too tight—loosen it and try again.
Step-by-step hemming process
- Try on with shoes and mark: Wear the exact shoes, stand straight, and have someone pin or chalk the fold line at several points around the leg. Checkpoint: walk a few steps before removing the pins.
- Measure and add allowance: Measure from the marked line down to the raw edge and add 1 to 1.5 inches for the hem. Common mistake: cutting before adding allowance, which leaves the hem too short.
- Press the fold: Turn inside out, fold to the marked line, and press with an iron using a pressing cloth on delicate fabrics. Checkpoint: the fold should sit flat with no twisting.
- Stitch or fuse: Sew a slip or running stitch close to the fold, or use iron-on hem tape for a no-sew finish. Common mistake: stitching too tightly, which causes ripples.
- Check and finish: Turn right side out, check length in the mirror, trim threads, and press once more from the inside. Let the garment hang a few hours before wearing.
Fabric notes that affect hemming
- DELILAH SHORT: Crafted from 100% silk charmeuse with an elastic waistband and French seam construction. Silk charmeuse is fluid and lightweight, so a hand stitch or hem tape keeps the drape soft instead of stiff. The French seams mean the inside is already finished, so you only need to handle the leg opening.
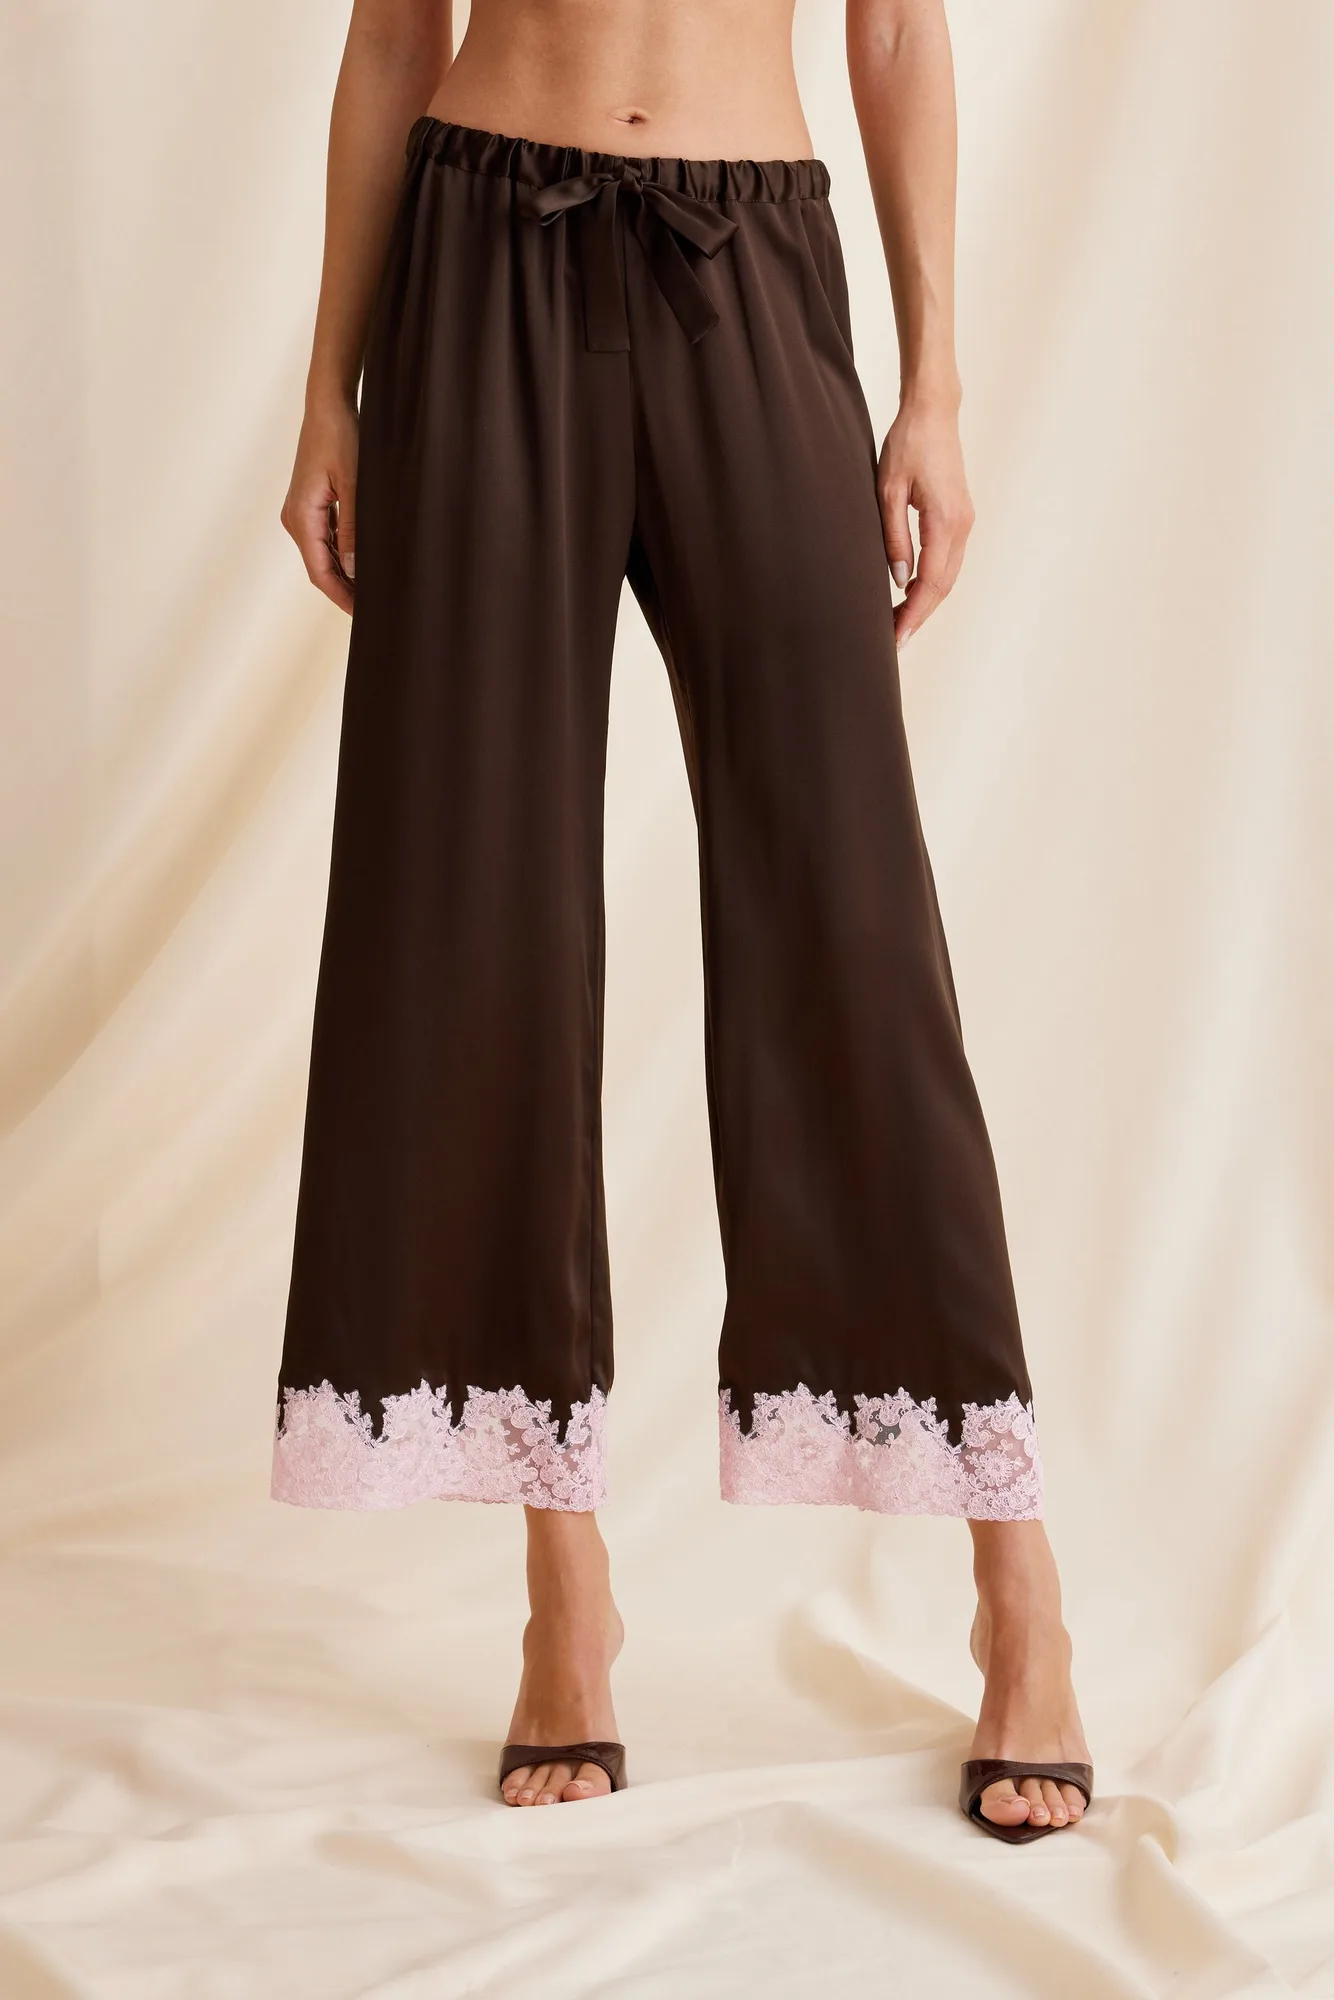
- https://scarlettgasquegz.com/products/jayne-pant-886e533fd136bbb6ccfdb468-1354887https://scarlettgasquegz.com/products/the-jayne-pant-8cf6a61b557e0d9e4fc5ce0a-1354889https://scarlettgasquegz.com/products/jayne-pant-navy-f8b1dba94d1a582522fc55ca-1354890JAYNE PANT: Made from 100% silk with hand-sewn French lace appliqué and a relaxed, elongated line. Because the lace appliqué is delicate and hand-sewn, avoid cutting or stitching near it. Hem only the plain lower edge and use a fine needle so the silk does not pull.
Hemming at home comes down to measuring with the right shoes, pressing a clean fold, and choosing a stitch or tape that suits the fabric. Take it slowly on fluid materials like silk, and you can get a tailored finish without leaving your house.