Quick Answer
To install a car back carrier, attach the rear car clips to your trunk or hatch edges, then secure the carrier bag using the integrated straps and bottom pole frame. Always check that the carrier is centered and the straps are tight before loading gear.
Why Choose a Car Back Carrier
A car back carrier mounts to the rear of your vehicle, freeing up roof space for bulky items like kayaks or skis. It's ideal when your roof rack is already occupied or when you want easier access to gear without climbing on the roof.
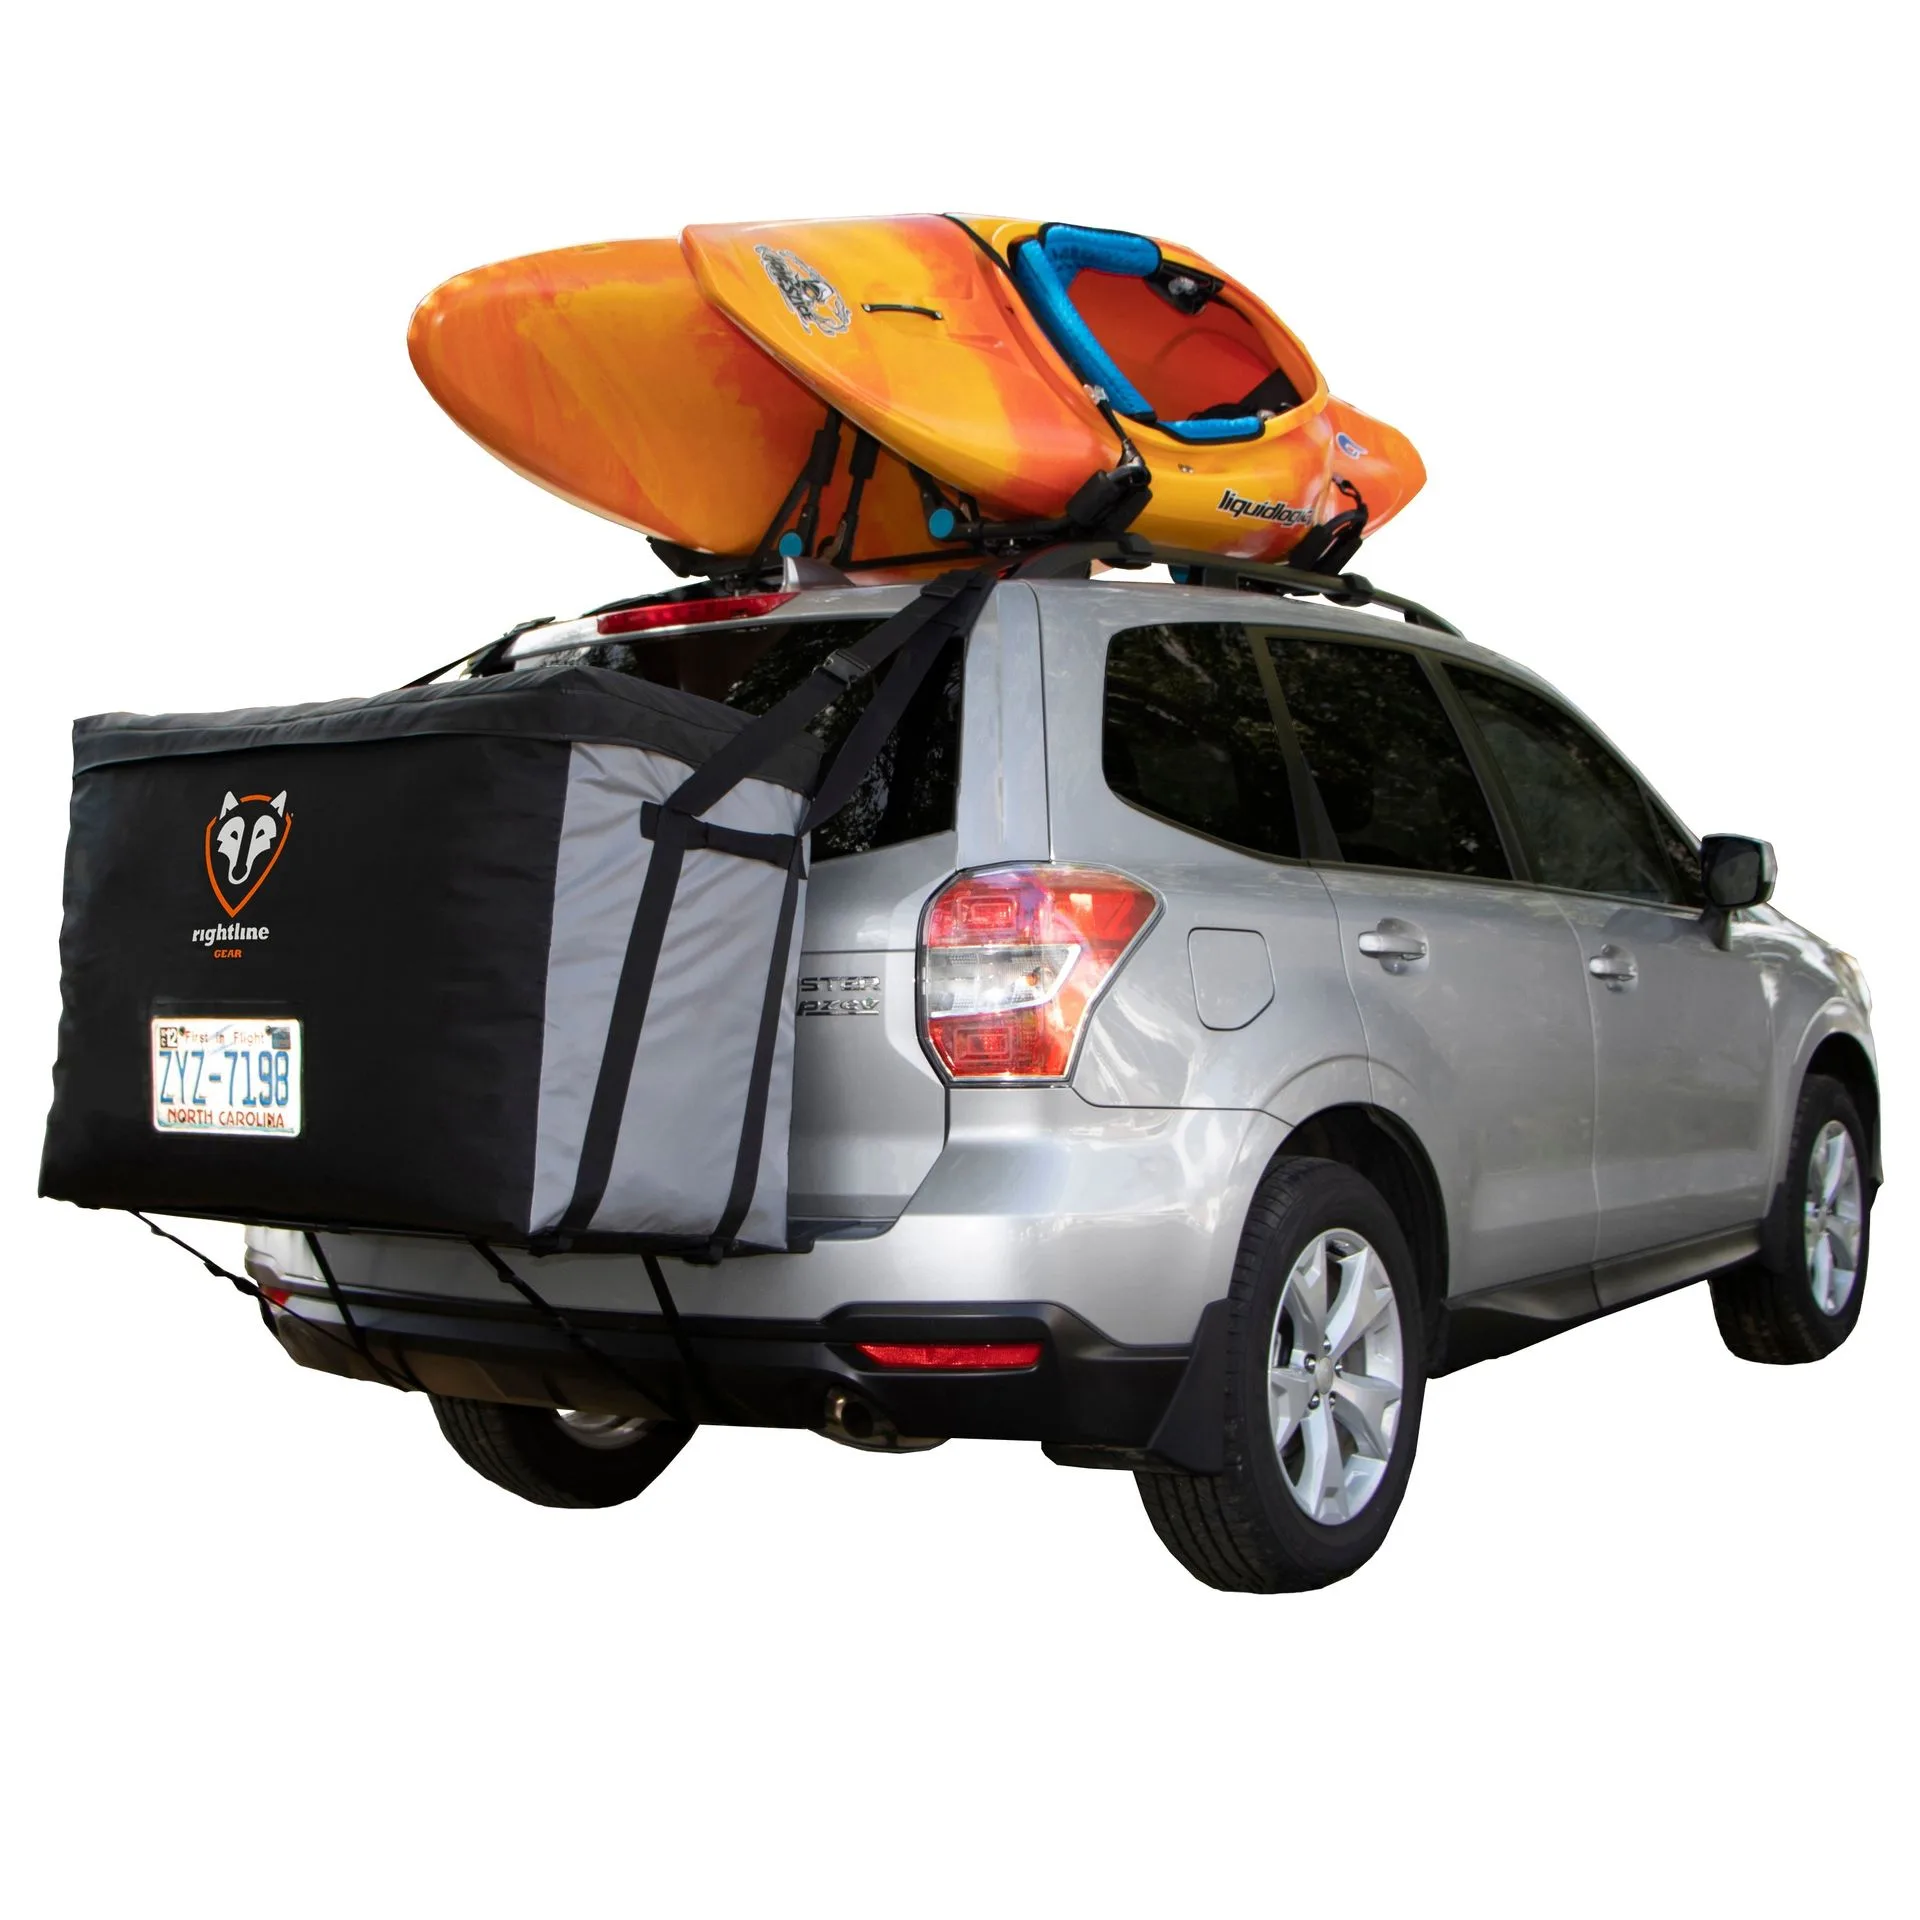
The Rightline Gear Car Back Carrier uses a patented design with a bottom pole frame for support, making it compatible with most vehicles even without a roof rack.
Installation Steps
- 1. Prepare Your Vehicle and Carrier: Open your trunk or hatchback. Lay the Rightline Gear Car Back Carrier on a clean, flat surface. Unfold the carrier and insert the bottom pole frame if not pre-installed. Common mistake: forgetting to install the pole frame before attaching the carrier. The frame prevents sagging and protects gear.
- 2. Attach the Rear Car Clips: Position the carrier against the rear of your vehicle with the straps facing outward. Clip the top Rear Car Clips over the edge of your trunk or hatch lid, ensuring they are evenly spaced. Adjust the clip positions so the carrier hangs straight. Checkpoint: make sure the clips are fully hooked onto a solid part of the trunk edge, not on weather stripping or plastic trim, which can slip.
- 3. Secure the Bottom Straps: Reach under the carrier and attach the bottom straps to the lower edge of your trunk or bumper. Tighten each strap evenly, alternating sides to keep the carrier centered. Common mistake: over-tightening one side first, which pulls the carrier off-center. Tighten gradually and check alignment.
- 4. Tighten All Straps and Test Stability: Pull all straps snug—do not overtighten to the point of bending the trunk edge. Shake the carrier gently to ensure it doesn't move. Re-tighten any loose straps. Checkpoint: after loading gear, re-check strap tension. The carrier may settle slightly as you drive.
- 5. Load Gear and Balance the Weight: Place heavier items at the bottom, near the vehicle, and lighter items on top. Avoid exceeding the carrier's weight limit. Close the carrier's zipper or flap securely. Common mistake: overloading the carrier or placing heavy items too far from the vehicle, which can cause swaying and reduce gas mileage.
Product Mentioned
-
Rightline Gear® Car Back Carrier: The Rightline Gear Car Back Carrier is made from UV protected PVC Semi-Coated Mesh XT and includes a bottom pole frame for added support. The durable mesh resists sun damage and the pole frame prevents the bag from sagging, keeping your camping gear stable during travel.
Rightline Gear® Car Back Carrier