Quick Answer
Installing a Privacy Wall Add-on Kit lets you extend your existing 8' x 6' privacy screen to create longer walls, cozy corners, or custom layouts. The key is to plan your configuration, prepare a level base, and connect each panel securely using the included hardware.
Why Add an Extension Panel?
A single privacy screen works well for a small seating area, but many patios need more coverage. The Privacy Wall Add-on Kit connects exclusively to Backyard Discovery's 8' x 6' Privacy Screen Wall, letting you build longer runs or L-shaped enclosures. This is especially useful if you want to block a neighboring view, shield a dining set, or create a dedicated garden nook without building a permanent fence.
What You'll Need Before You Start
The kit includes the panels and connection hardware, but you'll need a few standard tools: a level, drill, socket wrench, tape measure, and a helper for lifting. The ground or deck surface must be flat and firm. If you're adding the kit to an existing wall, check that the original screen is level and anchored before attaching the extension.
Installation Steps
- Plan Your Layout: Decide whether you want a straight extension or an L-shaped corner. Measure the area and mark the positions for the new panel(s). Leave at least 2 feet of clearance behind the wall for assembly access. Check local setback rules if the wall is near a property line.
- Prepare the Base: Clear the ground of debris and level the area where the new panel will sit. For soft ground, tamp down soil or lay patio stones. On a deck, confirm the surface can support the weight and won't trap moisture under the panel. Uneven ground is the most common cause of wobbly panels — take time to get it level.
- Attach the First Panel to the Existing Wall: With a helper, position the add-on panel against the side of the installed privacy screen. Align the pre-drilled holes and insert the bolts. Tighten finger-tight first, then use a socket wrench to secure them evenly. Do not overtighten — the wood needs room to expand. Use a level on the new panel before final tightening to ensure it stands plumb.
- Anchor the Panel to the Ground: Most installations require ground anchors or brackets (check your kit contents). Drive stakes into the ground at the marked points or bolt the base to a deck. If your kit doesn't include anchors, purchase corrosion-resistant ones separately. Skipping ground anchors can cause the panel to shift in high winds.
- Repeat for Additional Panels: If you are building a longer wall, attach each subsequent panel the same way. For a corner, connect the second panel at a 90-degree angle using the corner brackets provided. Verify each panel is level and aligned before moving to the next. Work from one end to the other — don't try to connect all panels loosely and then tighten.
- Final Check and Styling: Walk the full length of the wall and check that all bolts are snug, the panels are level, and the anchors are secure. Add potted plants, string lights, or a cedar farmhouse porch swing nearby to complete the space. A well-installed privacy wall can last for years with minimal maintenance — just re-tighten hardware after the first season.
Product Facts
-
Privacy Wall Add-on Kit: Designed to connect exclusively with our 8’ x 6’ Privacy Screen Wall, this extension kit lets you create longer walls, cozy corners, or custom configurations. You cannot use this add-on with a different brand or size screen, so verify your existing wall is the correct model before purchasing.
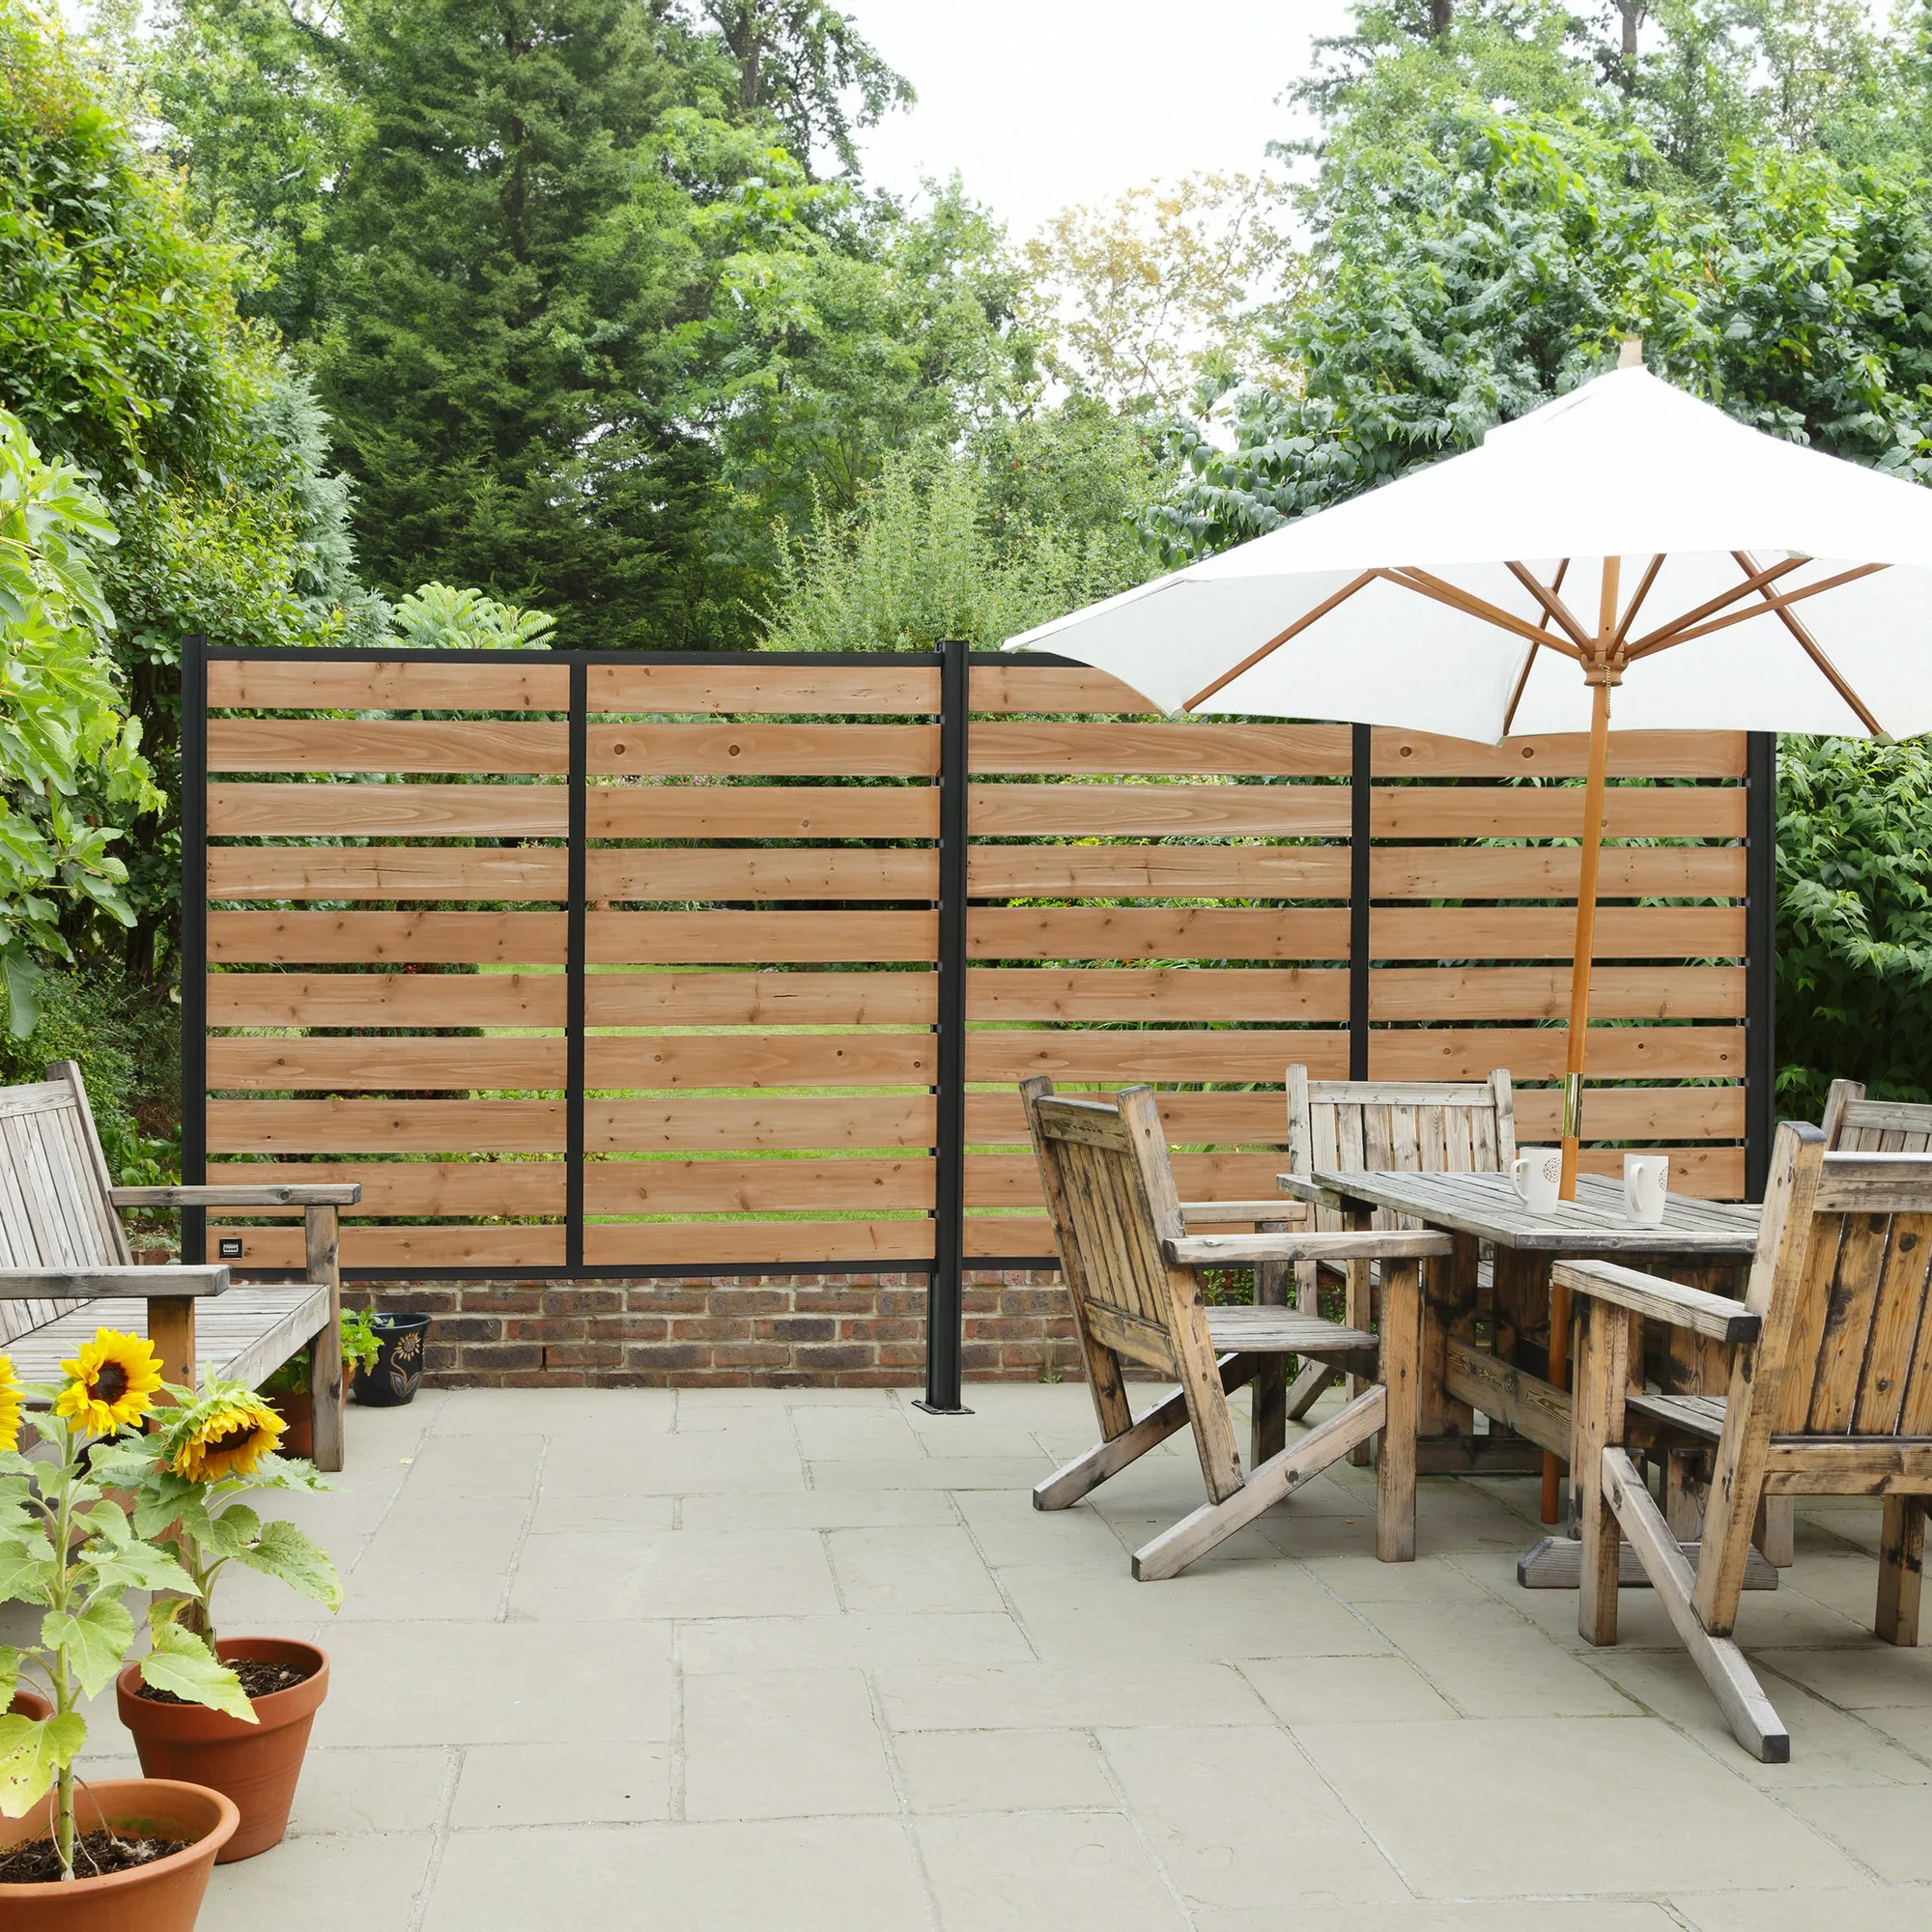
Privacy Wall Add-on Kit