Quick answer
Mount the Solar Wall Light by Gorilla Playsets on a vertical post of your swing set using the included hardware. Position it where it will get direct sunlight during the day and angle it to illuminate the play area after dusk.
Before you start: choosing the right location
The Solar Wall Light needs direct sun exposure for several hours to charge fully. Avoid spots shaded by the playset roof, nearby trees, or the house. A south-facing post on the swing set usually works best in the Northern Hemisphere.
Also consider where you want the light to shine. Mounting it too high may cast light over the play area instead of onto it. Aim for a height of about 5 to 6 feet off the ground so the beam covers the ground and lower play features.
Installation steps
- 1. Gather your tools and check the light: You will need a drill with a 1/8-inch bit, a pencil, a level, and the mounting screws included with the Solar Wall Light. Before mounting, press the button on the back to confirm the light turns on. If it does not, flip the switch to ON (some units ship with the switch in the OFF position). Common mistake: Forgetting to flip the internal switch. Always test the light before drilling.
- 2. Mark the mounting holes: Hold the light’s mounting bracket against a vertical post on your swing set at your chosen height. Use a level to keep it straight. Mark the screw hole locations with a pencil. Make sure the bracket is oriented so the solar panel faces upward and outward for maximum sun exposure. Check that the bracket is not tilted. A crooked bracket means uneven light and poor panel angle.
- 3. Drill pilot holes: Using a 1/8-inch drill bit, drill pilot holes at each pencil mark. Drill straight into the post. Pilot holes prevent the wood from splitting and make driving the screws much easier. Do not skip pilot holes. Screwing directly into pressure-treated wood can crack the post.
- 4. Attach the mounting bracket: Line up the bracket with the pilot holes and drive the included screws in by hand or with a screwdriver. Tighten until the bracket is snug against the post. Do not overtighten — you may strip the screw holes or crack the bracket. If the screws feel loose, the pilot hole may be too large. Use a slightly thicker screw or add a toothpick with wood glue as a shim.
- 5. Snap the light onto the bracket: Align the light fixture with the bracket and press firmly until it clicks into place. Most solar wall lights lock onto the bracket with a simple snap mechanism. Give it a gentle tug to confirm it is secure. If the light does not snap on, check that the bracket tabs are not bent. Bend them back gently with pliers if needed.
- 6. Set the switch and charge: Flip the switch on the back of the light to ON. Leave the light in direct sunlight for a full day to charge the battery. The first charge may take 8 to 12 hours. After that, the light will turn on automatically at dusk and run for several hours. Common mistake: Expecting full brightness after only a few hours of partial sun. Give it a full day of direct sun for the best initial charge.
Product used in this guide
-
Solar Wall Light: The Solar Wall Light by Gorilla Playsets provides light for over 100 square feet. That means a single fixture can illuminate the main play zone under and around your swing set, so kids can keep playing safely after sunset.
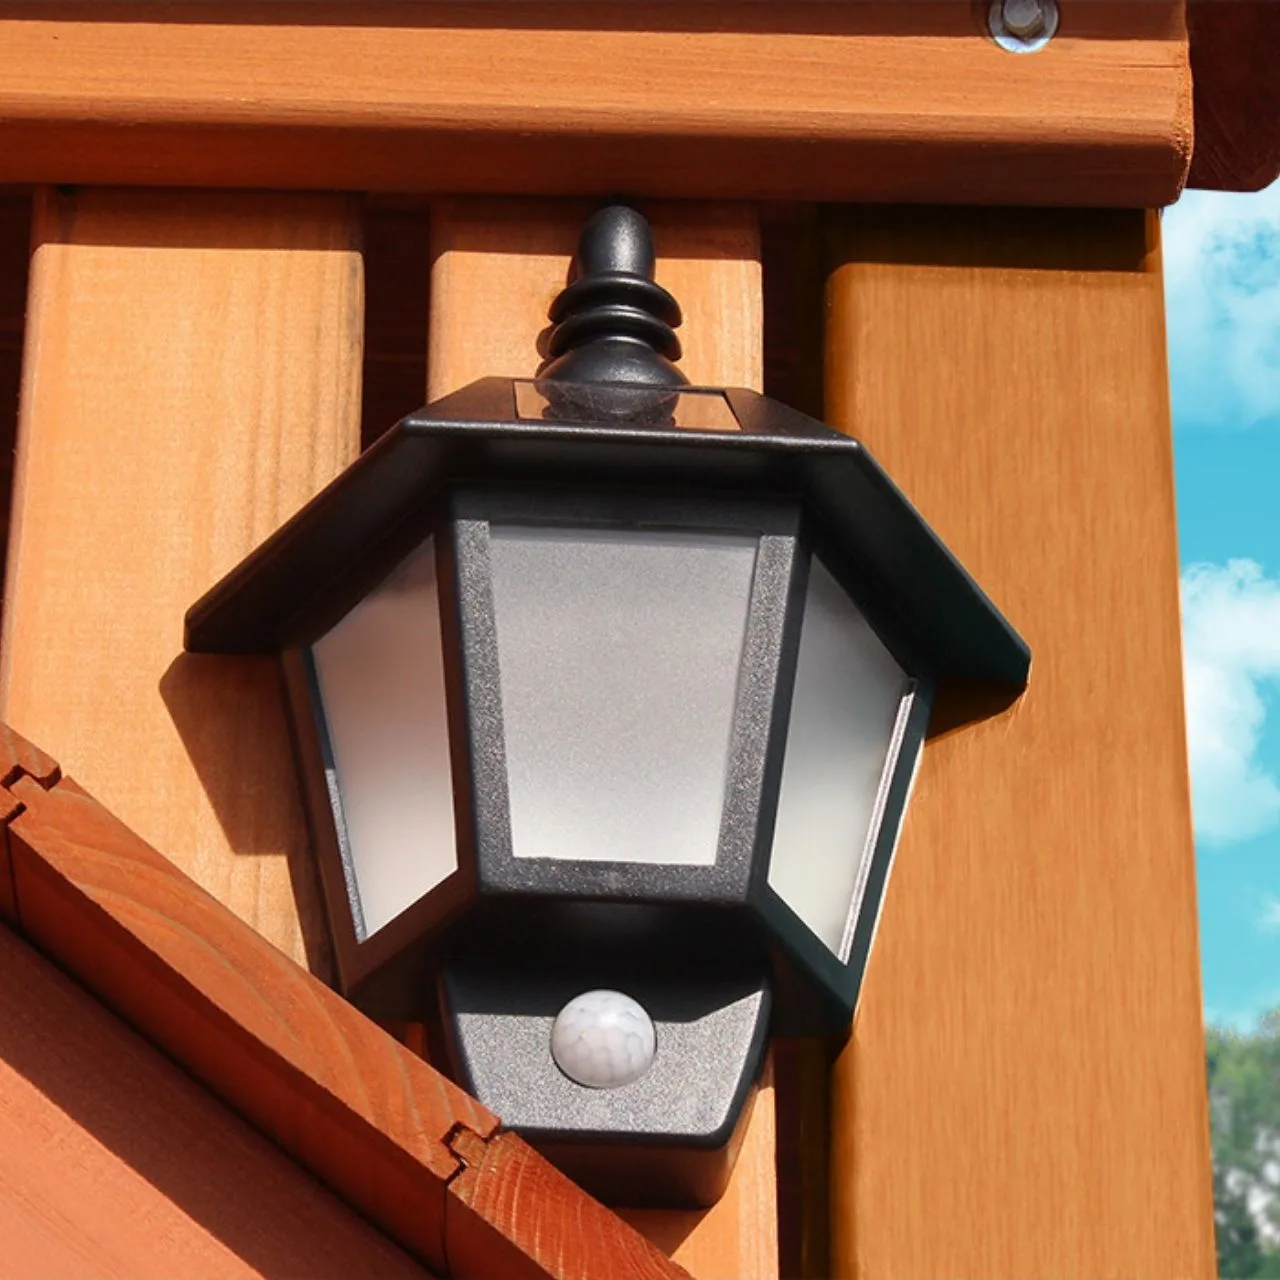
Solar Wall Light