Quick answer
Installing a universal diaphragm on your breast pump is straightforward: align the flexible silicone disc over the valve opening, press it firmly into place, and check that the edges seal completely before pumping. This guide walks through each step and common mistakes to avoid.
Why a proper diaphragm seal matters
The diaphragm creates the one-way vacuum that draws milk into the collection bottle. If it is not seated correctly, you will lose suction, reduce output, and may hear air leaking. A tight seal is the single most important factor for consistent pumping performance.
When to replace the diaphragm
Over time, silicone can stretch, crack, or accumulate residue that prevents a good seal. Replace the diaphragm every 3–4 months or sooner if you notice reduced suction, visible damage, or milk leaking into the tubing. Keeping a spare pack on hand avoids interruptions.
Step-by-step installation guide
- Step 1: Remove the old diaphragm: Gently peel the existing diaphragm off the valve opening. If it sticks, use a fingernail or a blunt tool to lift an edge. Discard it if it is worn or damaged. Common mistake: pulling too hard can tear the valve stem. Work slowly from one edge.
- Step 2: Clean the valve area: Wipe the valve opening and surrounding area with a damp cloth or a pump-cleaning wipe. Make sure no milk residue or debris remains, which could prevent a seal. Checkpoint: hold the valve up to light to confirm no particles are stuck in the opening.
- Step 3: Align the new diaphragm: Hold the new universal diaphragm by its outer rim. Center it directly over the valve opening. The flexible side should face down toward the valve. Common mistake: installing the diaphragm upside down. The flat side should face up, away from the valve.
- Step 4: Press into place: Use your thumbs to press the diaphragm evenly around the entire circumference. You should feel it snap or seat firmly. Run a finger around the edge to verify no gaps. Checkpoint: if you hear a hissing sound when pressing, the seal is incomplete. Remove and reseat.
- Step 5: Test the seal: Attach the collection bottle and tubing, then turn on the pump at low speed. Place your palm over the bottle opening to create a seal. You should feel strong suction and no air leaks. Common mistake: skipping the test can lead to frustration mid-session. Always test before pumping.
Product facts
-
Universal Diaphragm 2 pack: This package includes two universal silicone diaphragms designed to fit Ameda pumps. All parts that contact breast milk are BPA-free. Having a spare diaphragm means you can swap it immediately if the current one fails, so you don't lose pumping time.
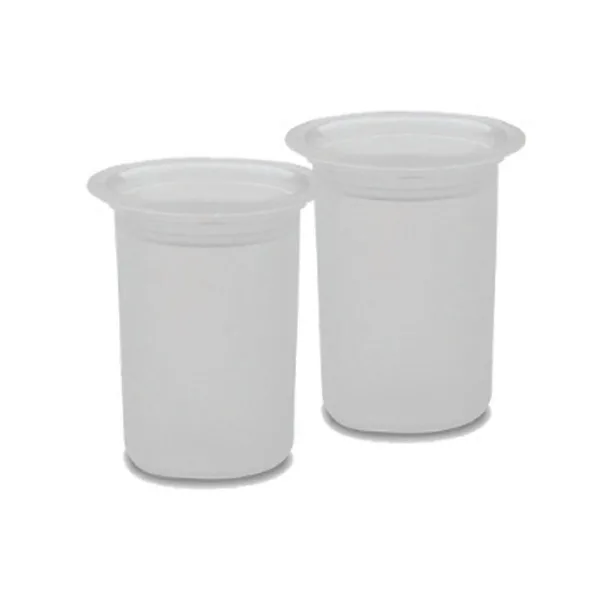
Universal Diaphragm 2 pack