Quick answer
Install a zipper by basting it to the seam first, then sewing it permanently with a zipper foot. Press the seam allowances flat before you topstitch, and always test your stitch length on scrap fabric. A zipper foot, a marking tool, and a few minutes of basting are the only real requirements.
A zipper looks intimidating until you break it into small, testable steps. The trick is to treat the zipper as a seam you build around, not a separate sewing project. You will baste it in place, check the alignment, and then stitch it permanently.
This beginner zipper tutorial walks through the full process from choosing the right zipper to finishing the topstitching. You will find the same checkpoints a sewing teacher would give you in class, plus the mistakes that cause most zipper frustration.
Choose the right zipper and prep your fabric
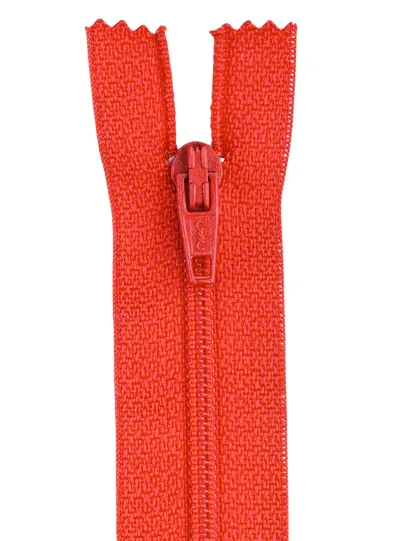
Zippers come in different lengths, tape widths, and tooth types. For a first project, a polyester coil zipper with a matching or contrasting tape is the most forgiving because it bends easily and does not require special handling. Measure the opening where the zipper will sit and choose a zipper that is at least as long as that opening. If you are sewing a bag or pouch, a zipper that is slightly longer than the opening is easier to manage because you can trim the excess after stitching.
Before you sew, press your fabric and interface the zipper opening if your pattern calls for it. Interfacing keeps the fabric from stretching as the zipper goes in. Mark the zipper placement on the wrong side of the fabric with a removable marker or chalk. If your fabric has a directional print, double-check that the zipper tape will not cover an important part of the design.
- Checkpoint: lay the zipper on the fabric before sewing. The pull should sit where you want it and the tape should not extend past the seam allowance.
- Common mistake: skipping the interfacing. Without it, the fabric can ripple and the zipper will look wavy.
Baste the zipper in place
Basting is the step beginners skip and later regret. Set your machine to a long stitch length, around 4 to 5 mm, and sew the zipper tape to the fabric close to the teeth. You are not aiming for a permanent seam yet. You are checking that the two sides of the opening meet evenly and that the zipper sits straight. If something looks off, you can rip out basting stitches in seconds.
Use a zipper foot for this step so you can sew right next to the teeth without hitting them. If you do not have a zipper foot, you can use a regular foot and move your needle position, but a zipper foot gives you much better control. Sew slowly, especially over any seams or thick layers.
- Checkpoint: open and close the zipper a few times while it is basted. It should glide smoothly and the fabric edges should meet without gaps.
- Common mistake: sewing too fast and catching the zipper pull. Stop with the needle down and move the pull out of the way.
Sew the permanent zipper seams
Once the basting looks right, switch to your regular stitch length, usually 2.5 mm, and sew the zipper in permanently. Start at the top of one side and sew down to the bottom, keeping your needle close to the zipper teeth. Then repeat on the other side. If your project has a seam allowance, sew exactly on that line so the zipper sits at the right depth.
For a clean finish, you can topstitch along the folded edge of the fabric after the zipper is sewn. This hides the zipper tape and gives a professional look. Topstitching also reinforces the zipper opening, which matters on bags and pouches that get a lot of use. Use a slightly longer stitch length for topstitching so the line stays smooth.
- Checkpoint: after sewing one side, close the zipper and check that the two sides align. If they do not, adjust before sewing the second side.
- Common mistake: sewing over the zipper pull. Pause with the needle down, lift the presser foot, and slide the pull past the needle.
Finish the ends and test the zipper
After the zipper is sewn, trim any excess zipper tape if you used a longer zipper. If the zipper end will be exposed, sew a small fabric tab or add a few hand stitches to secure the teeth. On bags, you can also add a small rectangle of fabric at each end for a finished look. Always test the zipper by opening and closing it several times before you call the project done.
If the zipper sticks, check for stray threads or fabric caught in the teeth. A quick pass with a lint roller or a pair of embroidery scissors can clear the problem. If the zipper pull feels loose, it may need a small crimp with pliers, but be gentle so you do not damage the pull.
- Checkpoint: run your finger along the zipper teeth. You should feel a smooth, even line with no bumps or fabric caught underneath.
- Common mistake: forgetting to secure the ends. An unsecured zipper end can pull apart after a few uses.
Zipper installation steps at a glance
- Measure and choose the zipper: Measure the opening and pick a zipper that is the same length or slightly longer. For a first project, use a polyester coil zipper. Checkpoint: the zipper should extend past both ends of the opening so you can trim it later.
- Interface and mark the fabric: Apply interfacing to the zipper opening and mark the placement on the wrong side with chalk or a removable marker. Common mistake: skipping interfacing, which leads to a wavy zipper.
- Baste the zipper in place: Use a long stitch length and a zipper foot to baste the zipper tape to the fabric close to the teeth. Checkpoint: open and close the zipper while basted to confirm smooth movement and even edges.
- Sew the permanent seams: Switch to a regular stitch length and sew both sides of the zipper, keeping the needle close to the teeth. Common mistake: sewing over the zipper pull. Stop and move it out of the way.
- Topstitch for a clean finish: Fold the fabric edge over the zipper tape and topstitch along the fold on both sides. Checkpoint: topstitching should be even and should not catch the zipper teeth.
- Trim, secure, and test: Trim excess zipper tape, secure the ends with a fabric tab or hand stitches, and test the zipper several times. Common mistake: forgetting to secure the ends, which can cause the zipper to pull apart.
Tools and materials that make zipper installation easier
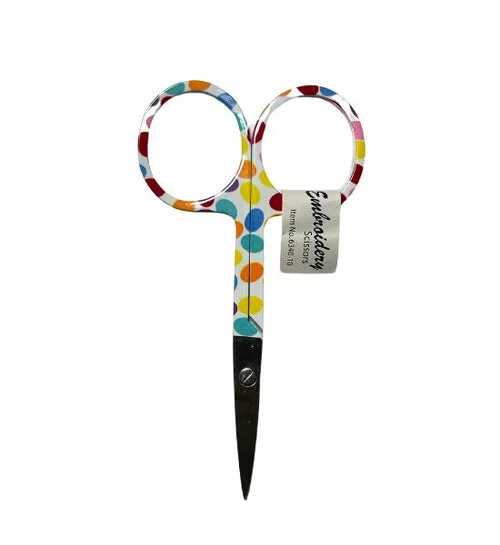
- Embroidery Scissors Sweets: Embroidery Scissors 3.75 inch with needlepoint tips. The fine, sharp tips let you trim stray threads and clip close to the zipper teeth without cutting the fabric or the zipper tape.
- Polyester Drawstring Cording - For the Crosscut Sewing Drawstring Backpack: Polyester cording, 6 mm (1/4") wide, sold in 3.5-yard pieces for the Crosscut Sewing Co. Drawstring Backpack Kit. If you are making a drawstring backpack or a similar project, this cording is the right size for the casing and pairs well with a zipper installation on the same bag.
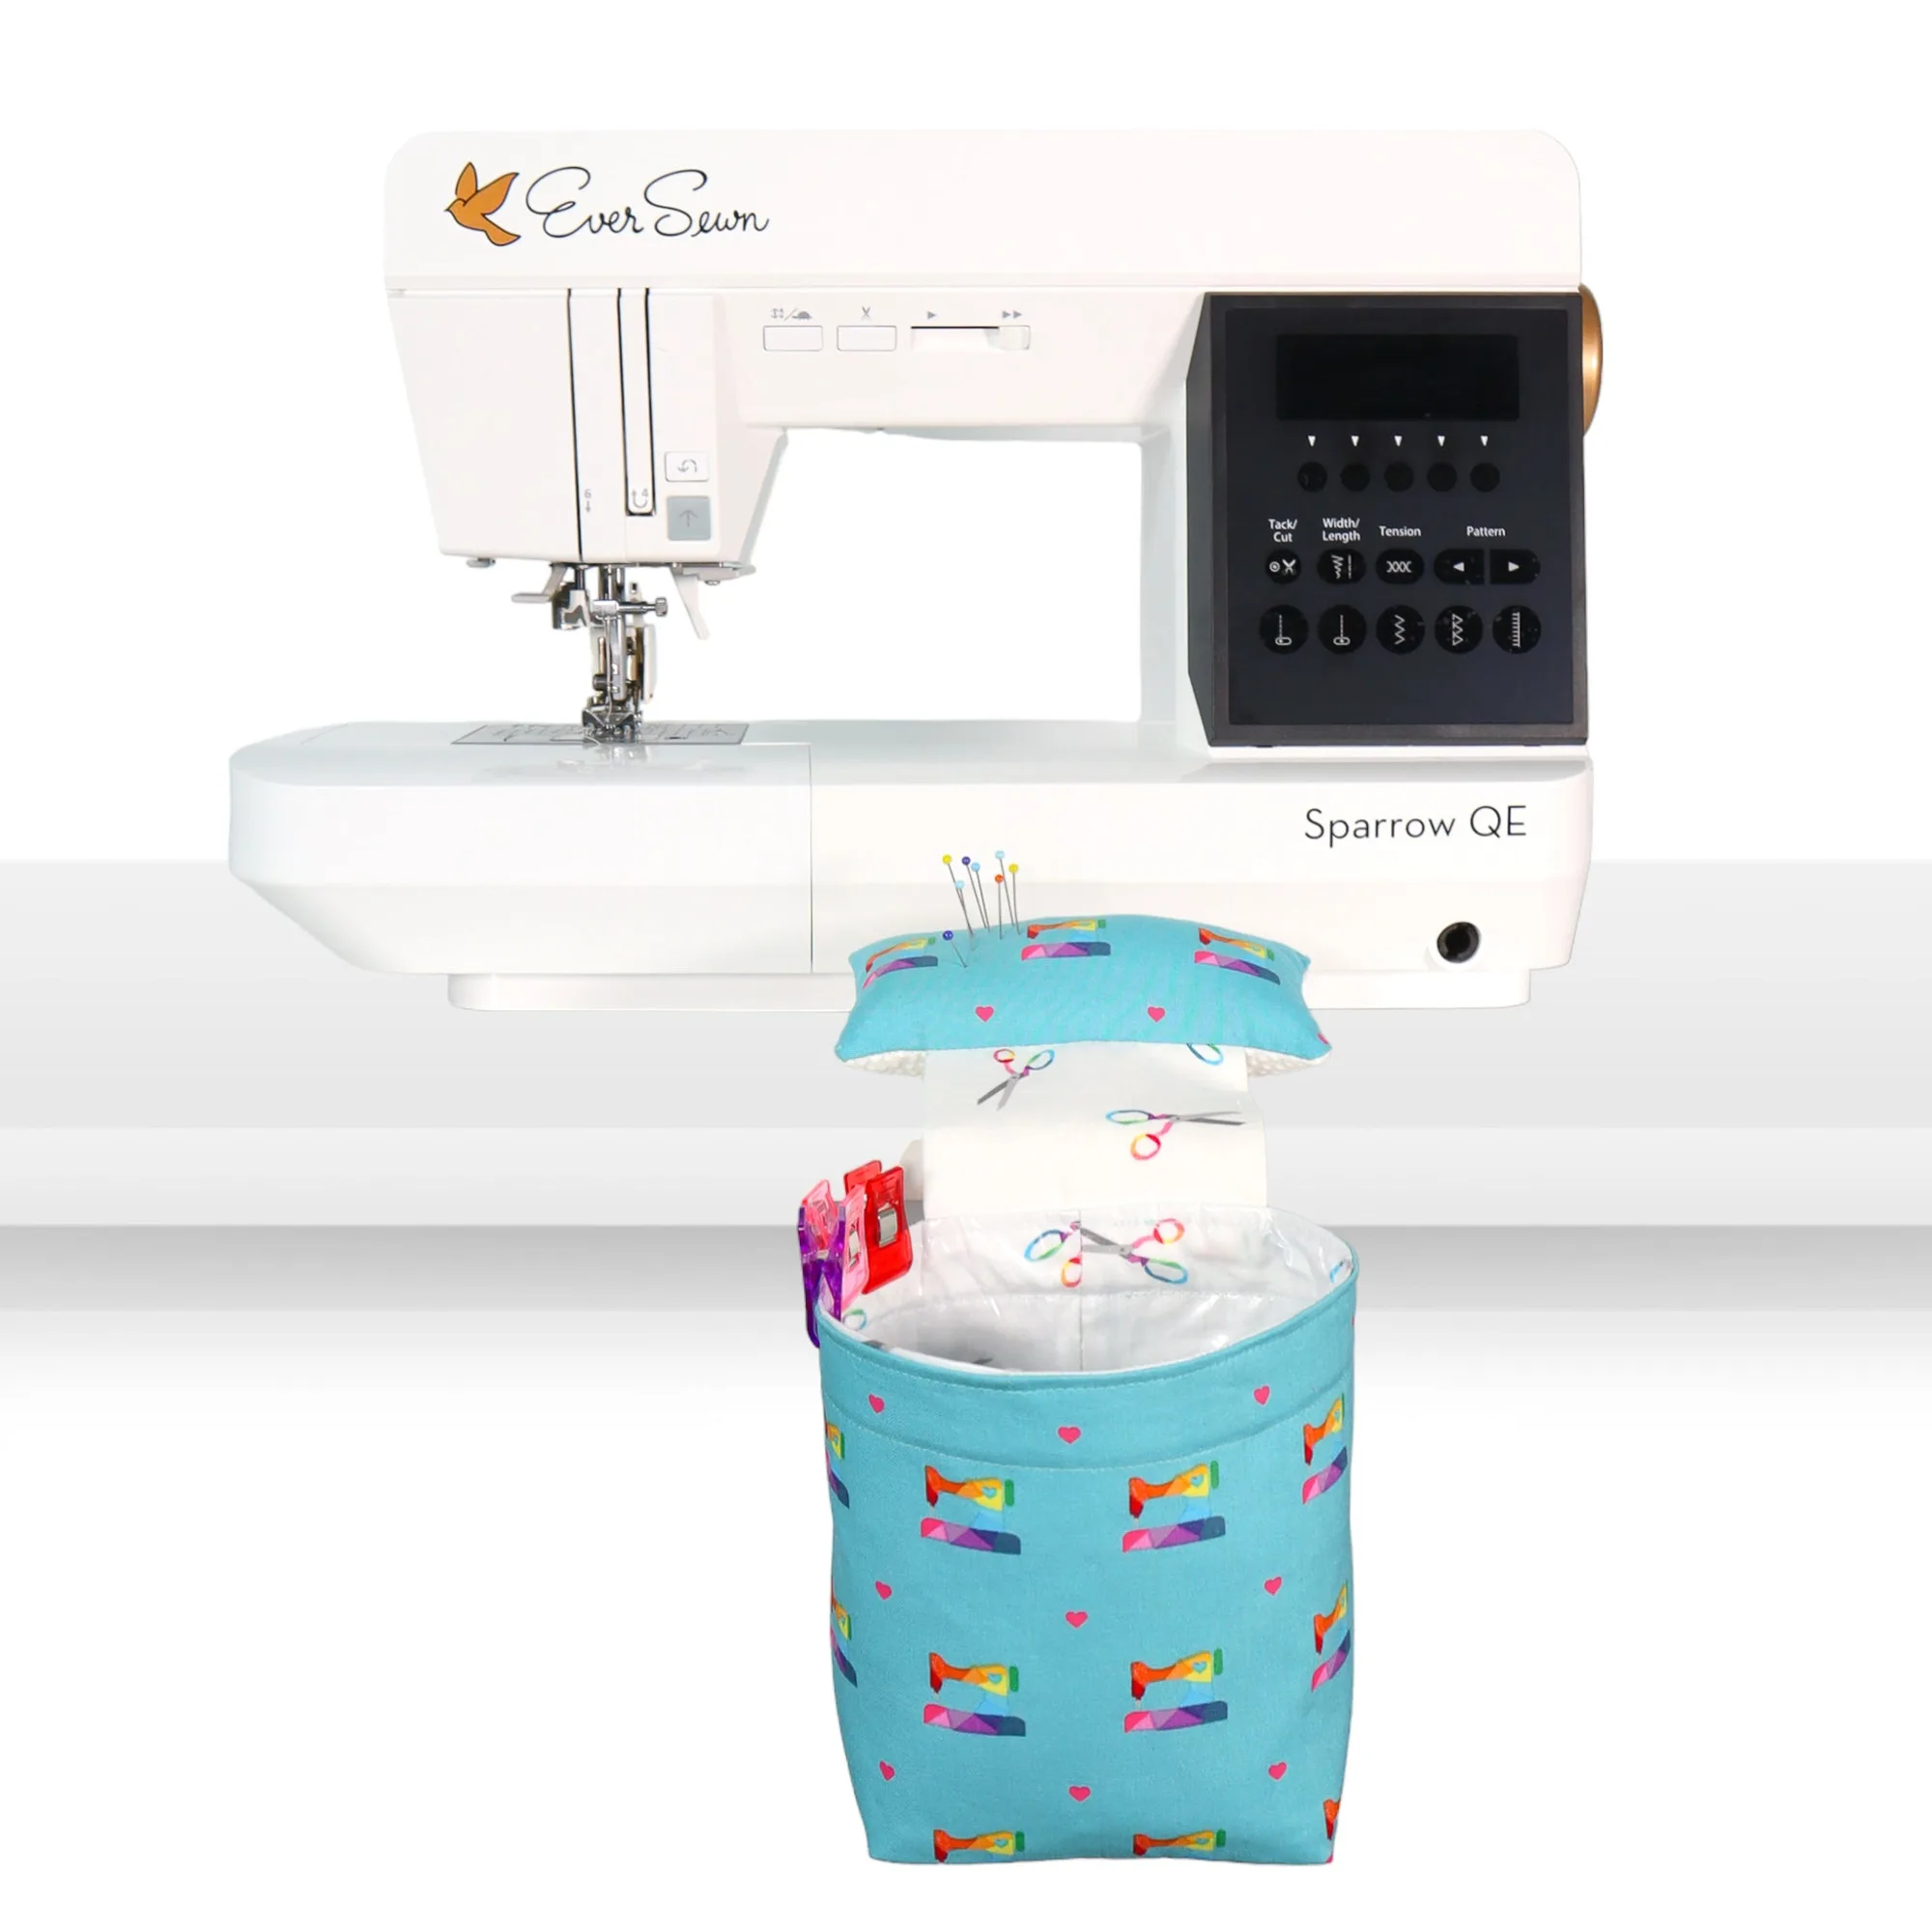
- Pin Cushion and Thread Catcher Sewing Kit: Beginner-friendly sewing project kit that makes a coordinated pin cushion and thread catcher, with a wipe-clean interior thanks to iron-on vinyl and a built-in strap. A thread catcher keeps loose threads and zipper trimmings off your workspace, which means fewer stray bits getting caught in your zipper teeth while you sew.
Installing a zipper is a skill you build one step at a time. Baste first, check the alignment, then sew permanently. With a zipper foot and a little patience, your next zipper will look clean and work smoothly.