Quick Answer
To install a zipper in a pouch, you'll need to prepare your zipper and fabric, pin the zipper to the fabric right sides together, sew using a zipper foot, then repeat for the other side. Press and topstitch for a clean finish.
Choosing the Right Zipper Size
For pouches and small bags, a #3 or #5 zipper works best. #3 is lighter and more flexible, ideal for coin purses and small cosmetic pouches. #5 is sturdier and better for medium to large pouches that will hold heavier items. Both sizes are available by the yard, so you can cut exactly what you need.
Zipper by the Yard vs. Pre-cut Zippers
Buying zipper by the yard gives you flexibility to customize the length for any pouch pattern. It also reduces waste and saves money. You'll need to add zipper stops or simply sew across the ends to secure the slider. Pre-cut zippers are convenient but may not match your project dimensions exactly.
Step-by-Step Zipper Installation for a Pouch
- Step 1: Cut and Prepare Your Zipper: Measure your pouch opening and cut a zipper 2 inches longer than that measurement. If using zipper by the yard, cut the tape and add a zipper stop or sew a bar tack 1/2 inch from the cut end to prevent the slider from coming off. For a double-slide zipper, cut the tape and install a second slider before adding stops. Always cut the zipper longer than needed; you can trim excess later.
- Step 2: Pin the Zipper to the First Fabric Side: Place the zipper face down on the right side of the fabric, aligning the zipper tape edge with the fabric edge. Pin in place, keeping the zipper teeth centered on the seam line. Use plenty of pins or wonder clips to prevent shifting. Pinning with the zipper closed helps keep everything aligned.
- Step 3: Sew the First Side: Attach a zipper foot to your sewing machine. Sew along the zipper tape, starting from one end and stopping at the zipper pull. Leave the needle down, lift the presser foot, and slide the zipper pull behind the needle to continue sewing. Backstitch at both ends. Stop and reposition the zipper pull to avoid breaking a needle.
- Step 4: Attach the Second Fabric Side: Lay the second fabric piece right side down on the other side of the zipper. Pin and sew as before, keeping the seam allowance consistent. For a neat finish, press the seam allowances away from the zipper teeth. Use a seam gauge to check that both sides have the same seam allowance.
- Step 5: Topstitch for a Professional Look: Press the fabric away from the zipper. From the right side, edgestitch close to the zipper teeth, catching both fabric layers and the zipper tape. This secures the seam allowances and gives a clean finish. Topstitching also prevents fabric from catching in the zipper.
- Step 6: Trim Excess Zipper Tape: Once the pouch is assembled, trim the zipper tape ends to 1/2 inch beyond the seam. Fold the tape under and stitch across to secure. Alternatively, add a fabric tab to cover the raw ends. Always trim after assembly to ensure the zipper is the correct length.
Product Recommendations
-
Grey Nylon Coil Zippers: Grey Nylon Coil Zippers are available by the yard in #3 and #5 sizes, with multiple coil color options. You can cut the exact length needed for your pouch, reducing waste and ensuring a perfect fit.
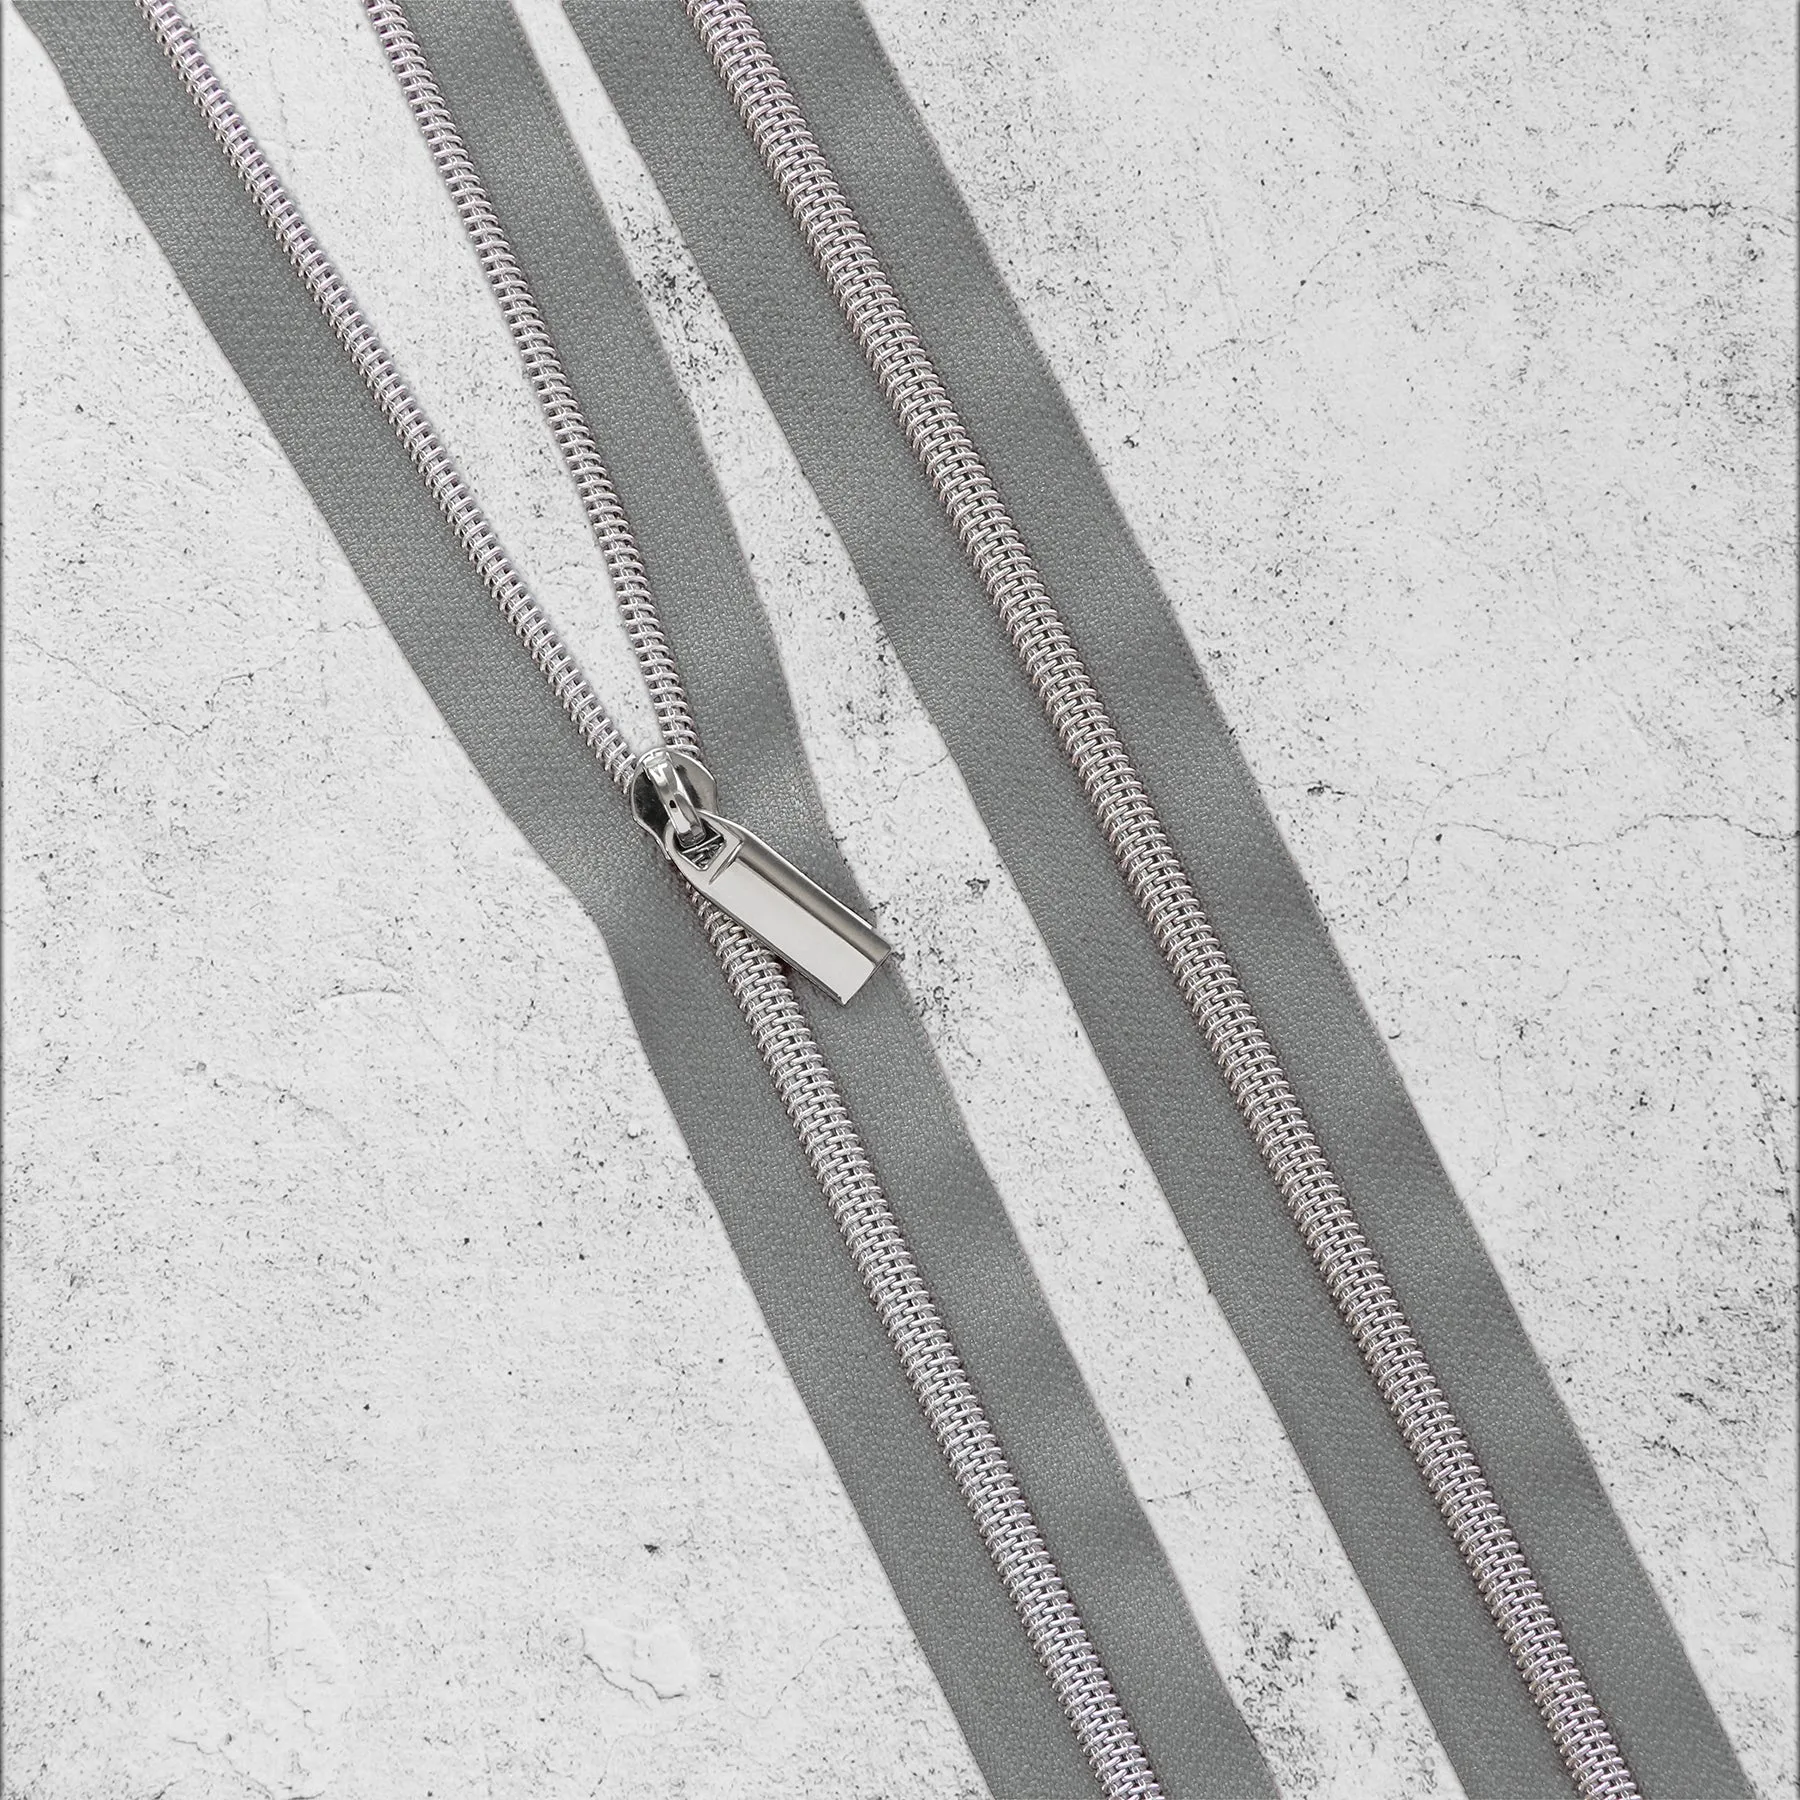
Grey Nylon Coil Zippers
-
Natural Nylon Coil Zippers: Natural Nylon Coil Zippers also come in #3 and #5 sizes, offering a neutral color that blends with many fabrics. A natural color is versatile for both light and dark fabrics, and the by-the-yard format lets you customize length.
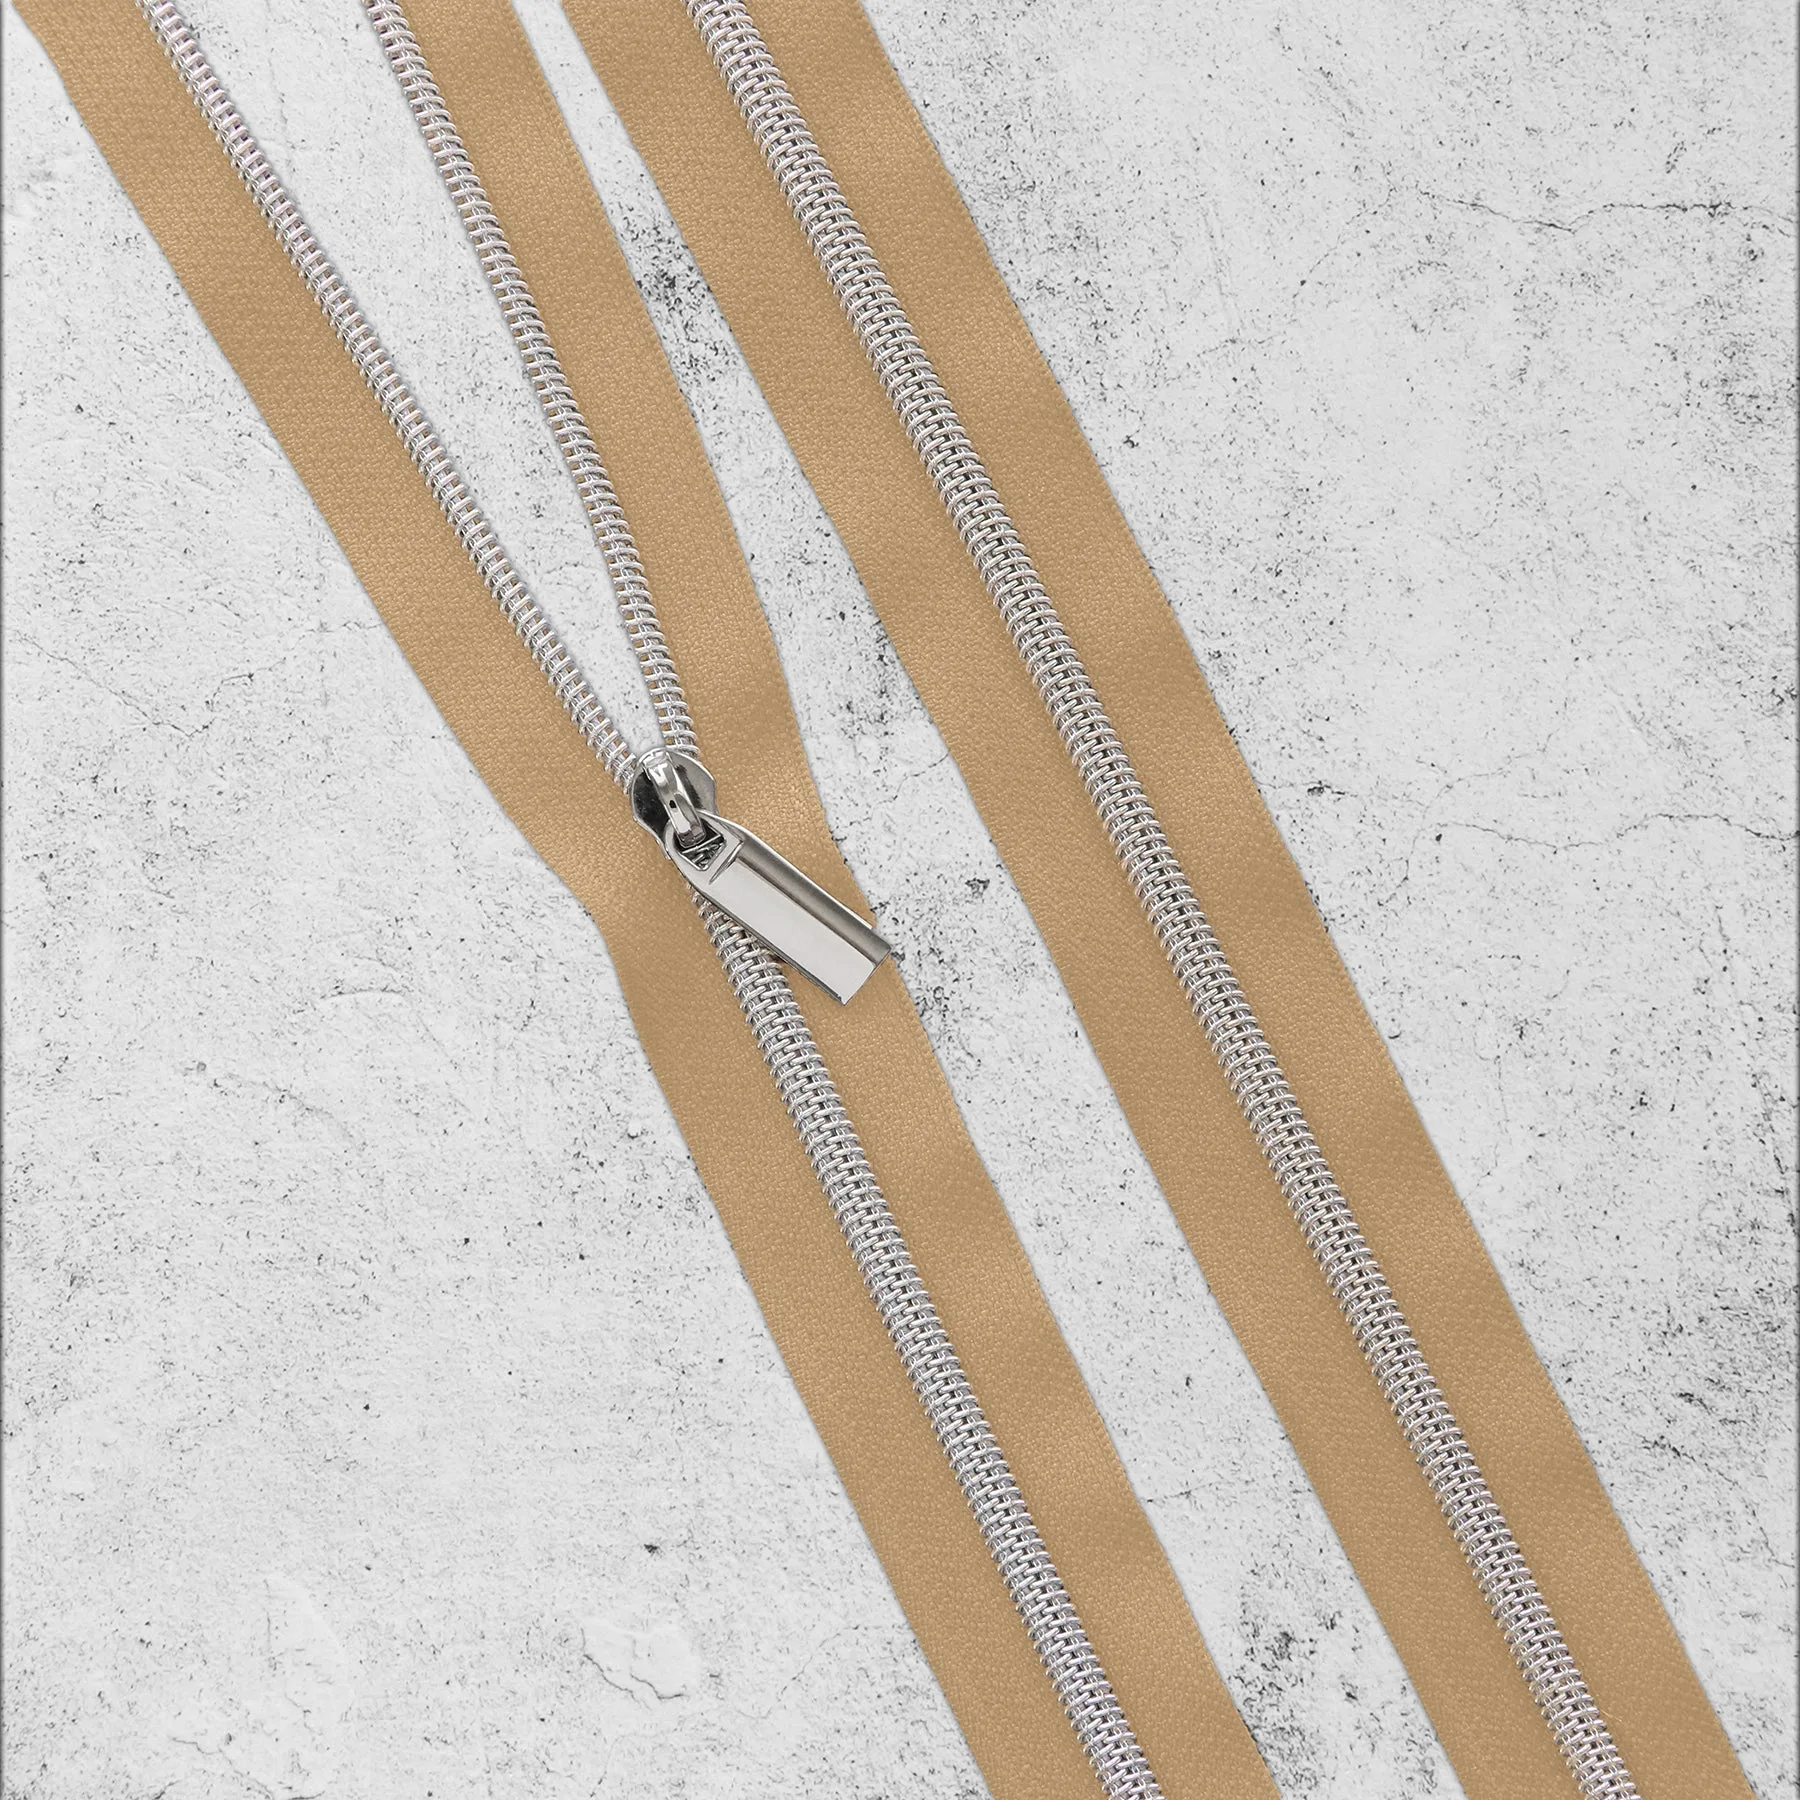
Natural Nylon Coil Zippers