Quick answer
To install an automatic chicken coop door opener, mount the unit securely, connect the battery pack, set the integrated timer, and test the failsafe mode. The ChickenGuard Automatic Chicken Coop Door Opener simplifies this with a pre-wired design.
What you need before starting
Before you begin, ensure your coop door slides smoothly and is free of obstructions. The opener works best with lightweight wooden or plastic doors. If your door is heavy or warped, consider sanding or replacing it to avoid motor strain.
You will need a drill, screwdriver, spirit level, and four AA batteries. The ChickenGuard opener runs on batteries only, so no mains wiring is required—this makes installation safer and more flexible.
Choosing the right location
Mount the opener on the inside of the coop, above the door, on a flat vertical surface. Avoid areas exposed to rain or direct sunlight. The opener's integrated timer and manual control are accessible from inside, so place it where you can reach easily.
If your coop has a sloped roof, you may need a mounting bracket (not included). Check that the opener arm aligns vertically with the door's top edge for smooth operation.
Installation steps
- 1. Prepare the door and mounting surface: Ensure the coop door slides freely. Mark the mounting holes on the inside of the coop, above the door, using the template provided. Use a spirit level to keep the opener straight. A common mistake is mounting the opener off-centre—this can cause the door to bind. Measure twice before drilling.
- 2. Mount the opener unit: Drill pilot holes and secure the opener with the supplied screws. Make sure it is firmly attached and does not wobble. The opener arm should be positioned to connect to the door's top edge. Over-tightening screws can strip the plastic housing. Hand-tighten until snug, then add a quarter turn.
- 3. Connect the door arm: Attach the opener arm to the door using the bracket and screws. Adjust the arm length so the door closes fully when the arm is retracted, and opens fully when extended. If the door does not close flush, the arm is too long. Shorten it by one hole at a time until the seal is tight.
- 4. Install the batteries and test: Insert four AA batteries into the battery pack. Press the manual open/close button to test the door movement. Check that the door opens and closes smoothly without hesitation. Use fresh alkaline batteries for best performance. Rechargeable batteries may not provide enough voltage for reliable operation.
- 5. Set the timer: Use the integrated timer dial to set the desired open and close times. The timer has a 24-hour cycle. Wait for the set time to verify the door opens or closes automatically. A common mistake is setting the timer incorrectly for AM/PM. Confirm the time of day before relying on the automatic schedule.
- 6. Enable failsafe mode: Activate the failsafe mode by following the instructions in the manual. This ensures the door will open or close if the timer malfunctions, preventing chickens from being trapped. Test the failsafe by simulating a timer failure (e.g., remove batteries briefly). The door should move to a safe position automatically.
Product fact
-
ChickenGuard Automatic Chicken Coop Door Opener: The ChickenGuard Automatic Chicken Coop Door Opener runs on 4 AA batteries and includes an integrated timer, full manual door control, and a unique failsafe mode. Battery operation means no mains wiring, making installation simpler and safer. The failsafe mode ensures the door opens or closes if the timer fails, giving peace of mind.
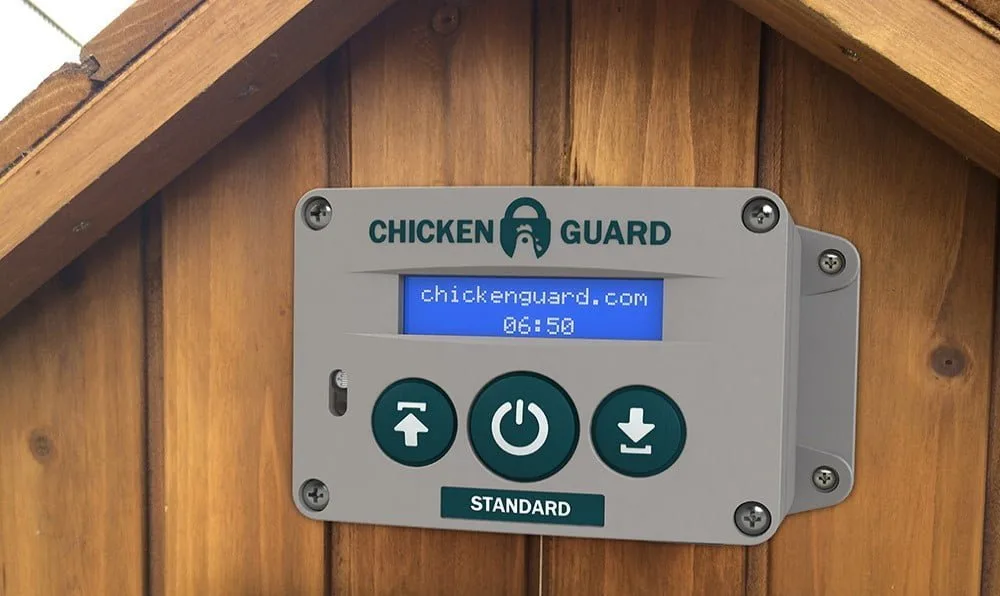
ChickenGuard Automatic Chicken Coop Door Opener