Installing a car seat correctly is one of the most important things you can do to keep your child safe on the road. The Clek Fllo is a popular convertible car seat known for its safety features and sleek design. Whether you're a new parent or upgrading from an infant seat, this guide will walk you through the entire process of installing your Fllo rear-facing.
In this comprehensive guide, we'll cover everything from preparing your vehicle to securing the seat with both the LATCH system and the vehicle seat belt. We'll also share tips on achieving the correct recline angle and troubleshooting common installation issues. By the end, you'll have the confidence to install your Fllo rear-facing correctly every time.
Before You Begin: Read the Manual and Gather Tools
Before starting the installation, it's crucial to read the owner's manual that came with your Clek Fllo. The manual contains specific instructions and safety warnings that are essential for proper installation. Additionally, consult your vehicle's owner manual to understand its LATCH limits and seat belt features.
You'll need a few tools to make the installation easier: a level (many Fllo seats have a built-in level indicator), a towel or pool noodle (if you need to adjust the recline angle), and your hands – that's it! The Fllo is designed for straightforward installation, so you won't need any special equipment.
- Check the Fllo's manual for rear-facing weight and height limits – typically up to 40 pounds and 43 inches.
- Verify that your vehicle's LATCH anchors are rated for the weight of your child plus the seat (usually around 65 pounds).
- If your vehicle doesn't have LATCH, you can use the seat belt installation method – both are equally safe when done correctly.
Step 1: Position the Fllo in the Back Seat
Place the Clek Fllo in the back seat of your vehicle in the desired position – typically the middle or outboard seat. The middle seat is often the safest, but only if the seat fits snugly. Ensure that the Fllo is facing the rear of the vehicle and that the base is flat against the seat cushion.
If your vehicle's seat has a deep contour, you may need to use a rolled towel or pool noodle under the front of the Fllo to achieve the correct angle. The Fllo has a built-in level indicator on the side – use it to ensure the seat is at the proper recline angle (usually between 30 and 45 degrees for rear-facing).
- The Fllo's built-in level indicator makes it easy to check the angle – the bubble should be within the lines.
Step 2: Install with LATCH (If Available)
If your vehicle has LATCH anchors, you can use them for installation. Locate the LATCH anchors in your vehicle – they are usually in the crease between the seat back and the seat cushion. The Fllo has two lower LATCH connectors that you'll attach to the vehicle anchors.
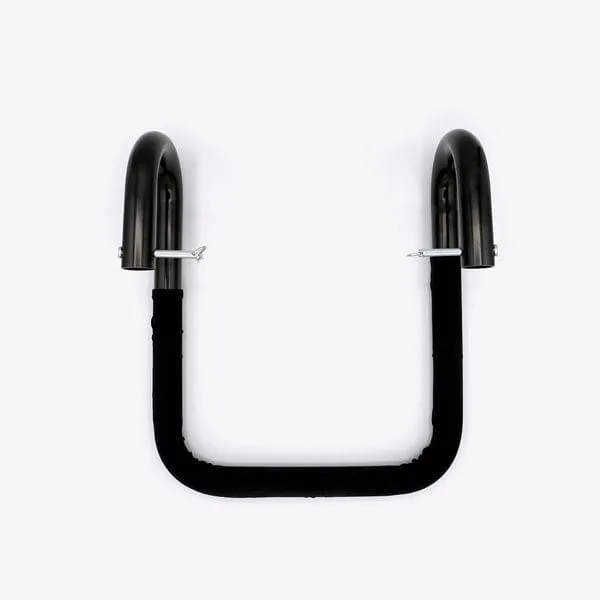
Attach the connectors to the anchors and tighten the straps by pulling the adjuster strap. You'll want to apply your weight to the seat as you tighten to get a snug fit. The seat should not move more than one inch side-to-side or front-to-back when properly tightened. If you have the Foonf/Fllo Anti-Rebound Bar installed, it adds extra stability and reduces rotation in a crash – we'll cover that in a later section.
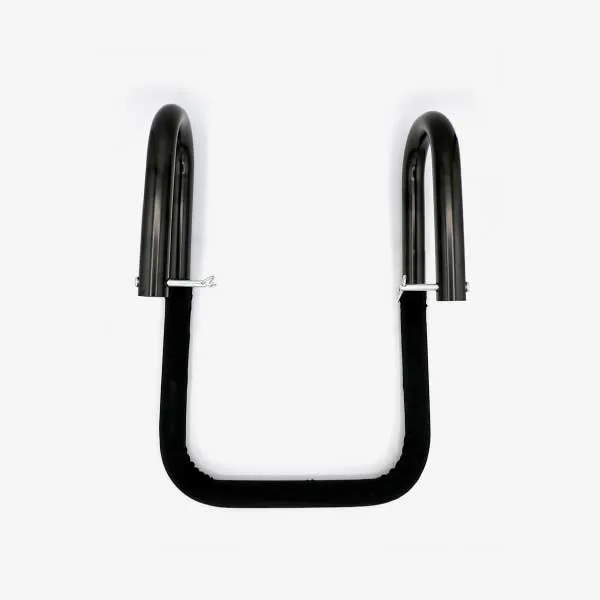
Fllo Anti-Rebound Bar
- Always check the LATCH weight limit in your vehicle's manual – if your child exceeds it, switch to seat belt installation.
Step 3: Install with the Vehicle Seat Belt
If your vehicle doesn't have LATCH or your child has outgrown the LATCH weight limit, you'll use the vehicle seat belt. Start by routing the seat belt through the rear-facing belt path on the Fllo. The belt path is clearly marked – consult your manual if you're unsure.
Buckle the seat belt and then engage the vehicle's lock-off mechanism (either the seat belt's built-in lock or the Fllo's lock-off). Pull the seat belt tight to remove any slack, and again, apply your weight to the seat as you tighten. The seat should be snug with no more than one inch of movement. If your vehicle has a shoulder belt that locks, you may need to use a locking clip – but the Fllo has a built-in lock-off that makes this easier.
- The Fllo's built-in lock-offs are designed to work with most seat belts, but always check your vehicle's manual for compatibility.
Step 4: Adjust the Recline Angle
For rear-facing, the Fllo should be installed at an angle between 30 and 45 degrees from vertical. This angle keeps your baby's head and neck supported and reduces the risk of breathing issues. The built-in level indicator on the side of the seat shows the correct angle – the bubble should be within the green zone.
If the seat is too upright, you can use a rolled towel or pool noodle under the front of the base to increase the angle. If it's too reclined, you can tighten the LATCH or seat belt further or adjust the towel. The Fllo also has a foot prop that can be extended to help achieve the correct angle in some vehicles – check your manual for how to use it.
- For newborns, a more reclined angle (closer to 45 degrees) is recommended. As your child grows, you can gradually make the seat more upright.
Step 5: Secure Your Child and Final Safety Checks
Once the seat is installed, place your child in the seat and adjust the harness. The harness straps should be at or below your child's shoulders when rear-facing. The chest clip should be at armpit level, and the harness should be snug – you shouldn't be able to pinch any webbing at the shoulders.
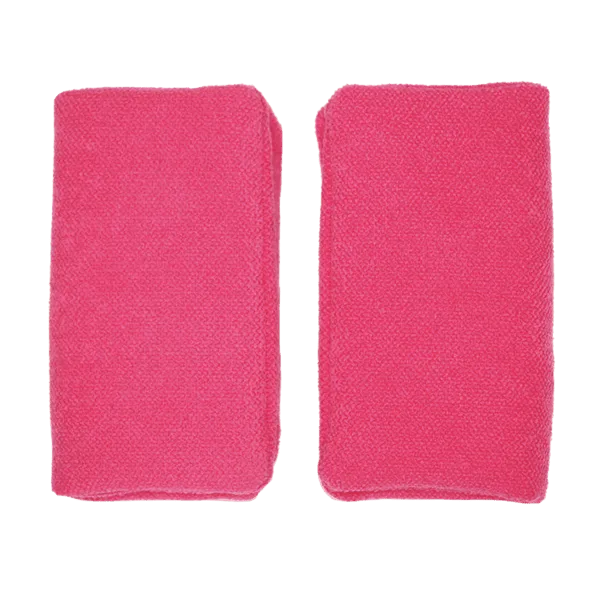
Do a final check: grab the Fllo at the belt path and try to move it. It should not move more than one inch in any direction. Check that the harness is not twisted and that the buckles are secure. If you have the Foonf/Fllo Crotch Buckle Pad, it can add extra comfort for your child – it's a simple accessory that snaps onto the buckle.
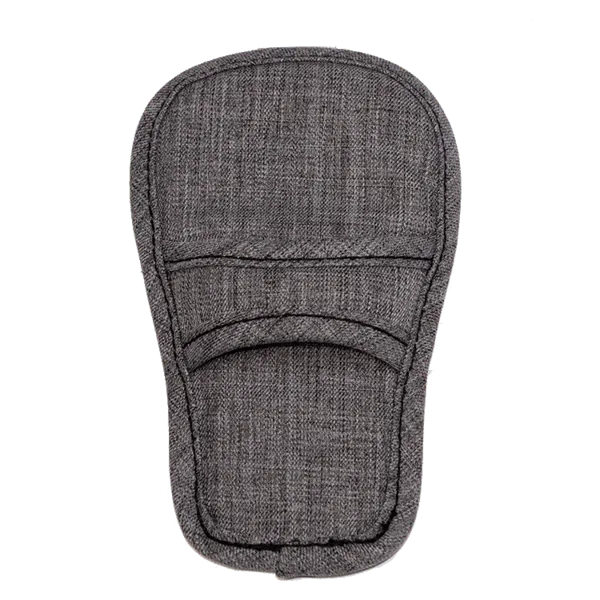
Foonf/Fllo Crotch Buckle Pad
- Always perform the pinch test on the harness straps – if you can pinch webbing, it's too loose.
- Never place a rear-facing seat in front of an active airbag.
Adding the Anti-Rebound Bar for Extra Safety
The Clek Fllo can be equipped with an optional Anti-Rebound Bar, which is a safety feature that reduces the rebound movement of the seat in a crash. If you have the Fllo Anti-Rebound Bar, install it according to the manual – it attaches to the base of the seat and rests against the vehicle seat back.
The Anti-Rebound Bar is particularly beneficial for rear-facing installation because it limits the rotational forces on the seat. It's easy to install and doesn't interfere with the seat belt or LATCH installation. If you're looking for replacement parts, the Foonf/Fllo Anti-Rebound Bar Locking Pins (set of 2) are available for purchase.
- The Anti-Rebound Bar is not required for safety, but it adds an extra layer of protection – many parents choose to install it.
Troubleshooting Common Installation Issues
Even with careful installation, you might run into issues like a loose fit or difficulty achieving the correct angle. If the seat moves more than one inch, try tightening the LATCH or seat belt again while applying your weight. If the angle is off, adjust the towel or foot prop.
If you're still having trouble, Clek provides a Foonf/Fllo Troubleshooting Tool that can help you diagnose installation problems. This tool is available on the Clek website and can guide you through common issues. Remember, it's always better to seek help from a certified child passenger safety technician if you're unsure – many fire stations and hospitals offer free checks.
- If your vehicle's seat belts are too short, you can use a seat belt extender – but check with your vehicle manufacturer first.
Installing your Clek Fllo rear-facing doesn't have to be complicated. By following these steps and consulting your manuals, you can ensure a safe and secure installation every time. For added convenience and protection, consider the Fllo Anti-Rebound Bar and other accessories. Remember, a correctly installed car seat is the best way to keep your little one safe on every journey.