Quick answer
To install FOX Shock Mounting Hardware, press the two beige flanged bushings into the shock eyelet, push the hollow pin through, center it with black Delrin spacers on each side, and place thin o-rings between the spacers and bushings to prevent contamination and premature wear.
Why proper installation matters
The FOX Shock Mounting Hardware assembly uses a flanged bushing eyelet design that relies on precise alignment and clean sealing. If the o-rings are missing or the spacers are off-center, dirt can enter the bushing area, leading to accelerated wear and reduced shock performance. Taking a few extra minutes during installation saves you from having to replace the hardware prematurely.
Step-by-step installation
- Press the flanged bushings into the eyelet: Insert one beige flanged bushing into each side of the shock eyelet. Use a bushing press or a flat-faced punch to seat them flush with the eyelet surface. Both bushings must be fully seated before you proceed. Common mistake: pressing only one bushing or leaving a gap. Check that both sides are flush.
- Insert the hollow pin through the bushings: Push the hollow pin through the center of both bushings. It should slide smoothly without forcing. If it binds, the bushings may not be aligned—back out and re-seat them. If the pin is hard to push, the bushings are misaligned. Remove and re-press them.
- Center the pin with Delrin spacers: Slide one black Delrin spacer onto each side of the pin, between the shock eyelet and the mounting bracket. The spacers should sit snugly against the flanged bushings, centering the pin in the eyelet. Check that both spacers are equally spaced from the eyelet edges; uneven spacing means the pin is off-center.
- Install the o-rings between spacers and bushings: Place one thin o-ring between each Delrin spacer and its adjacent flanged bushing. The o-rings must sit flat, not twisted, to create a seal that blocks contamination. Twisted or missing o-rings are the most common cause of early bushing wear. Inspect each o-ring before final assembly.
- Tighten the mounting bracket bolts: Align the mounting bracket over the spacers and tighten the bolts to the torque spec in your shock manual (typically 8–12 Nm). Tighten evenly in a cross pattern to keep the pin centered. Over-tightening can crush the Delrin spacers; use a torque wrench and follow the manufacturer value.
Product details
-
FOX Shock Mounting Hardware: The flanged bushing eyelet hardware assembly is made up of two beige colored flanged bushings that are pressed into the shock eyelet. A hollow pin is pushed through the flanged bushings and centered by black Delrin spacers on either side of the eyelet. The Delrin spacers prevent the pin from shifting sideways, which keeps the bushing wear even and the shock mounting secure during riding.
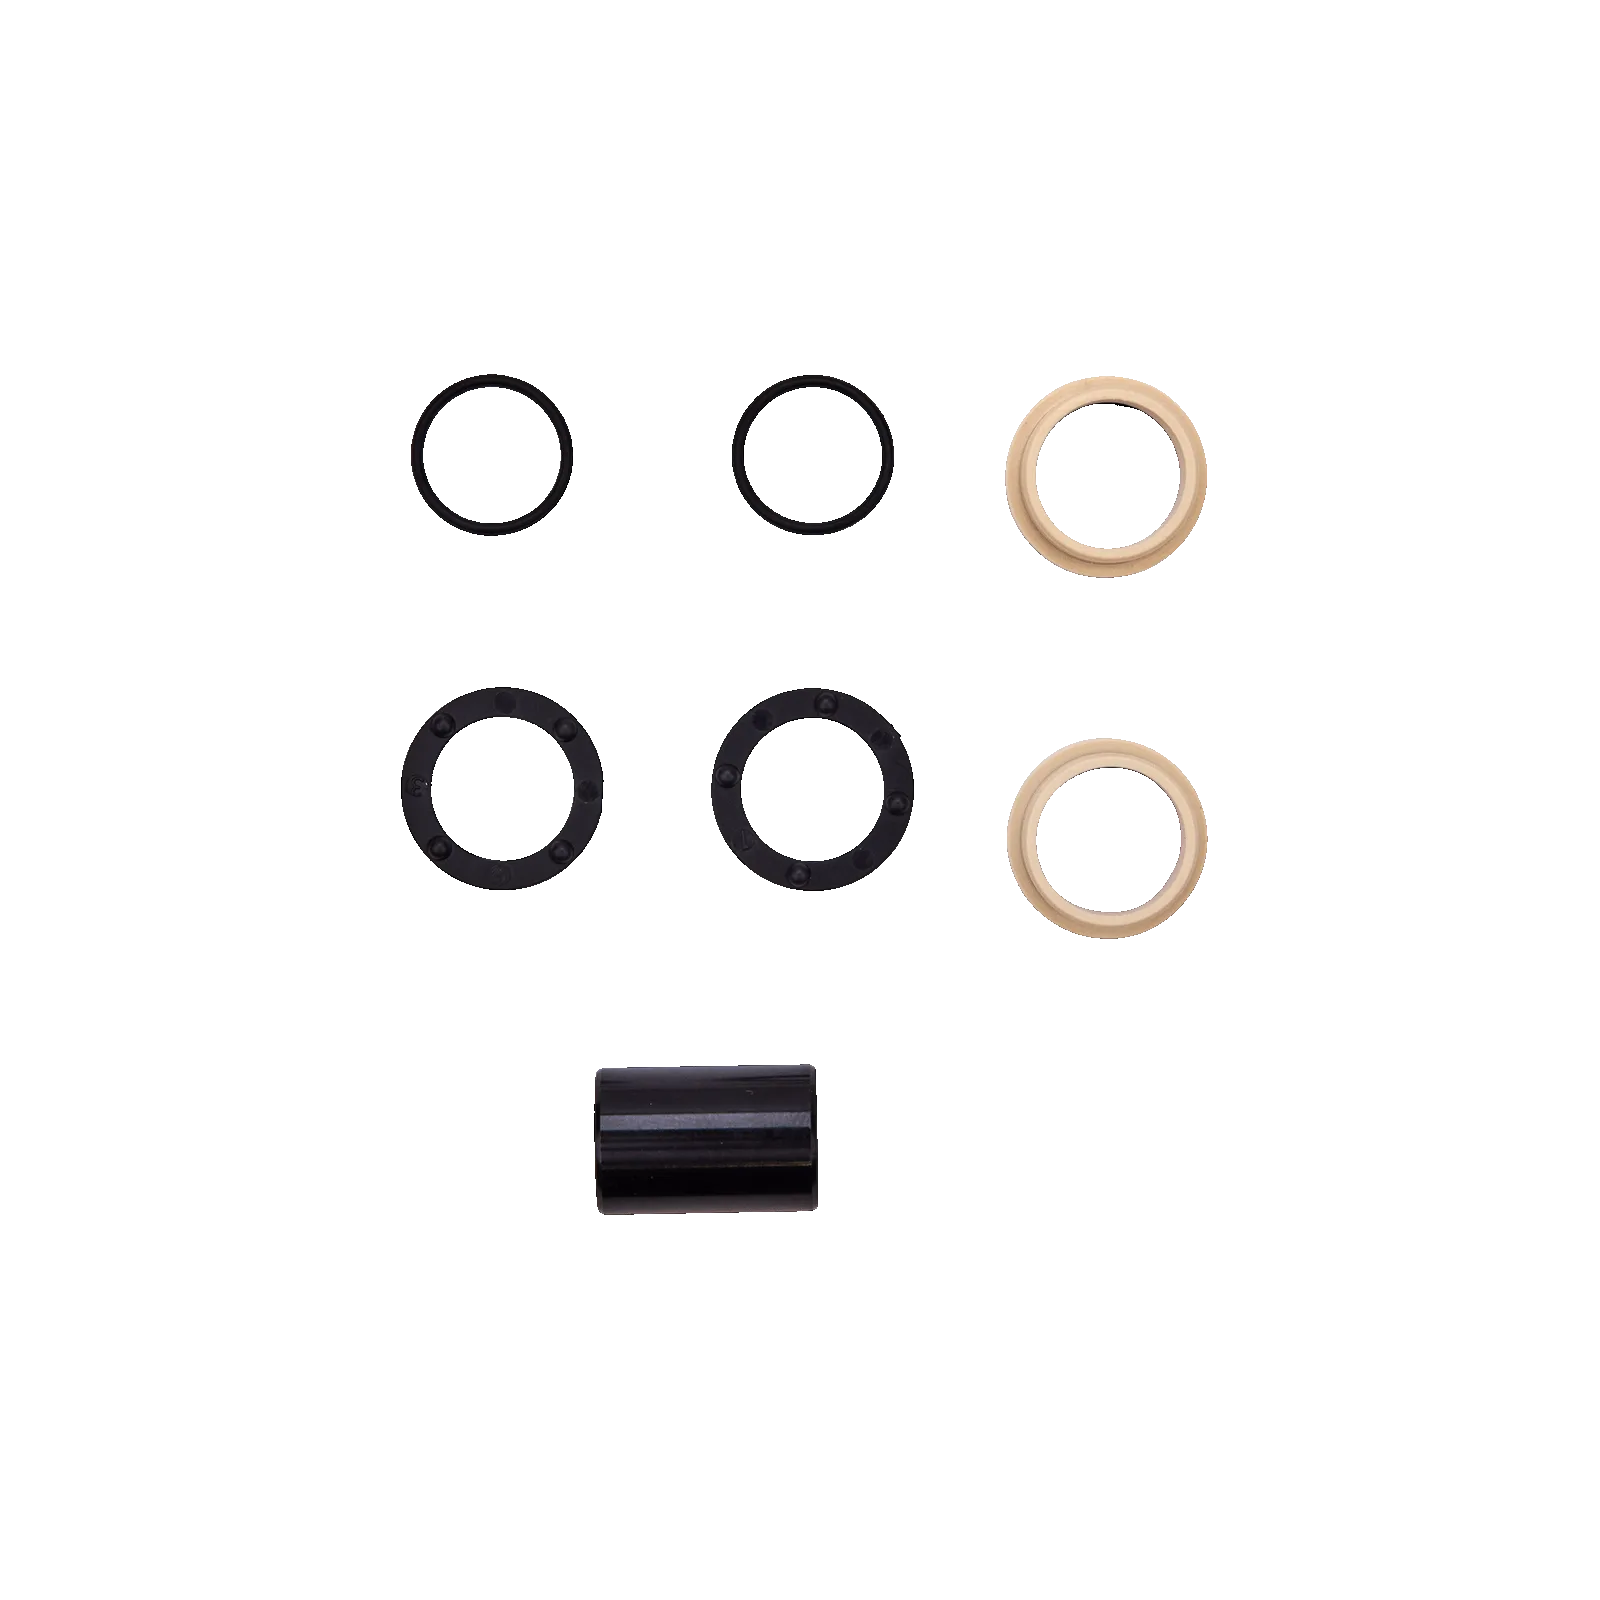
FOX Shock Mounting Hardware
-
FOX Shock Mounting Hardware: Thin o-rings go between the spacers and flanged bushings to prevent contamination and premature bushing wear. Those small o-rings are the only barrier against grit entering the bushing interface; forgetting them can cut the hardware service life in half.