Quick answer
Mount a 7' Turbo Tube Slide by attaching the top bracket to the play deck rim joist with the supplied lag bolts, then securing the adjustable footer to the slide's bottom ring. The Quick Connect Turbo Tube Slide uses 60% fewer hardware pieces than other tube slides, so most of the work is aligning the top bracket square to the deck before you drive any bolts.
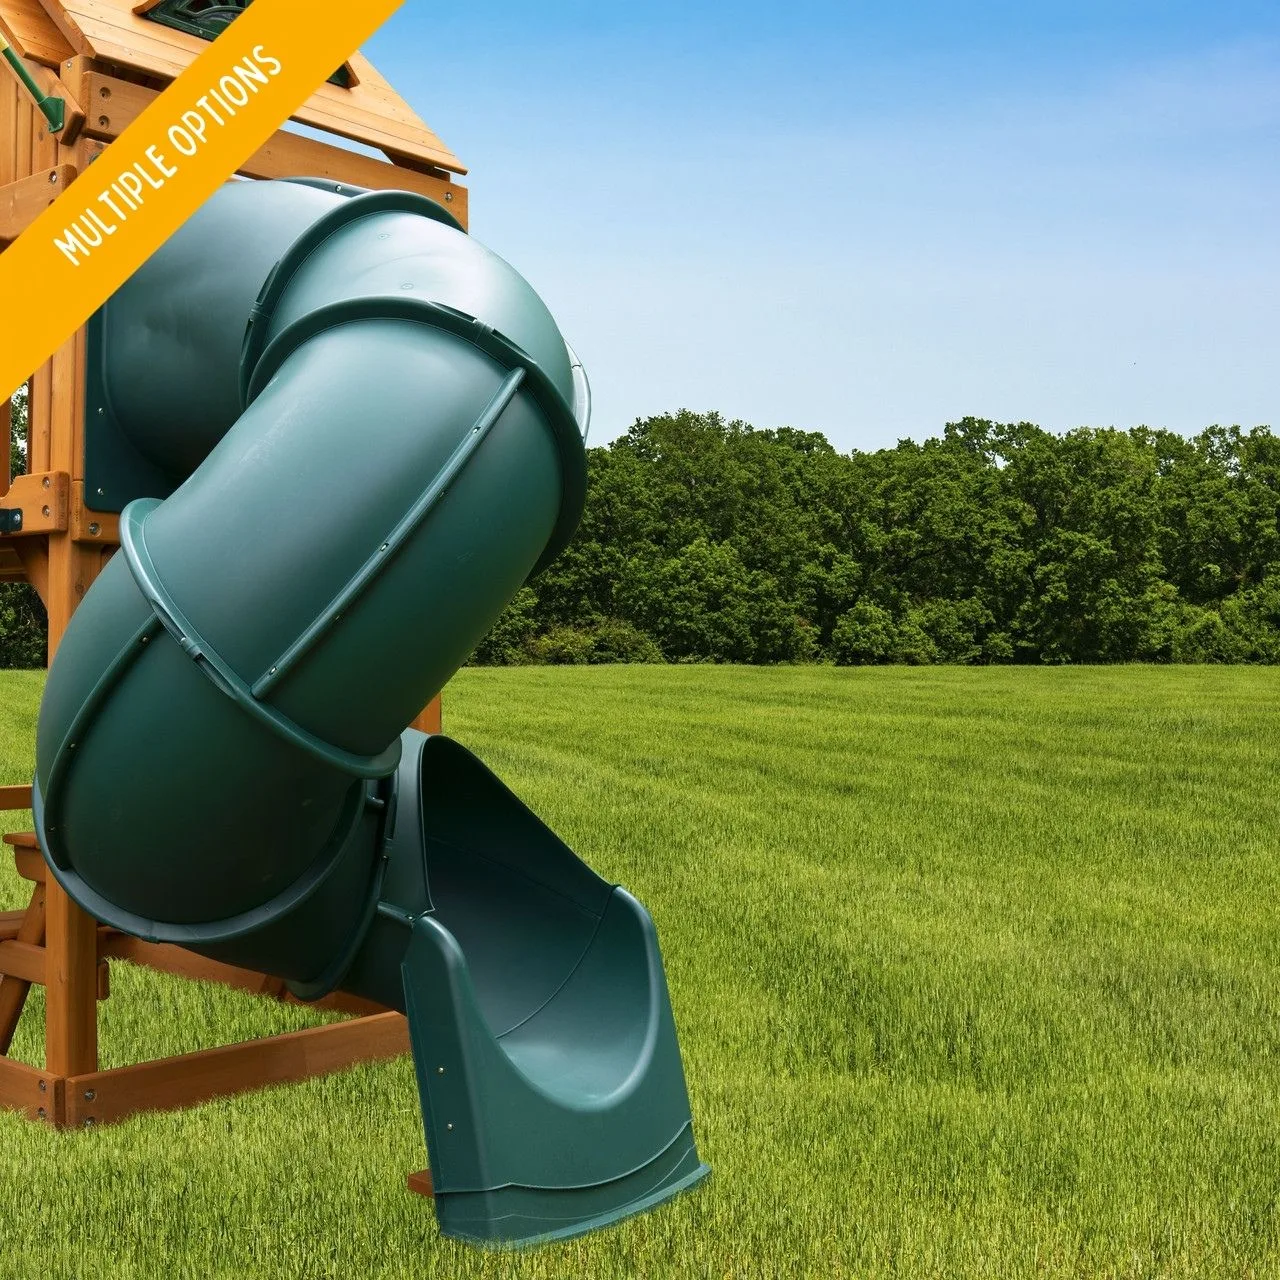
Quick Connect Turbo Tube Slide
A 7' Turbo Tube Slide adds a fast, enclosed ride to your swing set, but the mounting hardware is what keeps it safely attached to the deck. If the top bracket is off-level or the footer is not anchored, the slide can shift every time a child climbs in.
This guide walks through the bracket installation sequence for a 7' tube slide, with checkpoints for the mistakes that cause most wobbles and re-dos. The steps apply to the Quick Connect Turbo Tube Slide and similar tube slide designs.
Before you start: what to gather
Clear the area under the deck and set out the slide, the mounting hardware bag, a drill with the correct bit, a level, a tape measure, and a helper. Tube slides are awkward to hold and bolt at the same time, so a second person saves a lot of frustration.
Check that your deck height matches the 7' slide. The slide's top opening needs to sit at or just below the deck surface so the entry is smooth. If the deck is too high or low, the bracket will not align properly and you may need a different slide length.
- Lay out all hardware pieces before climbing the ladder; missing pieces are easier to spot on the ground.
- Confirm the deck rim joist is solid wood, not just a fascia board, before drilling.
Position the top bracket on the deck
Hold the top mounting bracket against the deck rim joist at the slide opening. The bracket should sit flush and level, with the slide's entry chute pointing away from the deck. Mark the bolt holes with a pencil or a small drill bit.
The most common mistake here is mounting the bracket to a single board that flexes. The bracket needs to span a solid rim joist or be backed with a blocking board so the bolts bite into structural wood. If the bracket rocks when you press it, add blocking before you drill.
- Use a level across the bracket, not just the deck, to confirm it is square.
- Pre-drill pilot holes to prevent splitting the wood, especially with cedar.
Bolt the bracket to the deck
Drive the supplied lag bolts through the bracket and into the rim joist. Tighten them snug, but stop before the wood starts to crush. Over-tightening can strip the hole and weaken the hold, which is a common cause of a slide that loosens over time.
Once the top bracket is secure, lift the slide's top ring into the bracket. The Quick Connect Turbo Tube Slide uses ring joints and pre-molded nuts, so the slide should seat into the bracket without forcing. If it does not fit, the bracket is likely rotated or off-level.
- Checkpoint: give the bracket a firm pull; it should not move at all.
- If a bolt spins freely, the hole is stripped. Move up one bolt size or add a backing block.
Secure the adjustable footer
Extend the slide's adjustable footer to the ground and anchor it with the supplied stakes or bolts. The footer keeps the bottom of the tube from kicking out when kids land. On grass, drive stakes through the footer holes; on a hard surface, use the appropriate anchors for that surface.
A frequent mistake is leaving the footer resting on top of the ground without anchoring. That lets the slide shift sideways over weeks of use. Also check that the footer is not buried so deep that the slide's exit angle becomes too steep.
- The slide exit should meet the ground at a gentle angle, not a drop-off.
- Re-check the footer after the first week of use and tighten if needed.
Final safety check
With the slide fully mounted, push and pull the tube in several directions. There should be no side-to-side play at the top bracket and no lift at the footer. Run a hand along the inside of the tube to confirm no bolt ends or rough edges protrude into the slide path.
Check the connection between the slide and the deck for gaps that could pinch fingers. If the slide meets the deck with a sharp lip, adjust the bracket height or add the manufacturer's transition piece if one is supplied. Re-tighten all hardware after the first few days of play.
- Checkpoint: all bolts snug, footer anchored, no sharp edges inside the tube.
- Re-check hardware seasonally and after heavy rain or ground settling.
Install steps at a glance
- Check deck height and gather tools: Confirm the deck matches the 7' slide and set out hardware, drill, level, and a helper. Mismatched height is the top reason brackets do not line up.
- Mark and level the top bracket: Hold the bracket flush to a solid rim joist, level it, and mark the bolt holes. If the bracket rocks, add blocking before drilling.
- Bolt the bracket to structural wood: Pre-drill and drive the lag bolts snug, stopping before the wood crushes. A spinning bolt means a stripped hole; upsize or back it with blocking.
- Seat the slide into the bracket: Lift the top ring into the bracket and confirm the ring joints and pre-molded nuts line up. If it will not seat, the bracket is rotated or off-level.
- Anchor the adjustable footer: Extend the footer to the ground and stake or bolt it down, checking the exit angle. An unanchored footer lets the slide walk sideways over time.
- Run the final safety check: Push and pull the tube, feel inside for protruding hardware, and re-tighten after a few days. Re-check seasonally and after ground settling.
Product facts that affect this install
- Quick Connect Turbo Tube Slide: Uses 60% fewer hardware pieces than other tube slides, with ring joints, pre-molded nuts, and an adjustable footer. Fewer loose pieces means less time sorting bolts, and the adjustable footer lets you fine-tune the ground contact without extra parts.
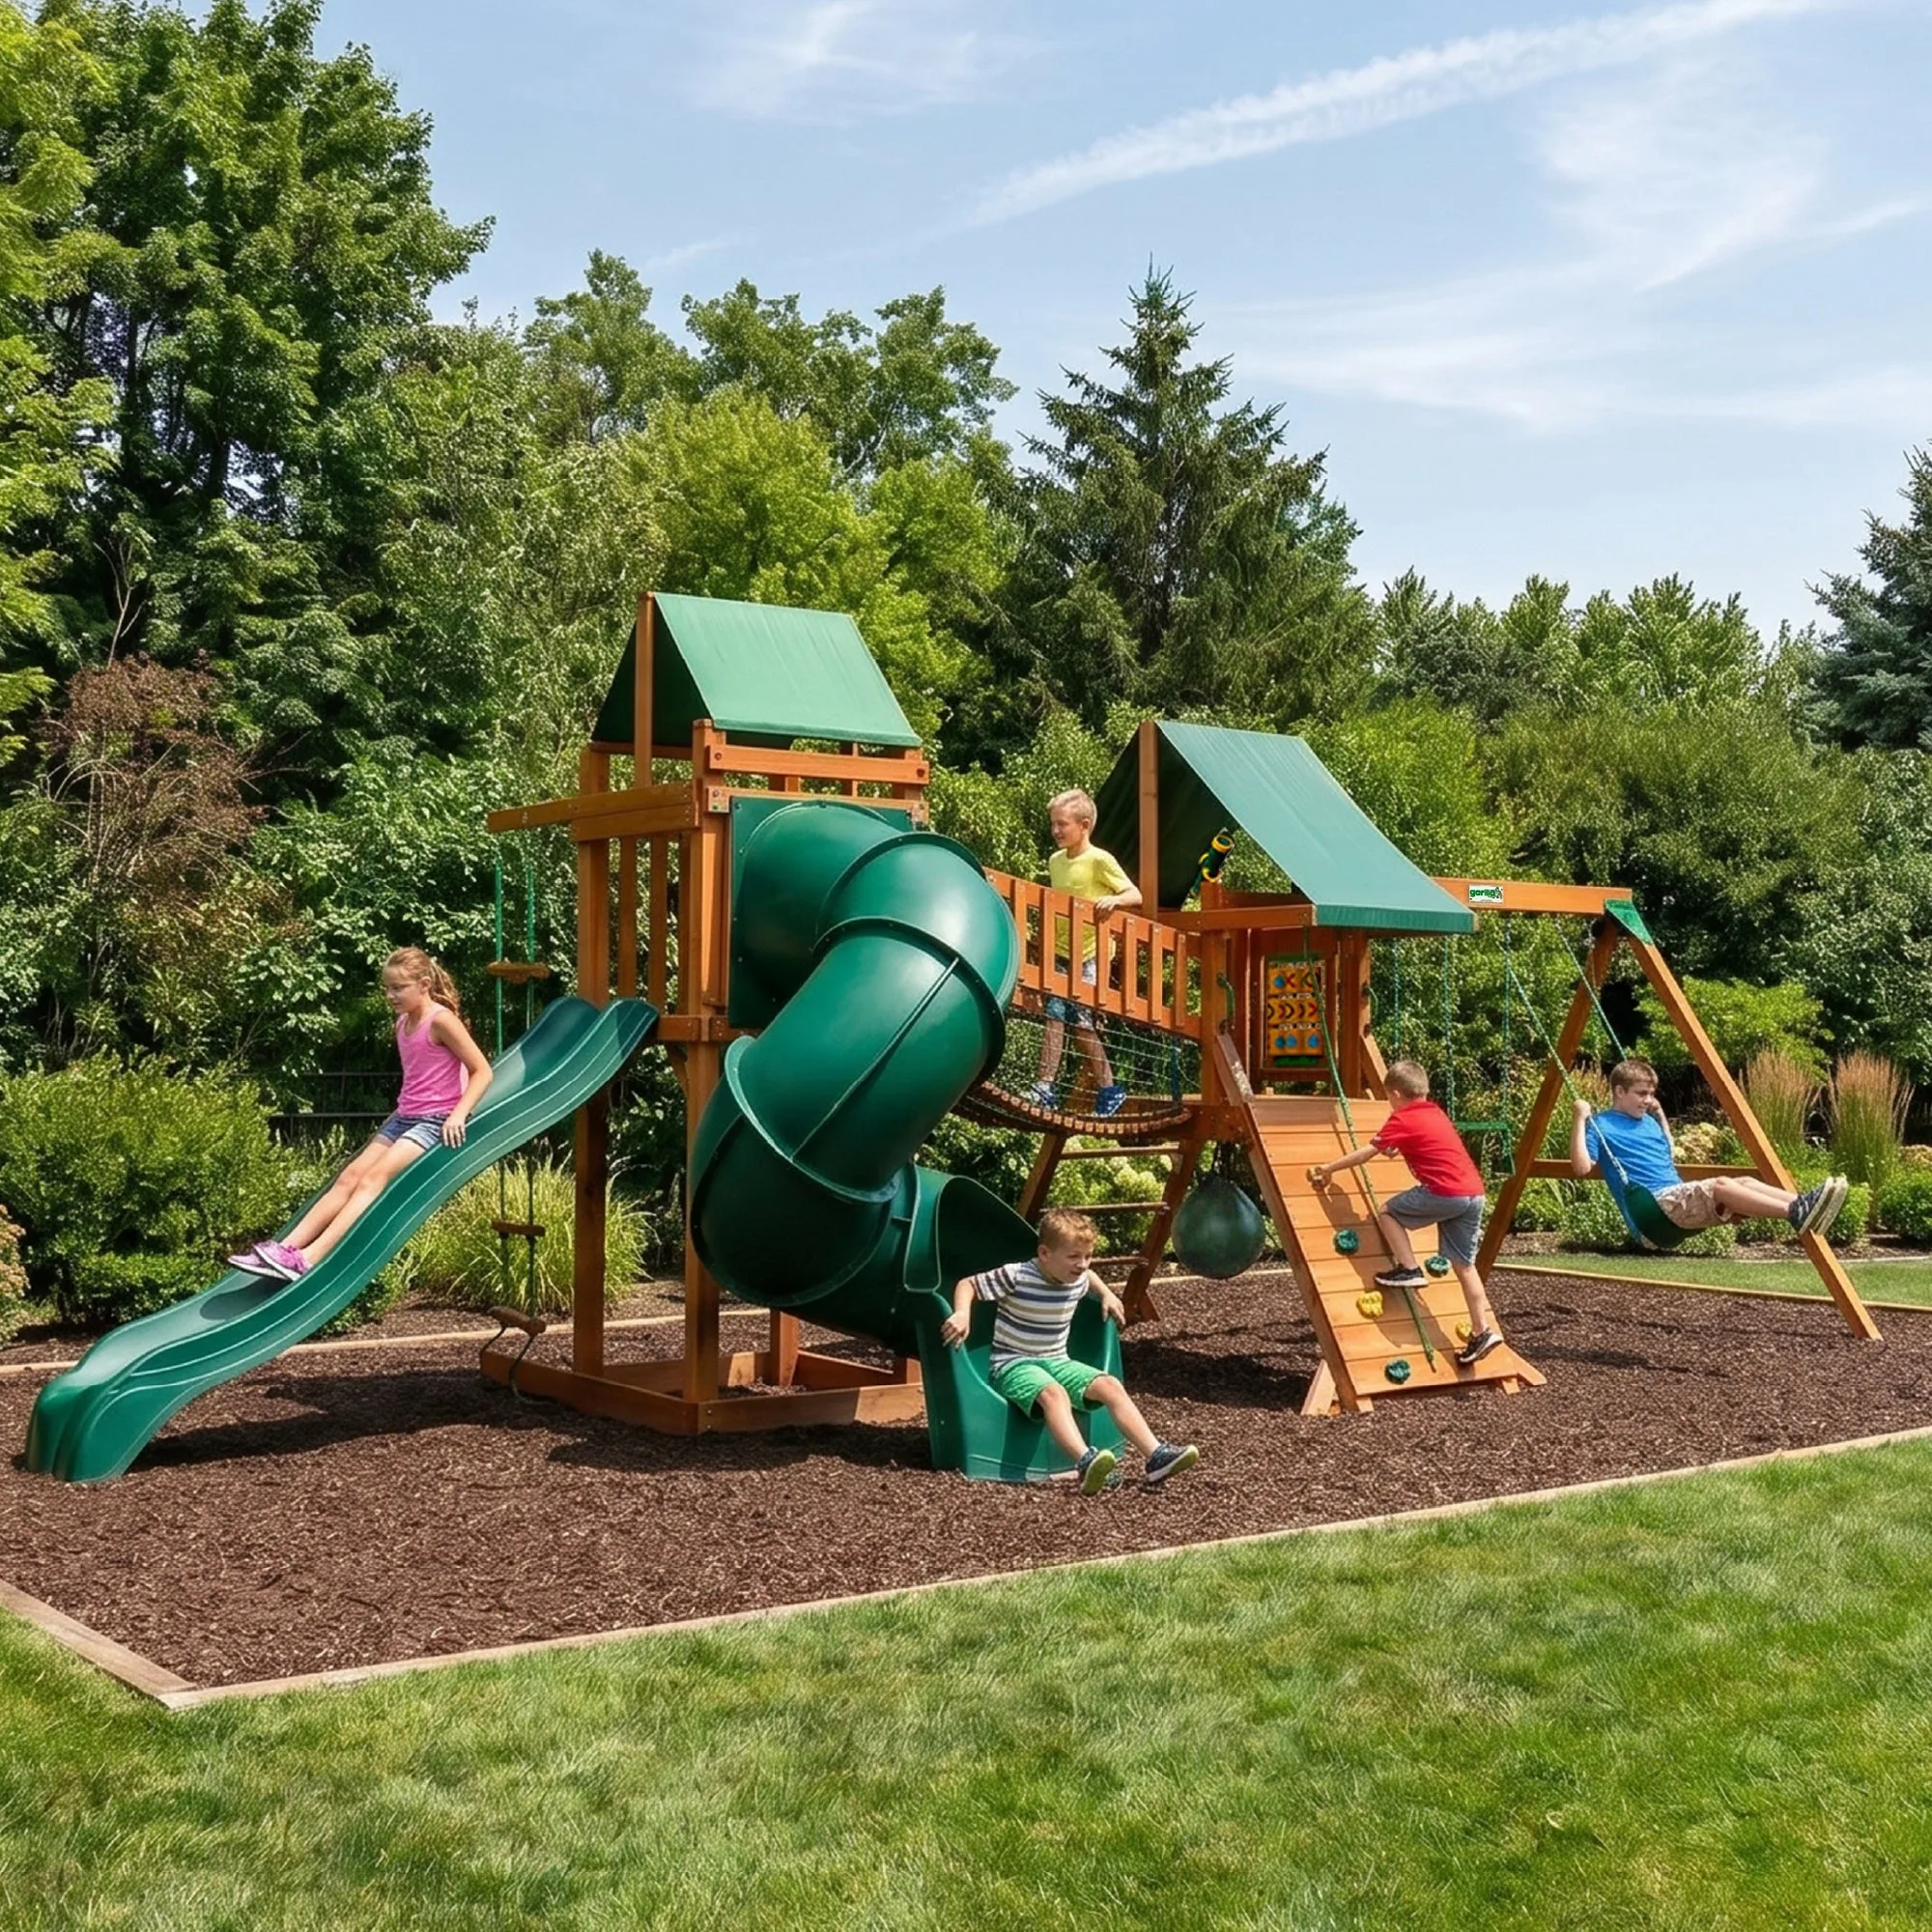
- High Point Deluxe Swing Set: Includes a Turbo Tube Slide and a sandbox area, with two towers connected by a clatter bridge. If your slide is part of this set, mount the top bracket to the tower deck rim joist and keep the sandbox clear of the slide exit.
Mounting a 7' Turbo Tube Slide comes down to a solid, level top bracket and an anchored footer. Take the extra minute to add blocking and pre-drill, and the slide will stay tight through seasons of play.