Quick answer
To install a no-bottom baby gate safely, choose a hardware-mounted model, measure your opening accurately, and follow a precise mounting sequence to avoid gaps and instability.
Why No-Bottom Gates Need Special Attention
No-bottom baby gates eliminate the tripping bar at the floor, making them ideal for doorways and high-traffic areas. However, because they rely entirely on wall or door frame mounting, getting the installation right is critical for safety.
A common mistake is assuming all gates fit the same way. No-bottom gates often require specific hardware and precise measurements to ensure the gate swings or slides without leaving dangerous gaps.
Step-by-Step Installation Guide
- Measure the opening accurately: Use a tape measure to find the width of the doorway or stair opening at the top, middle, and bottom. No-bottom gates need a consistent width within the manufacturer's range. Check that your opening is between the minimum and maximum width listed for the gate. A mismatch means the gate won't secure properly.
- Mark the mounting points: Hold the gate in position and use a level to mark where the brackets attach to the wall or door frame. Ensure marks are level and at the correct height above the floor. Double-check that brackets are at the same height on both sides. Uneven mounting will cause the gate to bind or leave a gap.
- Drill pilot holes and install anchors: Drill pilot holes at your marks. If you're mounting into drywall, insert wall anchors rated for the gate's weight. For wood frames, use screws directly into the studs. Never skip anchors for drywall. A no-bottom gate's entire weight hangs on these points—failure here means the gate falls.
- Attach the mounting brackets: Screw the brackets securely into the anchors or studs. Tighten until the bracket is flush with the wall, but avoid over-tightening that could strip the screw holes. Test each bracket by pulling firmly. If it moves, remove and use a stronger anchor or move to a stud location.
- Mount the gate and test the latch: Hang the gate on the brackets and engage the latch. Open and close it several times to ensure smooth operation and full closure without gaps. If the gate doesn't close flush, check that both brackets are level and the gate is properly seated. Adjust bracket position if needed.
Products that simplify multi-room installation
-
B17 Bundle – Secure Every Room in Your Home: The B17 Bundle includes multiple gates for securing several areas at once, such as stairways, kitchens, and hallways. If you need no-bottom gates for more than one doorway, buying a bundle ensures consistent hardware and installation method across your home.
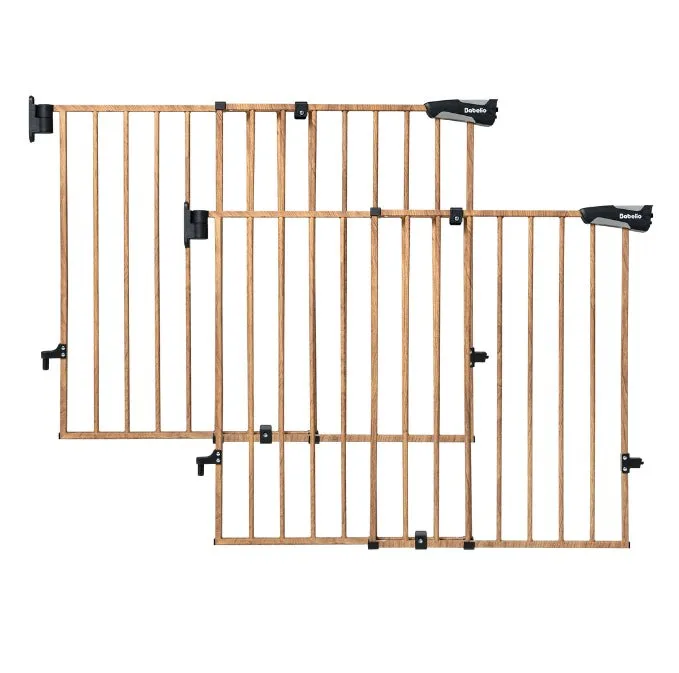
B17 Bundle – Secure Every Room in Your Home