Quick answer
Install NZXT F140X fans in an H5 Flow by mounting them in the front intake and rear exhaust positions, then connecting each fan's 4-pin PWM cable to a motherboard header. Run the cables through the case's cable management cutouts before screwing the fans down, and confirm the airflow arrows point into the case at the front and out at the rear.
F140X
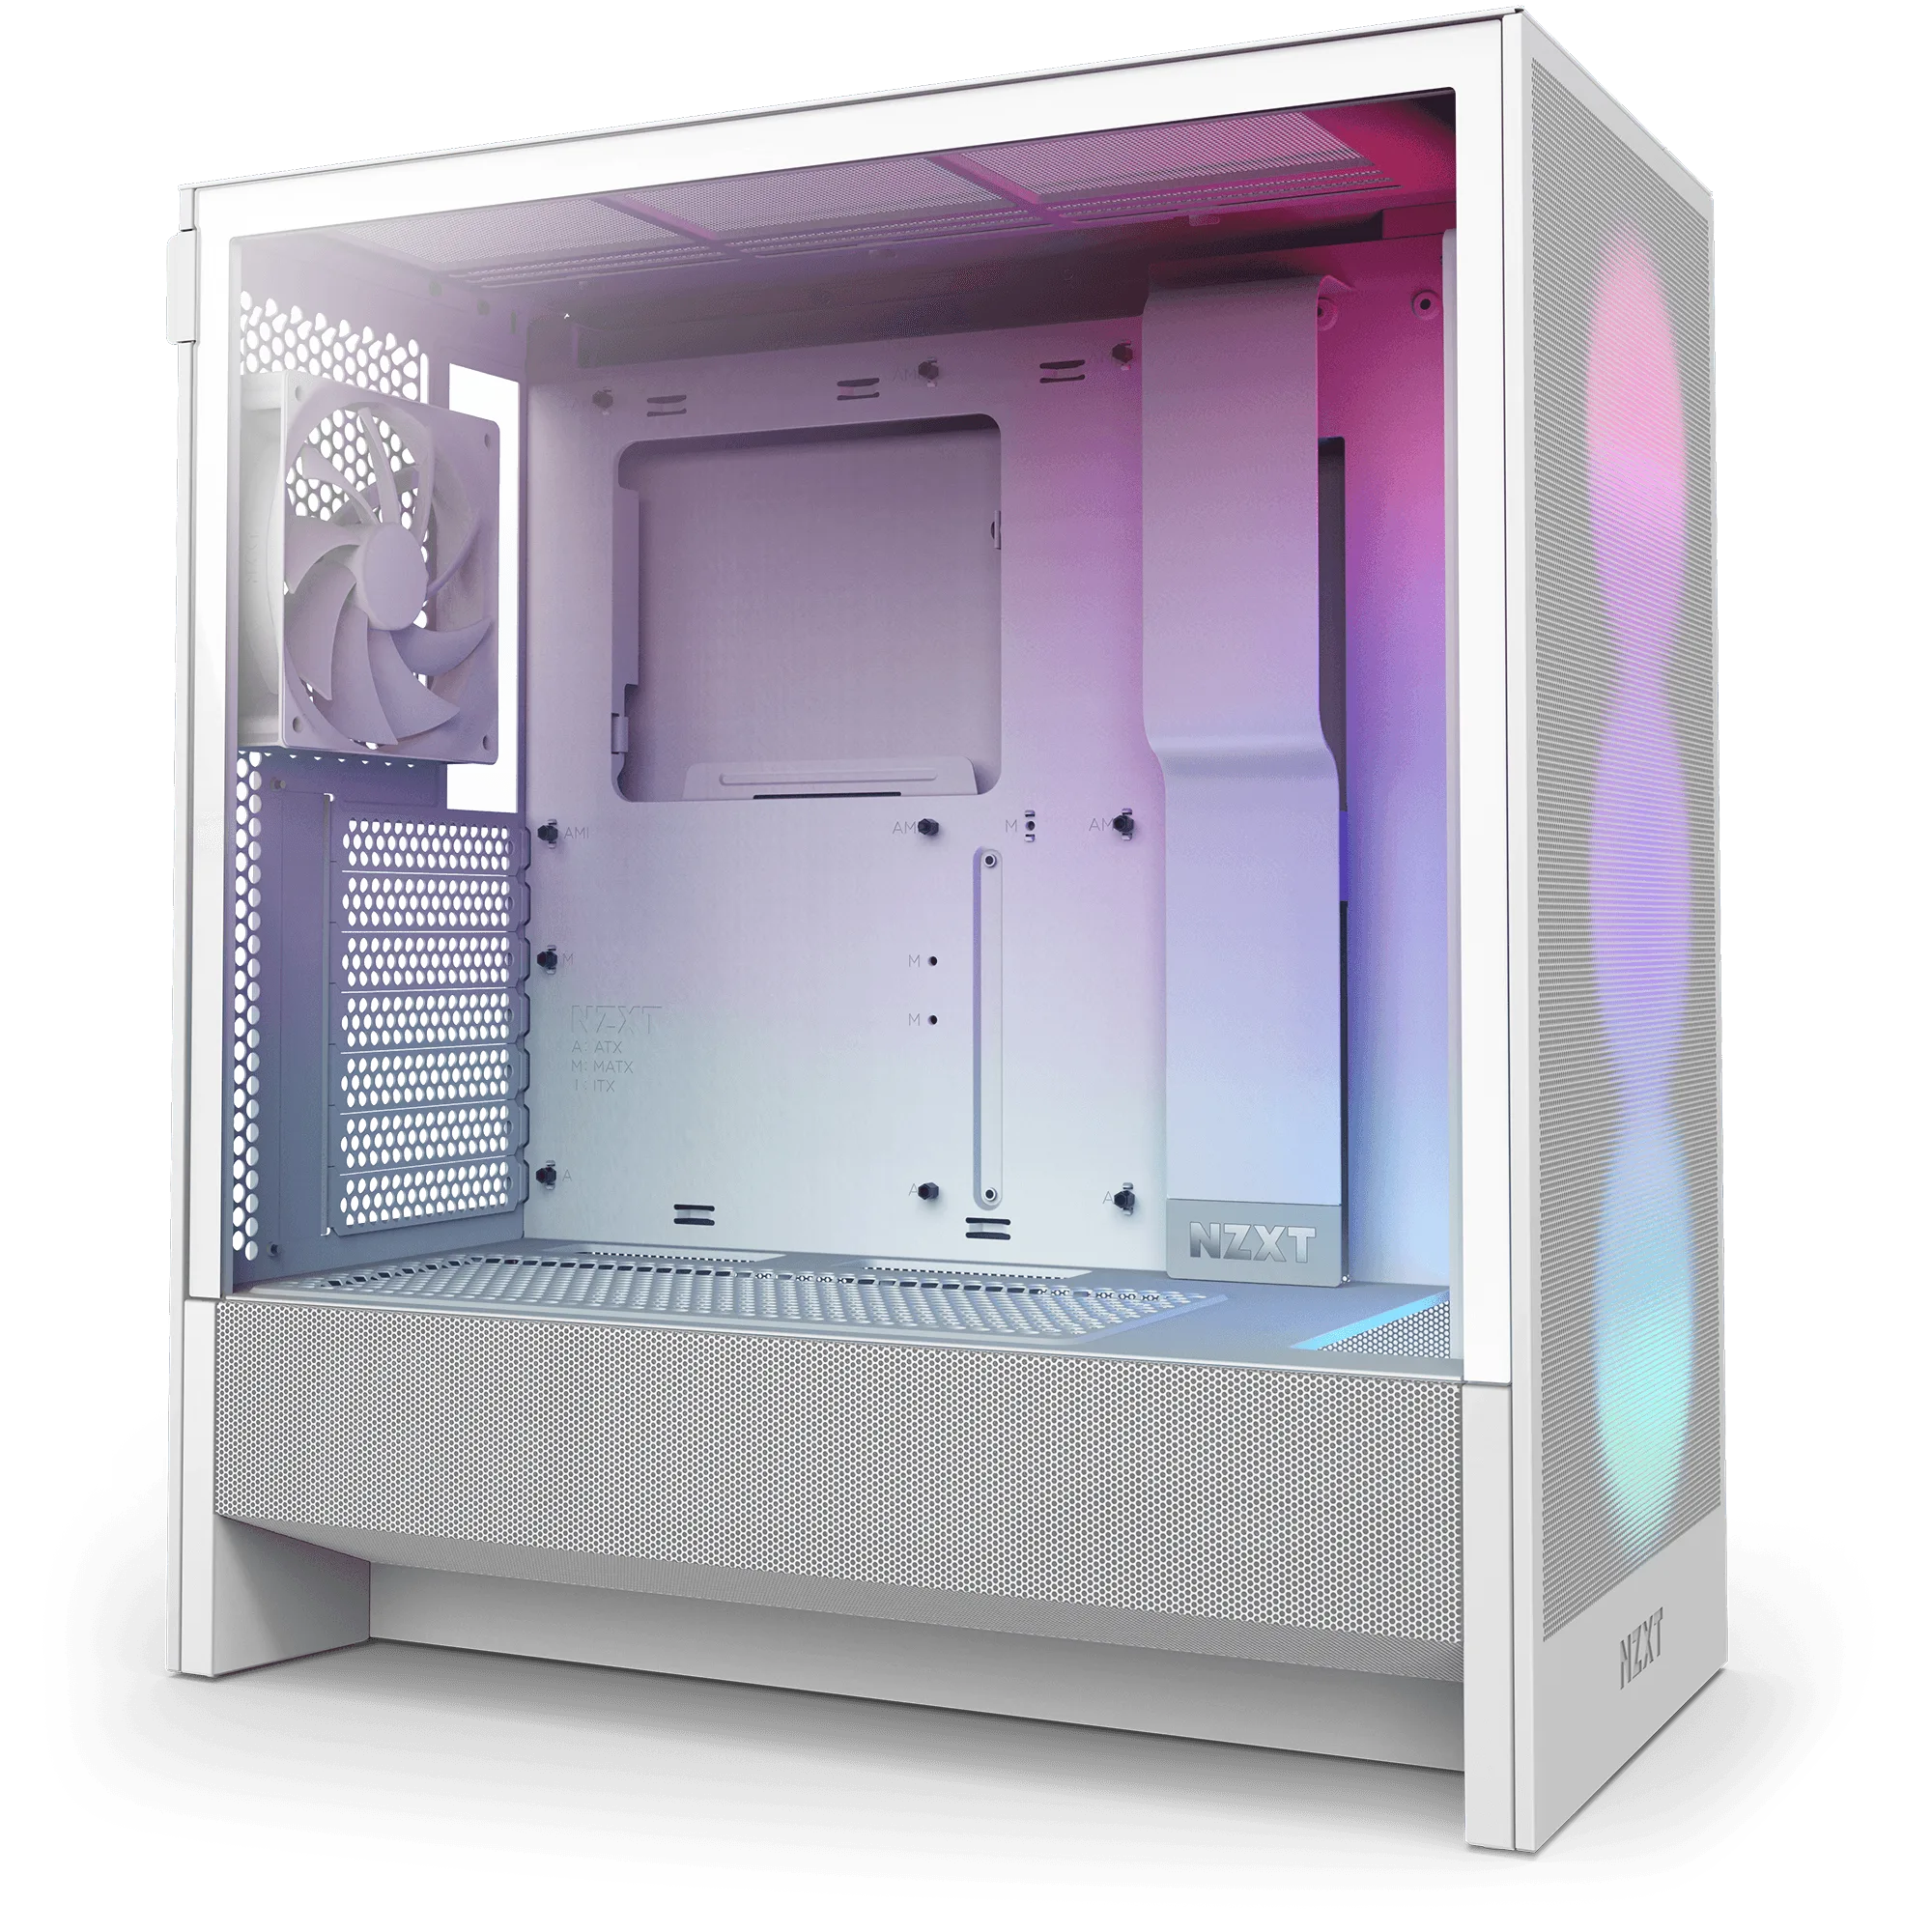
The H5 Flow is a compact mid-tower, so fan placement matters more than in a roomy full-tower. The NZXT F140X is a 140mm fan with LCP construction and a hybrid bearing, which makes it a strong fit for the H5 Flow's front intake and rear exhaust mounts. This guide walks through the install in order, with the checkpoints that keep you from stripping screws or blocking airflow.
You do not need special tools beyond a Phillips screwdriver and a free PWM header. The whole job takes about 20 to 30 minutes if you plan the cable route first. If you are also adding a top exhaust, decide that now so you can connect everything before the fans go in.
Before you start: check your H5 Flow fan mounts
The H5 Flow supports 140mm fans in the front and rear positions, and 120mm or 140mm fans up top depending on your radiator and clearance. Look at the mounting slots inside the case: the front has elongated holes that accept both sizes, so you can slide the F140X into place without forcing it. The rear mount is sized for a single 120mm or 140mm fan.
Decide your intake and exhaust layout before touching a screwdriver. A common H5 Flow setup is two 140mm front intakes and one 140mm rear exhaust, which gives positive pressure and keeps dust moving toward your filters. If you plan to add a top fan, mount it as exhaust so it does not fight the front intake.
- Checkpoint: confirm the F140X fits your chosen slot before removing any preinstalled fans.
- Common mistake: assuming every H5 Flow mount takes a 140mm fan. The top mount can be limited by your CPU cooler or radiator.
Step 1: Power down and open the case
Shut down your PC, flip the power supply switch off, and unplug the AC cable. Press the power button once to drain residual charge, then remove the H5 Flow's side panel and front panel. The front panel on the H5 Flow pulls off with a firm, even tug from the bottom edge; do not yank it from one corner or you can bend the mounting clips.
Lay the case on its side on a soft surface so the motherboard tray is facing up. This keeps screws from falling into the PSU shroud and gives you a straight shot at the front fan mounts.
- Checkpoint: the power cable is unplugged and the PSU switch is off before you touch any fan header.
- Common mistake: skipping the front panel removal and trying to install front fans through the side opening, which usually ends with a dropped screw.
Step 2: Mount the front intake F140X fans
Position the F140X so the airflow arrow on the frame points into the case. On the H5 Flow, the front fans mount on the inside of the front frame, so the fan frame sits against the metal and the blades face the front panel. Hold the fan in place and start all four screws by hand before tightening any of them. This lets the elongated slots self-align.
Tighten the screws in a cross pattern, a little at a time, until the fan is snug. Do not crank them down; the F140X frame is rigid, but over-tightening can crack the mounting hole or strip the threads. If you are installing two front fans, leave a small gap between them rather than pressing them together.
- Checkpoint: the airflow arrow points into the case for front intake.
- Common mistake: installing the front fan backwards. The F140X has directional blades, so a reversed fan pushes hot air out the front and starves your components.
Step 3: Mount the rear exhaust F140X
For the rear mount, the F140X goes on the inside of the case with the airflow arrow pointing out the back. This is the exhaust position, so the fan pulls hot air from around the CPU cooler and pushes it out. Start the four screws by hand, then tighten in a cross pattern until snug.
If your H5 Flow came with a preinstalled rear fan, remove it first and set it aside. You can reuse the same screws for the F140X in most cases, but check that the screw length does not protrude through the fan frame. A screw that is too long can contact the fan blades and cause a ticking noise.
- Checkpoint: the rear fan's airflow arrow points out of the case.
- Common mistake: reusing long radiator screws on a standard fan mount. They can bottom out and damage the fan hub.
Step 4: Route and connect the PWM cables
Before you screw the fans down permanently, feed each F140X cable through the nearest cable management cutout. On the H5 Flow, the front fans can route through the grommets along the motherboard tray, and the rear fan can go straight to a header near the top of the board. Leave a little slack so you can pull the connector without stressing the solder joint.
Connect each F140X to a 4-pin PWM header on your motherboard. If you have more fans than headers, use a PWM fan hub or splitter, but keep an eye on the total current draw. Once connected, give each fan a gentle spin by hand to confirm the blades clear the frame and no cable is touching them.
- Checkpoint: every fan spins freely by hand before you power on.
- Common mistake: daisy-chaining too many fans onto one header. Check your motherboard manual for the per-header current limit.
Step 5: Test, close up, and set fan curves
Reconnect the AC cable, switch the PSU on, and boot into the BIOS or your fan control software. Confirm that each F140X is detected and spinning. If a fan does not appear, reseat its connector and check that the header is set to PWM mode rather than DC or voltage mode.
Set a fan curve that keeps the F140X quiet at idle and ramps up under load. Because the F140X uses a hybrid bearing and PWM control, it can run at low RPM without stalling. After testing, shut down, reinstall the front panel and side panel, and check that no cables are pinched.
- Checkpoint: all fans respond to the fan curve and none are running at full speed constantly.
- Common mistake: leaving the front panel off for testing and forgetting to reinstall it, which changes airflow and can let dust in.
Installation steps at a glance
- Prepare the case: Power down, unplug the AC cable, and remove the H5 Flow's front and side panels. Lay the case on a soft surface. Checkpoint: no power connected before you touch any fan header.
- Mount front intake fans: Place the F140X on the inside of the front frame with the airflow arrow pointing into the case. Start all four screws by hand, then tighten in a cross pattern. Common mistake: reversing the fan so it exhausts out the front.
- Mount the rear exhaust fan: Install the F140X on the inside of the rear mount with the airflow arrow pointing out. Use the correct screw length for a standard fan mount. Checkpoint: the rear fan pulls air out of the case.
- Route and connect cables: Feed each PWM cable through the nearest cutout and connect to a 4-pin motherboard header. Use a hub or splitter if you run out of headers. Common mistake: overloading one header with too many fans.
- Test and set fan curves: Boot into BIOS or fan software, confirm every fan spins, and set a curve that stays quiet at idle. Reinstall panels and check for pinched cables. Checkpoint: all fans respond to the curve and none run at full speed constantly.
Product facts
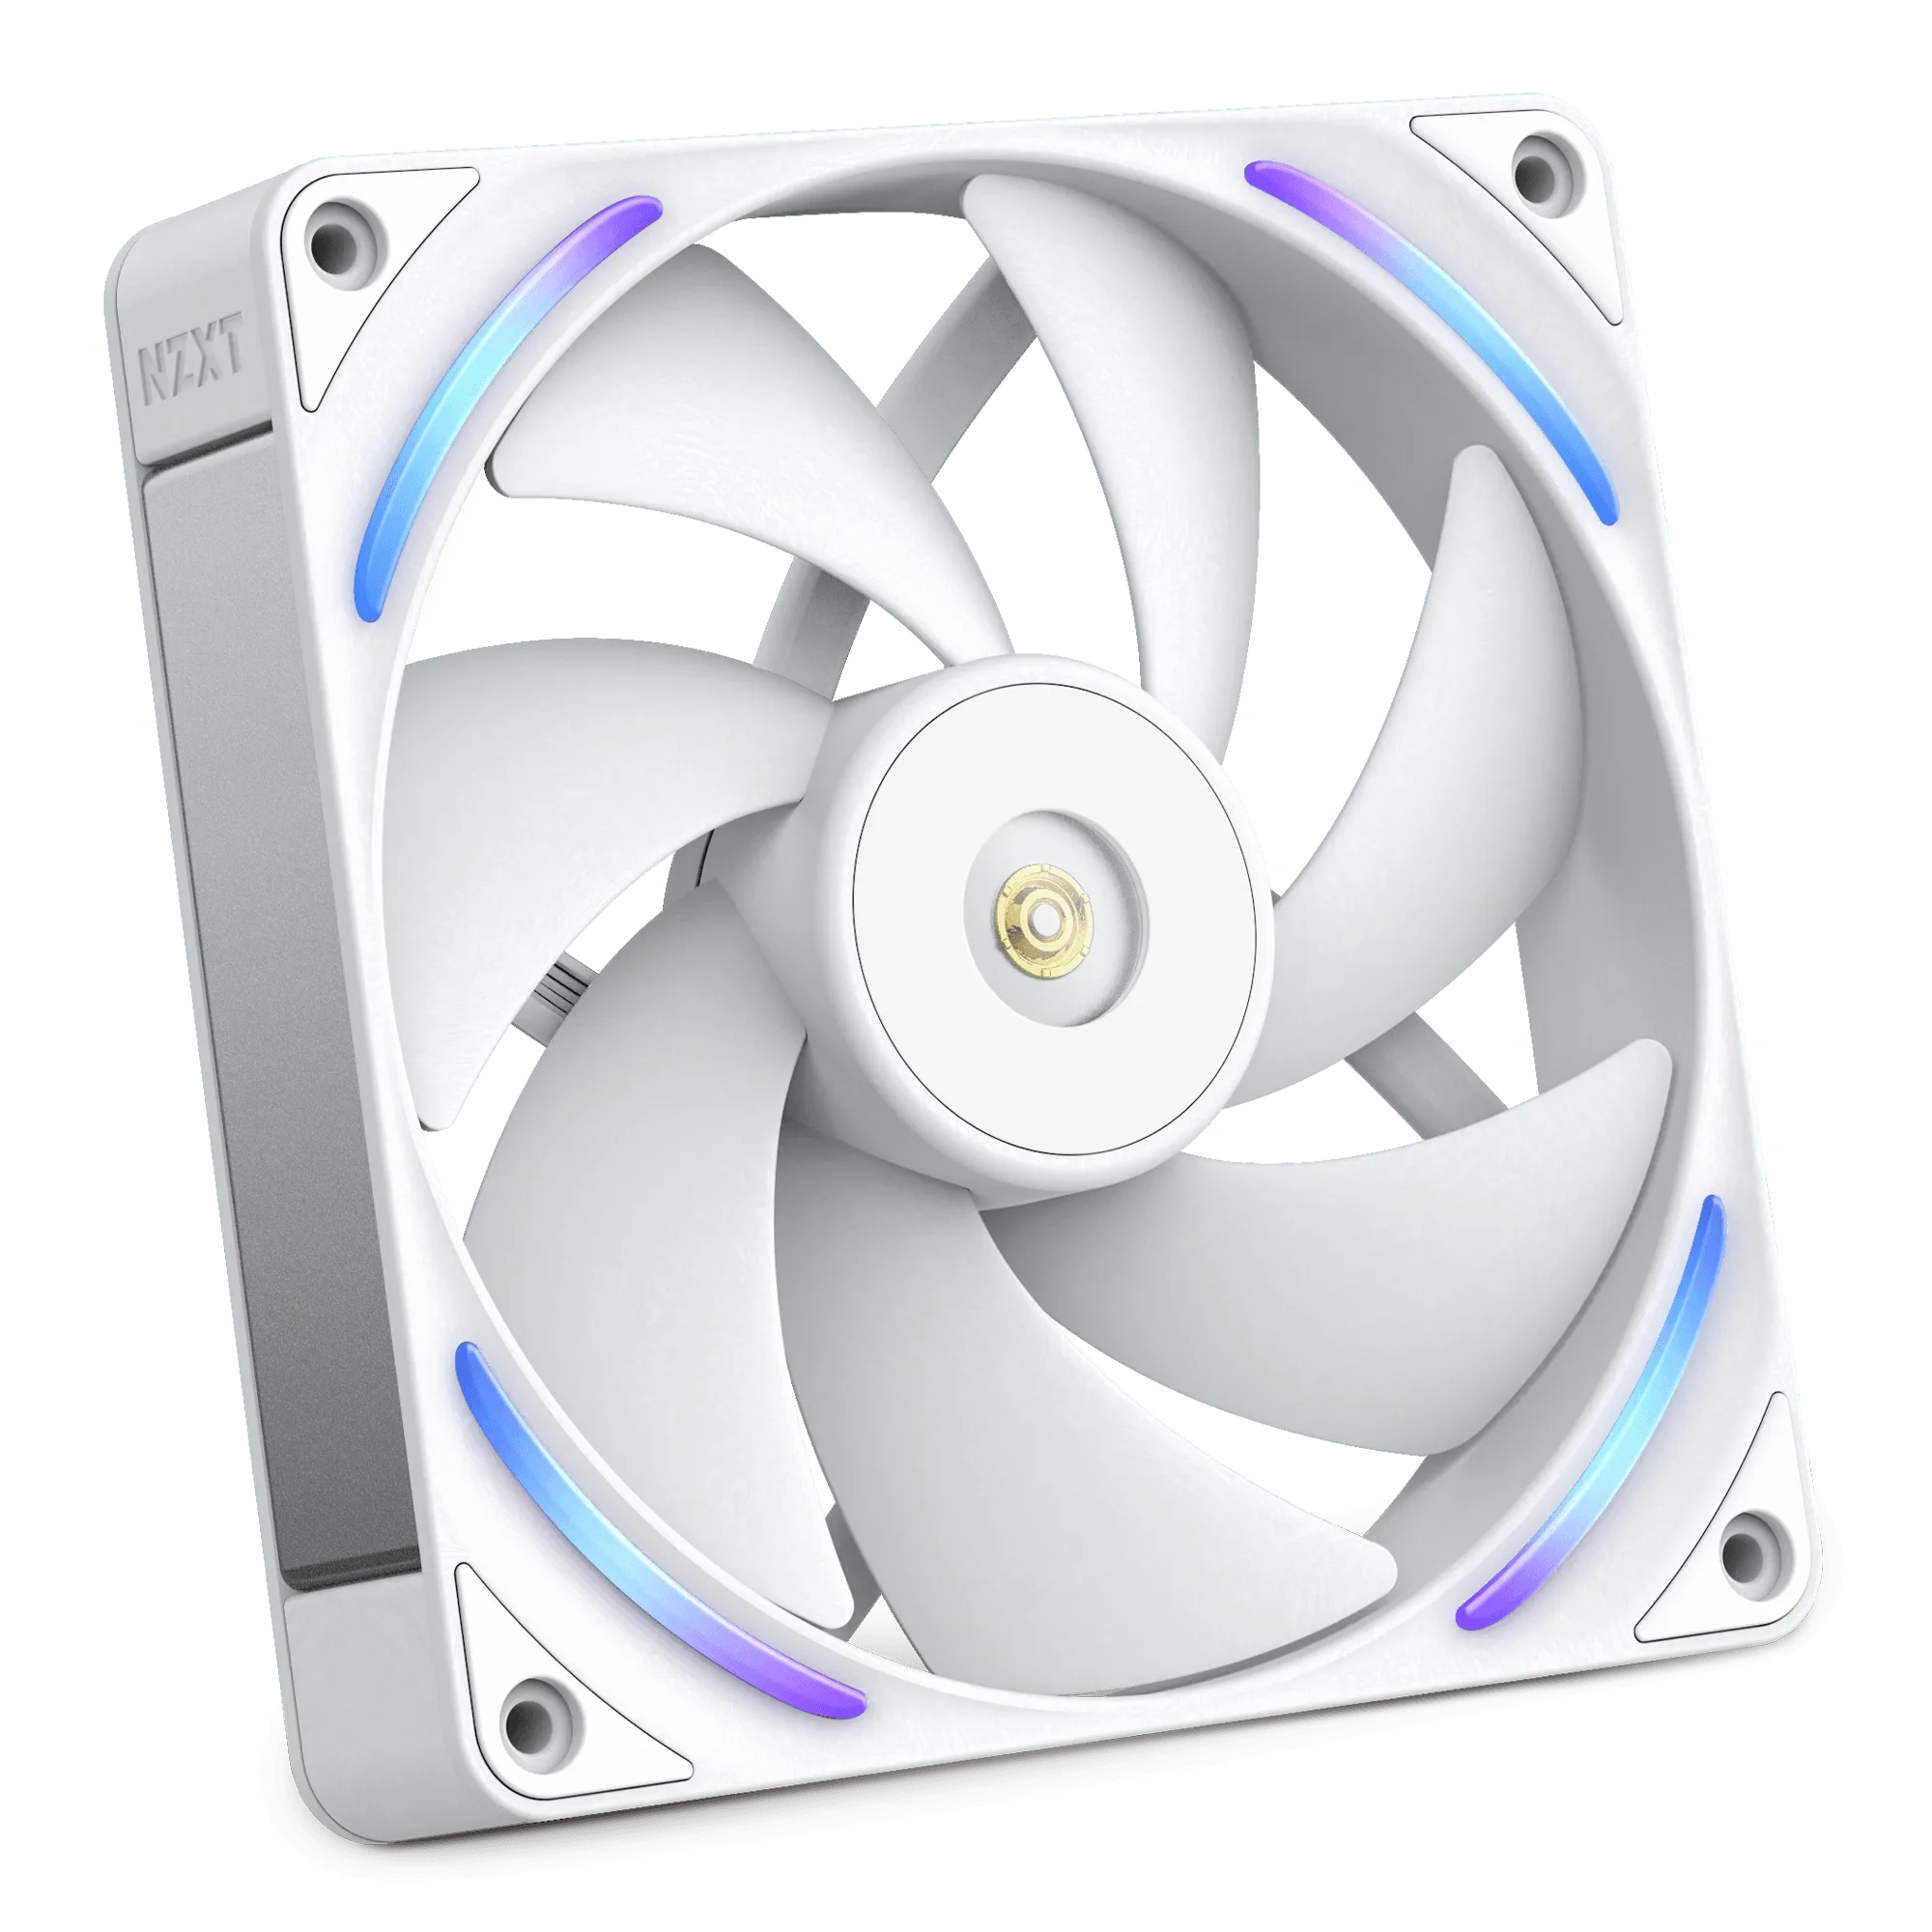
- F140X: The NZXT Performance Fans deliver powerful, quiet cooling with LCP construction, optimized blades, and a hybrid bearing system for superior airflow and durability. A reinforced core, advanced motor, and subtle RGB lighting combine performance and style for any gaming PC. LCP Construction: Liquid-crystal polymer blades and frame maintain their shape at high speeds, resisting flex and vibration for more powerful,... The LCP frame resists flex, so you can tighten the mounting screws without warping the fan, and the hybrid bearing keeps noise low at the RPMs you will use in an H5 Flow.
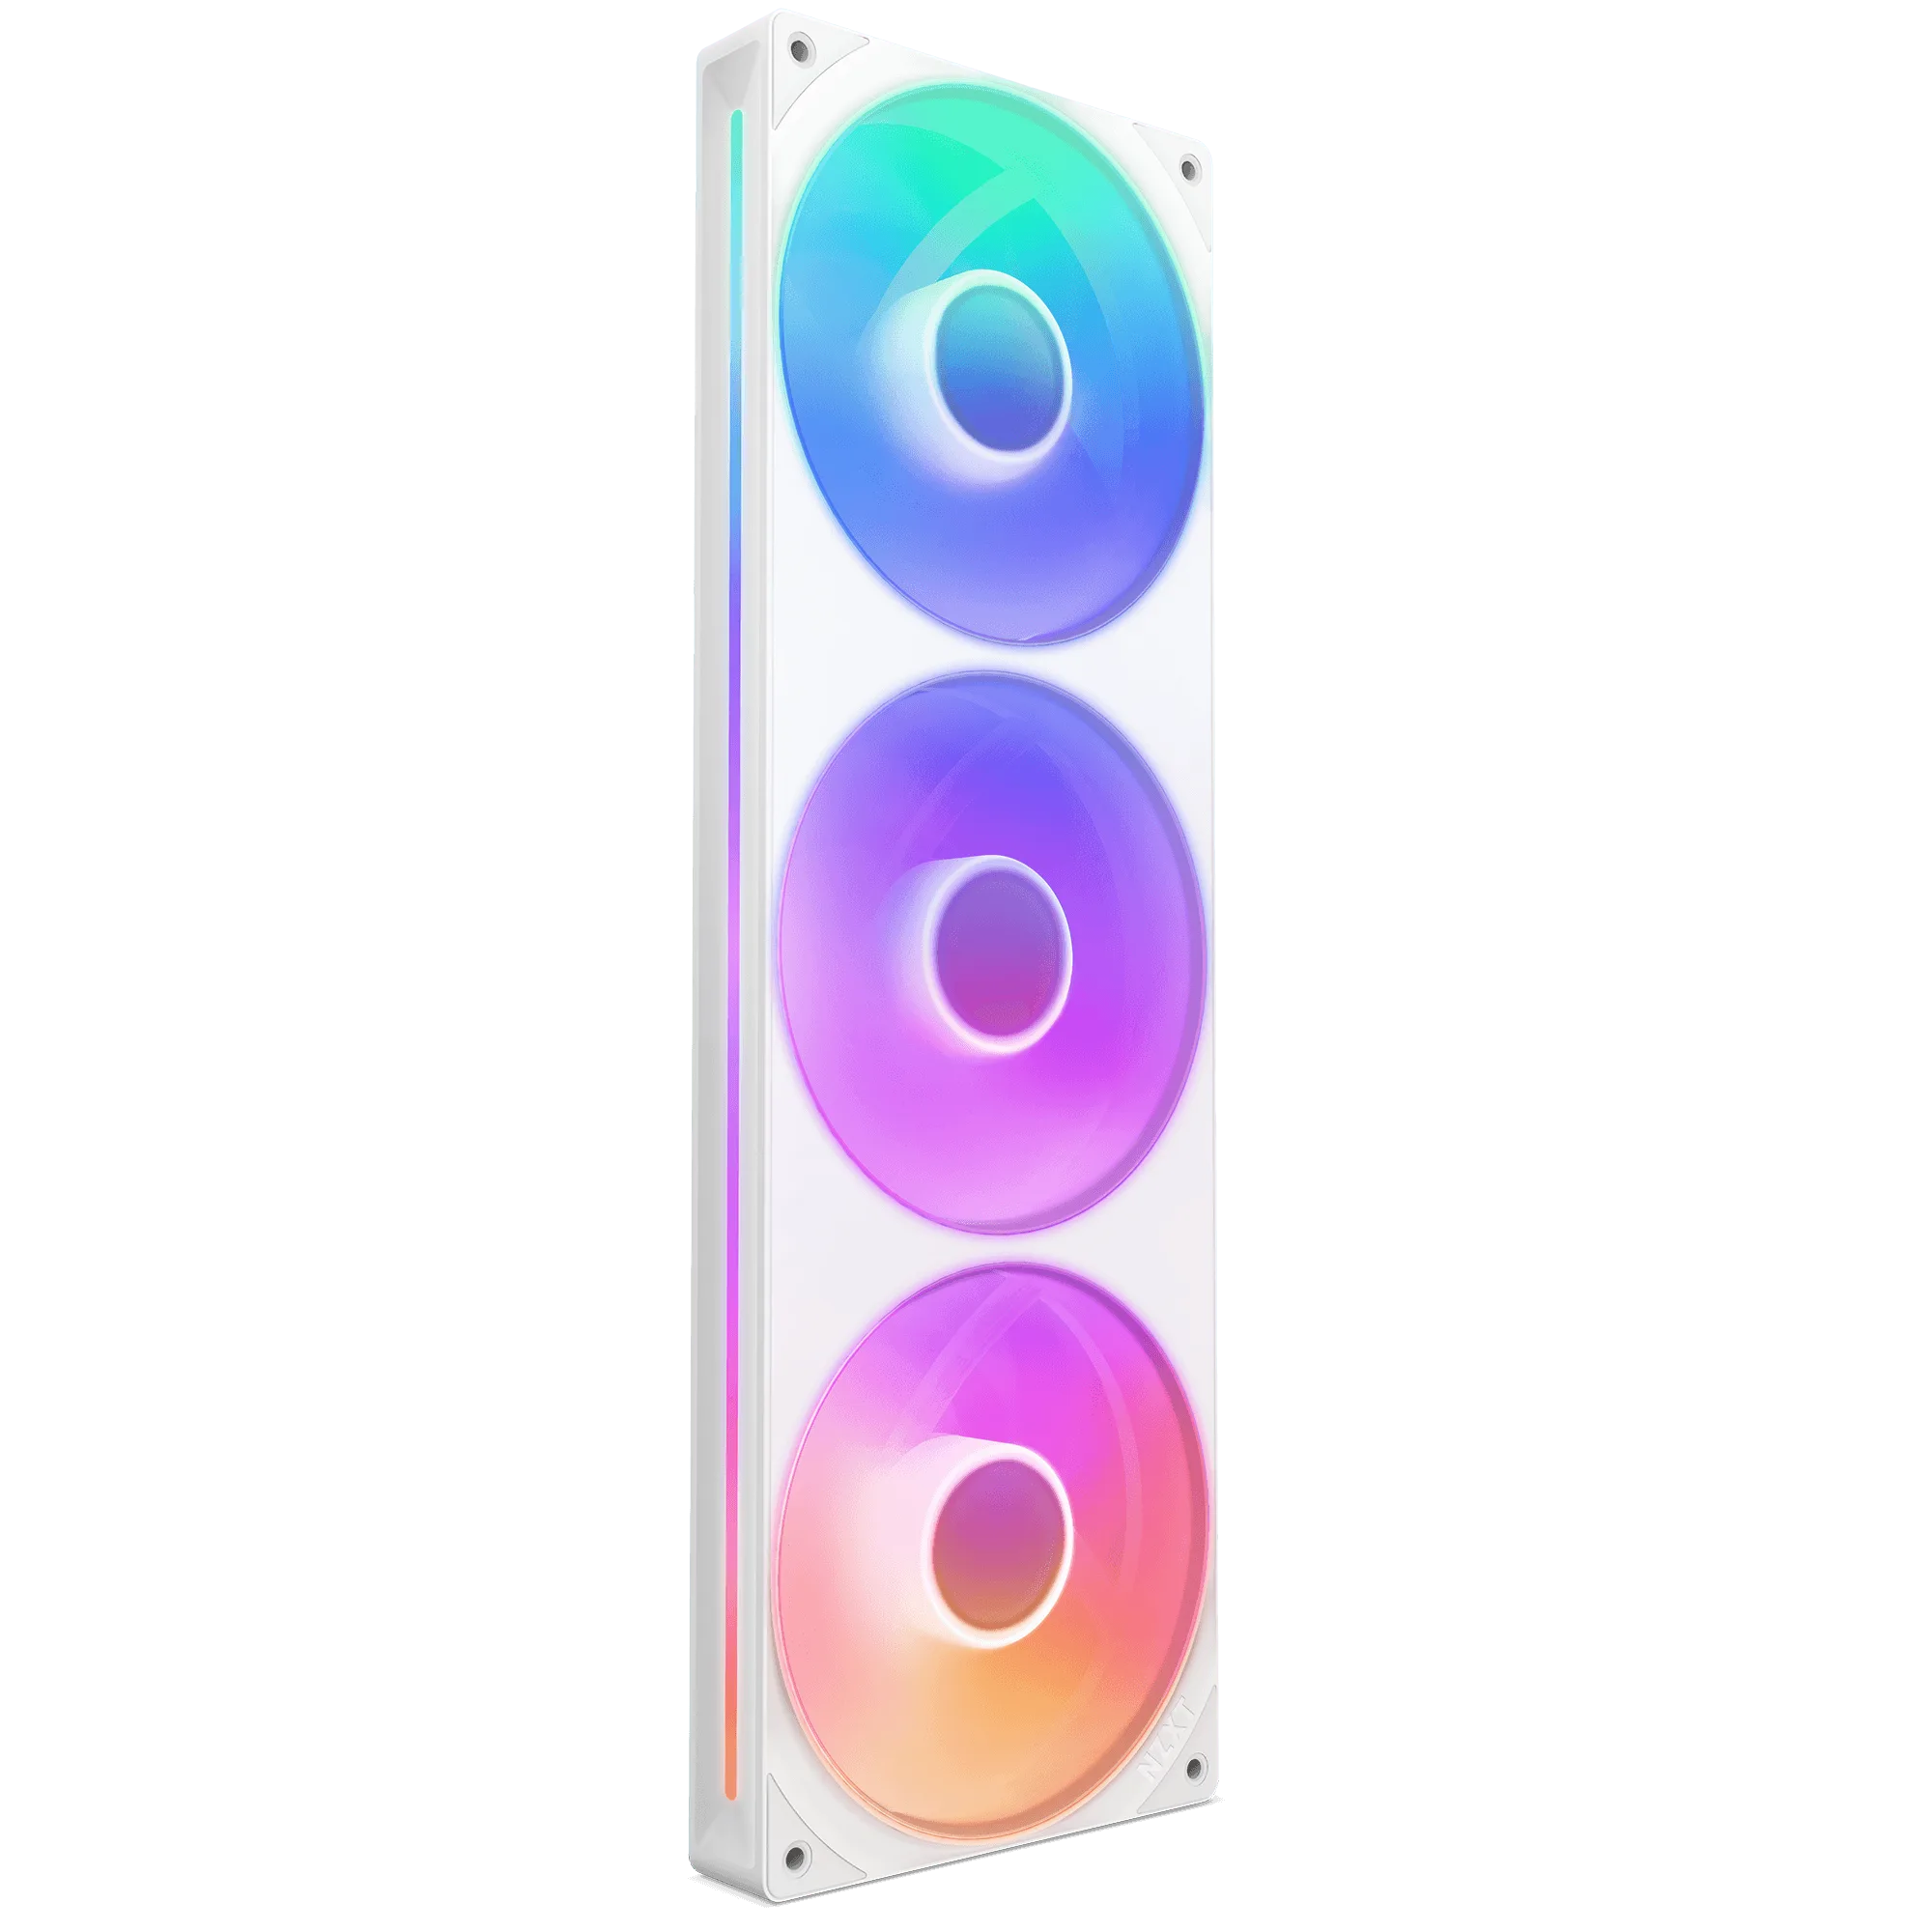
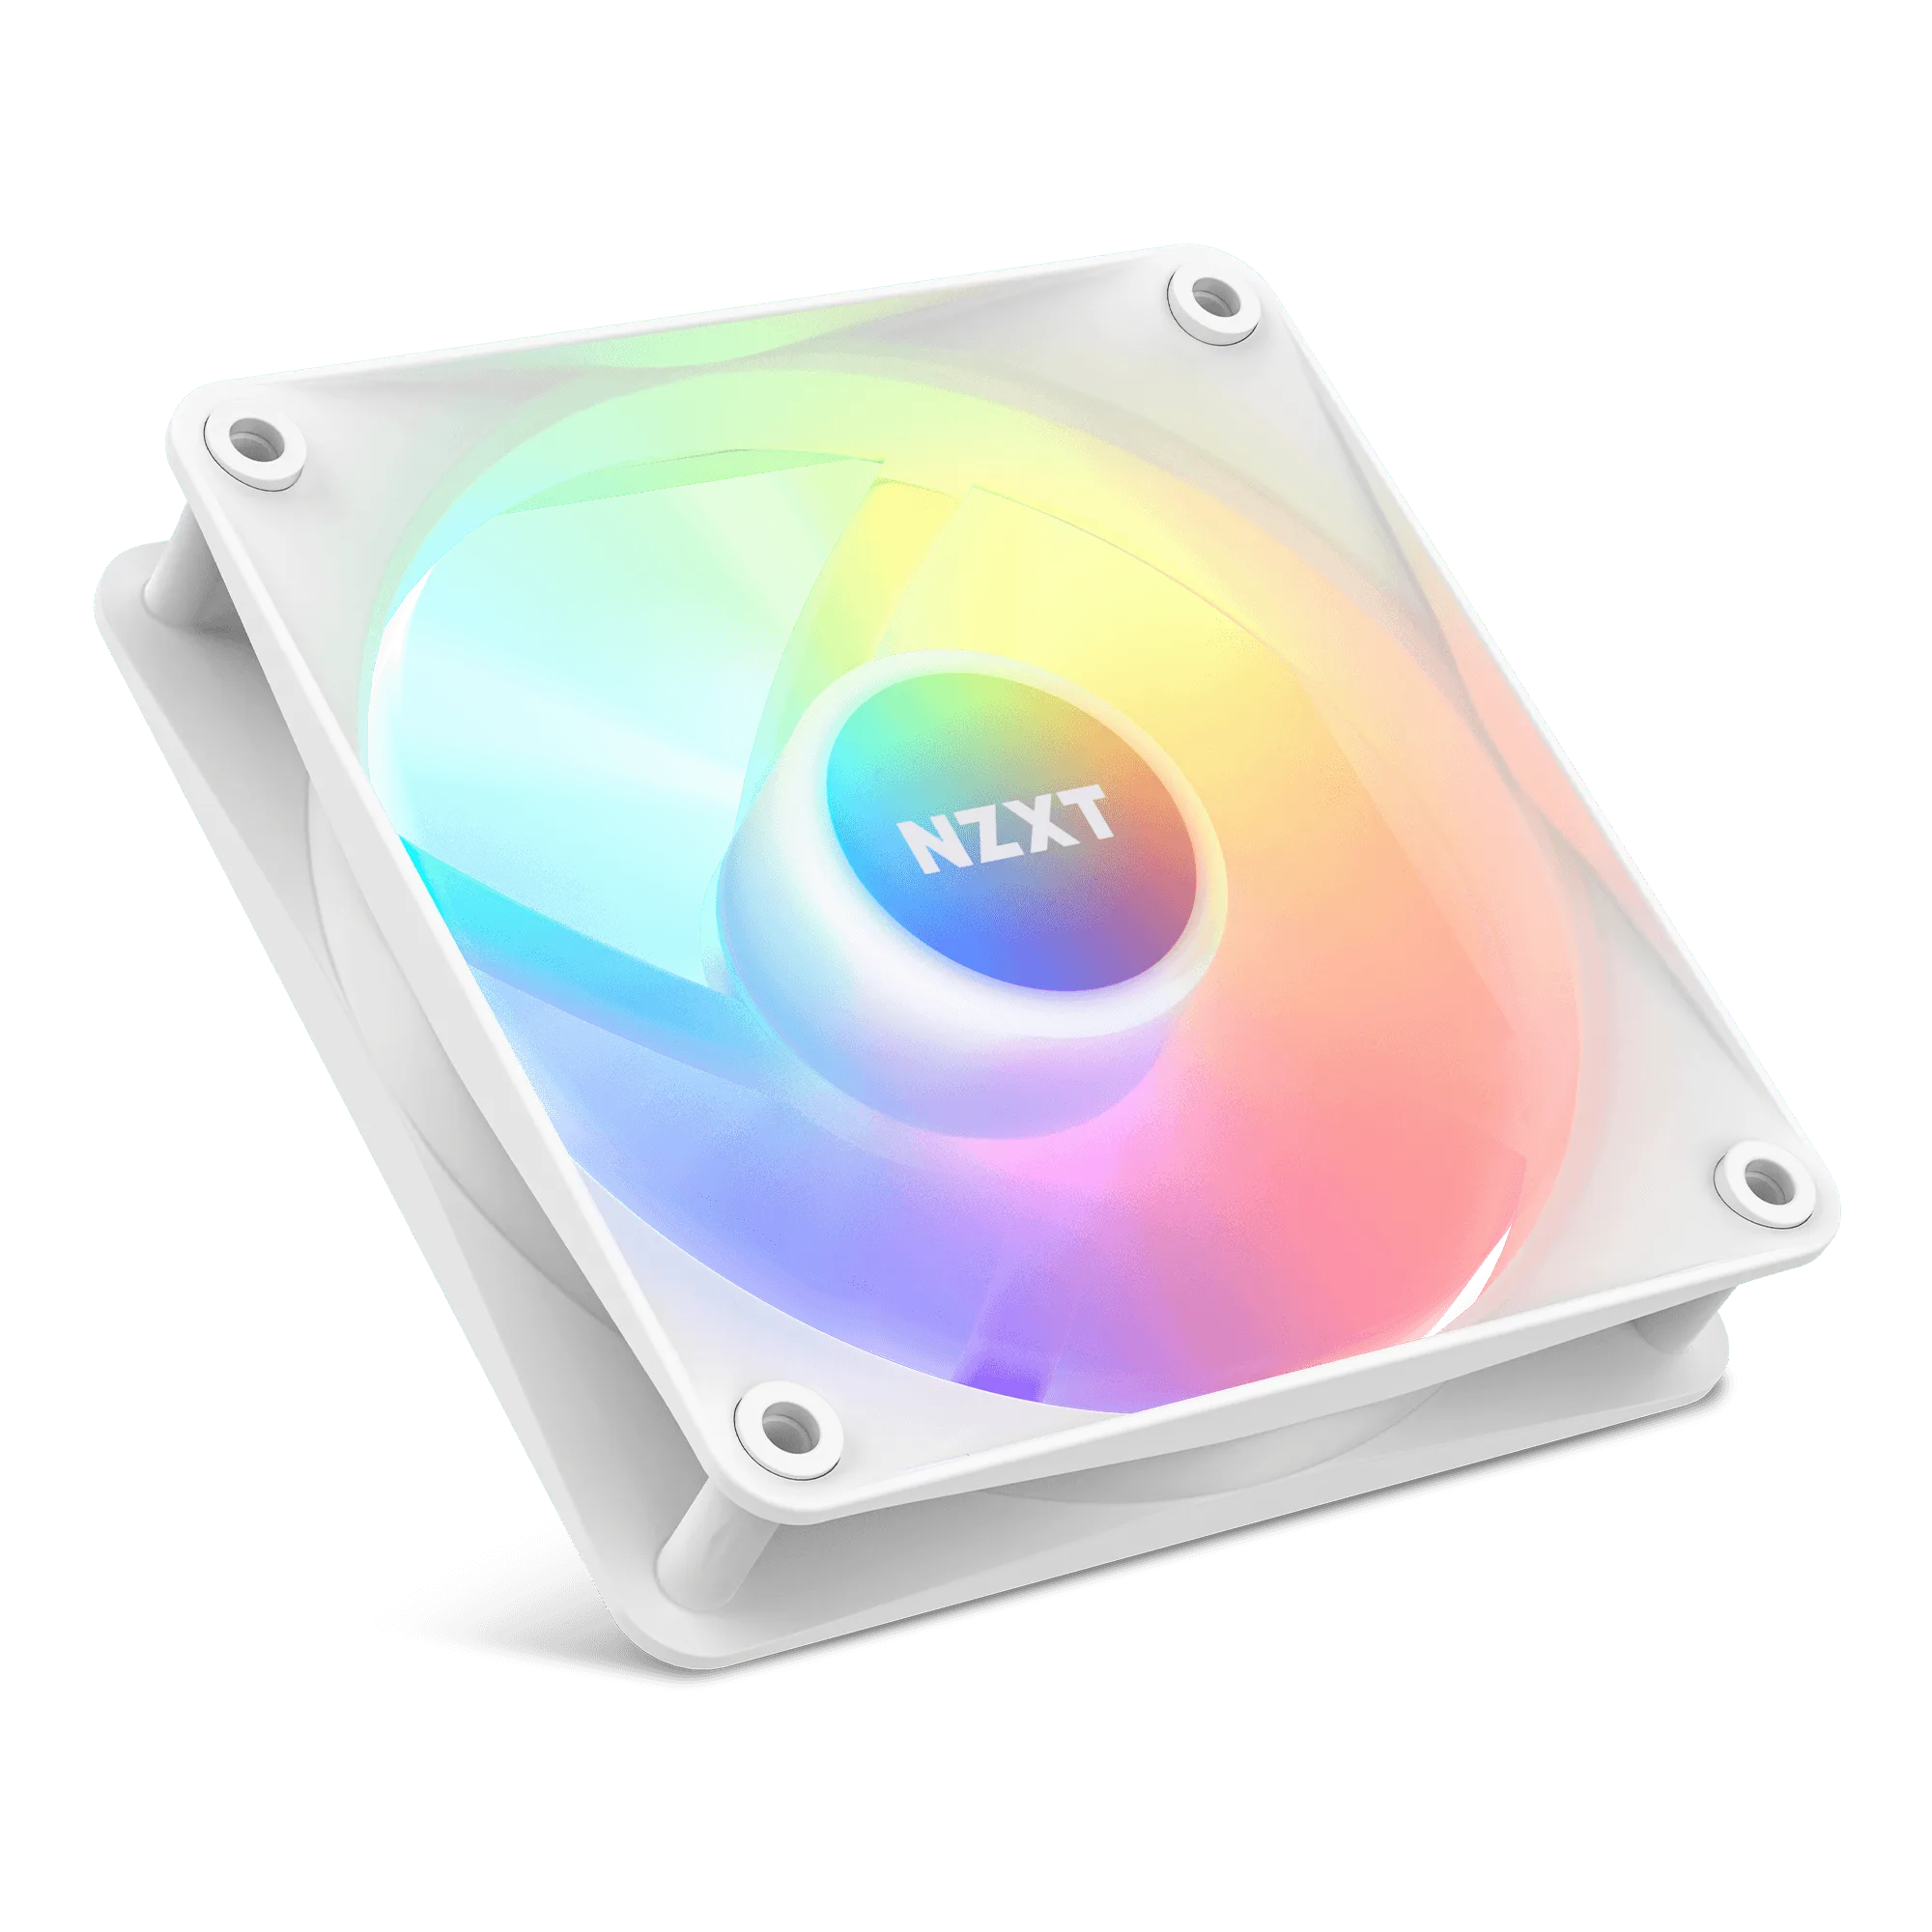
- F120 RGB Core Fans: The F Series RGB Core Fans offer brilliant lighting with eight individually addressable RGB LEDs and premium cooling with high static pressure. Eight Individually addressable LEDs mounted on the fan hub are perfectly diffused through the semi-translucent blades for a sublime lighting effect. A refined hub and blade design offer enhanced static pressure by pushing air through your radiator while providing great... If you are adding a top exhaust or a radiator in the H5 Flow, these 120mm fans give you high static pressure and addressable RGB, which the F140X does not provide in the same way.
Installing F140X fans in an H5 Flow is a straightforward job once you plan the airflow direction and route the cables first. Take your time starting screws by hand, confirm the arrows, and test before you close the case. If you want RGB lighting to match, the F120 RGB Core Fans are a natural companion for a top or radiator mount.