Quick answer
Install a 7' Turbo Tube Slide by fastening the slide bracket and support bracket to your wooden swing set frame with the supplied hardware, then connecting the tube to the bracket before tightening everything down. The bracket—not the tube itself—carries the load, so it must sit level, flush against solid wood, and fully tightened. Use the Mounting Hardware with Bracket for 7' Turbo Tube Slide if your kit is missing parts.
A Turbo Tube Slide is one of the few swing set additions that changes how kids use the whole structure—it adds a fast, enclosed ride that works in almost any weather. But tube slides fail for one boring reason: the mounting bracket was never installed correctly. The tube is not what holds the slide up. The bracket is.
This guide walks through a 7' Turbo Tube Slide installation in order, from checking your frame to the final test run. It applies to wooden swing sets with a standard slide opening, including Gorilla Playsets models like the Savannah Swing Set and Sun Valley Swing Set that already use tube or wave slides. If you are adding a tube slide to a set that never had one, the bracket and hardware step matters even more.
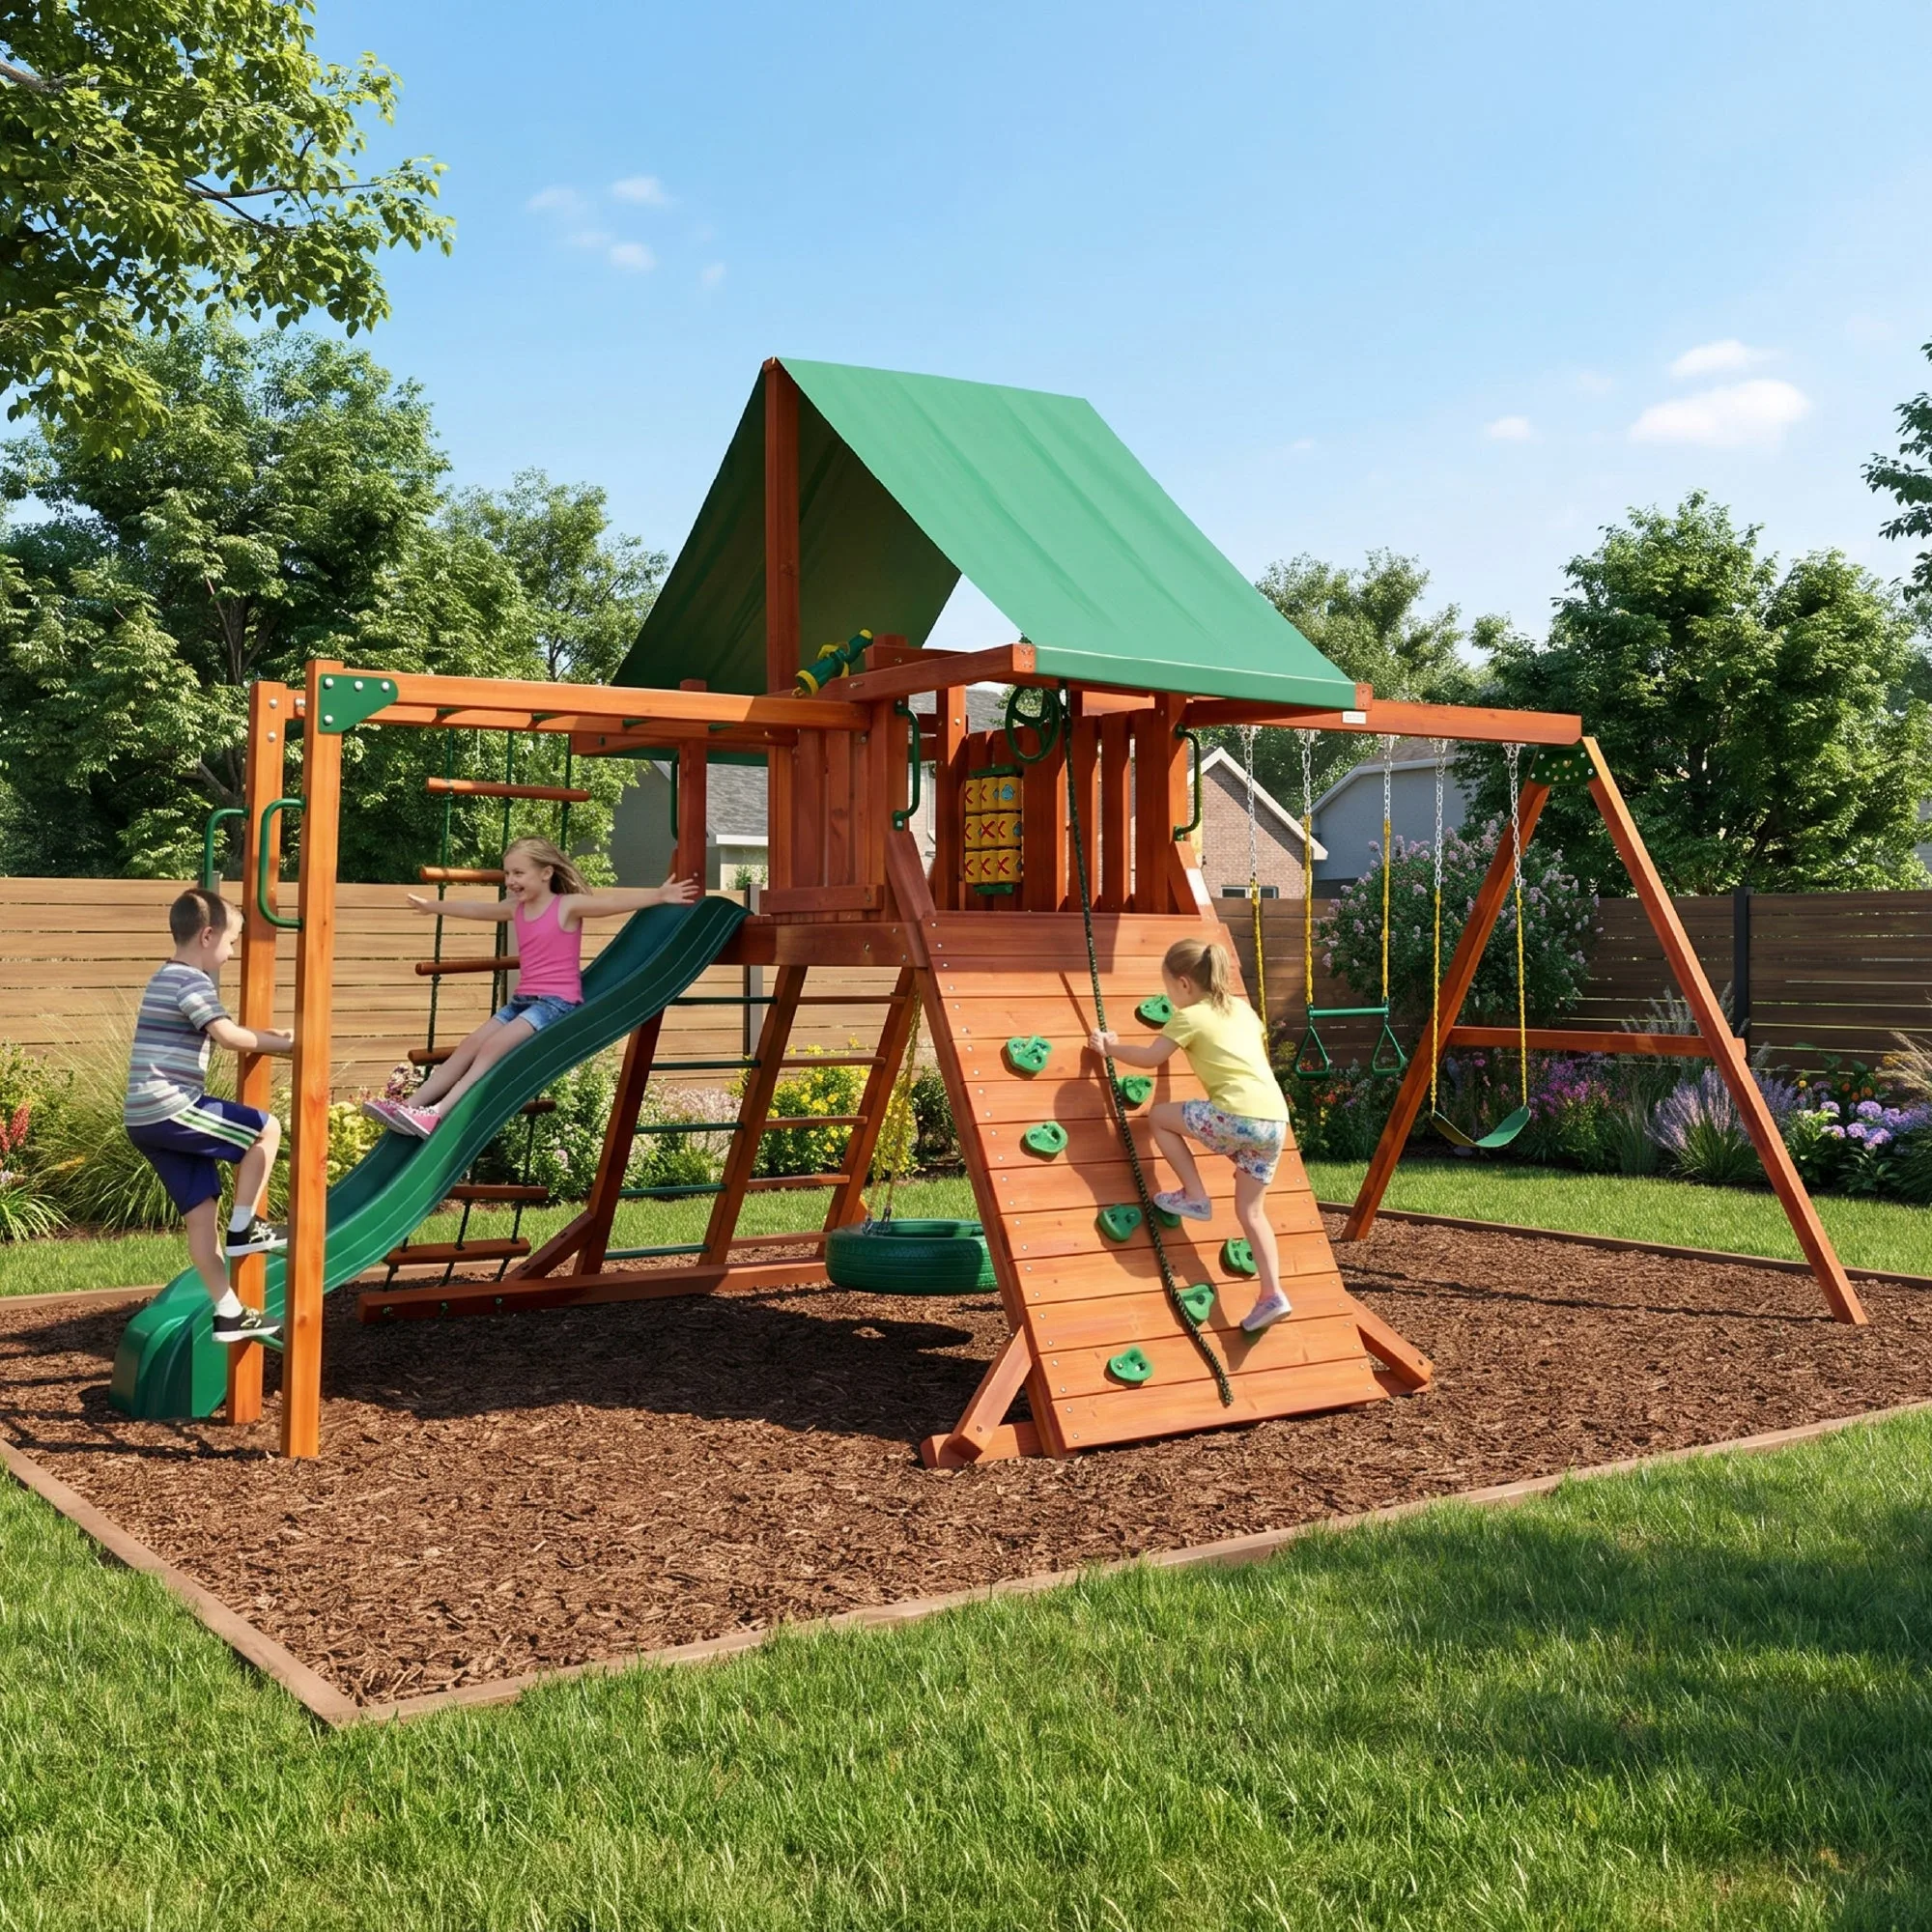
Sun Valley Swing Set
Before you start: confirm the frame, opening, and hardware
Measure the vertical drop from your intended slide opening to the ground. A 7' Turbo Tube Slide needs roughly 7 feet of drop, so if your deck sits lower or higher, the tube will either bury in the ground or float above it. Check that the opening is wide enough for the tube's entry and that the landing zone is clear of trees, fences, and swing paths.
Lay out every part before touching a drill. You should have the tube, the slide bracket, the support bracket, and all mounting hardware. If anything is missing or the bracket looks bent, stop and order the replacement pack rather than improvising with lag bolts from a hardware bin.
- Common mistake: measuring from the deck surface instead of the actual slide opening. Measure from where the tube exits, not from the floor your child stands on.
- Checkpoint: the tube should reach the ground with a small clearance, not touch it. Ground contact traps moisture and cracks the tube over time.
Position the bracket on the swing set frame
Hold the slide bracket against the frame where the tube will exit, centered on the opening. The bracket should sit flat against solid wood—not on a seam, not over a bolt head, and not on a board that flexes when you push it. Mark the hole locations with a pencil, then drill pilot holes slightly narrower than your hardware.
Dry-fit the bracket before driving any screws. If it rocks or sits proud of the wood, reposition it. A bracket that is not flush will shift once a child's weight hits the tube, and shifting is what causes warping and sagging over time.
- Common mistake: mounting the bracket to a decorative trim board instead of structural framing. Trim will pull loose under load.
- Checkpoint: press hard on the dry-fitted bracket. Zero movement means you are ready to fasten.
Fasten the slide bracket and support bracket
Drive the mounting hardware through the slide bracket into the frame, alternating sides so the bracket pulls down evenly. Then attach the support bracket, which connects the slide to the wooden frame and prevents the tube from shifting, warping, or sagging. Tighten until the bracket is snug against the wood, but stop before you crush the grain.
This is the step where the Mounting Hardware with Bracket for 7' Turbo Tube Slide earns its place. The kit includes the slide bracket, support bracket, and all hardware required for Swing-N-Slide 7' Turbo Tube Slides, so you are not guessing at bolt length or bracket geometry.
- Common mistake: overtightening one bolt fully before starting the next. That tilts the bracket and leaves a gap on the opposite side.
- Checkpoint: grab the bracket and try to rotate it. It should not move at all.
Attach the tube to the bracket
With the bracket locked down, lift the tube into position and align its mounting points with the bracket holes. Start the fasteners by hand, then tighten them in a cross pattern so the tube seats evenly. The tube should meet the bracket squarely, with no gap and no forced flex.
If the tube will not seat, do not drill new holes in the bracket. That usually means the bracket is mounted slightly off-level or the frame opening is not square. Fix the bracket position instead of enlarging holes, which weakens the connection permanently.
- Common mistake: forcing the tube onto a misaligned bracket and tightening anyway. The stress shows up later as a cracked tube flange.
- Checkpoint: run your hand around the tube-to-bracket joint. A uniform seam means a correct fit.
Test the slide and re-check the hardware
Before any child uses the slide, push down firmly on the tube entry and the middle of the run. Nothing should flex at the bracket or lift off the frame. Then send an adult down the slide—or apply steady hand pressure along the tube—to confirm the tube does not rotate or pull away.
Re-tighten every fastener after the first few uses. Wood compresses slightly under load, and a bracket that felt rock-solid during installation can develop a small gap after a weekend of play. A two-minute check now prevents a loose tube later.
- Common mistake: skipping the re-check because the install felt solid. Wood settles, and hardware loosens.
- Checkpoint: schedule a hardware check after the first week and again at the start of each season.
Turbo Tube Slide installation steps at a glance
- Measure the drop and clear the landing zone: Confirm roughly 7 feet from the slide opening to the ground, and remove obstacles from the exit path. Wrong drop height is the most common reason a tube slide has to be remounted.
- Dry-fit the slide bracket on solid framing: Center the bracket on the opening, flat against structural wood, and mark pilot holes. If the bracket rocks, reposition it before drilling.
- Fasten the slide bracket and support bracket: Alternate sides as you tighten so the bracket pulls down evenly, then attach the support bracket. These two brackets prevent shifting, warping, and sagging over time.
- Attach the tube and tighten in a cross pattern: Hand-start the fasteners, then tighten evenly so the tube seats squarely on the bracket. Never enlarge bracket holes to force a fit.
- Load-test and re-check after the first week: Push down on the entry and mid-run, then re-tighten all hardware after initial use. Wood settles—a quick re-check keeps the slide secure.
Parts that make this install work
- Mounting Hardware with Bracket for 7' Turbo Tube Slide: Kit includes the slide bracket, support bracket, and all hardware required for Swing-N-Slide 7' Turbo Tube Slides. Having the correct bracket geometry and bolt lengths removes the guesswork that causes misaligned or loose tube slides.
- Savannah Swing Set: Built from premium cedar wood with solid 4x4 framing and features an Extreme Tube II slide alongside an Alpine Wave Slide. A set with existing tube-slide framing gives you a proven mounting surface and a reference point for bracket placement.
- Sun Valley Swing Set: Premium cedar construction with monkey bars, a rock wall, rope ladder, Alpine Wave Slide, and three swing options including a tire swing. If you are adding a tube slide to a set like this, plan the bracket location around existing swing paths so the landing zone stays clear.
A Turbo Tube Slide install succeeds or fails at the bracket, not the tube. Get the bracket flat, flush, and fully fastened to solid framing, seat the tube squarely, and re-check the hardware after the first week of play. Do that, and the slide stays put for years.