Quick answer
To install the Ultra 300 mm Wheel Rim, first confirm your wheel base uses a 70 mm PCD bolt pattern or the GSI Interlock system. Then align the rim, hand-thread the mounting bolts, and tighten them in a star pattern. If you are using the Interlock system, attach the rim to the Interlock Base Module first, then mount that assembly to your base.
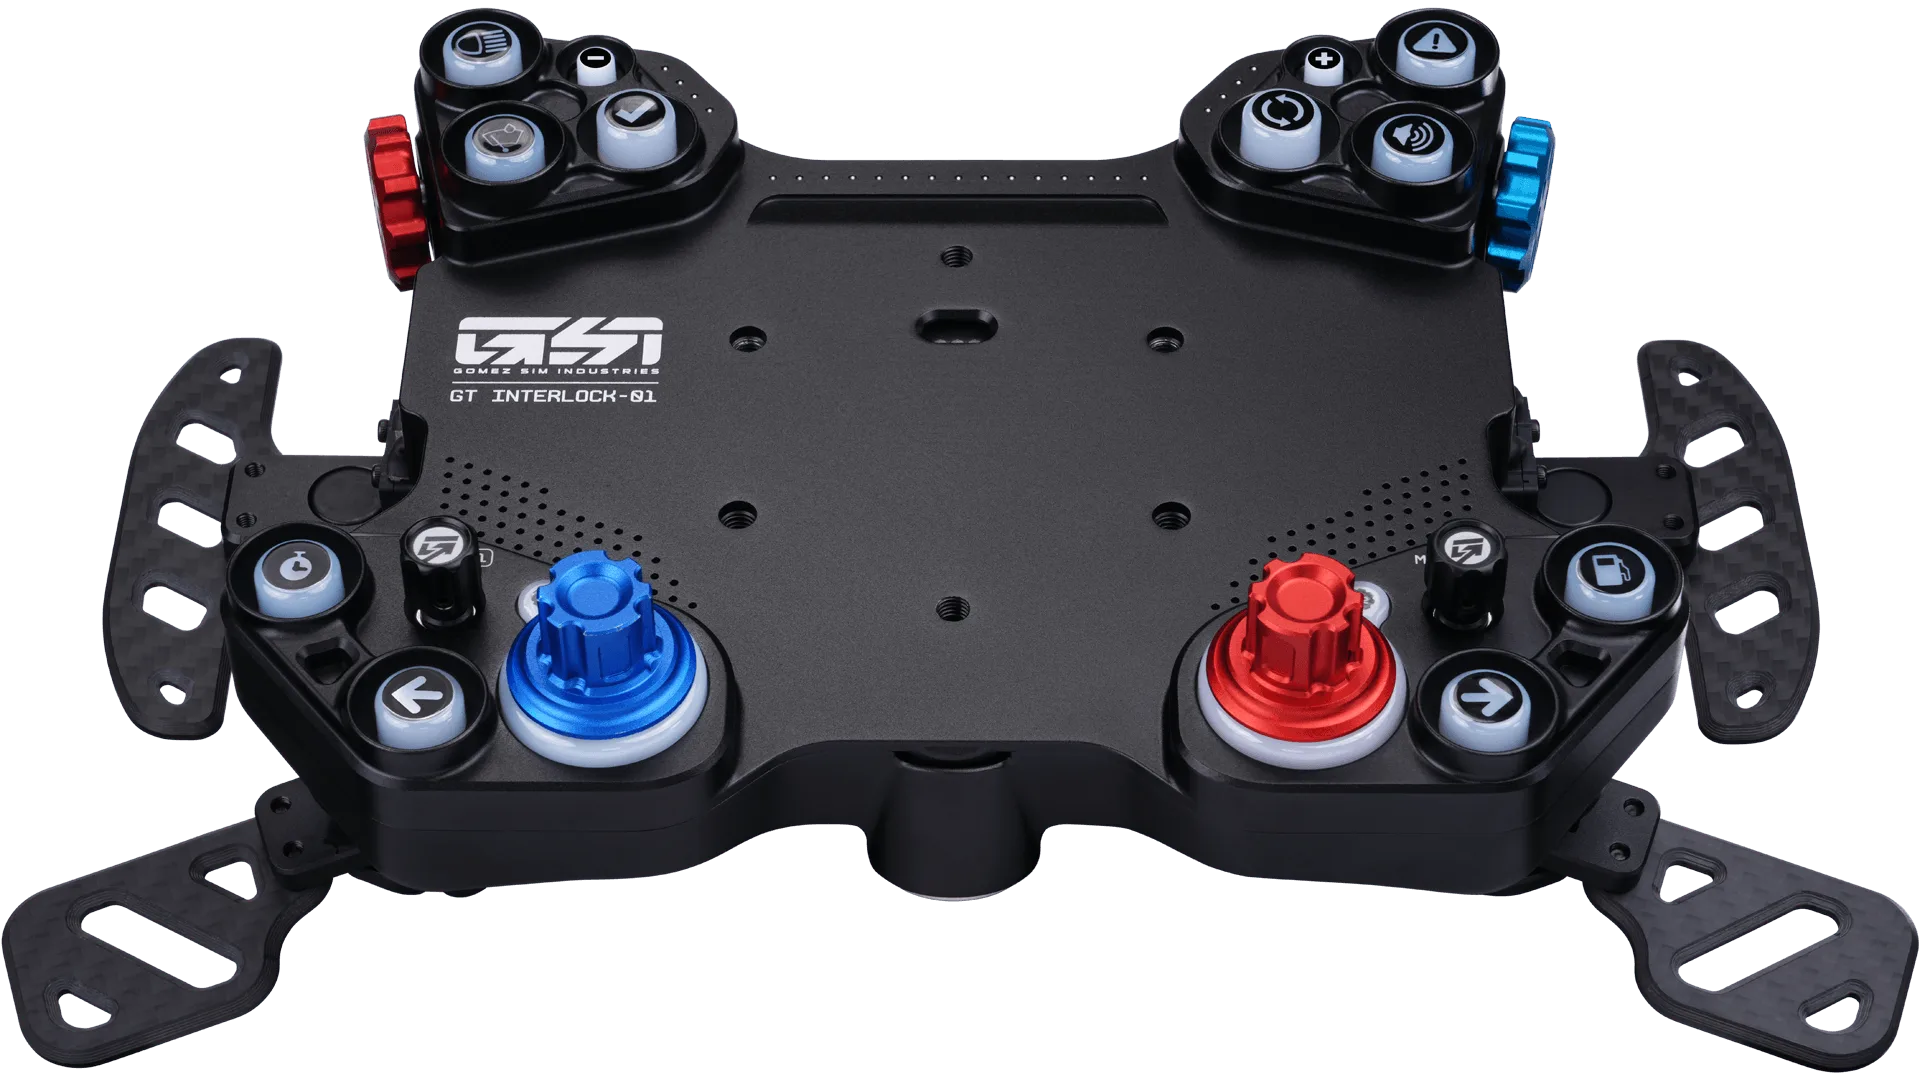
Interlock Base Module
Installing the Ultra 300 mm Wheel Rim is a straightforward job if you check compatibility before you tighten anything. The rim uses the GSI Interlock system or a standard 70 mm PCD bolt pattern, so it fits many direct drive bases and button boxes without adapters.
This guide walks through the full process, from confirming your base and hardware to mounting the rim and doing a final safety check. It also points out the mistakes that most often cause stripped threads, wobbly rims, or damaged quick releases.
Before you start: check compatibility and gather tools
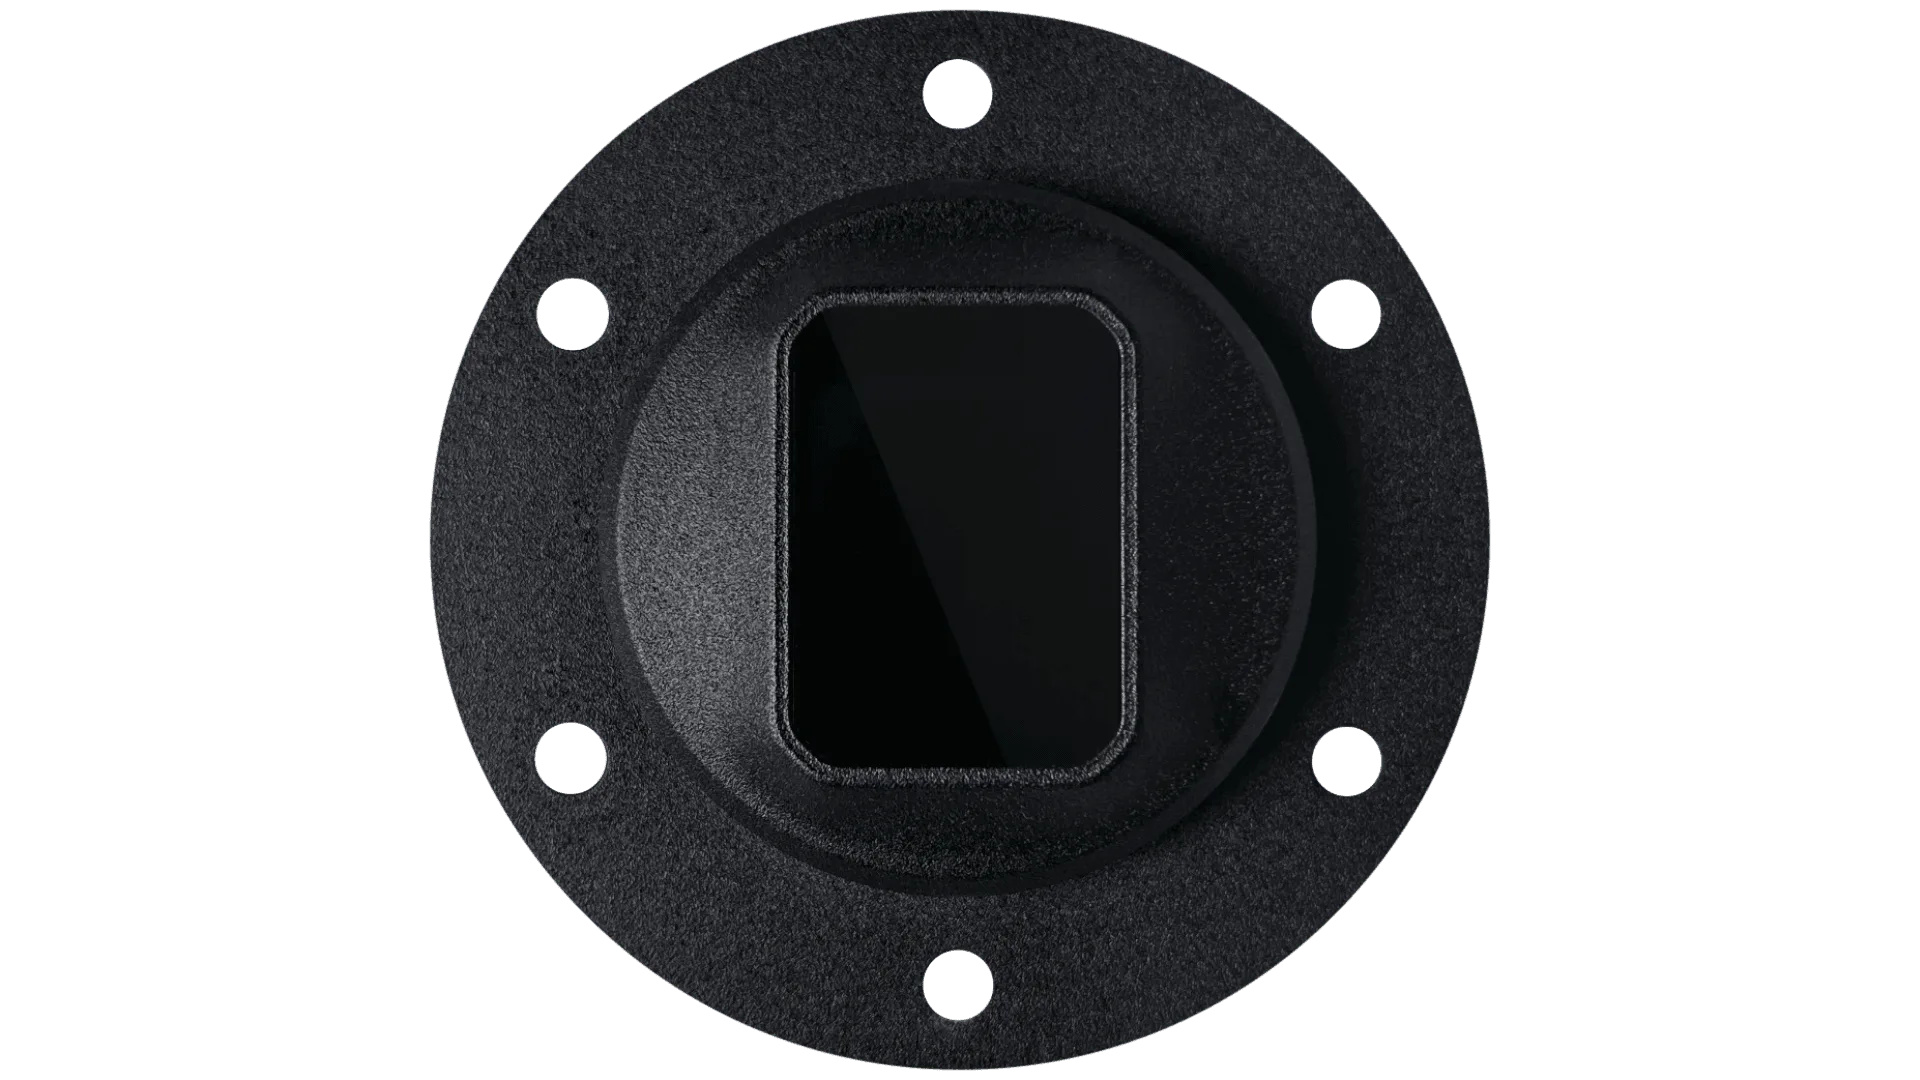
The Ultra 300 mm Wheel Rim is built on a rigid alloy core and uses the Interlock system for integration. If you are not using an Interlock Base Module, you need a wheel base or button box with a 70 mm PCD bolt pattern. Do not assume every direct drive base has this pattern; check your base manual or measure the hole spacing before you begin.
Gather the correct bolts for your base. Most 70 mm PCD mounts use M5 bolts, but thread depth and head type vary. Using bolts that are too long can damage the rim or base, and bolts that are too short may not hold safely. If you are using the Interlock Base Module, confirm whether your rim will attach directly to it or if you need the AH50 Hub for extra reach.
- Check your base for a 70 mm PCD pattern or Interlock compatibility before buying or mounting.
- Use only the bolt length and thread pitch specified by your wheel base manufacturer.
Step 1: Prepare the wheel base and work area
Power off your wheel base and unplug it from the computer. This prevents accidental rotation during installation, which can strip threads or pinch fingers. If your base has a quick release, remove any existing rim and set it aside. Clean the mounting surface with a dry cloth to remove dust or metal shavings.
Place the base on a stable surface at a comfortable height. If the base is already mounted to a cockpit, make sure the cockpit is secure and cannot tip. Keep the Ultra 300 mm Wheel Rim in its packaging until you are ready to align it, so you do not scratch the face or buttons.
- Never install a rim while the wheel base is powered on.
- Work on a stable surface; a moving base makes cross-threading more likely.
Step 2: Align the rim and start the bolts by hand
Hold the Ultra 300 mm Wheel Rim so the top center marker is at 12 o'clock. Align the mounting holes with the base or Interlock Base Module. If you are using the Interlock system, slide the rim onto the module until it seats fully; the Interlock design is keyed to prevent incorrect orientation.
Thread each bolt by hand for the first few turns. Do not use a power tool yet. Hand-threading lets you feel if a bolt is cross-threading or binding. If a bolt does not turn easily, remove it and check the thread and hole alignment. Forcing it will damage the alloy core or the base threads.
- Start all bolts by hand before tightening any of them.
- If a bolt binds, stop and realign; never force it.
Step 3: Tighten in a star pattern and check torque
Once all bolts are hand-tight, tighten them in a star or crisscross pattern. This pulls the rim down evenly and prevents warping or a tilted mount. Tighten in small increments until snug. If you have a torque wrench, use the specification from your wheel base manufacturer; if not, tighten firmly by hand without overdoing it.
Over-tightening can crack the rim's alloy core or strip the threads in the base. Under-tightening lets the rim shift under force feedback, which feels like play in the wheel and can damage the mounting holes over time. After the first pass, go around once more to confirm all bolts are evenly snug.
- Use a star pattern, not a circular one, to seat the rim evenly.
- Stop when the bolts are snug; do not crank down with full body weight.
Step 4: Connect electronics and test before driving
If your rim has integrated electronics, such as the LED Matrix on the Ultra 300 mm, connect the cable or contact pins according to the Interlock or base instructions. Make sure the connector is fully seated and not pinched between the rim and base. A partially connected cable can cause intermittent button or LED behavior.
Power on the base and test the rim at low force feedback. Turn the wheel lock to lock and check for any wobble, rubbing, or unusual noise. Press every button and confirm the LED Matrix responds if equipped. If you feel or hear anything abnormal, power off and recheck the mounting bolts and cable routing before driving.
- Test at low force feedback first; high torque can turn a small mounting error into damage.
- Check that cables are not strained or pinched when the wheel turns.
Installation steps at a glance
- Check compatibility: Confirm your wheel base or button box uses a 70 mm PCD bolt pattern or the GSI Interlock system. Measure hole spacing if you are unsure. If neither matches, you need a different mount or adapter; do not drill new holes.
- Power off and prepare: Turn off and unplug the wheel base. Remove any existing rim and clean the mounting surface. A powered base can spin unexpectedly and cause injury or thread damage.
- Align and hand-thread bolts: Align the rim at 12 o'clock, then thread all bolts by hand until they are just snug. If a bolt binds, stop and realign; forcing it strips threads.
- Tighten in a star pattern: Tighten bolts in a crisscross sequence in small increments until snug. Use a torque wrench if you have the manufacturer's spec. Even tightening prevents a tilted rim and warped mounting surface.
- Connect and test: Connect electronics, power on, and test at low force feedback. Check buttons, LED Matrix, and for any wobble. Fix any play or cable pinch before driving at full force feedback.
Product facts that affect installation
- Ultra 300 mm Wheel Rim: The Interlock Ultra 300 mm is the flagship GSI wheel rim, engineered for precision, comfort, and seamless integration with the Interlock system. It is built on a rigid alloy core and includes an integrated LED Matrix. The alloy core and Interlock integration mean you should use the Interlock Base Module or a 70 mm PCD mount, and you must connect the LED Matrix cable properly for telemetry to work.
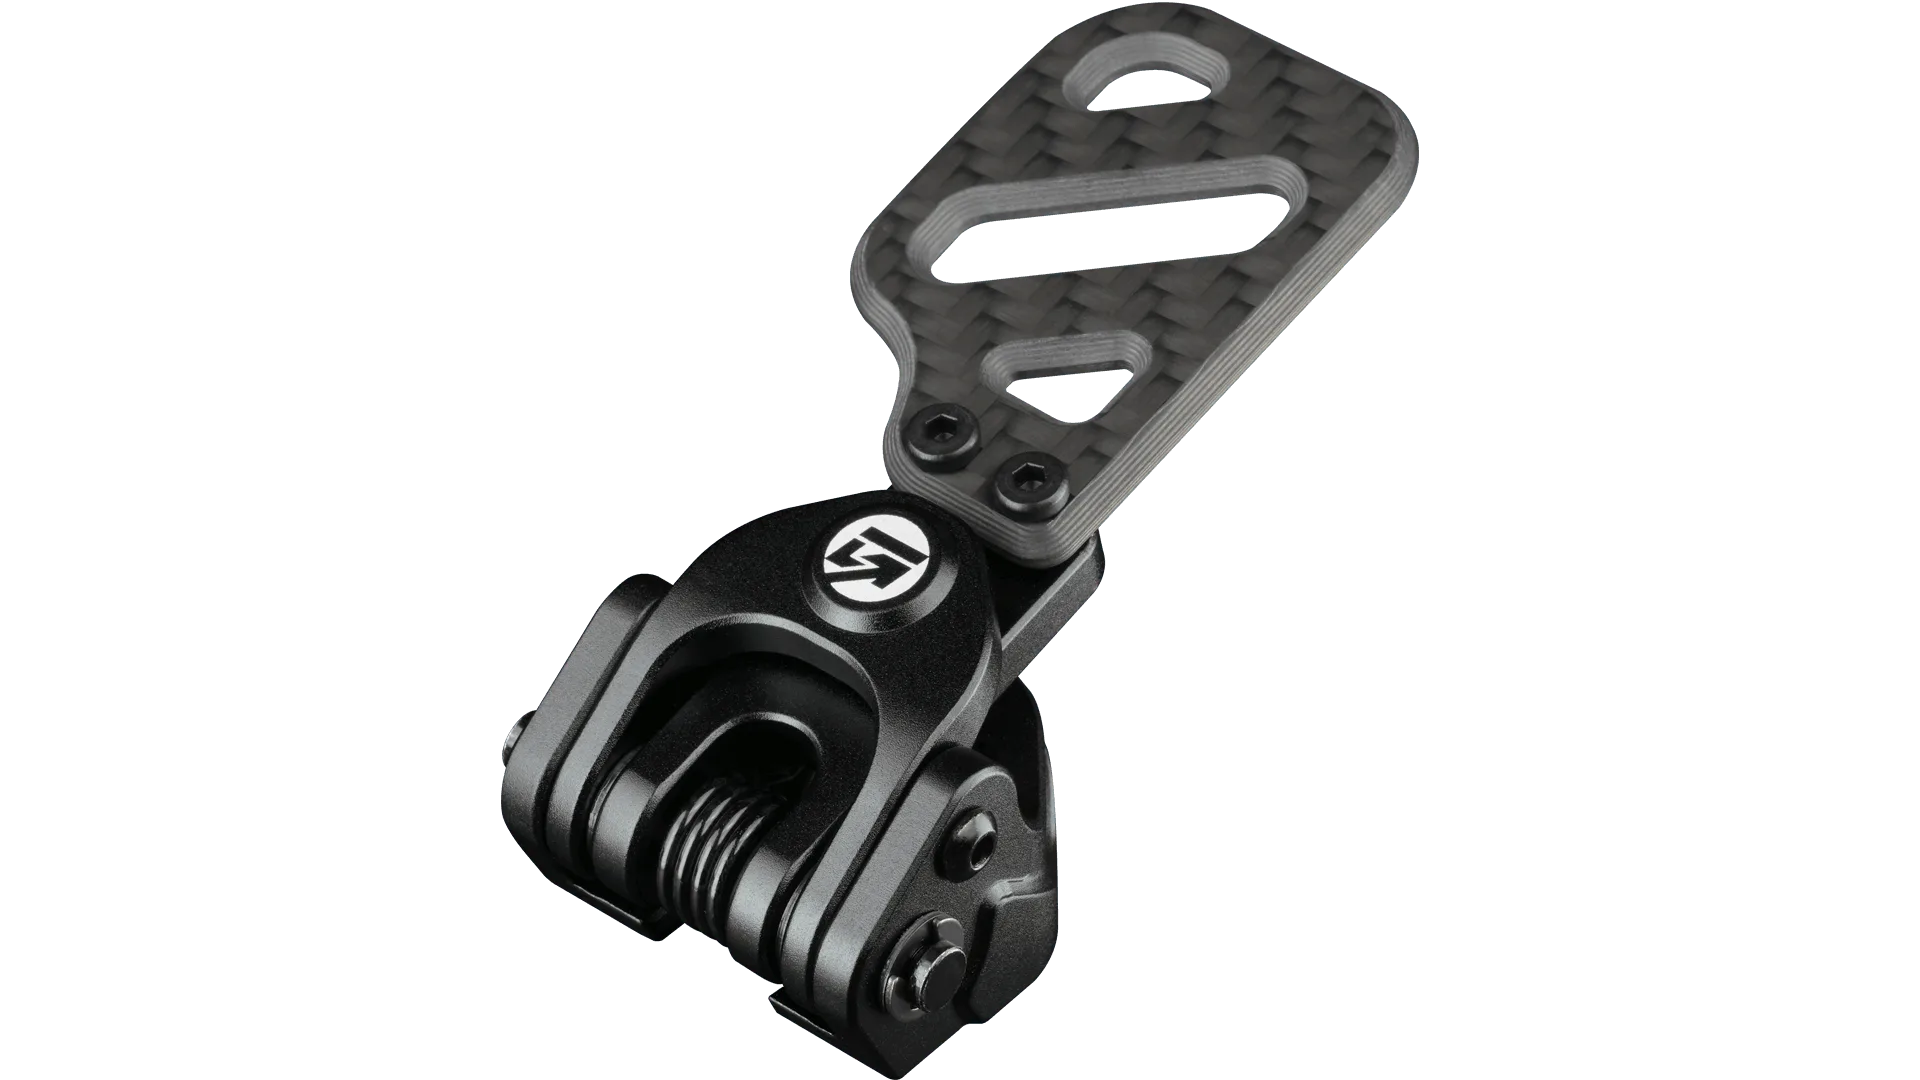
- Interlock Base Module: The Interlock Base Module is available with or without paddle shifters and clutches, and the optional LED Matrix can be added at any time. If you use the Interlock system, the rim mounts to this module rather than directly to the wheel base, so your installation steps change slightly.
- GT 320 mm Wheel Rim: The GT 320 mm Wheel Rim is compatible with the GSI Interlock system as well as sim racing button boxes that use a 70 mm PCD bolt pattern. This confirms that GSI rims share the same 70 mm PCD standard, so if you already mount a GT 320 mm, your base is likely compatible with the Ultra 300 mm.
Installing the Ultra 300 mm Wheel Rim is a short job when you confirm the 70 mm PCD or Interlock fit first and tighten evenly. Take your time with alignment and hand-threading, then test gently before you race. If you are building a full Interlock setup, start with the Interlock Base Module and add the rim from there.