Quick answer
Start with one simple, easy-to-hold baby music toy during floor play, then add a second sound source only after your child shows steady interest. Keep sessions short, follow your baby's cues, and rotate toys rather than offering everything at once. For toddlers, let them control the sound by pressing, shaking, or tapping so music becomes something they do, not just hear.
Babies are wired for sound. Long before they can speak, they turn toward a rattle, kick their legs to a beat, and calm to a familiar melody. That makes musical toys one of the easiest early learning tools you can bring into your home, but only if you introduce them at the right pace.
This guide walks through a simple sequence: choose one starter toy, model how it works, add movement, then expand. You will also find checkpoints so you know when to move on, plus a few honest tradeoffs about volume, batteries, and overstimulation.
Why musical toys are worth the shelf space
Music and child development go hand in hand. Songs and rhythm help babies tune into the patterns of language, practice cause and effect, and build early memory. When a baby shakes a rattle and hears a sound, they learn that their action made something happen, which is a foundational piece of learning.
Musical toys also give you a shared activity that does not require a screen or a specific skill level. A six-month-old can grip a shaker, a one-year-old can press a button, and a three-year-old can march around the room. The same toy can stretch across months of development, which makes it a smart purchase rather than a one-week novelty.
- Look for toys with a clear on/off switch and volume control so you can manage sound levels.
- Choose one sound source at a time; layering a song, a rattle, and a talking toy at once can overwhelm a baby.
Step 1: Pick one starter toy for the current stage
For babies under about six months, choose a soft or easy-to-grip toy that makes a gentle sound when moved. A plush wristlet or a small shaker works well because it stays attached or fits in a tiny hand. The goal is not a full song; it is a single, repeatable sound your baby can connect to their own movement.
For toddlers, choose a toy they can operate independently, such as a push-button player or a simple instrument. If you are unsure what will hold attention, a book that introduces the idea of sound and rhythm can be a low-pressure starting point before you invest in a battery-powered toy.
- Common mistake: buying a complex toy with lights, songs, and voices for a young baby. Start simpler.
- Checkpoint: your baby looks toward the toy or reaches for it when it sounds. That is your cue to keep going.
Step 2: Model the sound before you hand it over
Babies learn by watching. Shake the toy gently, pause, and let the sound land. Then shake it again. This turn-taking rhythm mirrors conversation and teaches your baby that sounds have a beginning and an end. Narrate what you are doing in a calm voice: "Shake, shake, stop."
Once your baby reaches for the toy, let them take it. Resist the urge to guide their hand every time. If they bang it on the floor, that is still musical exploration. Your job is to stay nearby, keep the volume reasonable, and let them lead the play.
- Common mistake: filling every silence with sound. Pauses are where babies process what they heard.
- Checkpoint: your baby tries to make the sound themselves, even imperfectly. Move to the next step.
Step 3: Add movement and routine
Once your child is comfortable with one toy, pair it with a simple action. Bounce them gently on your knee to a beat, sway while holding them, or clap along. For toddlers, add marching, spinning, or a dance break before nap time. Movement helps the brain connect sound to body, which is a big part of early music learning.
A predictable routine matters more than a long session. Two or three minutes of music during diaper changes, bath time, or the wind-down before bed is enough. The repetition is what builds familiarity, not the length of the activity.
- Common mistake: saving music toys only for special occasions. Daily, short exposure works better.
- Checkpoint: your child anticipates the song or action, such as kicking before the bounce starts.
Step 4: Expand the collection slowly
When your child shows clear preferences, such as favoring a rattle over a button toy, add one new sound source. This could be a second instrument, a different type of shaker, or a toy that plays a short melody. Keep the older toy in rotation so your child can choose between two familiar options.
This is also the stage where musical toys for toddlers can start to overlap with pretend play. A toddler might shake a toy while dancing a stuffed animal or use a figure as a pretend audience. That kind of play is a sign the toy is doing its job: it is becoming part of their story, not just a noise maker.
- Common mistake: replacing toys instead of rotating them. Familiarity builds skill.
- Checkpoint: your child chooses a musical toy during free play without prompting.
What to look for and what to skip
The best musical toys for babies and toddlers share a few traits: they are easy to hold, they make one clear sound, and they do not require a screen. Volume control is not optional if the toy is electronic. If a toy has no volume adjustment, test it in the store or read the product details carefully, because some electronic toys are louder than you expect.
Skip toys that play long, continuous songs with no pause. Babies need space to respond. Also skip anything with small parts for children under three, and check age recommendations on the packaging. If a specification like battery type or material is not listed, treat that as a gap and contact the seller before buying rather than guessing.
- Prioritize toys with an off switch so you can control when sound happens.
- For babies, soft or wrist-attached toys reduce the chance of drops and lost pieces.
Your step-by-step introduction plan
- Start with one simple sound toy: Choose a single rattle, shaker, or soft musical toy for your baby's current stage and keep it in one predictable spot, such as the diaper-changing area or the floor play mat. Checkpoint: your baby turns toward the sound or reaches for the toy within the first few sessions.
- Model the sound and pause: Shake or press the toy yourself, then stop and wait. Let your baby hear the silence and respond before you repeat the sound. Checkpoint: your baby tries to make the sound on their own, even if the rhythm is uneven.
- Add movement to the sound: Pair the toy with a simple action such as bouncing, swaying, clapping, or marching. Keep it to two or three minutes during an existing routine. Checkpoint: your child anticipates the action, like kicking before the bounce begins.
- Rotate in a second sound source: When your child shows a clear preference, add one new instrument or musical toy while keeping the first one available. Let your child choose between two familiar options. Checkpoint: your child picks a musical toy during free play without you suggesting it.
- Review volume and safety monthly: Check that electronic toys still have working volume control, look for loose parts or worn batteries, and confirm the toy still matches your child's age and stage. Next step: retire any toy that is too loud, broken, or no longer challenging, and replace it with one that matches your child's new skills.
Products that fit this approach
- 7" Plush Wristlet - Mermaid Wishes: This mermaid-patterned wristlet from The Petting Zoo has two zippered pockets, a clear photo ID window, and a wrist strap, sized 7 inches for ages 3 and up. A wrist strap keeps a small toy attached during floor play or outings, which means fewer drops and less lost-toy frustration for toddlers who are still building grip strength.
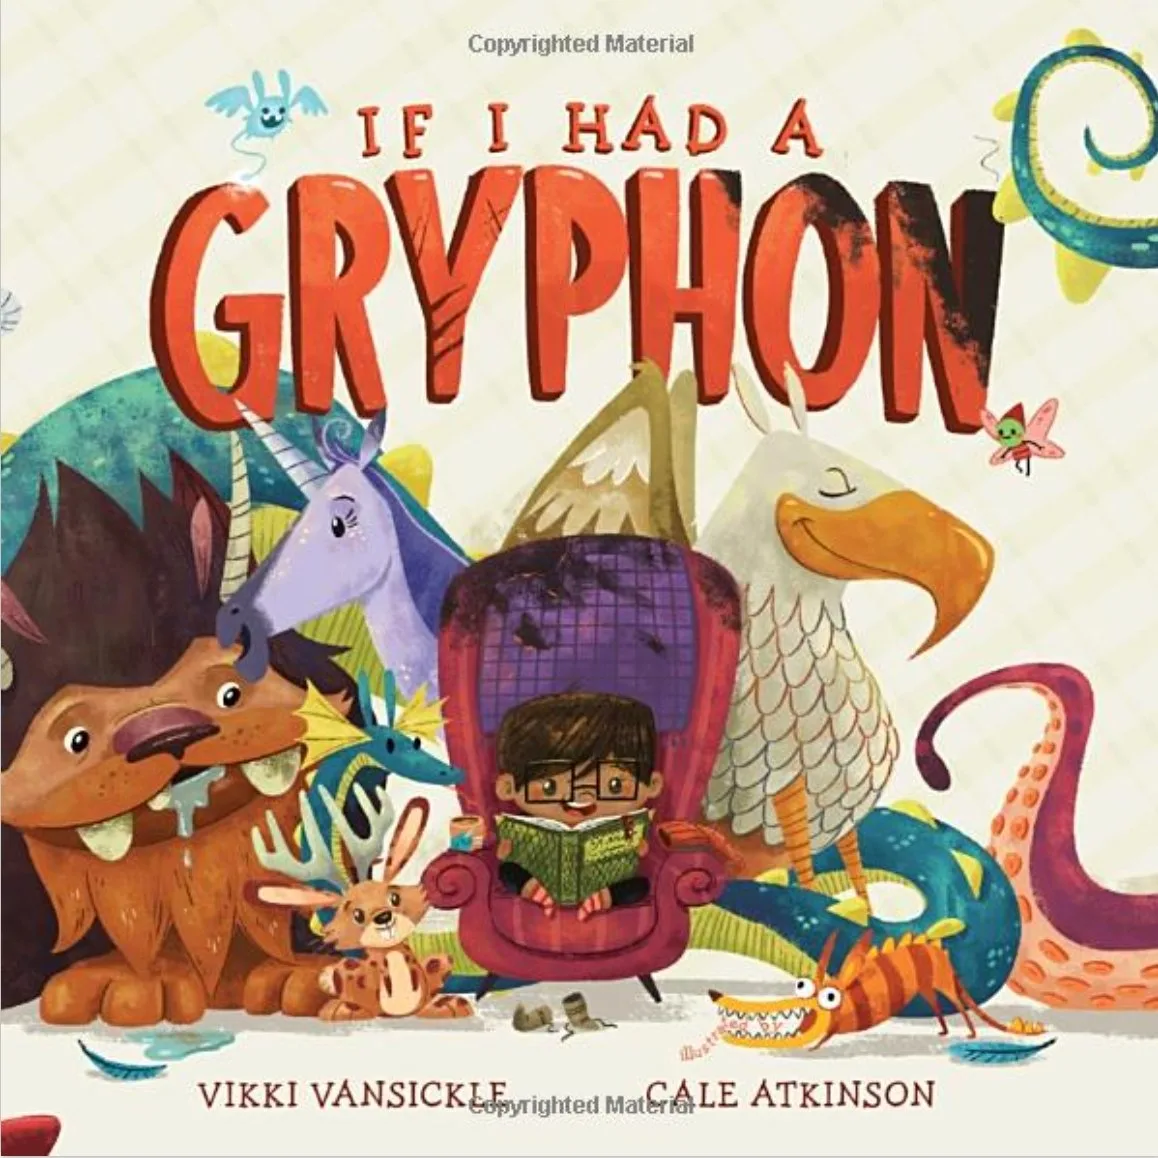
- If I Had a Gryphon: A book about a child who wishes for a more exciting pet than her hamster, inspired by a book of mythological creatures, priced at USD 4.50. Reading about sound and rhythm before buying an electronic toy is a low-cost way to see what holds your child's attention, and the story gives you language to use during music play.
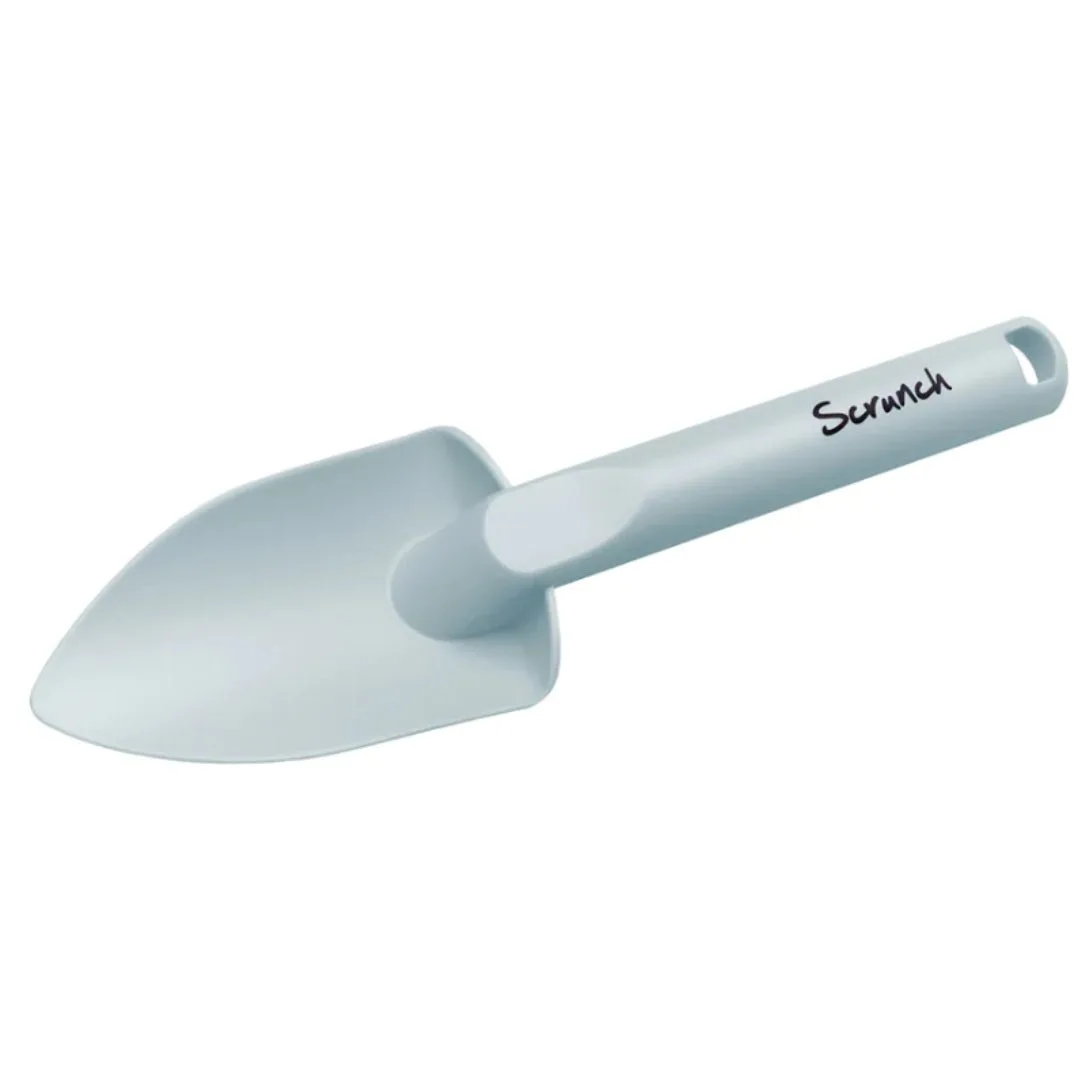
- Spade - Duck Egg Blue: An 8.2 x 2.3 inch outdoor spade with a rubberized handle for easy grip, recommended for ages 1 and up. Not every musical moment needs a battery. A sturdy outdoor tool like this supports rhythm games such as digging to a beat in the garden, which extends music play beyond the toy bin.
Introducing musical toys works best as a slow build: one toy, one sound, one short daily session. Follow your child's cues, keep the volume in check, and let them lead the play. If you start simple and rotate thoughtfully, music becomes a regular, joyful part of your day rather than another toy that gets ignored.