Quick answer
Pick one STEM idea at a time, choose a toy that matches your child's current interests, and play alongside them for a few minutes before stepping back. Keep sessions short, follow your child's lead, and rotate toys instead of piling everything out at once. This approach builds early STEM learning without turning playtime into a lesson.
Preschoolers don't need a full science kit to start building STEM thinking. They need one interesting problem, a toy they can actually hold, and an adult who knows when to step back. The biggest mistake parents make is treating STEM toys like a curriculum to complete rather than a play invitation to follow.
This guide walks through a simple sequence you can use with any preschooler, whether they're 3 or almost 5. You'll also see how specific toys, like a farm threading game or a set of mini space figures, fit into each step without overwhelming your child or your living room.
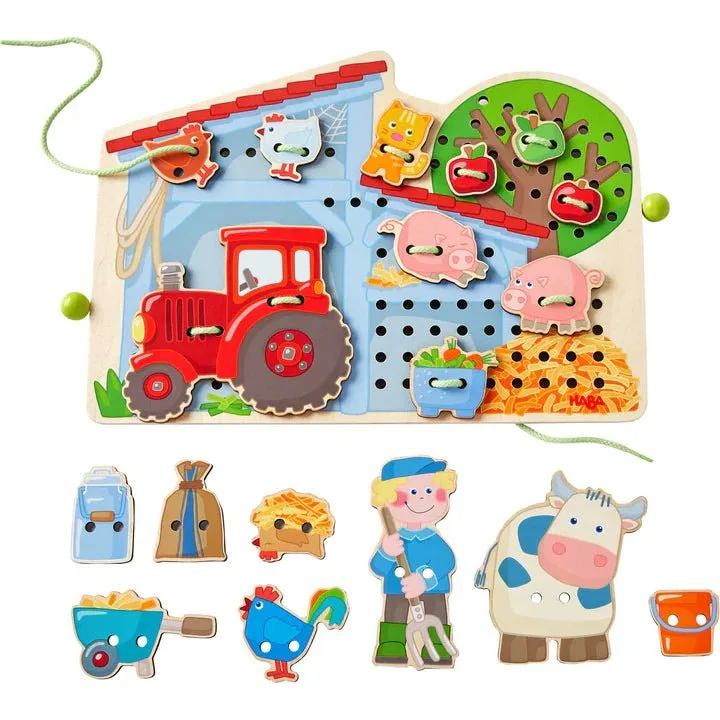
farm threading game
Start with one idea, not one toy box
Before you buy anything new, decide on a single STEM concept you want to explore this week: sorting, stacking, threading, counting, or cause and effect. Then choose one toy that naturally invites that idea. A threading toy, for example, is really about hand-eye coordination and planning, not about finishing the board.
When you introduce only one idea, your child can focus on it without a dozen other options competing for attention. This is especially important for 3-year-olds, whose working memory is still developing. A single clear activity feels manageable; a bin of mixed toys feels like noise.
- Write down your one idea for the week and keep it visible for yourself, not your child.
Model the play once, then hand it over
Sit down and use the toy yourself for 30 to 60 seconds. Talk through what you're doing in plain language: 'I'm putting the string through the hole.' Then offer the toy to your child without instructions. Most preschoolers will copy or adapt what they just saw.
Resist the urge to correct their technique. If they thread the string through the same hole five times, that's repetition, which is how young children build motor memory. Your job is to keep the tone light and stay nearby without hovering.
- If your child asks for help, give the smallest possible hint instead of taking over.
Keep sessions short and end on a high note
A successful preschool STEM session often lasts 5 to 10 minutes. When your child is still engaged and happy, that's the moment to say, 'Let's save the rest for later.' Stopping while things are going well makes them more likely to return to the toy tomorrow.
If you push for one more minute after their attention fades, you risk turning the toy into a chore. Watch for signs of fatigue: dropping pieces, wandering away, or asking for a snack. Those are cues to wrap up, not to redirect.
- Set a gentle timer for yourself, not your child, to remember to stop early.
Rotate toys instead of displaying everything
Keep two or three STEM toys accessible and store the rest out of sight. Every week or two, swap one out for something from the closet. This keeps the novelty alive without buying new things constantly, and it gives you a chance to revisit earlier ideas.
Rotation also helps you notice which toys your child returns to independently. Those are the ones worth keeping in the main rotation. The others can wait until your child's skills or interests shift.
- A clear plastic bin with a lid makes rotation easy and keeps pieces together.
Match the toy to the skill, not the age on the box
Age recommendations are a starting point, not a rule. A 4-year-old who loves animals may get more from a farm-themed threading game than from a generic building set. A 3-year-old who is still mouthing toys needs larger pieces and close supervision, regardless of what the label says.
Look at the toy's actual demands: How many steps does it require? How small are the pieces? Does it need two hands or one? These details matter more than the number printed on the package.
- If a toy feels too easy, add a small challenge like sorting pieces by color before using them.
Use everyday moments to reinforce the idea
STEM learning doesn't stop when the toy goes back on the shelf. Point out patterns in the kitchen, count stairs as you walk, or talk about how water flows in the bath. These small moments connect the toy's concept to the real world, which is what early STEM learning is really about.
You don't need to label anything as 'science' or 'engineering.' Just use clear, simple language and let your child's curiosity lead. The goal is comfort with wondering, testing, and trying again.
- Ask 'What do you notice?' instead of 'What did you learn?'
Your step-by-step introduction plan
- Choose one concept for the week: Pick a single idea like threading, sorting, or stacking. Select one toy that clearly supports it, such as the Farm Threading Game for threading or the Mini Space Toys Bulk Bag for sorting. Checkpoint: if you can't describe the idea in one sentence, you're trying to do too much.
- Set up a calm, clear space: Clear the table or floor of other toys. Place only the pieces needed for the activity within reach. Keep the rest of the set stored away. Common mistake: leaving the full bin out 'just in case' — it splits attention and invites dumping.
- Model for 30–60 seconds: Use the toy yourself and narrate simply: 'I'm putting the string in the hole.' Then hand it over without further instructions. Checkpoint: if you're still talking after a minute, you've moved from modeling to lecturing.
- Follow your child's lead: Let them use the toy in their own way, even if it's not the 'right' way. Stay nearby and respond to requests for help with minimal hints. Common mistake: correcting technique too early, which can shut down experimentation.
- Stop while it's still fun: End the session after 5–10 minutes or when you see early signs of fatigue. Put the toy away together and say you'll save it for next time. Checkpoint: if your child protests but then happily moves on, you stopped at the right time.
- Rotate and revisit: Swap this toy out for a different one after a week or two. Bring it back later to see how your child's approach has changed. Next step: note which toys your child returns to independently and keep those in the main rotation.
Toy examples that fit these steps
- Farm Threading Game: This wooden threading toy includes a playboard with a barn and a tree and 117 holes for threading, plus 18 threading tiles including a tractor, a farmer, several animals, and accessories. It supports the one-idea approach: you can focus on threading or on naming farm animals, but not both at once.
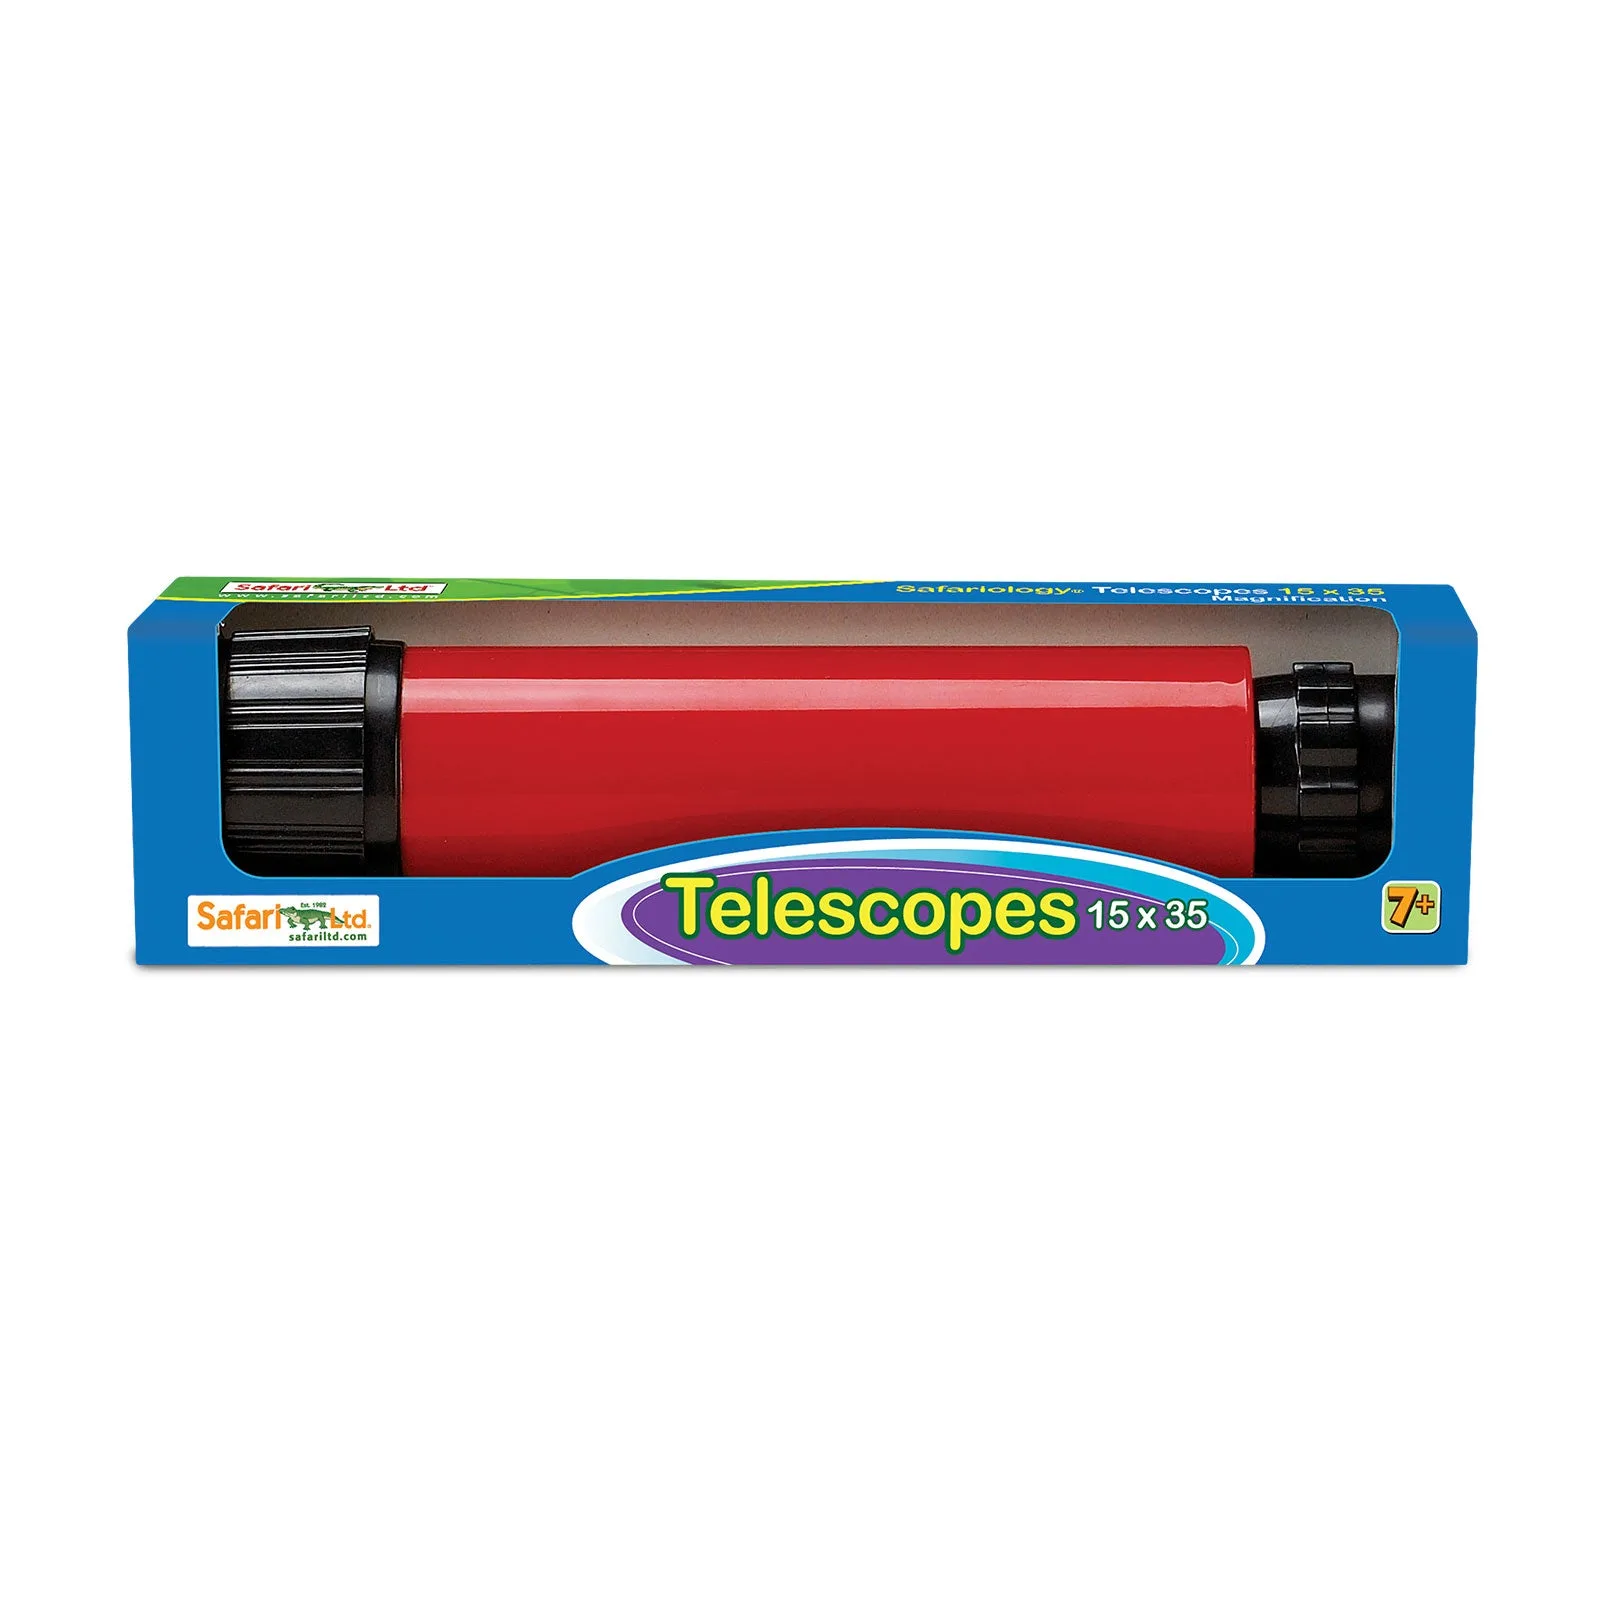
- Mini Space Toys Bulk Bag: The set includes 48 space-themed figures and items with 10 unique designs, including astronauts, rockets, capsules, shuttles, telescopes, and moon rovers. A bulk bag works well for sorting and matching activities, and you can rotate a handful at a time instead of pouring out all 48.
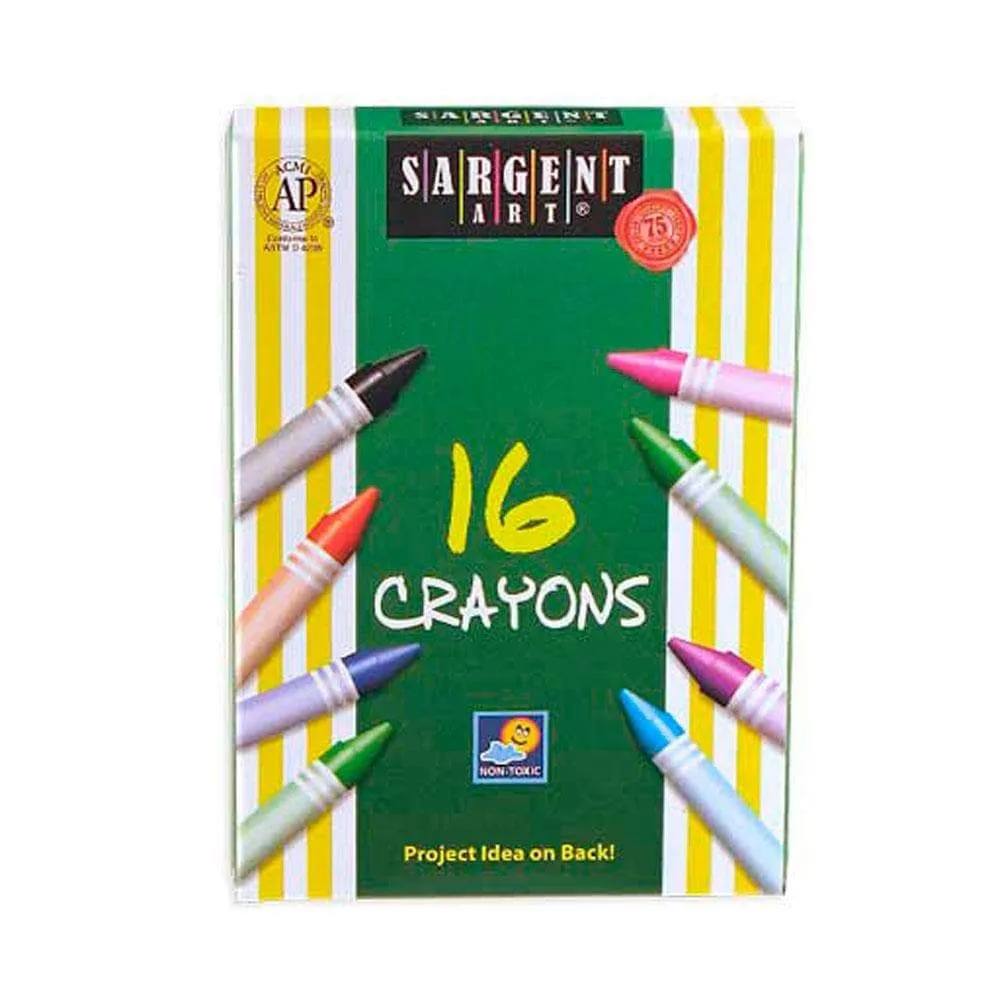
- Crayons 16 PK: This set contains 16 crayons per set and can be used with Safari Ltd's activity guides for homeschooling lessons and activities. Crayons are a low-pressure way to extend a STEM idea into drawing and labeling, which reinforces vocabulary without feeling like a test.
Introducing STEM toys to preschoolers works best when you keep it small: one idea, one toy, a few minutes of shared play, and a clean stop. Use the steps above, adjust for your child's mood, and let repetition do the teaching. If you're looking for a starting point, the Farm Threading Game and Mini Space Toys Bulk Bag both fit this low-pressure approach.