Quick Answer
You can knit a Key Lime Pie with the Snack Knit Kit by knitting a few rectangles, then sewing them together and adding the decorative details. This kit is designed for beginners and includes instructions for lefties and righties.
Why the Snack Knit Kit Works for Beginners
The Snack Knit Kit takes the intimidation out of knitting by focusing on simple rectangles. Instead of shaping curves or increasing stitches, you knit flat pieces and assemble them into a recognizable dessert. This approach lets you practice the basic knit stitch without worrying about complex patterns.
Step-by-Step Instructions for Knitting Key Lime Pie
- Cast On and Knit the Crust: Using the yarn and needles from the kit, cast on the number of stitches indicated in the instructions for the pie crust. Knit every row until the piece measures the specified length. Common mistake: knitting too tightly, which makes the rectangle stiff. Keep your tension loose and even. If your rectangle curls at the edges, you may be knitting too tightly. Relax your grip.
- Knit the Filling and Topping: For the filling, use the yellow yarn to knit a rectangle the same width as the crust but shorter. For the topping, use the white yarn to knit a smaller rectangle. Check the instruction guide for exact stitch counts. Common mistake: mixing up the yarn colors. Label each rectangle with a sticky note. Keep each rectangle separate and note which color it belongs to.
- Assemble the Pie: Lay the crust rectangle flat. Place the filling rectangle on top, centered. Then place the topping rectangle on top of the filling. Using the yarn needle and matching yarn, sew the three layers together along the edges, leaving the top edge open if the instructions show a slit for the filling. Common mistake: sewing too tightly, which puckers the fabric. Use a whip stitch with even tension. Sew with the same yarn you used for the crust to hide the stitches.
- Add Decorative Details: Use the remaining yarn to add details like a top crust lattice or whipped cream. The kit instructions show where to place these. Common mistake: skipping this step. The details make the pie recognizable, so take your time. If you're unsure about placement, look at the photo on the kit packaging.
- Weave in Ends and Finish: Thread any loose yarn tails onto the yarn needle and weave them into the wrong side of the pie. Trim the excess. Common mistake: cutting the yarn too short, which can cause the tail to unravel. Leave at least a 4-inch tail when weaving. Weave in ends on the back of the pie so they don't show.
Product Facts
-
Snack Knit Kit - Key Lime Pie: All the characters are made from knitted rectangles, so they are perfect for beginners. You don't need to learn shaping or increases; just knit rectangles and sew them together.
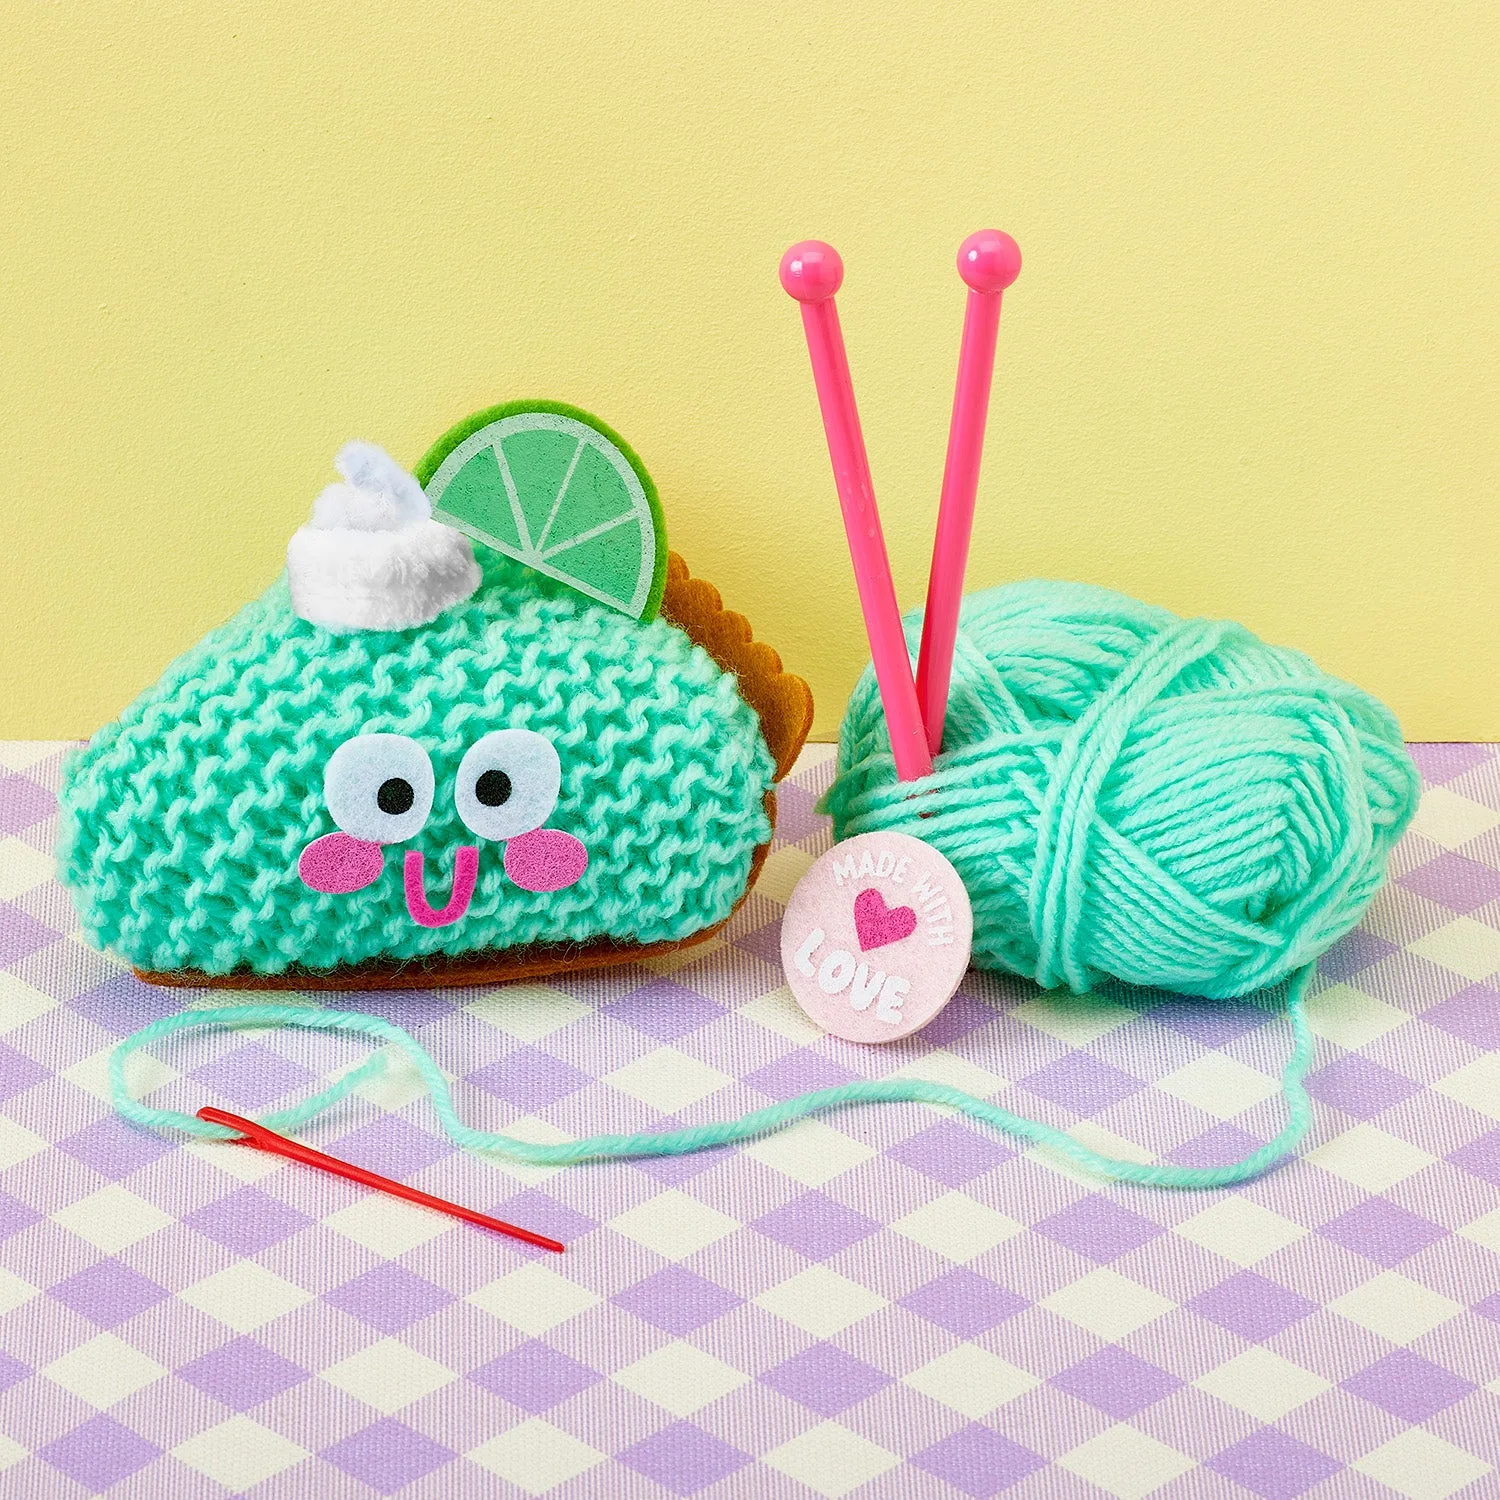
Snack Knit Kit - Key Lime Pie