Quick answer
To adjust BOA trail shoes, push the dial in and turn clockwise until snug, then fine-tune by turning counterclockwise to loosen. Pull the dial out to release instantly. Aim for even pressure across your instep and midfoot, and readjust as your feet swell on long runs.
Why BOA fit matters on the trail
A secure fit keeps your foot from sliding on descents and reduces the chance of blisters or black toenails. BOA systems distribute pressure more evenly than traditional laces because the cables wrap around the foot in a continuous loop. That means you can dial in a precise fit without pressure points, and adjust on the move without stopping to tie knots.
Step-by-step BOA adjustment
Follow this sequence every time you put on your trail shoes. It takes seconds and can prevent discomfort mile after mile.
- Step 1: Loosen the dial completely by pulling it outward. Slide your foot in and center your heel in the shoe.
- Step 2: Push the dial in to engage the system. Turn clockwise until you feel light resistance—don't crank it down yet.
- Step 3: Tap your heel against the ground to seat it, then fine-tune: turn clockwise one or two clicks for a snug hold.
- Step 4: To relieve pressure on a climb or descent, turn the dial counterclockwise slightly. The cable loosens in micro-adjustments.
- Step 5: To take the shoe off, pull the dial outward. The cable releases instantly.
Common mistakes to avoid
Over-tightening is the most frequent error. It restricts circulation and can cause numbness. If your toes tingle, loosen the dial a few clicks. Another mistake is ignoring the tongue: make sure it lies flat and isn't folded, or you'll create a pressure point. Finally, don't treat the fit as fixed—feet swell during long runs, so plan to readjust mid-run.
When to readjust on the trail
On technical descents, a snugger fit improves control. On long climbs, a slightly looser fit lets your foot expand. If you feel heel lift, tighten the dial a click or two. If you feel pressure on the top of your foot, loosen. Carry a small loop of spare cable? Not necessary—BOA systems are durable, but knowing how to release quickly helps if you need to air out your feet.
Quick BOA fit checklist
- Release and step in: Pull the dial out to fully loosen, then slide your foot in and center your heel. Checkpoint: your heel should sit snugly in the heel pocket.
- Engage and snug: Push the dial in and turn clockwise until you feel light resistance. Mistake to avoid: cranking it down too hard right away.
- Seat the heel: Tap your heel on the ground, then turn the dial one or two more clicks. Checkpoint: no heel lift when you walk.
- Fine-tune on the move: Turn counterclockwise to loosen slightly for climbs, clockwise for descents. Mistake to avoid: ignoring numbness or tingling—loosen immediately.
- Release quickly: Pull the dial out to release the cable and step out. Next step: readjust at aid stations or before big descents.
BOA trail shoes to consider
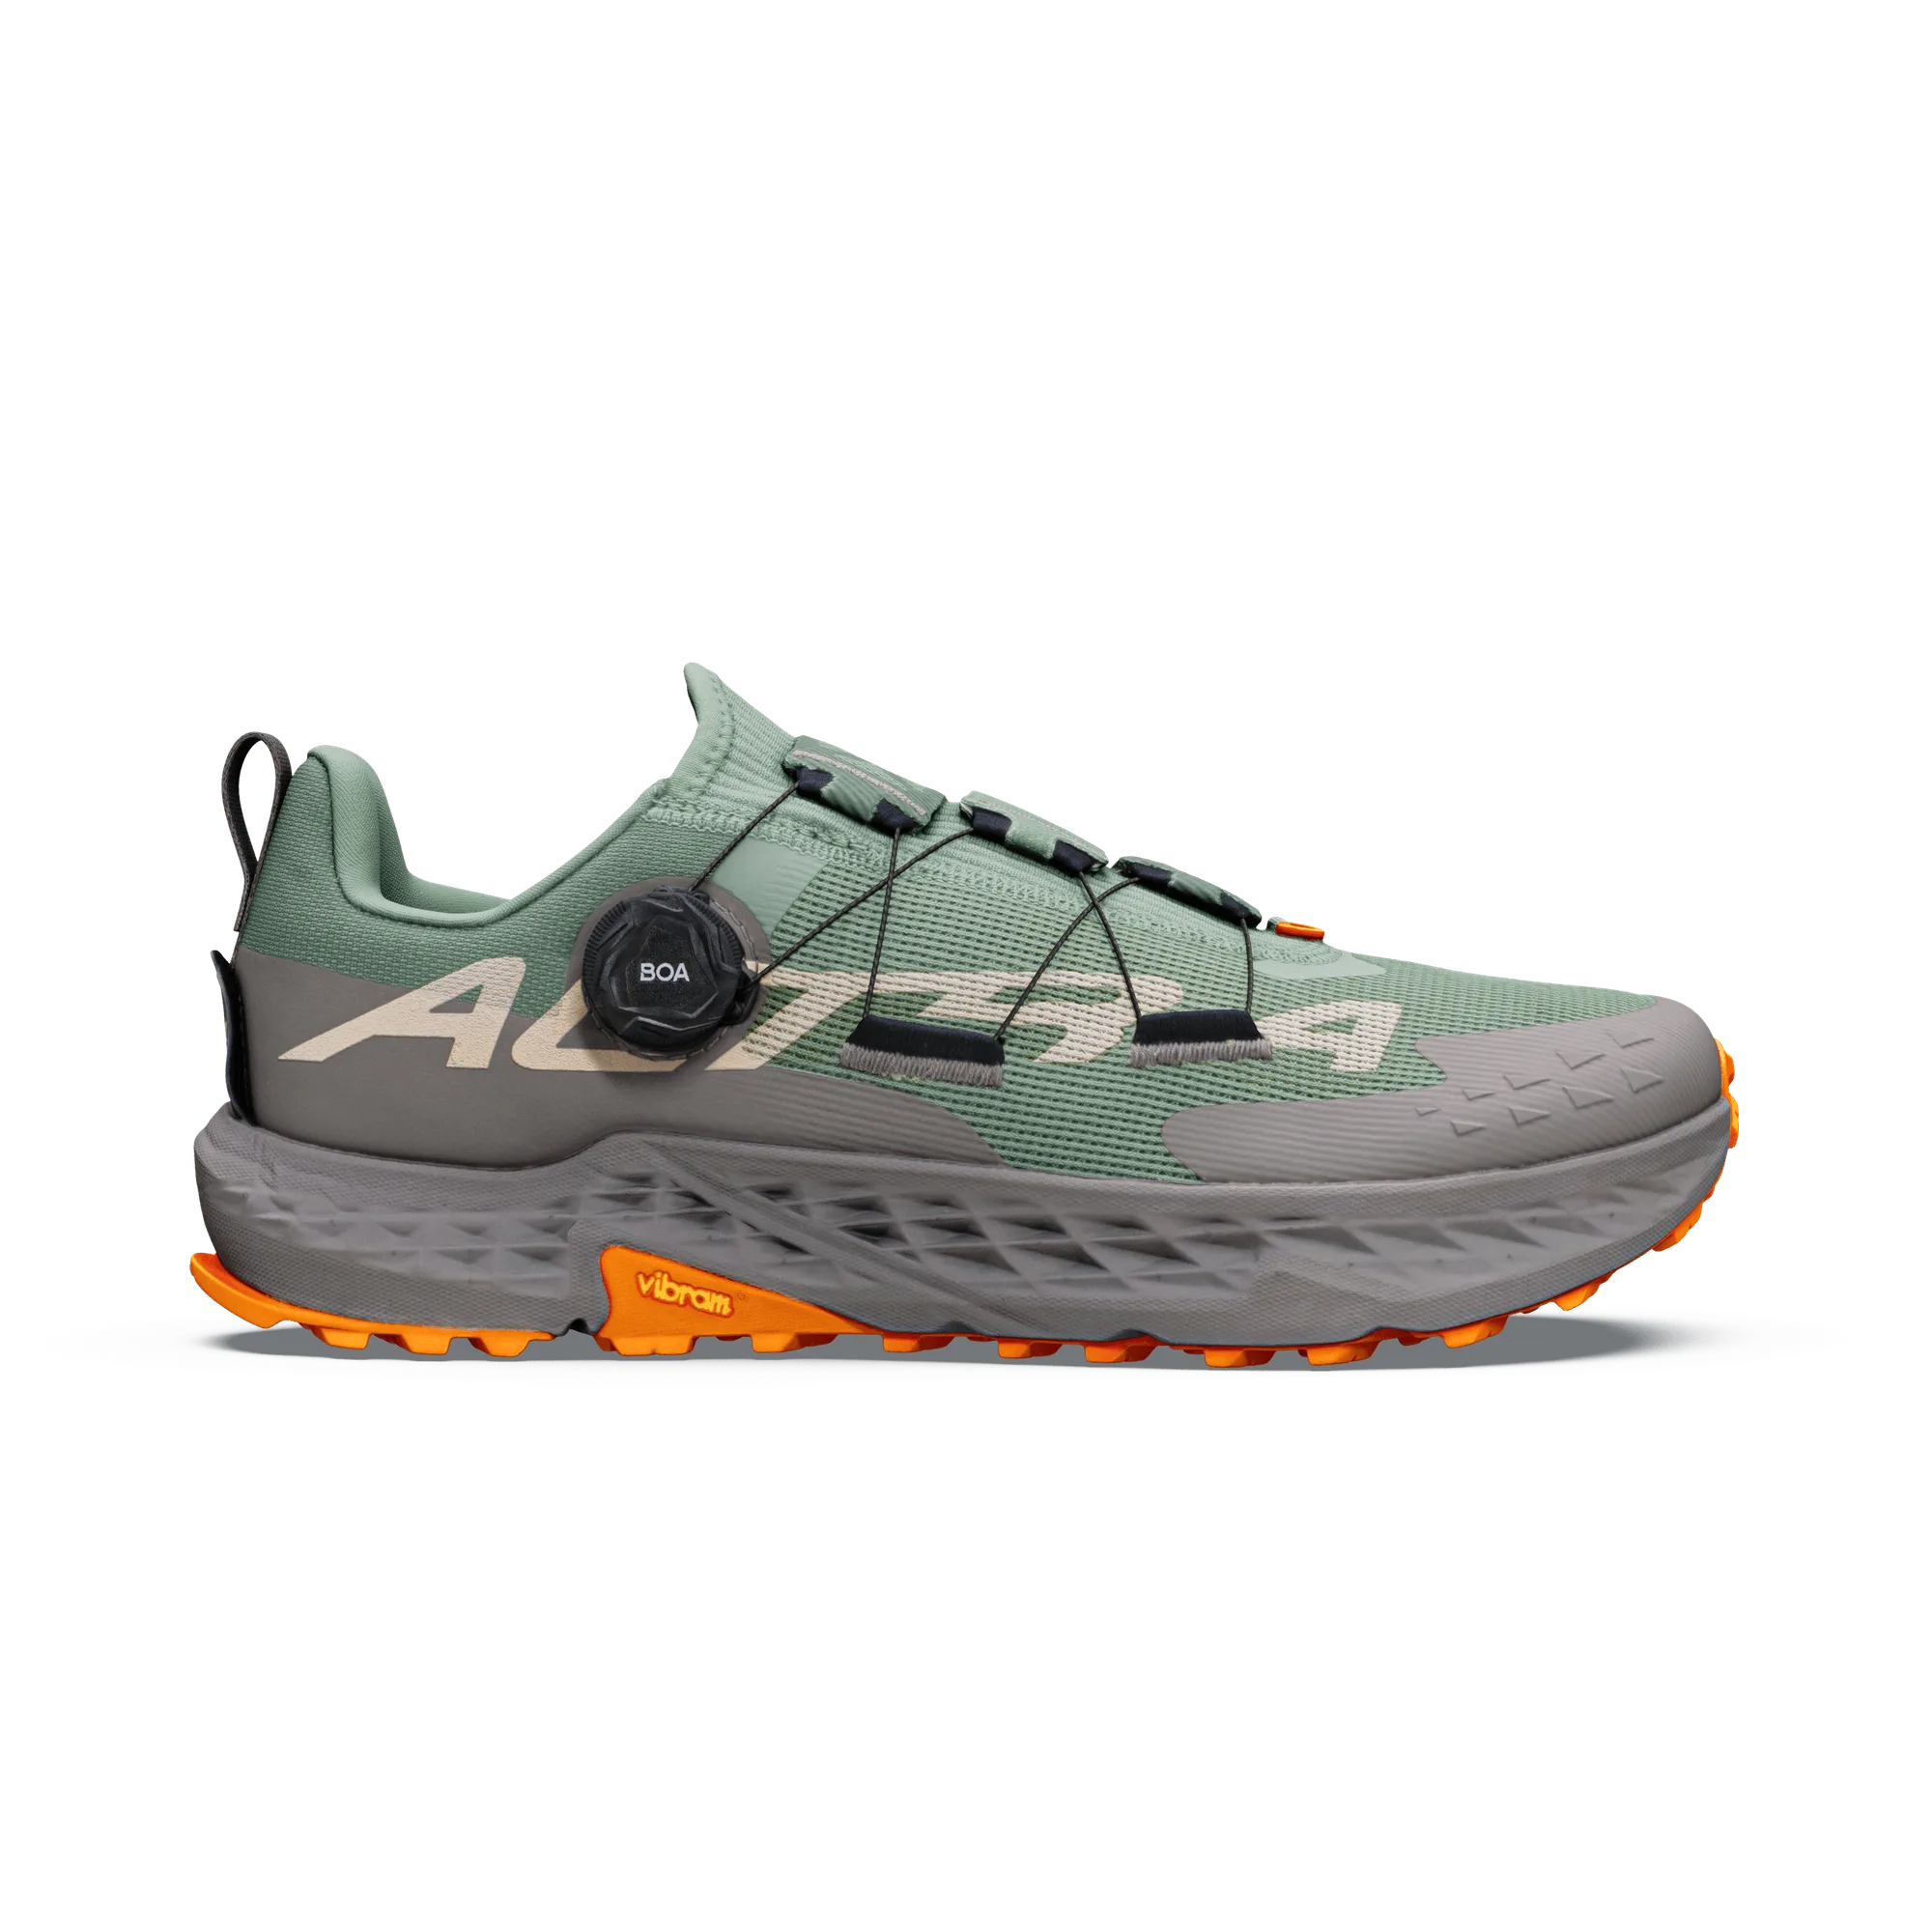
- Men's Timp 5 BOA: The Timp 5 gets a BOA® Fit system for on-the-go adjustments. With a cushioned midsole and grippy Vibram® outsole, the Timp 5 BOA is ready to get wild. Dial the perfect fit and adjust it as much as you need to throughout your run with the BOA® PerformFitTM Wrap Configuration system. This shoe is built for runners who want to fine-tune fit without stopping. The BOA dial lets you tighten or loosen on the move, which is ideal for changing terrain.
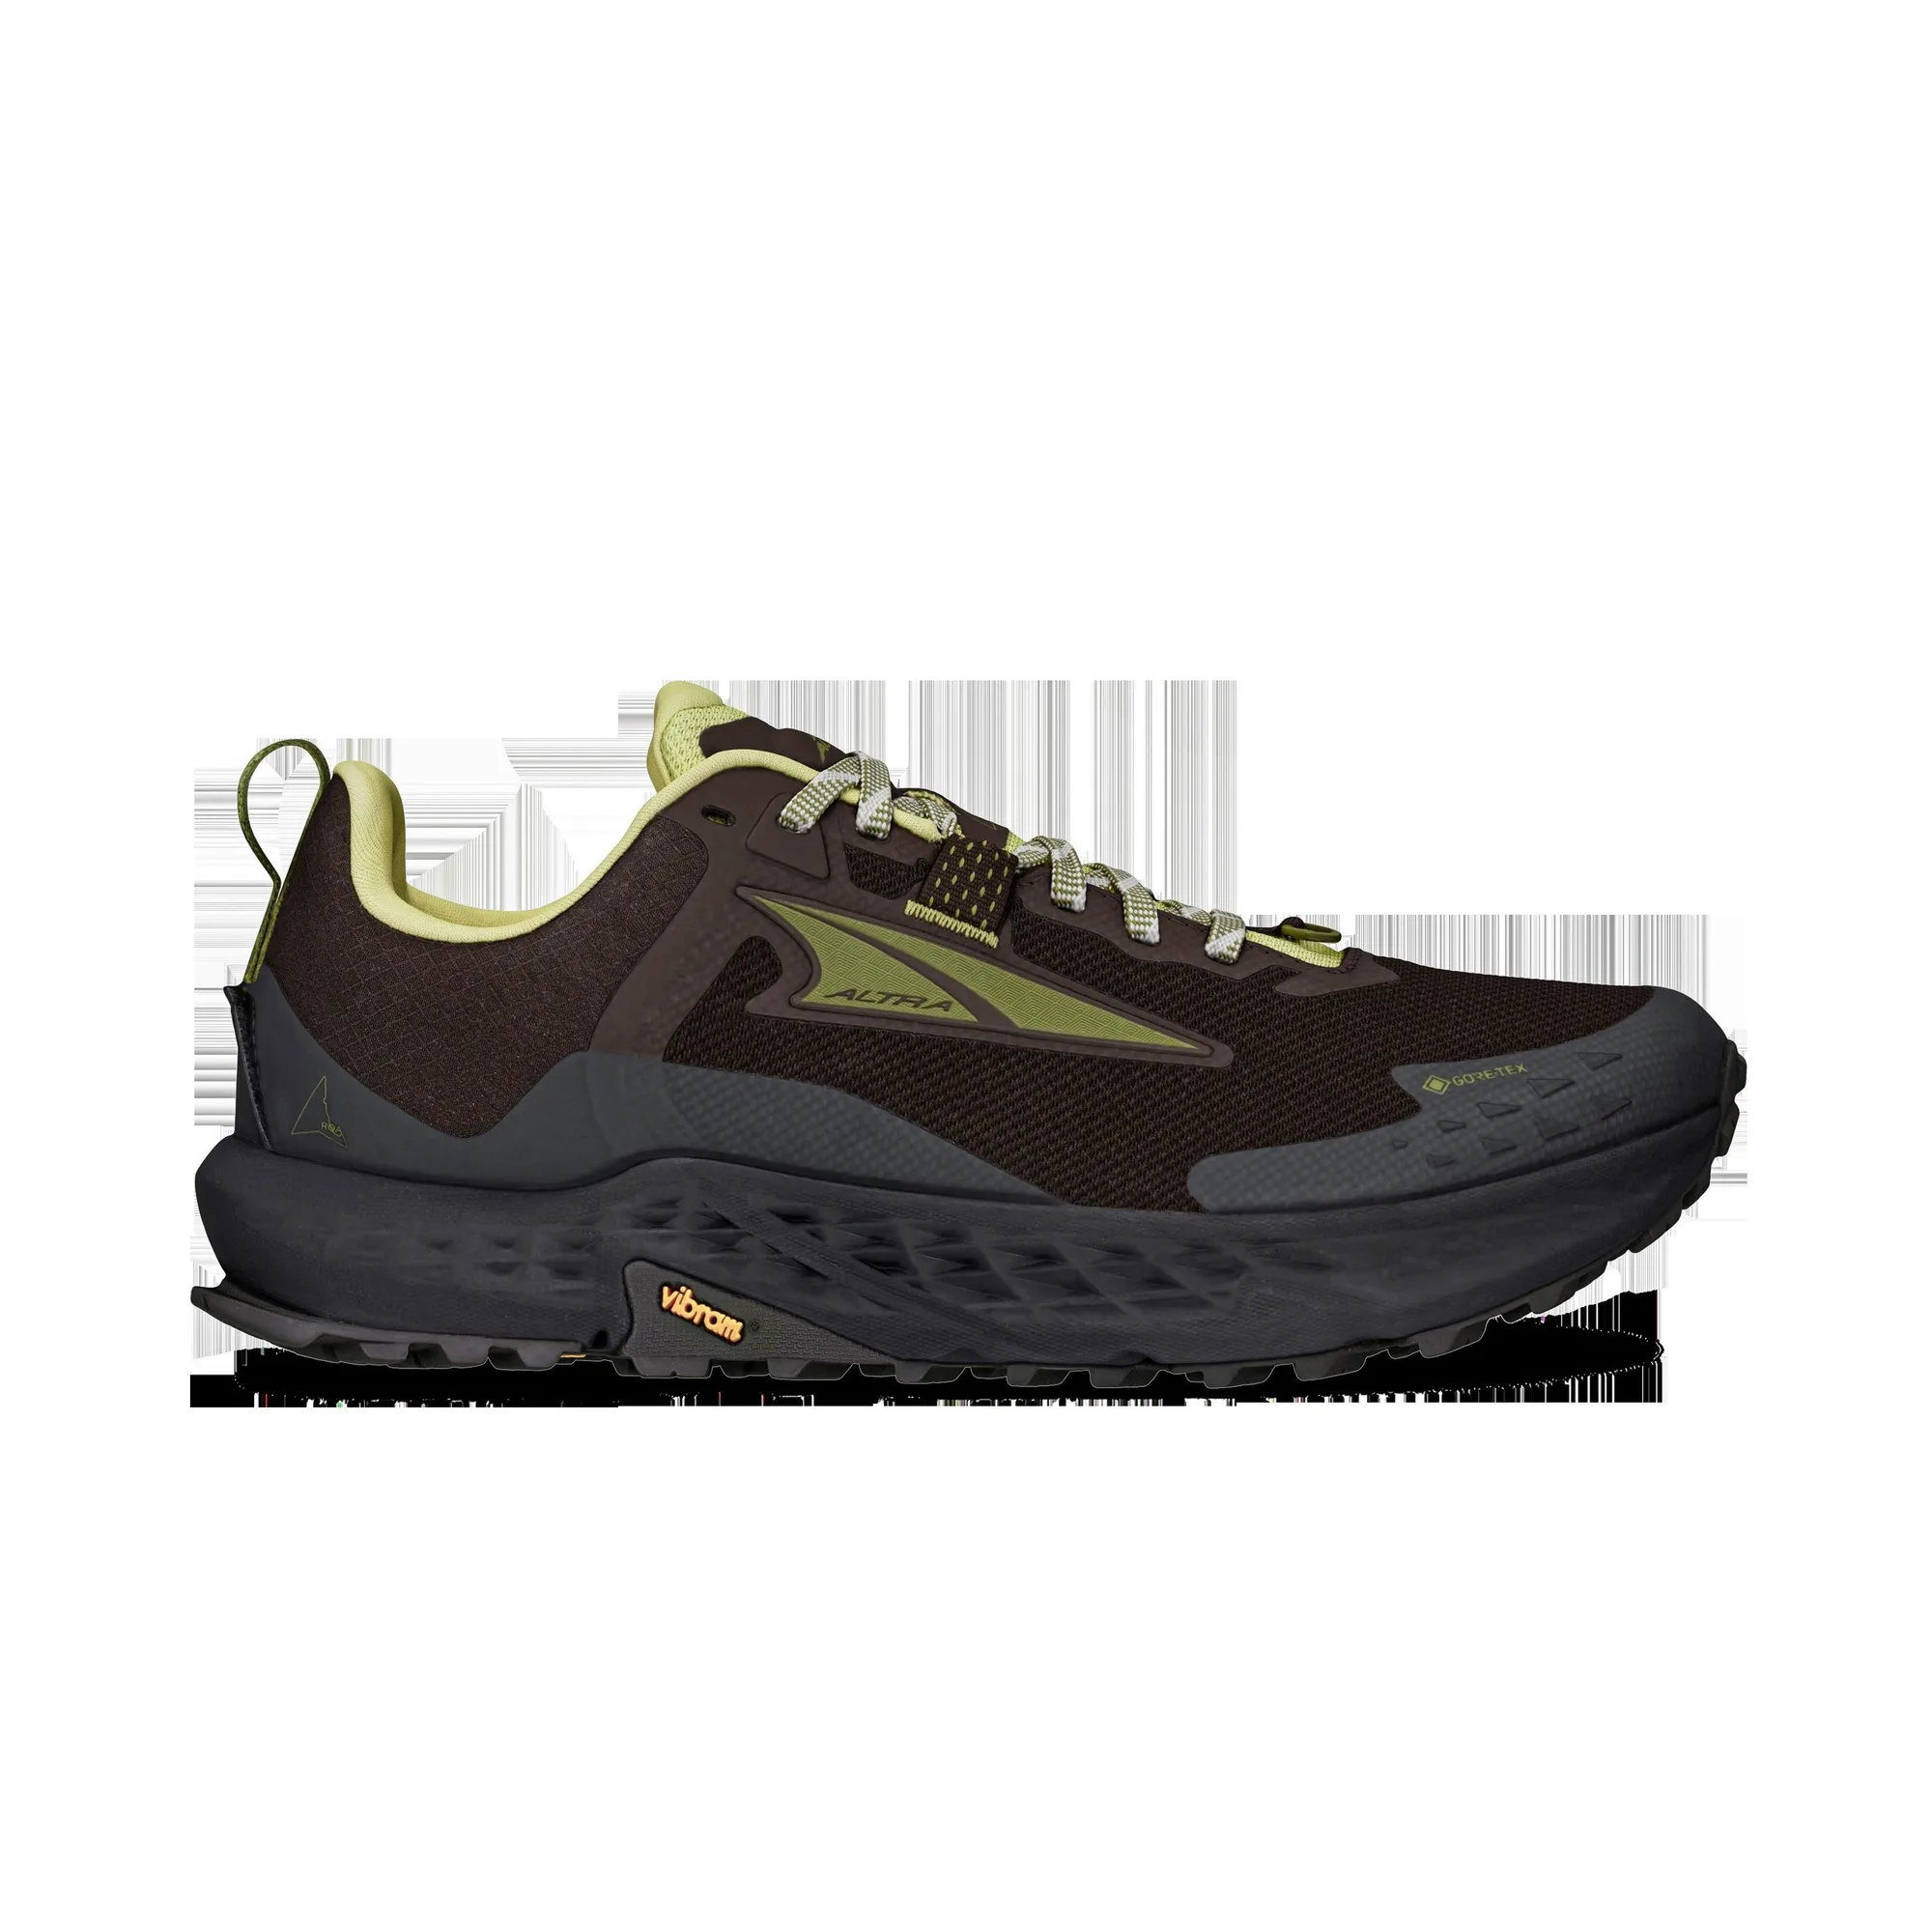
- Men's Timp 6: When you’ve got confidence and durability underfoot, no terrain is off-limits. So hit the trail hard in a shoe with an outsole redesigned to be even stickier and a soft rolled mesh upper. This redesigned Vibram® Megagrip outsole is made to give you traction on any terrain while a premium upper combines with precisely updated fit construction to help deliver an elevated step-in feel, durability, and comfort. A precise upper fit works with your lacing strategy to reduce slipping. This shoe's updated fit construction complements a dialed-in BOA adjustment for technical trails.