Quick Answer
The best way to lace your hiking boots depends on the terrain and your foot's needs. For general hiking, use a simple criss-cross lacing. For downhill sections, use a heel lock to prevent your foot from sliding forward. For uphill, loosen the top hooks to allow more ankle flexion. Adjust toe box lacing to relieve pressure or secure your foot.
Lacing your hiking boots properly can make the difference between a comfortable trek and a painful one. Whether you're climbing steep ascents, descending rocky trails, or crossing uneven terrain, the right lacing technique can prevent blisters, improve stability, and enhance overall performance.
In this guide, we'll walk you through step-by-step lacing techniques for different terrains and foot issues. You'll learn how to adjust your laces for uphill, downhill, and flat terrain, as well as how to use a heel lock for extra security. Let's get started.
Understanding Your Boot's Lacing System
Before diving into specific techniques, it's essential to understand how your boot's lacing system works. Most hiking boots feature a series of eyelets and hooks. Eyelets provide a snug fit, while hooks allow for quick adjustments and easier on/off. Knowing where to tighten and loosen can help you fine-tune your fit.
Your boot's tongue should be centered and smooth. If it's bunched up, it can create pressure points. Also, consider the thickness of your socks. Thicker socks may require looser lacing, while thinner socks might need a tighter fit. Always lace up fully and adjust from the bottom up.
- Start with the bottom eyelets and work your way up.
- Keep the tongue centered to avoid bunching.
- Adjust lacing based on sock thickness.
Basic Criss-Cross Lacing for Flat Terrain
For flat trails and moderate terrain, a standard criss-cross lacing is usually sufficient. This evenly distributes pressure across the foot and provides a balanced fit. Begin by threading the laces through the bottom eyelets, ensuring the ends are even.
Cross the laces and thread through the next set of eyelets, pulling snugly but not overly tight. Continue up to the top hooks. For the hooks, wrap the lace around each hook and cross over to the opposite side. Finish by tying a secure bow. This lacing works well for most day hikes.
- Ensure even tension on both sides.
- Avoid overtightening the top hooks to prevent pressure on the shin.
- Check that your heel doesn't lift when walking.
Heel Lock Lacing for Downhill Sections
When hiking downhill, your foot tends to slide forward, causing toe jamming and blisters. The heel lock technique (also known as a lace lock) prevents this by securing your heel in the heel pocket of the boot. This is especially useful on steep descents.
To perform a heel lock, lace your boots as usual up to the top eyelet. Instead of crossing over, take each lace end and create a loop on the same side. Thread the opposite lace end through the loop and pull tight. This creates a 'lock' that holds your heel back. Then, continue to the top hooks and tie normally.
- This technique works best with boots that have an extra eyelet near the top.
- Practice at home before hitting the trail.
- Combine with a snug fit in the midfoot for best results.
Toe Box Adjustments for Wide Feet or Pressure Points
If you have wide feet or experience numbness in your toes, you may need to adjust the lacing in the toe box area. A common technique is to skip the second or third eyelet to create more room. This reduces pressure on the top of the foot and allows your toes to spread naturally.
Alternatively, if you have narrow feet and need a snugger fit, you can use a 'lace lock' at the toe box. Thread the laces horizontally across the first pair of eyelets before criss-crossing. This pulls the sides of the boot together, providing a more secure fit without overtightening.
- Skip eyelets to relieve pressure on high-volume feet.
- Use horizontal lacing for a snugger fit on narrow feet.
- Always ensure your toes can wiggle slightly.
Ankle Support Lacing for Rough Terrain
On rocky or uneven terrain, additional ankle support can prevent sprains. To maximize ankle stability, lace your boots tightly all the way to the top hooks. This locks your ankle in place and reduces lateral movement.
For even more support, use a technique called 'lace lock at the ankle'. After lacing to the top eyelet, create loops and thread the opposite lace through as described in the heel lock, but this time, do not continue to the top hooks. Instead, tie off at the top eyelet. This provides a rigid hold around the ankle.
- Tight lacing around the ankle can reduce flexibility; use only on rough terrain.
- If your boots have a cuff, ensure it's positioned correctly.
- Pair with a proper boot height for your needs.
Step-by-Step Lacing Process
- Prepare Your Boots: Ensure your boots are clean and laces are not frayed. Loosen all laces completely before putting on your boots. Put on your hiking socks and insert your feet, making sure your heel is seated properly. Starting with a loose fit allows you to adjust properly.
- Lace the Toe Box: Begin with the bottom eyelets. For standard fit, criss-cross normally. For wide feet, skip an eyelet to create more room. Pull snug but not tight to allow toe movement. Your toes should have room to wiggle; if they feel cramped, loosen or skip an eyelet.
- Lace the Midfoot: Continue criss-crossing up the midfoot, pulling firmly to secure your foot. The midfoot should feel snug but not painful. This area controls how much your foot slides forward. If you feel pressure on the instep, loosen slightly and consider a different lacing pattern.
- Apply Heel Lock (Optional): At the top eyelet, create a loop on each side. Cross the laces and thread through the opposite loop. Pull tight to lock your heel. This is crucial for downhill sections. If you don't have an extra eyelet, skip this step; but for steep descents, it's a game-changer.
- Secure the Top Hooks: Wrap laces around the top hooks and tie a secure bow. For ankle support, tighten fully. For uphill, leave a little slack to allow ankle flexion. Check that your ankle feels supported but not restricted.
- Test and Adjust: Walk around on flat ground, then simulate uphill and downhill movements. Adjust tension as needed. Pay attention to any hot spots or pressure points. Your boots should feel comfortable immediately; if not, re-lace.
Recommended Gear
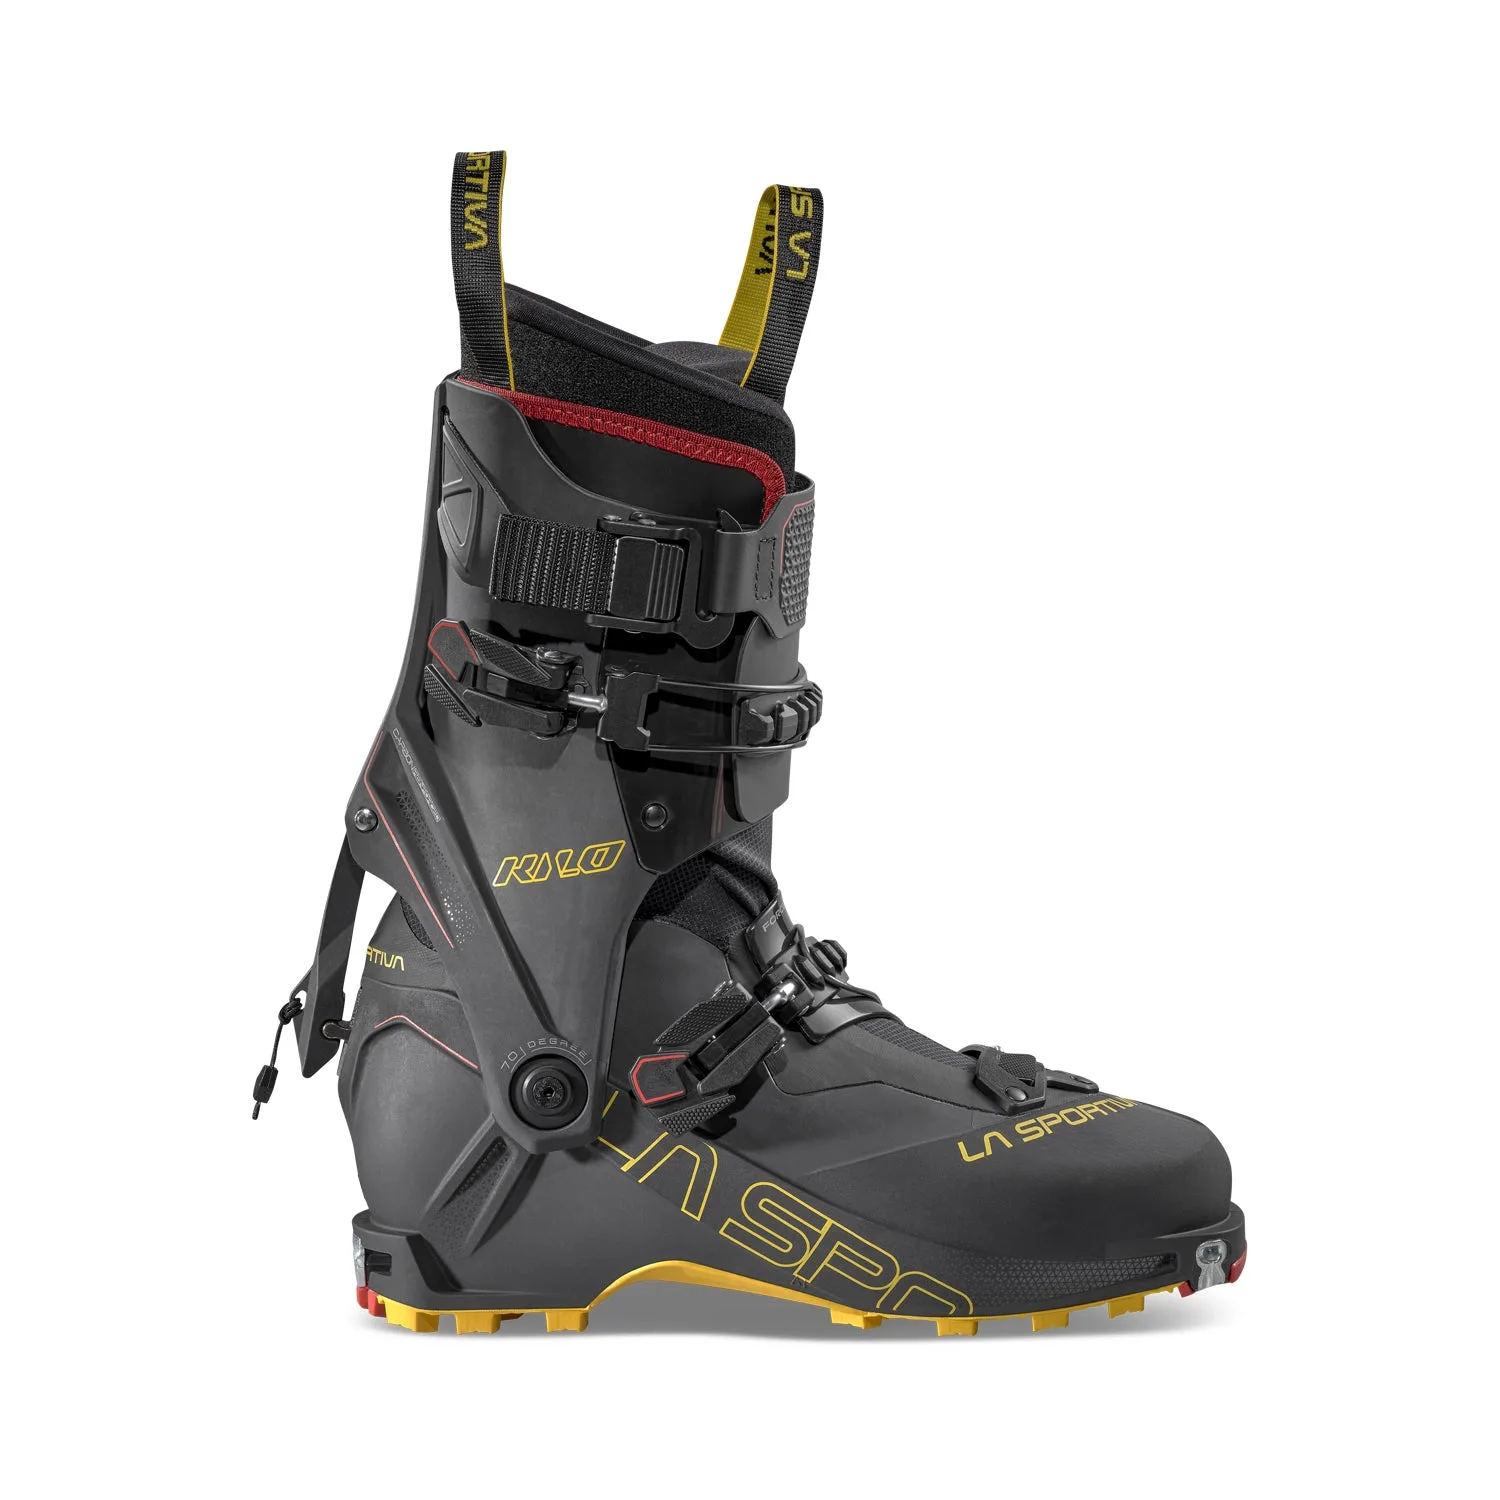
- kilo-xtr-3d83ca75ebdf72922f156f53-891358">Kilo XTR Women's: At a mere 1190 g, the Kilo XTR offers unparalleled walkability with a remarkable 68° range of motion, letting you ascend with ease. While this is a ski boot, its range of motion and lightweight design are relevant for hikers who also tour in winter. Proper lacing techniques apply to ski boots too, ensuring comfort during long ascents.
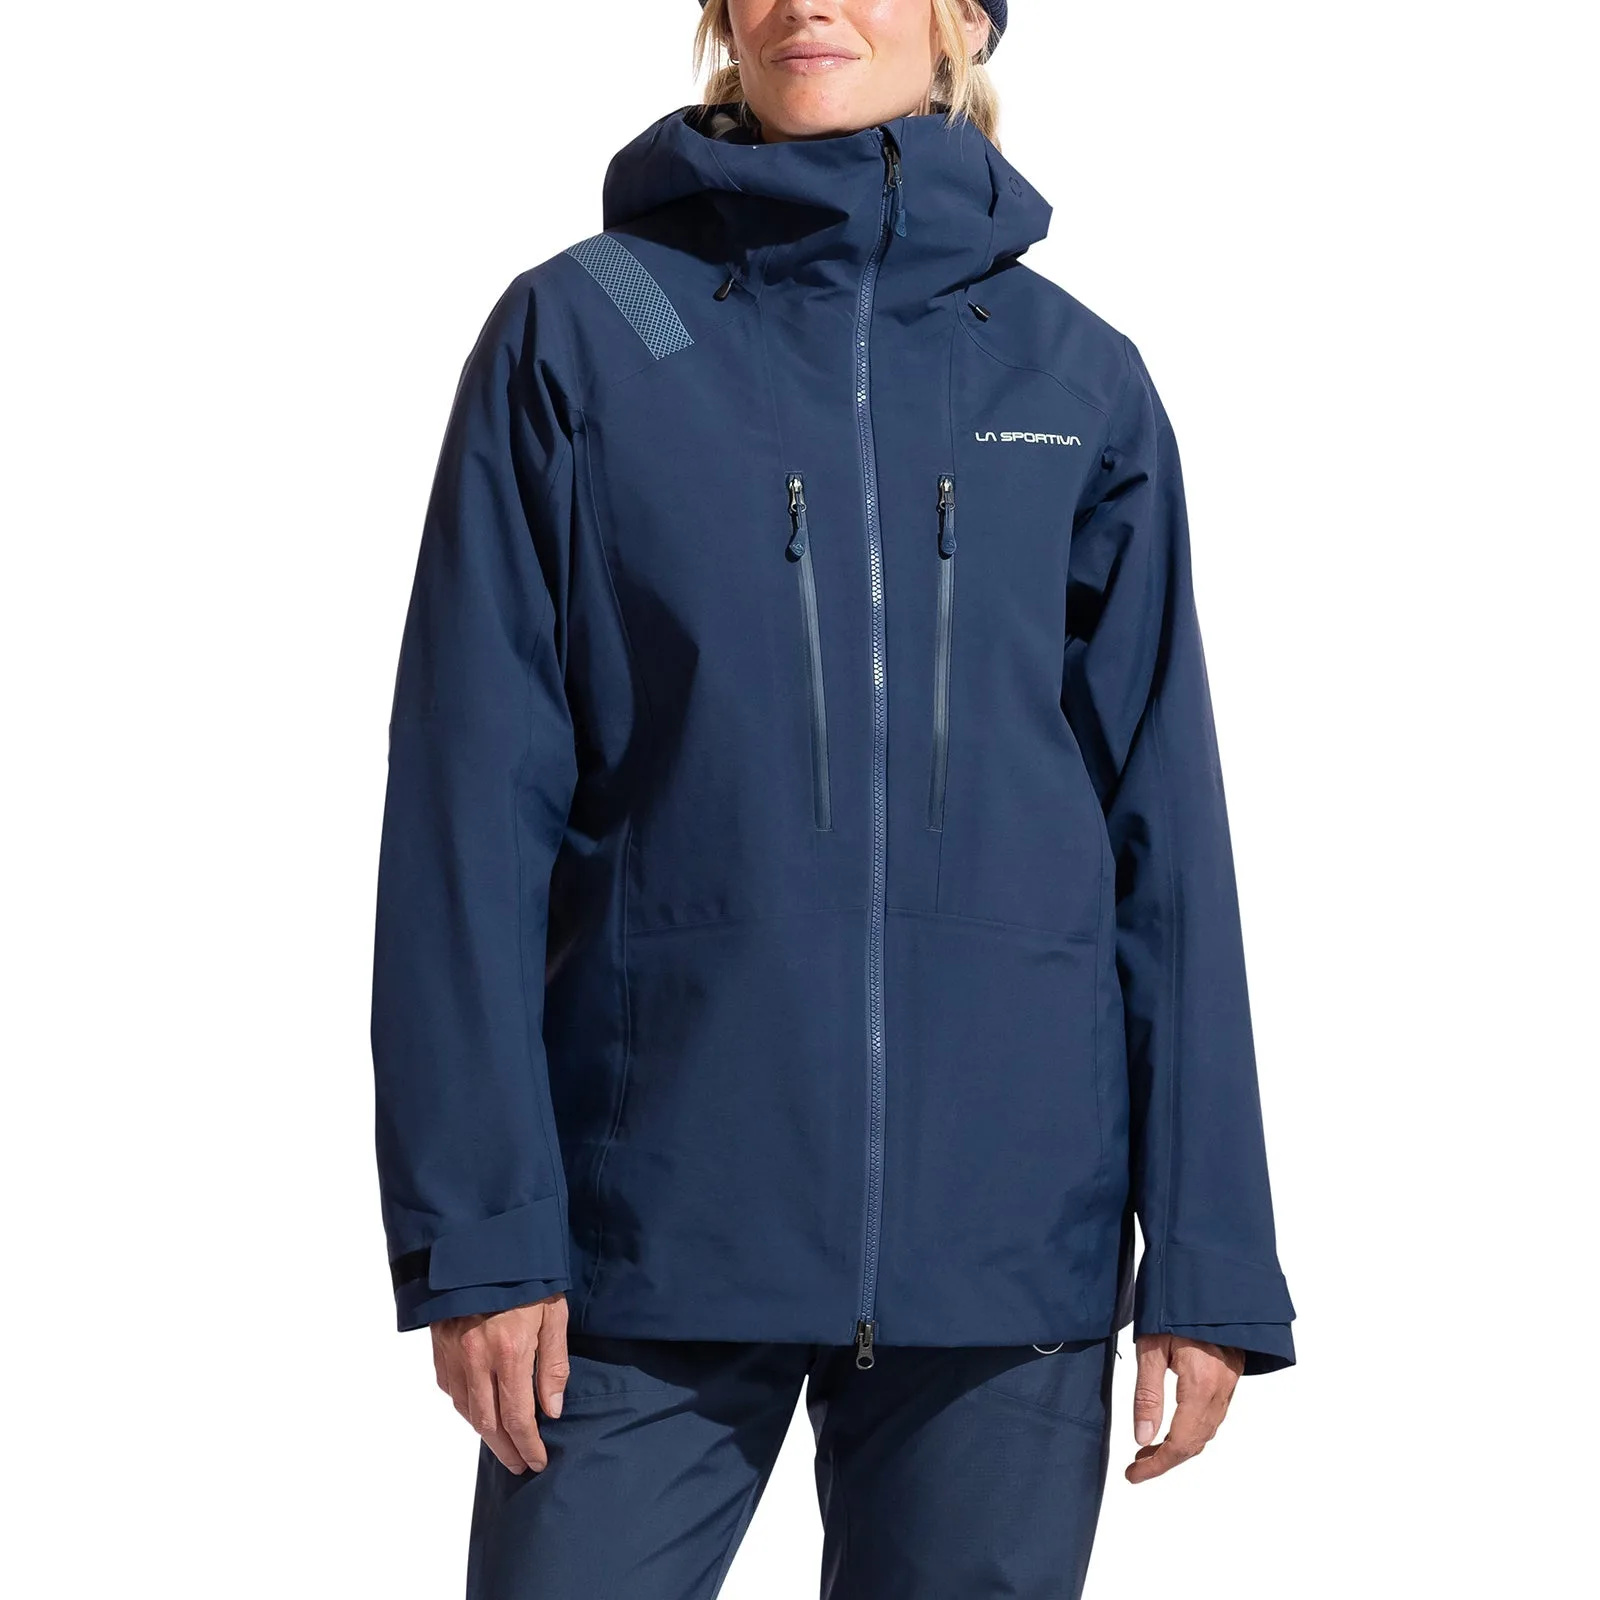
- Freeway Wind Jacket Women's: Built for fast-moving adventures, the Freeway Wind Jacket is ultralight, abrasion resistant and packs into its own pocket for easy storage, and clips on to your harness to keep it close by. When adjusting your laces on the trail, a lightweight, packable jacket like this ensures you stay comfortable in changing weather without adding bulk.
Mastering lacing techniques can dramatically improve your hiking experience. Whether you need heel lock for descents or toe box adjustments for wide feet, these steps will keep you comfortable and stable on any terrain. Practice these techniques at home to find what works best for you. Happy trails!